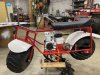
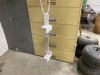
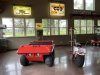
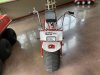
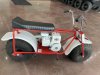
Vintage AmphiKitty balloon tire mini bike
- Thread starter Matt O.
- Start date
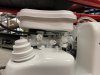

Looks awesome. I thought those tires/wheels were all one piece and didn't come apart?
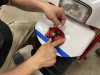
You are correct. The rubber tire is vulcanized to the rim at the tire manufacture. With a little patience and time you can install a valve stem from the outside. I takes a small flat tip screwdriver with a long handle and long needle nose pliers.
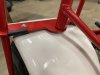
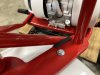
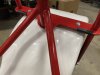
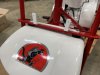
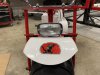
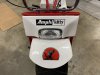
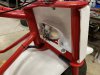
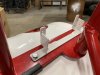
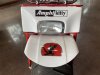
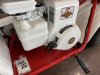
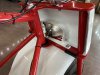
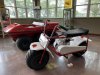
Here are some photos of the finishing touches to the headlight mount and decals. Thank you Mike and Jesse for the help and design for the headlight bracket. Keep an eye out at the end of the video. You’ll see this very Amphikitty with the factory Amphicat race team at the first national ATV rally in Mt Snow Vermont,1970.
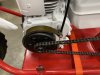
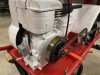
This has been a vey enjoyable build. I want to thank everyone who helped out in the process. Everyone one this site have been supportive and kind. I hope by sharing this build, the process to add a lighting coil to a Briggs engine, bearing and seal part numbers used on this build will help people restoring an El Burro. I will post the video today.


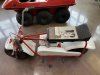
like the route you went with the lighted coil setup keeping it under the stock recoil or I should say the stock points setup recoil. there is another way to setup lighted for a briggs ,but that involves using a newer deeper style recoil cover and would just not work with your project.
nice job... .............Real Nice.
nice job...
.............Real Nice.