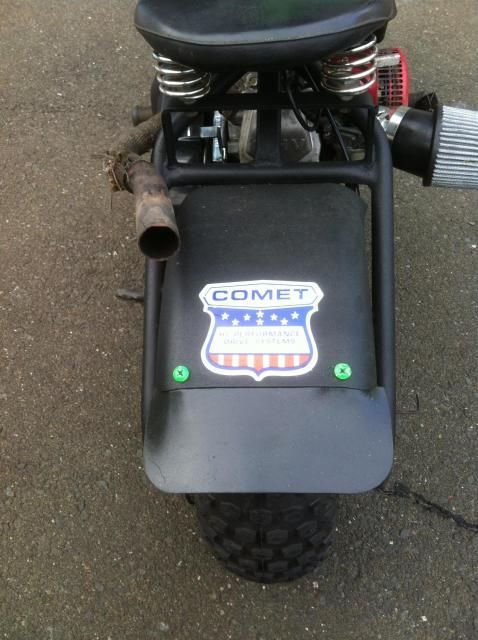
Back from the dead, A rebuild.

#1
OK so a couple years ago I bought this bike from someone off Craigslist.
http://www.oldminibikes.com/forum/general-minibike-talk/32492-new-toy-need-help.html

It had a Tec. HS35 something connected to the TAV30.

Took that off, put on an old GX140 from the 80s and enjoyed it for a lil while. That is until the driven gear on the comet blew apart. I was having problems with it to begin with.

Back from the dead.

I decided to pull it out of the basement and get it going again.

I ordered a brand new Comet TAV30, and I have another GX160 that Im putting on it.

Right now, Im thinking I want a color that will give it some pop!

Question: Do I need anything special to mount tubeless tires? I have tubes that I was going to stick in the tires but I think Id like to keep it tubeless.

Thanks and Ill be posting pics soon.:smile:
 

capguncowboy

Well-Known Member
#2
OK so a couple years ago I bought this bike from someone off Craigslist.
http://www.oldminibikes.com/forum/general-minibike-talk/32492-new-toy-need-help.html

Question: Do I need anything special to mount tubeless tires? I have tubes that I was going to stick in the tires but I think Id like to keep it tubeless.

Thanks and Ill be posting pics soon.:smile:
Nice Whirlwind!

Swapping tires on a one piece rim can be a painstaking task. Getting the old one off is a pain, but getting the new one on isn't much easier.

For removal, I suggest watching some Youtube videos for tips and tricks. To break the bead on my old tires so that I can remove them from the rim, I use a large C clamp. I make sure that it's well lubed on the ball joint to keep the pivot end from walking off the tire. Just crank it down until the bead pops off. Then you'll have to wrestle it off of the rim. I use two cheap flat head screw drivers and walk it off the rim one side at a time.

This is crucial: Be sure you clean the rim of the wheel thoroughly. Be sure that there isn't any dust, rust or debris or the tire won't draw a bead correctly. If there is rust, clean it off and put a coat of paint on it to prevent it from coming back.

Once the old tire is off, you'll have an equally hard time putting the new tire back on. Basically, you're going to do the same as removal, but in reverse. Once you've got it back on the wheel, you're not out of the woods yet. Getting the new tire to bead is difficult. There are lots of methods for doing this. Some people use Ether and a match (I don't suggest doing this). The old school guys will use a rope wrapped around the outside of the tire and tighten it with a screw driver (wound up in the rope) until it's close and then put air into it. I found that using a ratcheting truck strap works really well. Just crank it down and massage the strap so the pressure is evenly distributed, then crank it down some more. Once you have it tight, put some air into it. If it's still leaking, repeat the process. Once it beads, it will fill up really fast, so be careful not to over-inflate or it will bust your strap.

The first tire I did took me three hours. The second one took me about 10 minutes from start to finish. It's not difficult once you get the hang of it.
 
#3
Welcome back Mike :thumbsup: As far as color, that's personal preference :shrug:
^^^^ what he said about mounting the tire :thumbsup: You can cut the old tire off and if you can either put the new one in the oven or leave it out in the sun to warm it up and make it softer :thumbsup: but unless you have a high volume compressor to bead the tires I would take it to a tire shop and ask them to set the bead for you, most shops will do it for nothing :thumbsup:
 
#5
Thanks for the help:smile:

I thought there was some type of lube that you wiped around the tire beads before seating them? I feel like ive seen it at tire shops:confused:

Well Lowes had a horrible selection of color. Most of it was whites, grays, and black colors. Went to Pepboys and it was even worse.

I was originally looking at a neon orange or green.

I came back home with paint stripper and primer.

Got most of the frame stripped and Im kind of digging the raw metal. I wanted something that pops but he Honda engine is bright red too so it has to work with that...

I kind of want to leave the engine shroud red to display the "red hot Honda" idea....

I might just get some truck bed liner spray and do that instead.

Ugh this color thing will drive me crazy:doah:

Pics soon...
 
#6
home depot and even walmart have a pretty good paint selection. much better than lowes anyway. Those tires shouldnt be too hard to change. the rims dont look rusty and those thin chinese tires come off easy. Its the wheels and tires that have been together since the 60s that put up a fight.
 
#7
The tires are Carlisle and Cheng Shin... I thought they were good brands?

The back tire actually came off the seat pretty easy. It was filled with water and that puncture seal crap. The front wheel was still good and has a tube in it.

I just bought 2 new tires. Kenda K290 Scorpion tires. Not sure if its the best choice, but the size is matched and I like the tread design. They were only $40:smile:

Anyone know how to completely remove all the paint from the frame, without making a huge mess everywhere?

I swear next time I do one of these projects, im sending the frame to a tank and have it dipped:hammer:

I guess we can have this thread moved to the project log.. Mods if you will, thank you.
 
#8
Progress

OK so a bit of an update here:smile:

Received the tires. They are Kenda K290 145/70/6 tubeless. Got them from "Bikebanditparts" on EBay. I only mention the seller because I got them so fast and pricing was very reasonable.

Got new bearings, foot pegs, and valve stems from OldMiniBikes.

Still waiting on the TAV30 that I prematurely found EBay.. When I couldve ordered it from OldMiniBikes and wouldve had it already...:doah::doah:

Got the frame stripped and primered, lightly sanded. Got the wheels all straightened out ready to go.

I still want to go with a bright color for the finish. The thing is, Im horrible at paint work and I cant stand imperfections on a finish. I might end up using textured truck bed liner spray for the frame and maybe go with a neon orange/blue for the fenders.

A couple years ago, I refinished a friends Motobecane Moped with truck bed liner and I thought it came out fantastic. Its nice and thick, durable, and its textured.

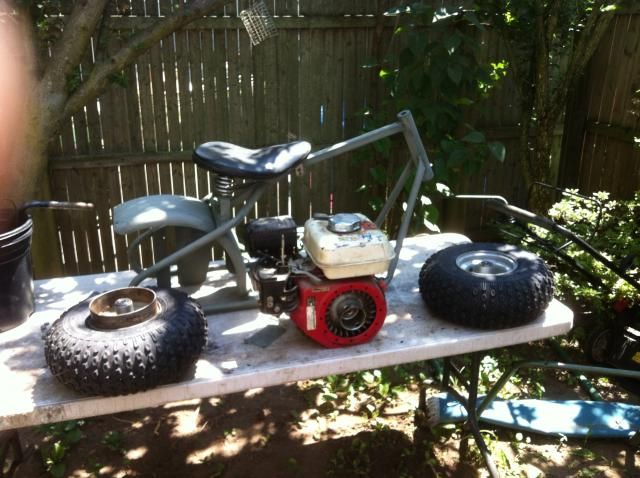
Its still a long way till the finish, but heres what Im working with so far...

 
#9
rustoleom makes a hammered finish paint that hides imperfections real well and its pretty durable too. i used it on my green fat tired bike and its held up great
 
#10
Got some work done today...

painted the frame with the topcoat.

I ended up using Rustoleum truck bed liner spray, this is the can...


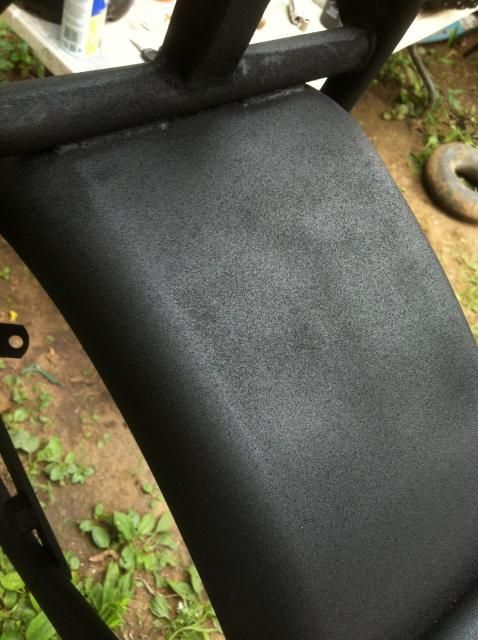
I love this stuff, it is pretty strong and has a fine texture, not too coarse/grainy, but not smooth. I just wish they made it in other colors....

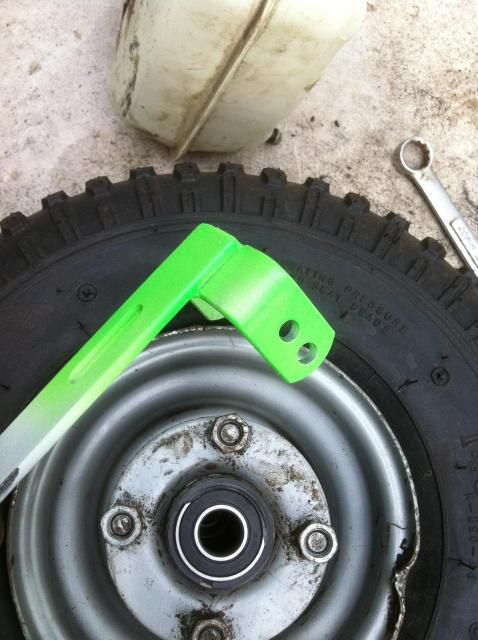
I still wanted some color though, I decided to paint the fork Florescent green. Front fender will be black though.

Ordered some more parts from OldMiniBikes because I cant stand rusty screws and nasty cables:smile:

Im going to try an experiment with the paint involving the truck bed spray and the green paint. To see if I can paint over the truck bed spray and still have the texture Im looking for.

Thats all for now folks:wink:
 
#11
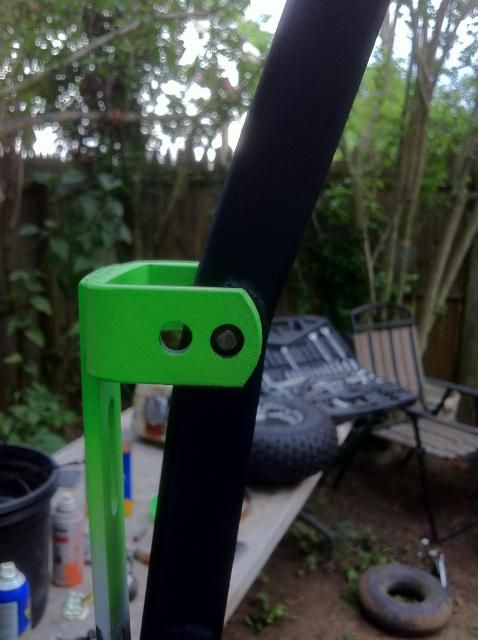
Just to give everyone a preview....

A bad closeup of the texture,


Painted the seat bracket green, just to give some more pop other than the front. I know the gouge in the rim is hideous, its behind the sprocket anyway,


Preview of the contrast,


Id say its going well for a backyard build. I have no garage or proper space to do this type of work. Im hanging the frame from a tree and hook strap to paint it lol. Just to give everyone an idea of what Im working with. It may not be as high a caliber as some of the other builds but its working and its a good build for me. I tore everything off the frame and redid practically the whole thing:laugh:
 
#15
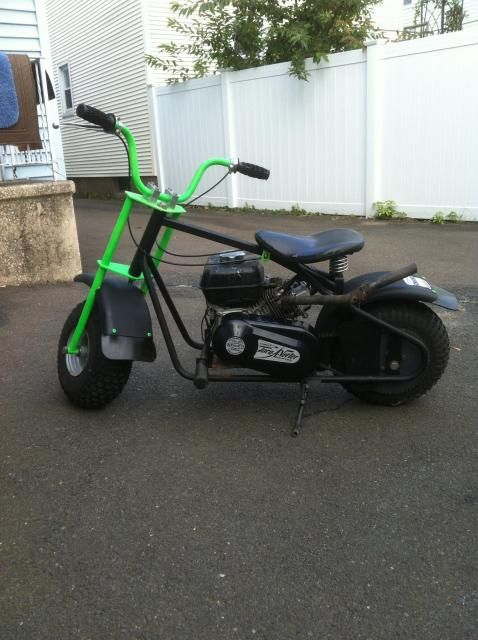
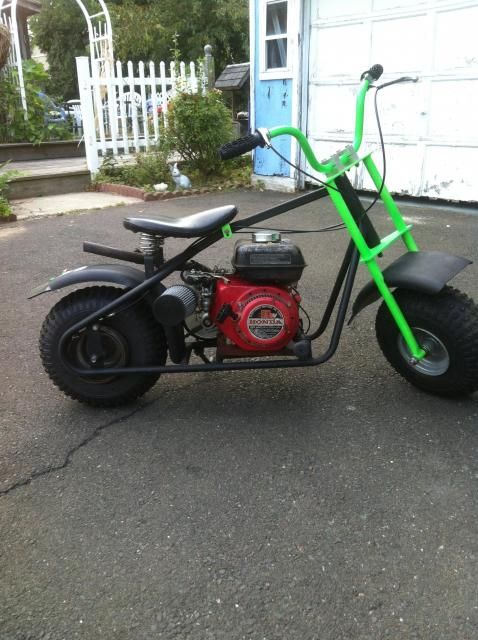
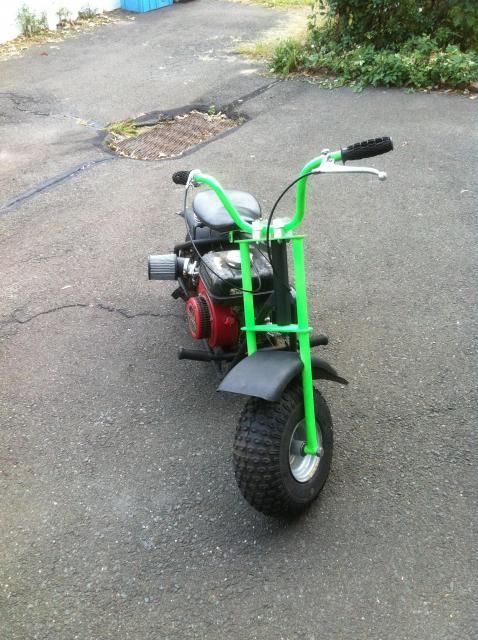
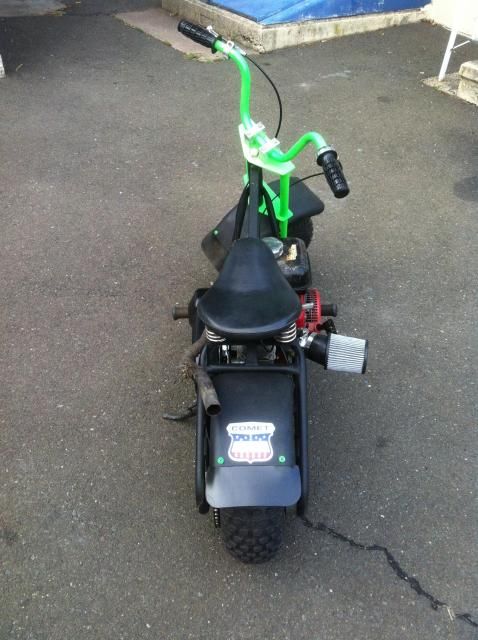
We have a running bike!

the story, since the last update I got down to completion and needed new bolts to mount the engine. I was lazy and didnt want to run to the hardware store so I put it back in the basement and didnt touch it.:sleeping:

This week I decided to take it out. I moved into a new apartment recently and I wanted to bring it with me instead of having it waste at my Mothers.

Got everything buttoned up and ready to ride.

Somehow I could not find the gas tank I had prepared. Luckily I have a stash of Honda stuff so I used an old ratty one.

Another setback was getting a recoil. The recoils on these engines are garbage and break so easily it seems.

I got lucky again and took the cup and recoil off my really old Honda GX140 that used to be on the bike. The old cup/recoil fit right on the shroud and I was able to start it up!


I wanted to keep the engine shroud red because thats Honda and its a nice shade. It just doesnt look right with the green accents. Im either going to switch over to another black shroud I have or paint it green.

I also ported the head a little bit to remove the sharp edges and jetted the carb. The exhaust was something I threw together a few years ago using a bicycle fork and handlebars. The stock muffler wouldnt clear the frame.

I had to cut a piece of oak to get the engine up because the TAV was hitting the frame.

I actually sounds pretty good, like a single cylinder Harley lol. Its loud and crackles. It will pick up the front end quite easily and Ive had it up to about 50+ mph. Im going to GPS my speed because I want to know for sure, but my god it cranks!!
 
Top