My Sears Project

#1
I am finally going to finish a Sears minibike project I've been sitting on for a few years. I have actually known the bike for about 13 years. One of my friends bought it from another friend in high school and we completely rigged up an old briggs on it and ran the crap out of it for a few years. Then one day the carb caught on fire, we put it out with a fire extinguisher and it never ran again. Since my buddy knew I always liked it he offered it to me for 25 bucks after we graduated from college because he was moving out of state. I also had to promise that I would bring it back to life someday. I have been collecting a few parts here and there over the last few years and now I'm going to put it all together.

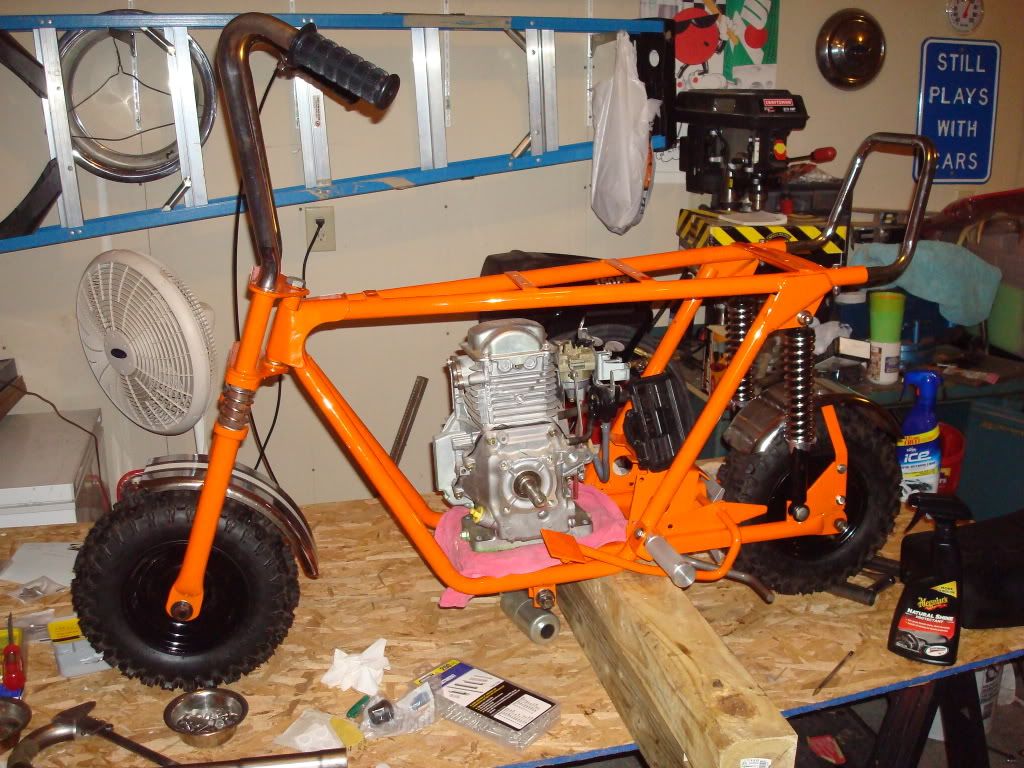
So far I have repaired the handle bars and my brother and I welded up the hack job my friends and did on the mount plate for the briggs. I bought a Honda GC160 for it so I could go back to using the factory gas tank. I am also going to use a jackshaft setup that I put together using some of the original parts I found in a box of things my buddy gave me with it. From the parts that were in the box it looks like it had a 2 speed jackshaft setup originally.

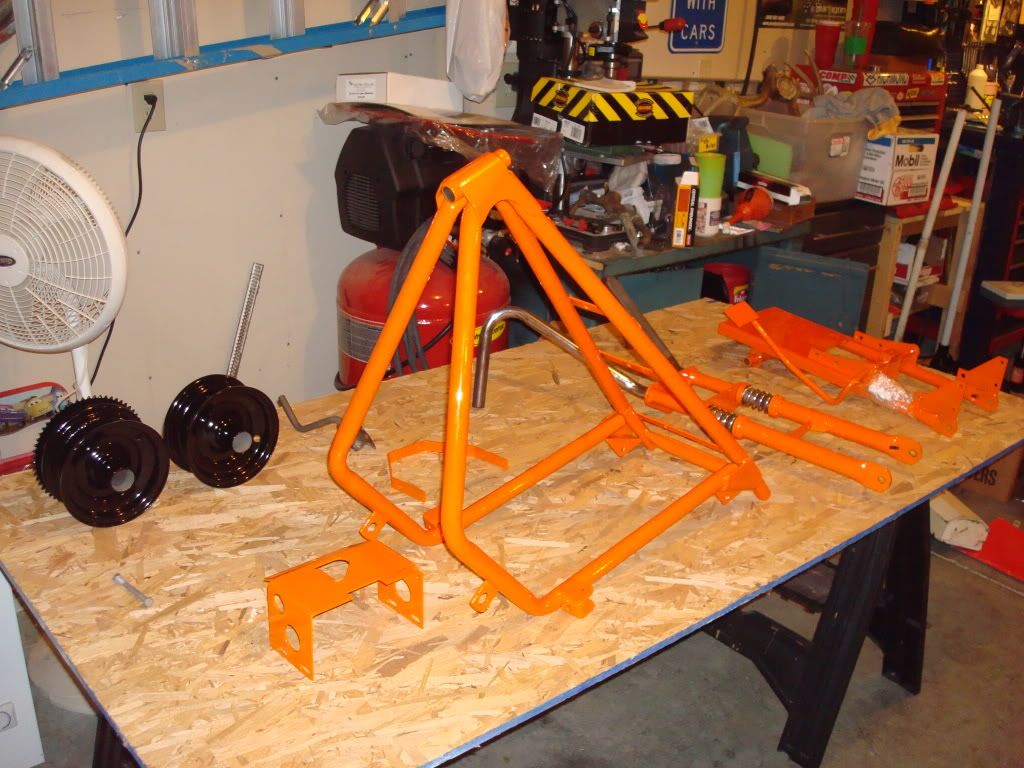
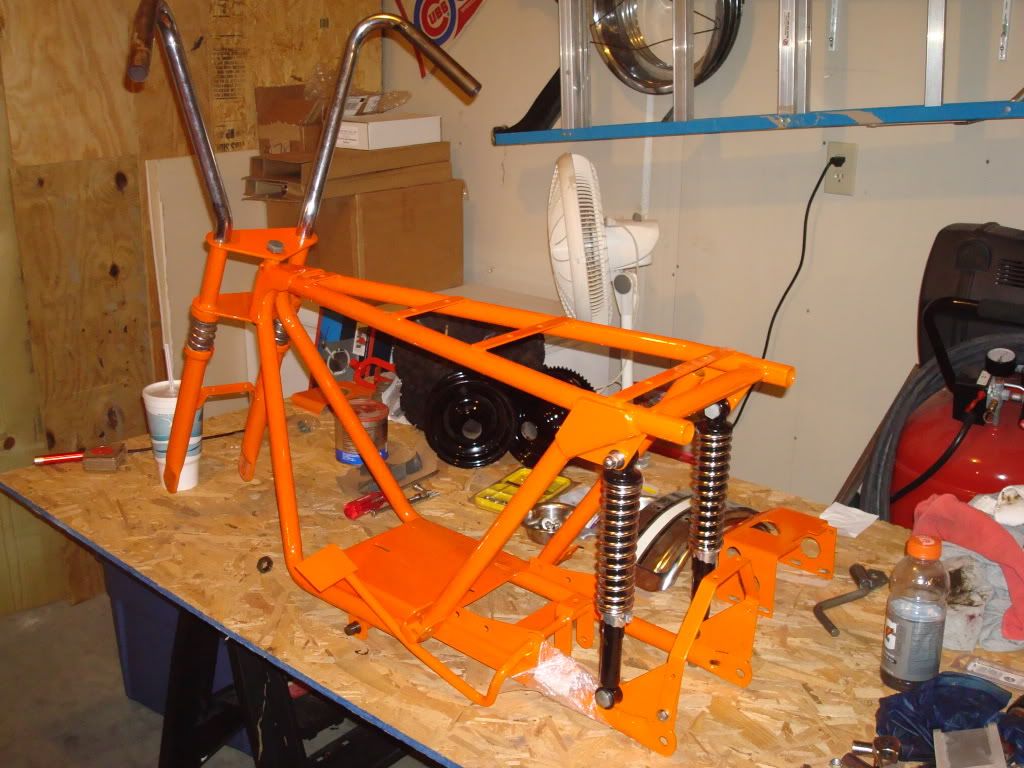
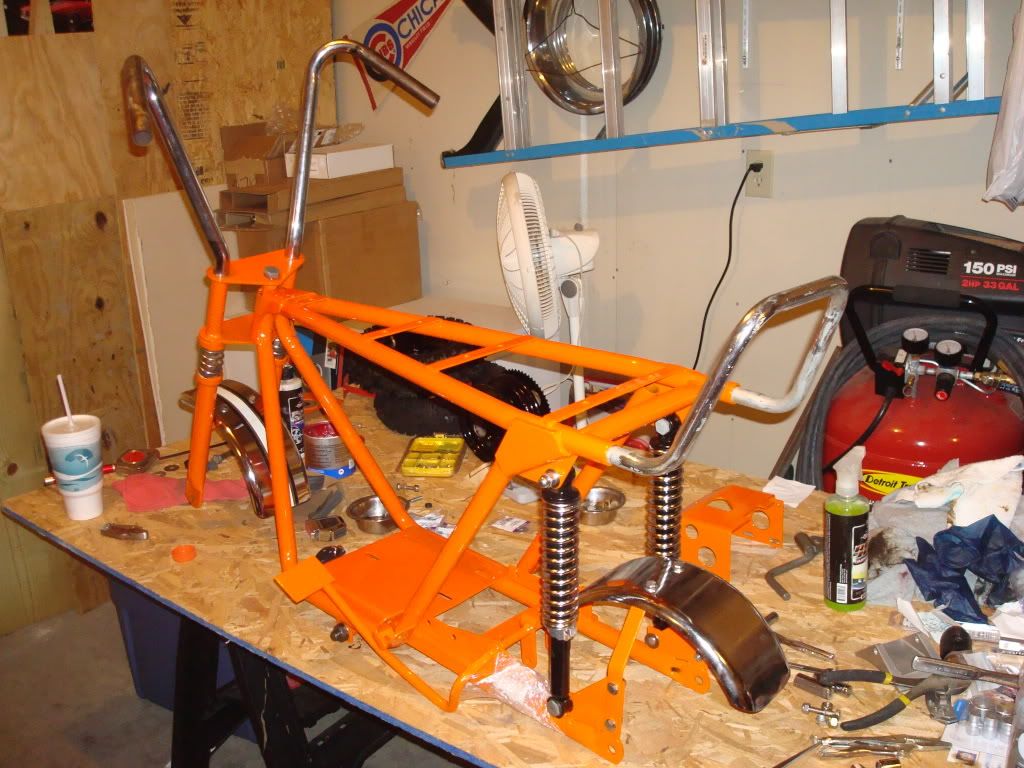
I just finished completely disassembling it after mocking all the parts up so that I can send it in for sandblasting. Then I'm going to decide whether I will paint or powdercoat it.

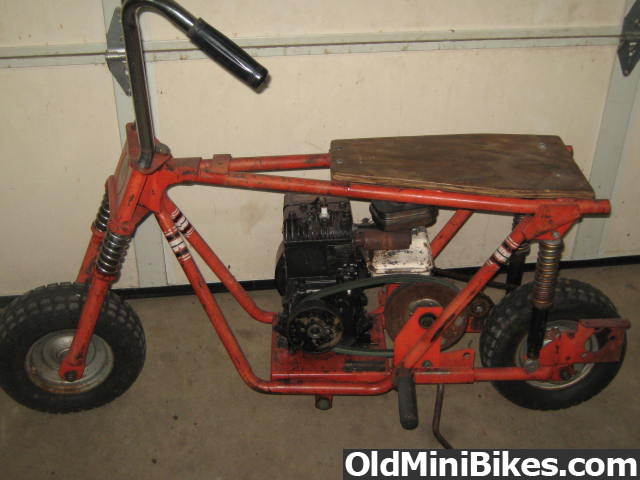
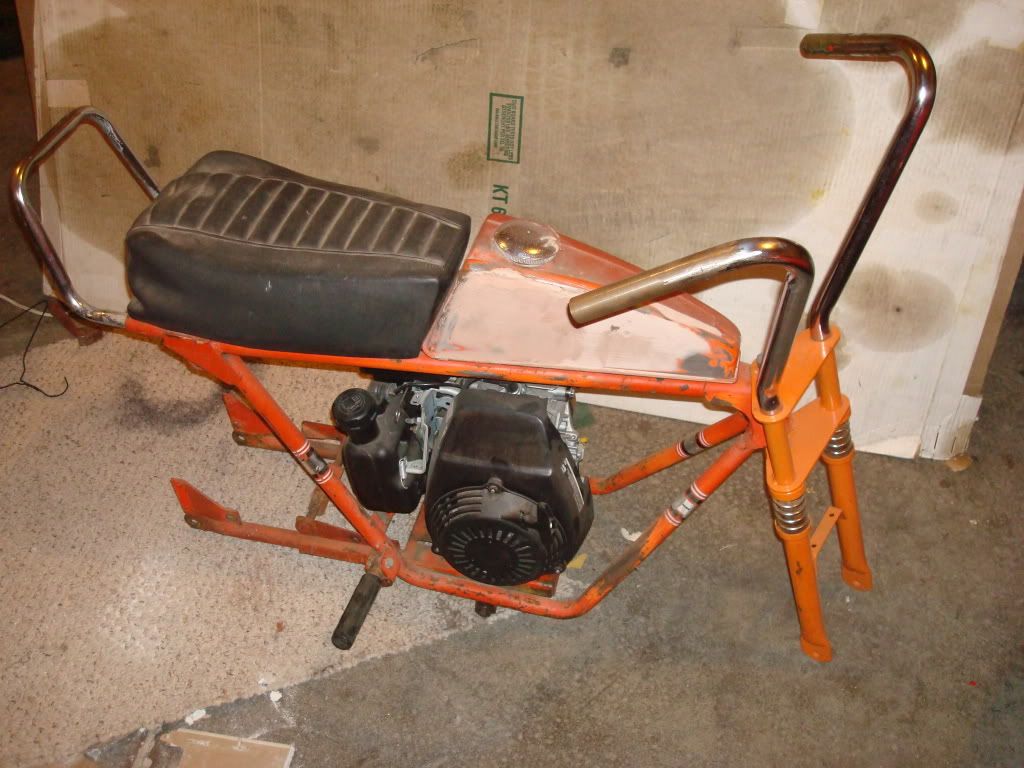
I will update this thread with more pictures in a few days. I can't seem to find the ones I took when I first got it and it was all together with the smoked briggs. Here is one picture of it partially disassembled to give you an idea of what I am working with:grind::


bandit 40

Active Member
#2
Well, it looks like a lot of the hard to find parts ,you already have :thumbsup: so your project shouldn't be to awfully hard to complete, Them bikes ride really nice...good luck on your build...Mark:smile:
 

furyus

New Member
#5
Very cool that you've got some history with the bike - that's priceless. Twenty-five years from now that mini will be really valuable to you and your friend. Build with care!

furyus
 
#7
Very cool that you've got some history with the bike - that's priceless. Twenty-five years from now that mini will be really valuable to you and your friend. Build with care!

furyus
Yea we had a lot of fun messing with it. The guy my friend got it from had it for about 8 years, so combined we know about 20 years of ownership history. Though it's obviously not going to be a OE restoration, I am putting a lot of work into making it really nice and close to the original configuration, but with a bit more modern power.
 
#8
Sorry I haven't updated this for a long time. The guy I had do the powdercoat was really backed up so it took forever to get the frame back. Finally got it back this weekend and he did too nice of a job on the powdercoat. Now, I might just have to sit it in the living room when its done:laugh: Should have some reassembly pics over the next few weeks, thanks for looking.

PS. I am still looking for a chain/clutch guard for a bike like this, if anyone has something?

the bike
 

markus

Well-Known Member
#10
Damn, that looks wonderful! It was a 2 speed bike orginally, do you have those parts still? The band brake stops that bike Really well, I use that over the scrub on mine. Chainguards are tough to find, I can attempt to take some measurements or maybe a pattern for you if you gonna make one. I think even a standard chain guard like OldMiniBikes sells or the clutch brake style like on a ruttman might look a little small on that frame, but doable.

minibikewee has the id decal and the offroad only decal for these bikes.

heres my chainguard (the correct style for your bike);
 
#11
Damn, that looks wonderful! It was a 2 speed bike orginally, do you have those parts still? The band brake stops that bike Really well, I use that over the scrub on mine. Chainguards are tough to find, I can attempt to take some measurements or maybe a pattern for you if you gonna make one. I think even a standard chain guard like OldMiniBikes sells or the clutch brake style like on a ruttman might look a little small on that frame, but doable.

minibikewee has the id decal and the offroad only decal for these bikes.
Hey markus,
Your bike is awesome! I read through some of your threads when I was looking for sears info. I only had some of the 2 speed parts. I am just going to run a standard jackshaft using the shaft and bracket. Hopefully I'll come across the parts for the 2 speed and will change it back. I got the ID decal from minibikewee, but didn't know about the off road one, I'll have to pick that up. I would really appreciate either measurements or a pattern off your chain guard. Yours is the only correct one I have ever seen. I would like to fabricate one as close to original spec as possible if I can't find one.

Thanks for your help
 

markus

Well-Known Member
#12
Hey markus,
Your bike is awesome! I read through some of your threads when I was looking for sears info. I only had some of the 2 speed parts. I am just going to run a standard jackshaft using the shaft and bracket. Hopefully I'll come across the parts for the 2 speed and will change it back. I got the ID decal from minibikewee, but didn't know about the off road one, I'll have to pick that up. I would really appreciate either measurements or a pattern off your chain guard. Yours is the only correct one I have ever seen. I would like to fabricate one as close to original spec as possible if I can't find one.

Thanks for your help
PM me your mailing address, give me a few days and I'll try and make a tracing and some measurements etc... Its actually a simple guard, no fancy bracing or anything like that.

I dunno If I would bother with the 2 speed, I would do a brake on the JS though. I liked that torque converter version on the other sears I had. I never got to run it full potential, the PO had put a lawnmover belt on the drive so it would randomly slip. It grabbed a few times and felt like a rocket when it did with an H50 tech.
 
#13
A little forward progress, been under the weather and haven't had much time to work on it, but my new bearings should be in tomorrow so I can make it a roller again.:hammer:


#15
I like it! Mine is a decent bike and needs quite a bit, but I have much of the parts gathered. Where did ya get the rear shocks? Mine are toast! I finally got a great tank and my seat guy will hook me up for very little, I'll likely make a sissy bar given what they sell for om Ebay if ya find one. A H35 Tecumseh rebuilt and restored decals and all will power it, not sure whether to get a driver or belt clutch to spin the driven. Thought about putting sprockets on the jackshaft with the right gearing and go! Gonna be a rider and I'll make a clutch cover myself, still gonna be a very cool bike! :thumbsup:


That said, your work is top notch and I look forward to seeing it done my friend!!!:thumbsup:
 
#19
I like it! Mine is a decent bike and needs quite a bit, but I have much of the parts gathered. Where did ya get the rear shocks? Mine are toast!
Shocks were an ebay purchase from a few years ago, I think they were about 30 dollars, nothing fancy, but they look nice.

BAHH.....its to clean and shiny.
J/K-ing I love that color, it looks great.
I'm with you on this, I always go overboard with my projects, but I assure you it will be ridden just the same:thumbsup:

C'mon there must be an update on this thing it's looking great.:shrug:
As for the updates, not really a lot of work that shows in the pictures, but it is rolling on its own 2 wheels for the first time in at least 4 years. I cleaned and polished the sissy bar, which had been painted silver for some reason, but it actually seems to have help preserve the chrome. I've also been test fitting the engine and working on creating an exhaust for the front dump. I've spent most of the last week getting the original gas tank straight and ready for paint.


Here's a look at the pegs and brake pad, my dad made me a few years ago before he retired as a tool maker, I really miss those bridgeports, and CNC machine:laugh:


and here is a before/after of the original seat clean up


The original seat cover is in great shape, but the padding has definitely seen better days, I was thinking of carefully removing the cover and adding some padding, Anybody have a suggestion for a padding source or tips on removing, or should I just leave it alone:shrug:
 
Top