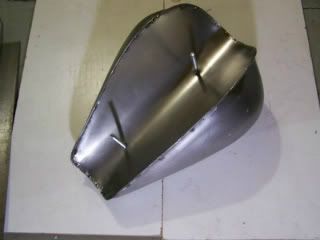
well it has been a very long project and this one seems to keep getting put on the back burner.......:doah: i still like to get it done and i desided to make the tank into a real tank after looking and looking at real motorcycle tanks and seeing nothing that really looks right and the cost on some of them $$$..:doah: i am glad i went with the factory tank,it just looks right for the bike...:thumbsup:
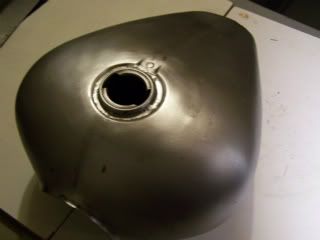
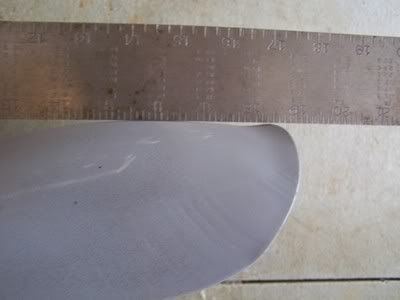
first thing i did was strip the tank and then enlarge the filler hole 1/4 inch bigger for the filler neck.
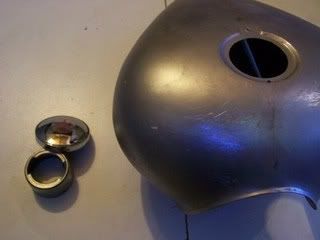
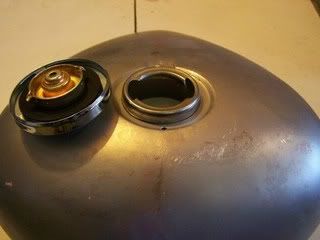
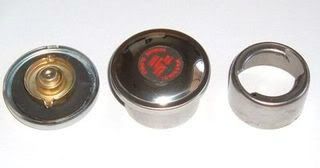
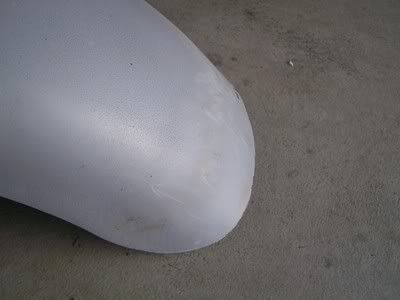
new gas cap and filler neck
spot welded the filler neck in place from the bottom and then solid welded around top neck.
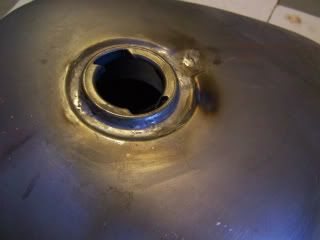
solid weld it self cleans up real nice and does a real nice job of sealing the filler neck area........:thumbsup:
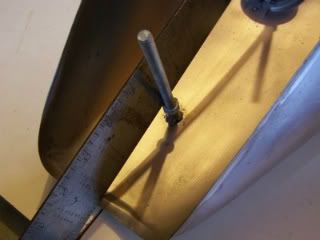
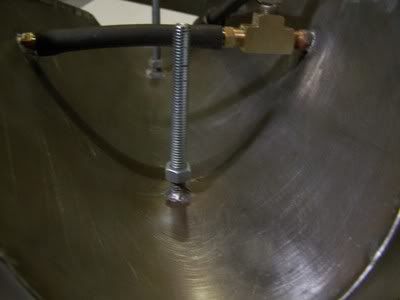
i had couple long 5/16 threaded bolts i just use for fabing up some mounting studs for the tank.
also threaded couple nuts on to the studs to use has a stopper/or back support for the inner tank metal to be welded to the nuts. so this way the outer tank shell doesn't have to carry all the weight.
first thing i did was strip the tank and then enlarge the filler hole 1/4 inch bigger for the filler neck.
new gas cap and filler neck
spot welded the filler neck in place from the bottom and then solid welded around top neck.
solid weld it self cleans up real nice and does a real nice job of sealing the filler neck area........:thumbsup:
i had couple long 5/16 threaded bolts i just use for fabing up some mounting studs for the tank.
also threaded couple nuts on to the studs to use has a stopper/or back support for the inner tank metal to be welded to the nuts. so this way the outer tank shell doesn't have to carry all the weight.
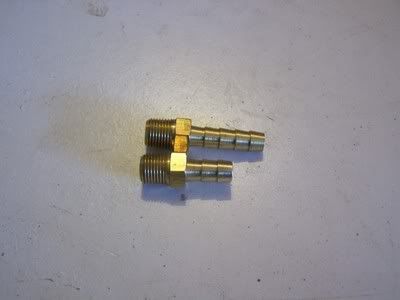
finish up on fabing my tank today. going to be using two 1/4 I.D hose x 1/8 male thread on my tank project,but before i solder weld one into place i wanted to cut both down little. making it just little easyer to install the hose and take it off. i really don't need them that long:doah:
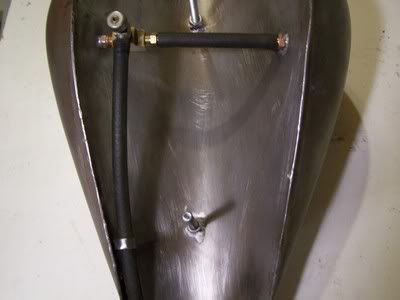
one side of the tank i solder welded a hex nipple 1/8 thread, so i could thread a 1/8 tee junction for my shut off valve and too connect the other side of the tank that will have the 1/4 I.D hose x 1/8 male thread solder to the inside tank. i drilled the holes a good inch or so above from the bottom of the tank. there is not alot of fuel area along the bottom of the tank and also i will be using a tank sealer that will probable fill in some of that area too. so i don't want to run into any problems by having the fuel lines to low and as of right now it looks like the tank could hold a easy gallon of gas....:thumbsup road trip..
 ) i will be checking how much it can hold after the tank is sealed and good and dryed out.
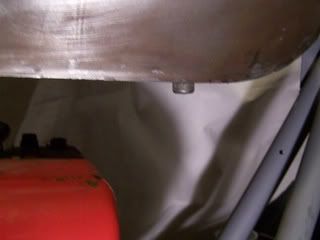
(please note the tank is up side down):updown:
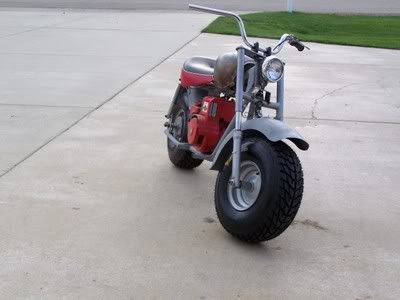
here is other mock up picture of the fuel lines hookup. i also solder welded a small piece of steel tubing in the rear part of the tank, so the fuel line would stay tuck under the tank and then drop down to the carb.
the only thing that i wanted to be hanging below the tank was the shut off valve cap...:thumbsup:
here is other mock up picture of the fuel line running under the frame to the other side of the tank.
briggs motor in the pictures is for just mockup, i will be using 5hp briggs for this project when it is done.........:thumbsup:
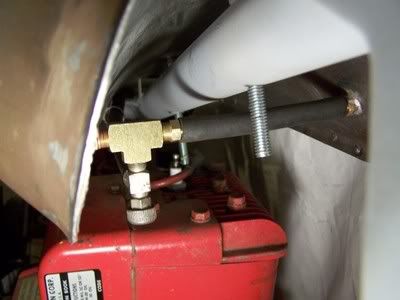
one side of the tank i solder welded a hex nipple 1/8 thread, so i could thread a 1/8 tee junction for my shut off valve and too connect the other side of the tank that will have the 1/4 I.D hose x 1/8 male thread solder to the inside tank. i drilled the holes a good inch or so above from the bottom of the tank. there is not alot of fuel area along the bottom of the tank and also i will be using a tank sealer that will probable fill in some of that area too. so i don't want to run into any problems by having the fuel lines to low and as of right now it looks like the tank could hold a easy gallon of gas....:thumbsup
road trip..) i will be checking how much it can hold after the tank is sealed and good and dryed out.(please note the tank is up side down):updown:
here is other mock up picture of the fuel lines hookup. i also solder welded a small piece of steel tubing in the rear part of the tank, so the fuel line would stay tuck under the tank and then drop down to the carb.
the only thing that i wanted to be hanging below the tank was the shut off valve cap...:thumbsup:
here is other mock up picture of the fuel line running under the frame to the other side of the tank.
briggs motor in the pictures is for just mockup, i will be using 5hp briggs for this project when it is done.........:thumbsup:

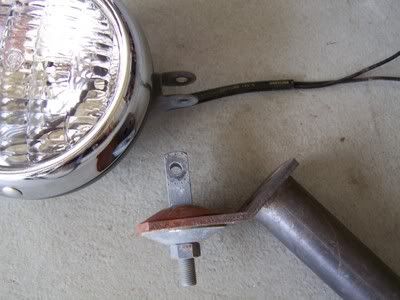
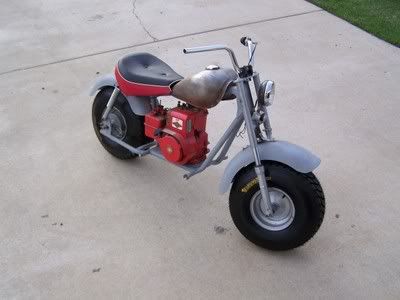
work on the headlight mount this weekend and couple other things too. i desided not go with the black grill style headlight that i originally was going with. i wanted more of a old style headlight that would go with the way i was building the bike.
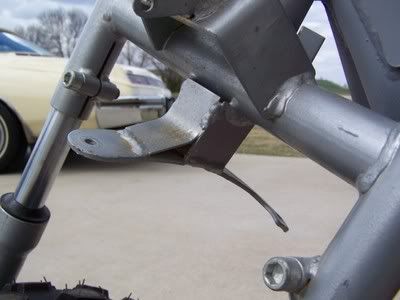
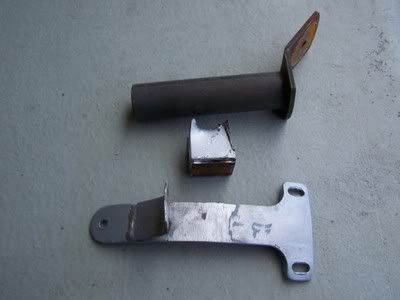
first thing i did was go ahead and cut the factory headlight bracket off and save only the mounting plate stand and reweld it closer to the center steering tubing.
i found a vintage speaker headlight and mounting bracket. i will be just reusing the square part with the hole for my new mounting stand.
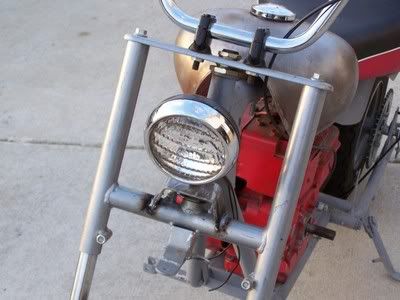
with the headlight mounted i can now adjust it left or right or up or down.
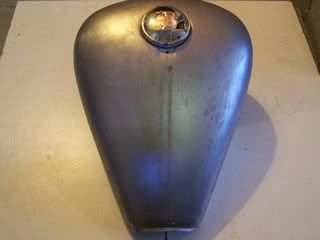
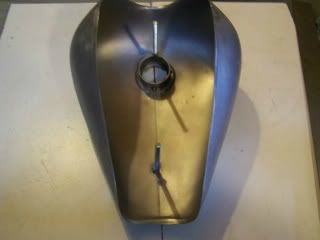
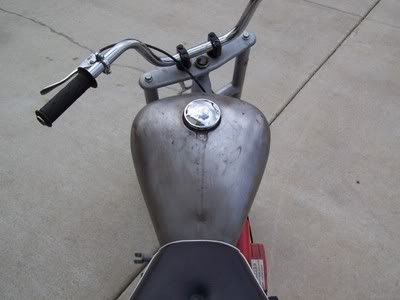
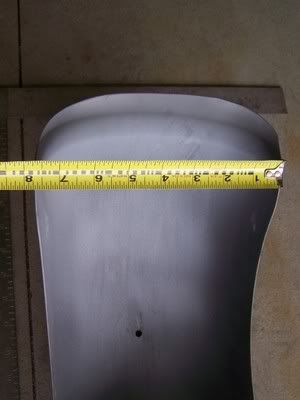
yes the tank fits the bike good.......:thumbsup:
first thing i did was go ahead and cut the factory headlight bracket off and save only the mounting plate stand and reweld it closer to the center steering tubing.
i found a vintage speaker headlight and mounting bracket. i will be just reusing the square part with the hole for my new mounting stand.
with the headlight mounted i can now adjust it left or right or up or down.
yes the tank fits the bike good.......:thumbsup:
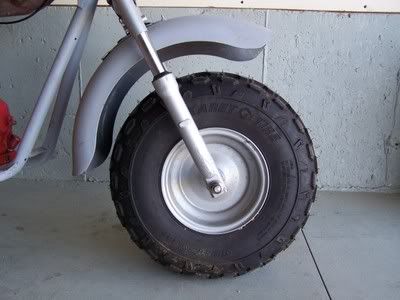
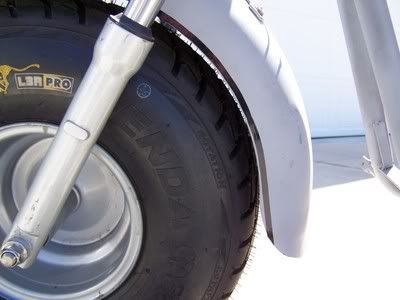
next i was going to extend the front fender bracket down.
but before i was going to do that i notes the fender has a flare on both ends and i really didn't want the front of it like that and the fender widen out at the end also.
it just look like hell that way....:doah:
front of it was about 1/2 wider then the center of the fender...:doah:

that took some time reworking the front fender unitl i got it straighten out...:thumbsup:
but before i was going to do that i notes the fender has a flare on both ends and i really didn't want the front of it like that and the fender widen out at the end also.
it just look like hell that way....:doah:
front of it was about 1/2 wider then the center of the fender...:doah:
that took some time reworking the front fender unitl i got it straighten out...:thumbsup:
finish up today on lowing the front fender by using what i had left over from the headlight bracket and was the same size as the fork tubing...:thumbsup:
save part of the original bracket that mounted to the fender and cut the rest off.....:hack:
before and..........................................................................................................................................after
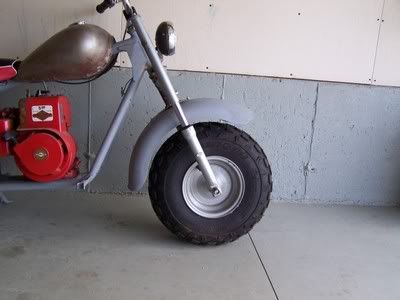
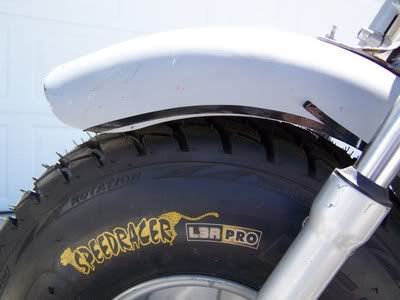
i still had to keep keep some distance for travel and all . it does look better then what it did. also if i get any closer to the tire you can start to see the differents in the radis of the fender to the radis of the tire......:doah: the two are total different from each other and the only way i know how to fix it, would be to recurve the fender or or maybe just cheat little and trim very little metal off the edge of the fender. making it look like it has the correct curve/radis...............:grind: something i will just have to wait on. thinking of getting a set of front kenda speed racer tires. they will be the same size that are on the bike now(19x7-8). just have to wait and see..........:shrug:
save part of the original bracket that mounted to the fender and cut the rest off.....:hack:
before and..........................................................................................................................................after
i still had to keep keep some distance for travel and all . it does look better then what it did. also if i get any closer to the tire you can start to see the differents in the radis of the fender to the radis of the tire......:doah: the two are total different from each other and the only way i know how to fix it, would be to recurve the fender or or maybe just cheat little and trim very little metal off the edge of the fender. making it look like it has the correct curve/radis...............:grind: something i will just have to wait on. thinking of getting a set of front kenda speed racer tires. they will be the same size that are on the bike now(19x7-8). just have to wait and see..........:shrug:
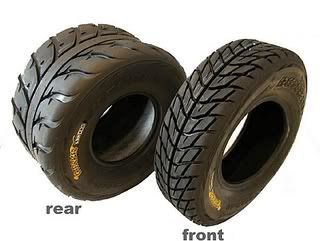
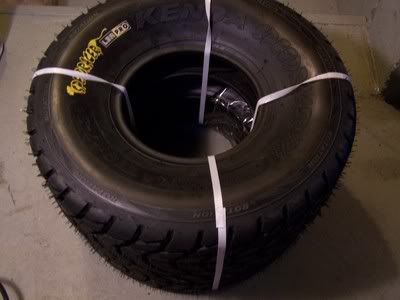
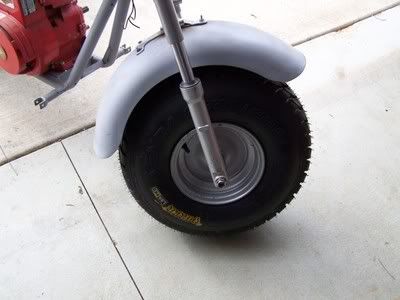
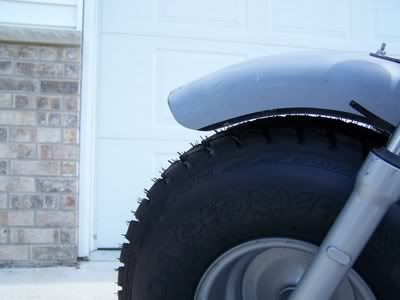
order up a set of speed racer tires early in the week and got them the next day. only one state away......
wow, i really like how they look on the bike and should ride real nice on pavement. also they say the tire is good for turf too. that should work good for me,because that will be the only two places i will be riding on.......
here are some more mock up pictures of the bike with the tires on......:thumbsup:
kind of holding off on paint,but i do have some good ideals what i want to do. thinking black for sure. with a black engine with the correct vintage 5hp gold decals with a old school letters on the tank that will say briggs in gold letters. something like the old chevy letters on the 283 valve covers. maybe little gold pin striping on the fenders. seat will be totally redone in something else and the color on the rims will be a different color,maybe a lite tan cream color. something like the old vintage scooter where painted. i haven't really set my way on all of it yet. sometimes i see something different the last minute and go with that............:shrug:
Last edited:
i had little time today to work on cleaning up the fenders. i trim up the edges little so they would look like the have the same radius as the tire. kind of a trick to make the fender look like it fits the tire more correct. not perfect,but better then what it look like before.... i will do the same for the rear...:thumbsup:
FRONT AND BACK FENDER BEFORE.........................
......................AFTER........................................
i will do the same for the rear...:thumbsup:FRONT AND BACK FENDER BEFORE.........................
......................AFTER........................................