Taco update

#1
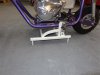
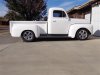
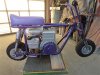
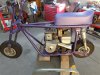
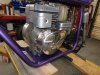
Today I removed the taco from it's place in storage and proceeded to install a repo clutch cover I bought at least a year ago. My original plan was to paint it with polished letters. I got started sanding and got carried away. In case you are wondering why it had to wait so long, I have posted a pic of my most recent large project.
 

Attachments

#3
Love that color and what a great looking seat ! :thumbsup: and that clutch cover is a very cool touch....Nice bike Von.
 
#5
For those of you that like wackyness, this is a bracket I made to carry this in the back of my 32 Ford pickup. It also doubles as a center stand. I remove 4 bolts from the bed floor and bolt the bracket down.
 

Attachments

#7
6doggie3, this was an exercise in how to waste the most time doing something simple. The brief rundown is: it's made from 3/4" square tubing. I used my square tube dies in a bender to do the bent parts you see. There is some leftover parts from my blown alky dragster days involved. Where the foot pegs are clamped is a 1/2 round piece of tubing welded to the upright. The rest of the clamp was 3/8" thick aluminum that I machined to fit. The quick release pins are aircraft or racecar parts. The risers are 3/8" chromemoly tubing that I run the 1/4" fasteners through. All of the tubing was cut to length in my mill to length to make it as square as possible. The risers were cut to length to allow both tires to rest on the bed floor but not with much pressure.
 
Top