Some may have seen a thread I did recently about shop shop clocks I made while messing around for some filler on my walls......well I know somebody did cause they are now for sale on ebay :doah:
I decided not to make a bunch and resell (its not worth the effort), I did sell one off since I made three, whatever I made off it helped pay for my out of pocket to make them all
So now you too can make your very own shop clock :thumbsup:
heres the thread from before:
http://www.oldminibikes.com/forum/off-topic-discussion/94786-ruttman-shop-clock.html
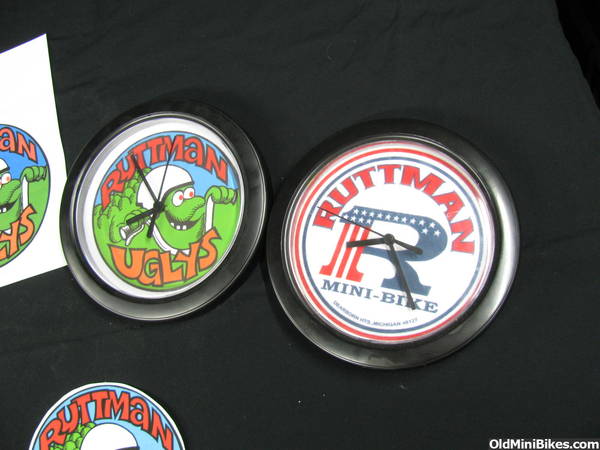
Heres the ones I made:
stuff I used:
small wall clock bought at Office Depot for $9.99
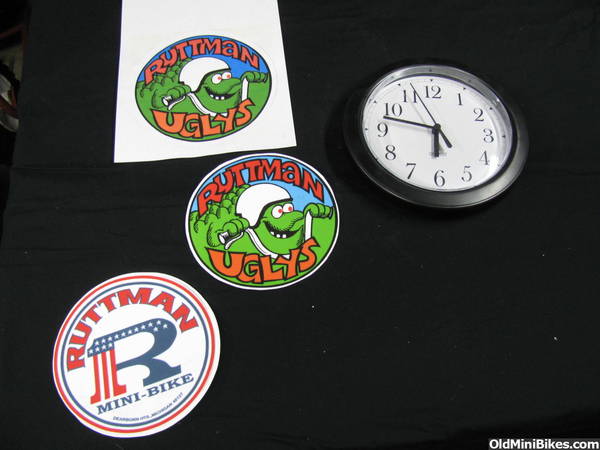
sheet of photo paper
sheet of clear laminate self stick film (optional)
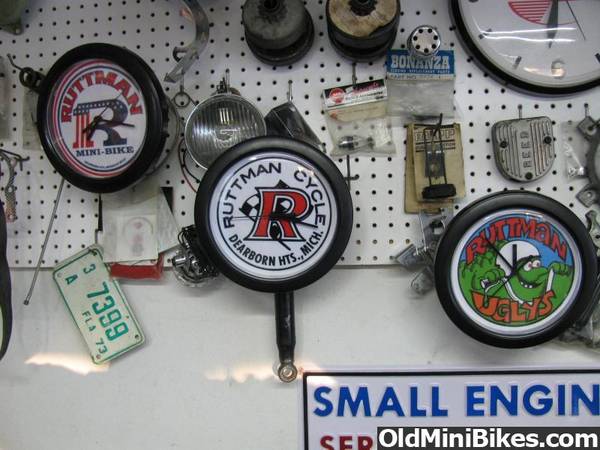
round ruttman decal
scotch brand clear photo safe glue in a sponge tip applicator
with the stuff I used lets say it cost about $14 to make
Epson printer/scanner and Microsoft paint program (that usually preloaded into any old PC)
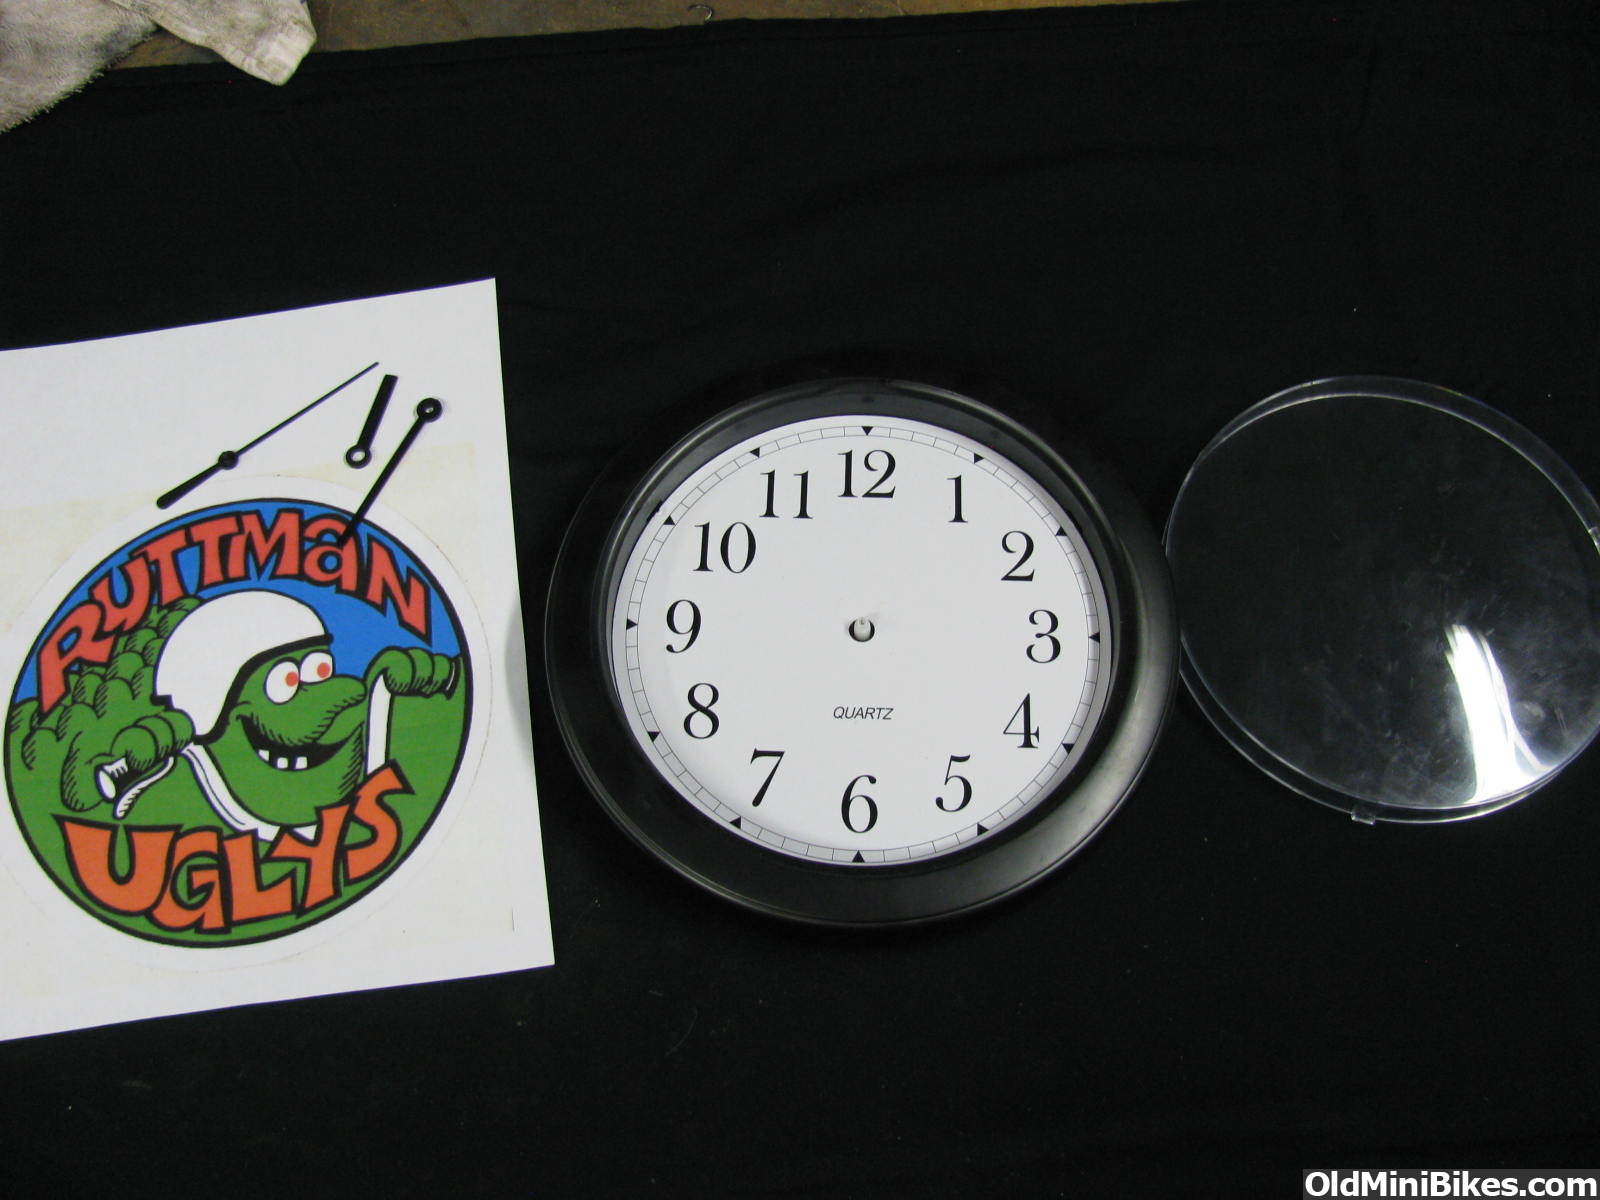
Lets start with the clock, I looked around for the cheapest clock I could find with a face size that would not exceed a sheet of paper. I choose the clock I did becuase of the price, and its very simple overall design. You can find some cheaper at Wal-Mart Little as $4.95 even, but the hands on those clocks make it look more like a clock in moms kitchen :doah: (see the ones being sold on ebay for reference)
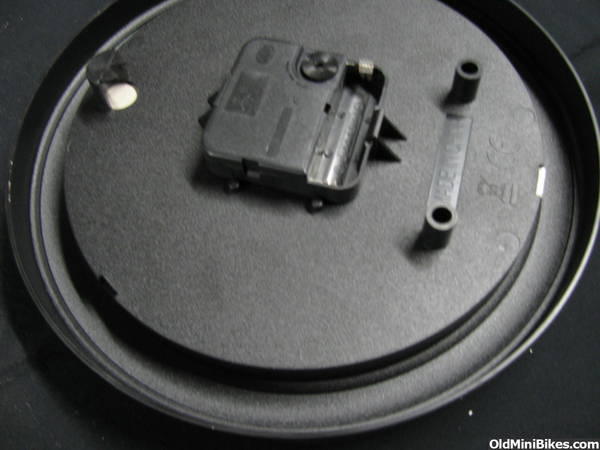
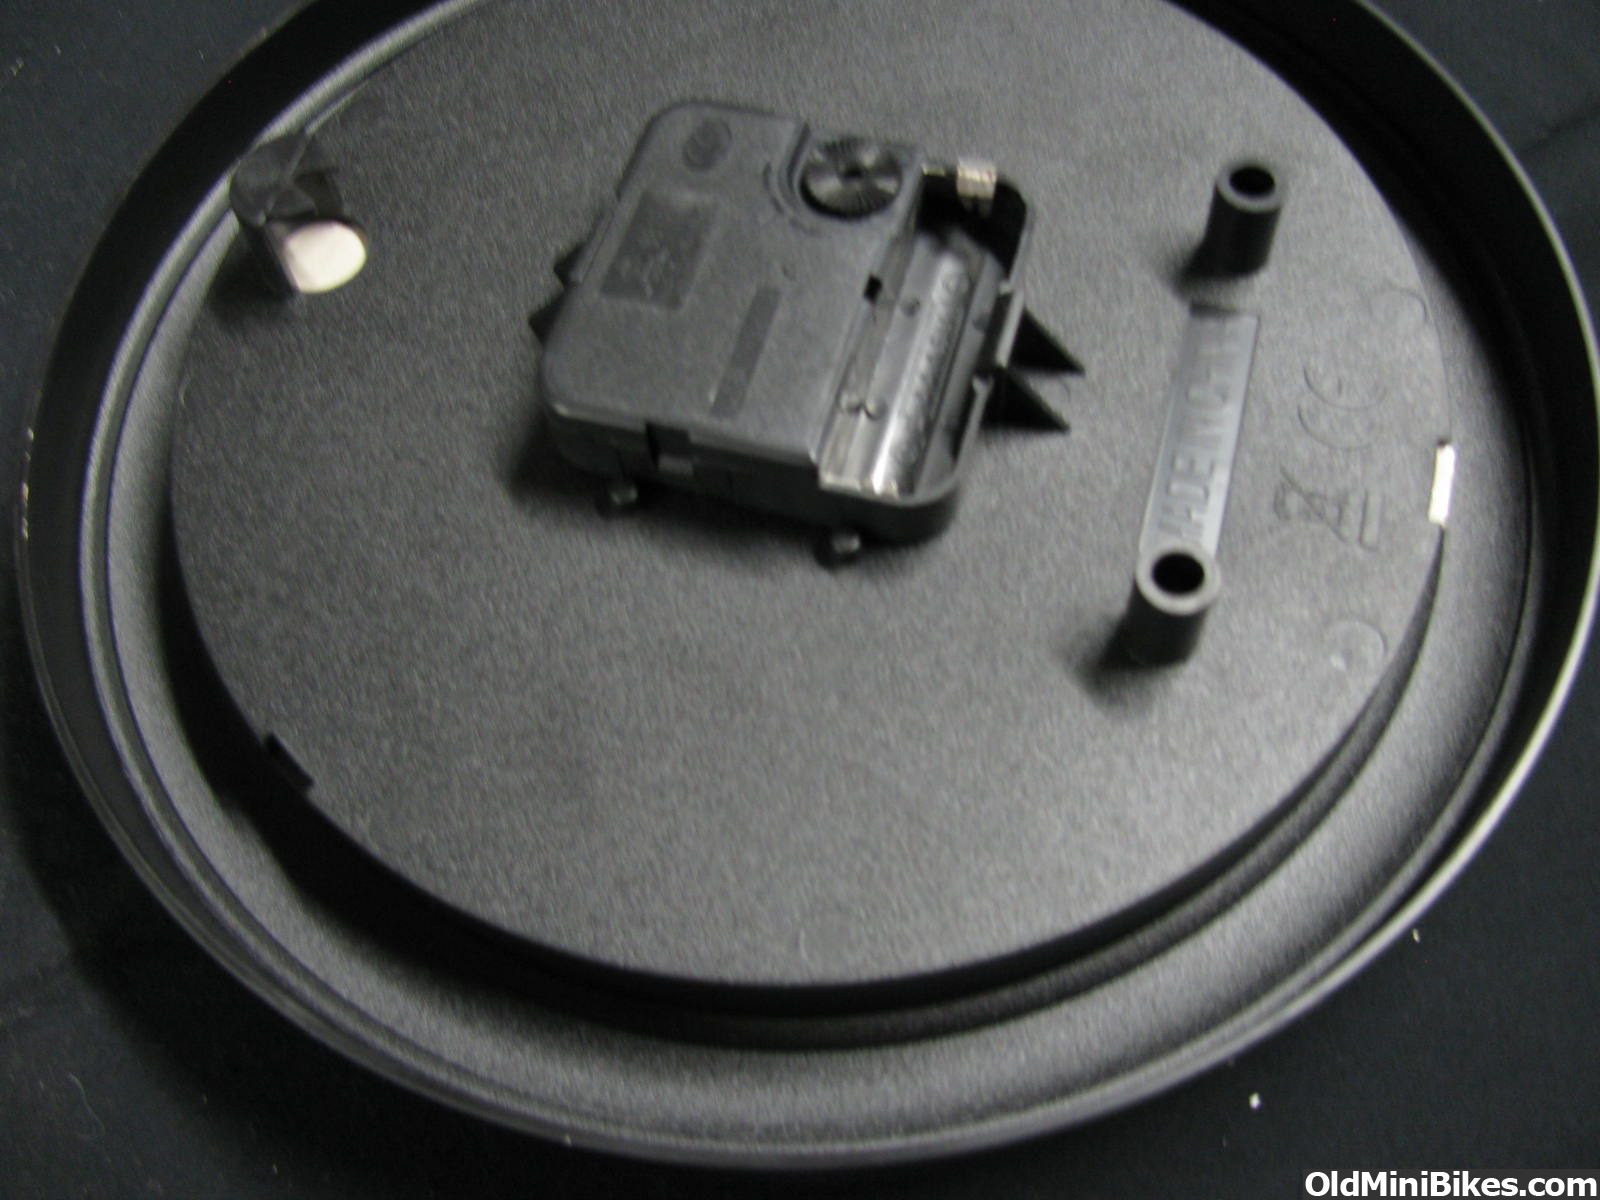
How to take the clock apart: the clear cover is held on by three tabs/slots seen on the backside, take a screwdriver and gently push the tab in on one of the top tabs just enoughso it is not locked in, then go over to the other top one an do the same, once the 3 uppers are out of the holes you can grab it from the front and just pull it free, the hands simply pull free from the clock mech the face that is in the clock is simply cardstock with some glue stips holding it in. you can either cover right over it or pull it out, and clean the glue off (very easy)

How I made the image was I simply scanned some decals I had. I don't have any fancy programs so I opened the image in Paint and played around with re-sizing. I am not all that great with computers but it was pretty easy to do, It took me a few tries to get it sized where I was happy but I think if your a little more PC literate you can probably set it with measurements somehow. If your a dumbass like me I recommend printing in test mode and using regular paper to save on ink.
once I was happy with my image, I used a photo grade paper and printed it out, It comes out pretty nice for what it is, if you choose the right setting it comes out pretty crisp. while I was not worried about dust dirt because the clear cover I did go ahead and take a clear full sized sheet of self sticking laminating film and go over top of the image, I thought it may help with fade and maybe give it a better look. It also made it that much thicker and stronger.
I used the face I pulled from the clock as a pattern and cut the circle out, used the glue with sponge applicator and ran it around the clock thinly, if you cut it right the clear cover also sandwiches it in but you don't want it to bubble or move.
Put it all back together and walla:
I decided not to make a bunch and resell (its not worth the effort), I did sell one off since I made three, whatever I made off it helped pay for my out of pocket to make them all
So now you too can make your very own shop clock :thumbsup:
heres the thread from before:
http://www.oldminibikes.com/forum/off-topic-discussion/94786-ruttman-shop-clock.html
Heres the ones I made:

stuff I used:
small wall clock bought at Office Depot for $9.99
sheet of photo paper
sheet of clear laminate self stick film (optional)
round ruttman decal
scotch brand clear photo safe glue in a sponge tip applicator
with the stuff I used lets say it cost about $14 to make
Epson printer/scanner and Microsoft paint program (that usually preloaded into any old PC)
Lets start with the clock, I looked around for the cheapest clock I could find with a face size that would not exceed a sheet of paper. I choose the clock I did becuase of the price, and its very simple overall design. You can find some cheaper at Wal-Mart Little as $4.95 even, but the hands on those clocks make it look more like a clock in moms kitchen :doah: (see the ones being sold on ebay for reference)

How to take the clock apart: the clear cover is held on by three tabs/slots seen on the backside, take a screwdriver and gently push the tab in on one of the top tabs just enoughso it is not locked in, then go over to the other top one an do the same, once the 3 uppers are out of the holes you can grab it from the front and just pull it free, the hands simply pull free from the clock mech the face that is in the clock is simply cardstock with some glue stips holding it in. you can either cover right over it or pull it out, and clean the glue off (very easy)
How I made the image was I simply scanned some decals I had. I don't have any fancy programs so I opened the image in Paint and played around with re-sizing. I am not all that great with computers but it was pretty easy to do, It took me a few tries to get it sized where I was happy but I think if your a little more PC literate you can probably set it with measurements somehow. If your a dumbass like me I recommend printing in test mode and using regular paper to save on ink.
once I was happy with my image, I used a photo grade paper and printed it out, It comes out pretty nice for what it is, if you choose the right setting it comes out pretty crisp. while I was not worried about dust dirt because the clear cover I did go ahead and take a clear full sized sheet of self sticking laminating film and go over top of the image, I thought it may help with fade and maybe give it a better look. It also made it that much thicker and stronger.
I used the face I pulled from the clock as a pattern and cut the circle out, used the glue with sponge applicator and ran it around the clock thinly, if you cut it right the clear cover also sandwiches it in but you don't want it to bubble or move.
Put it all back together and walla:

