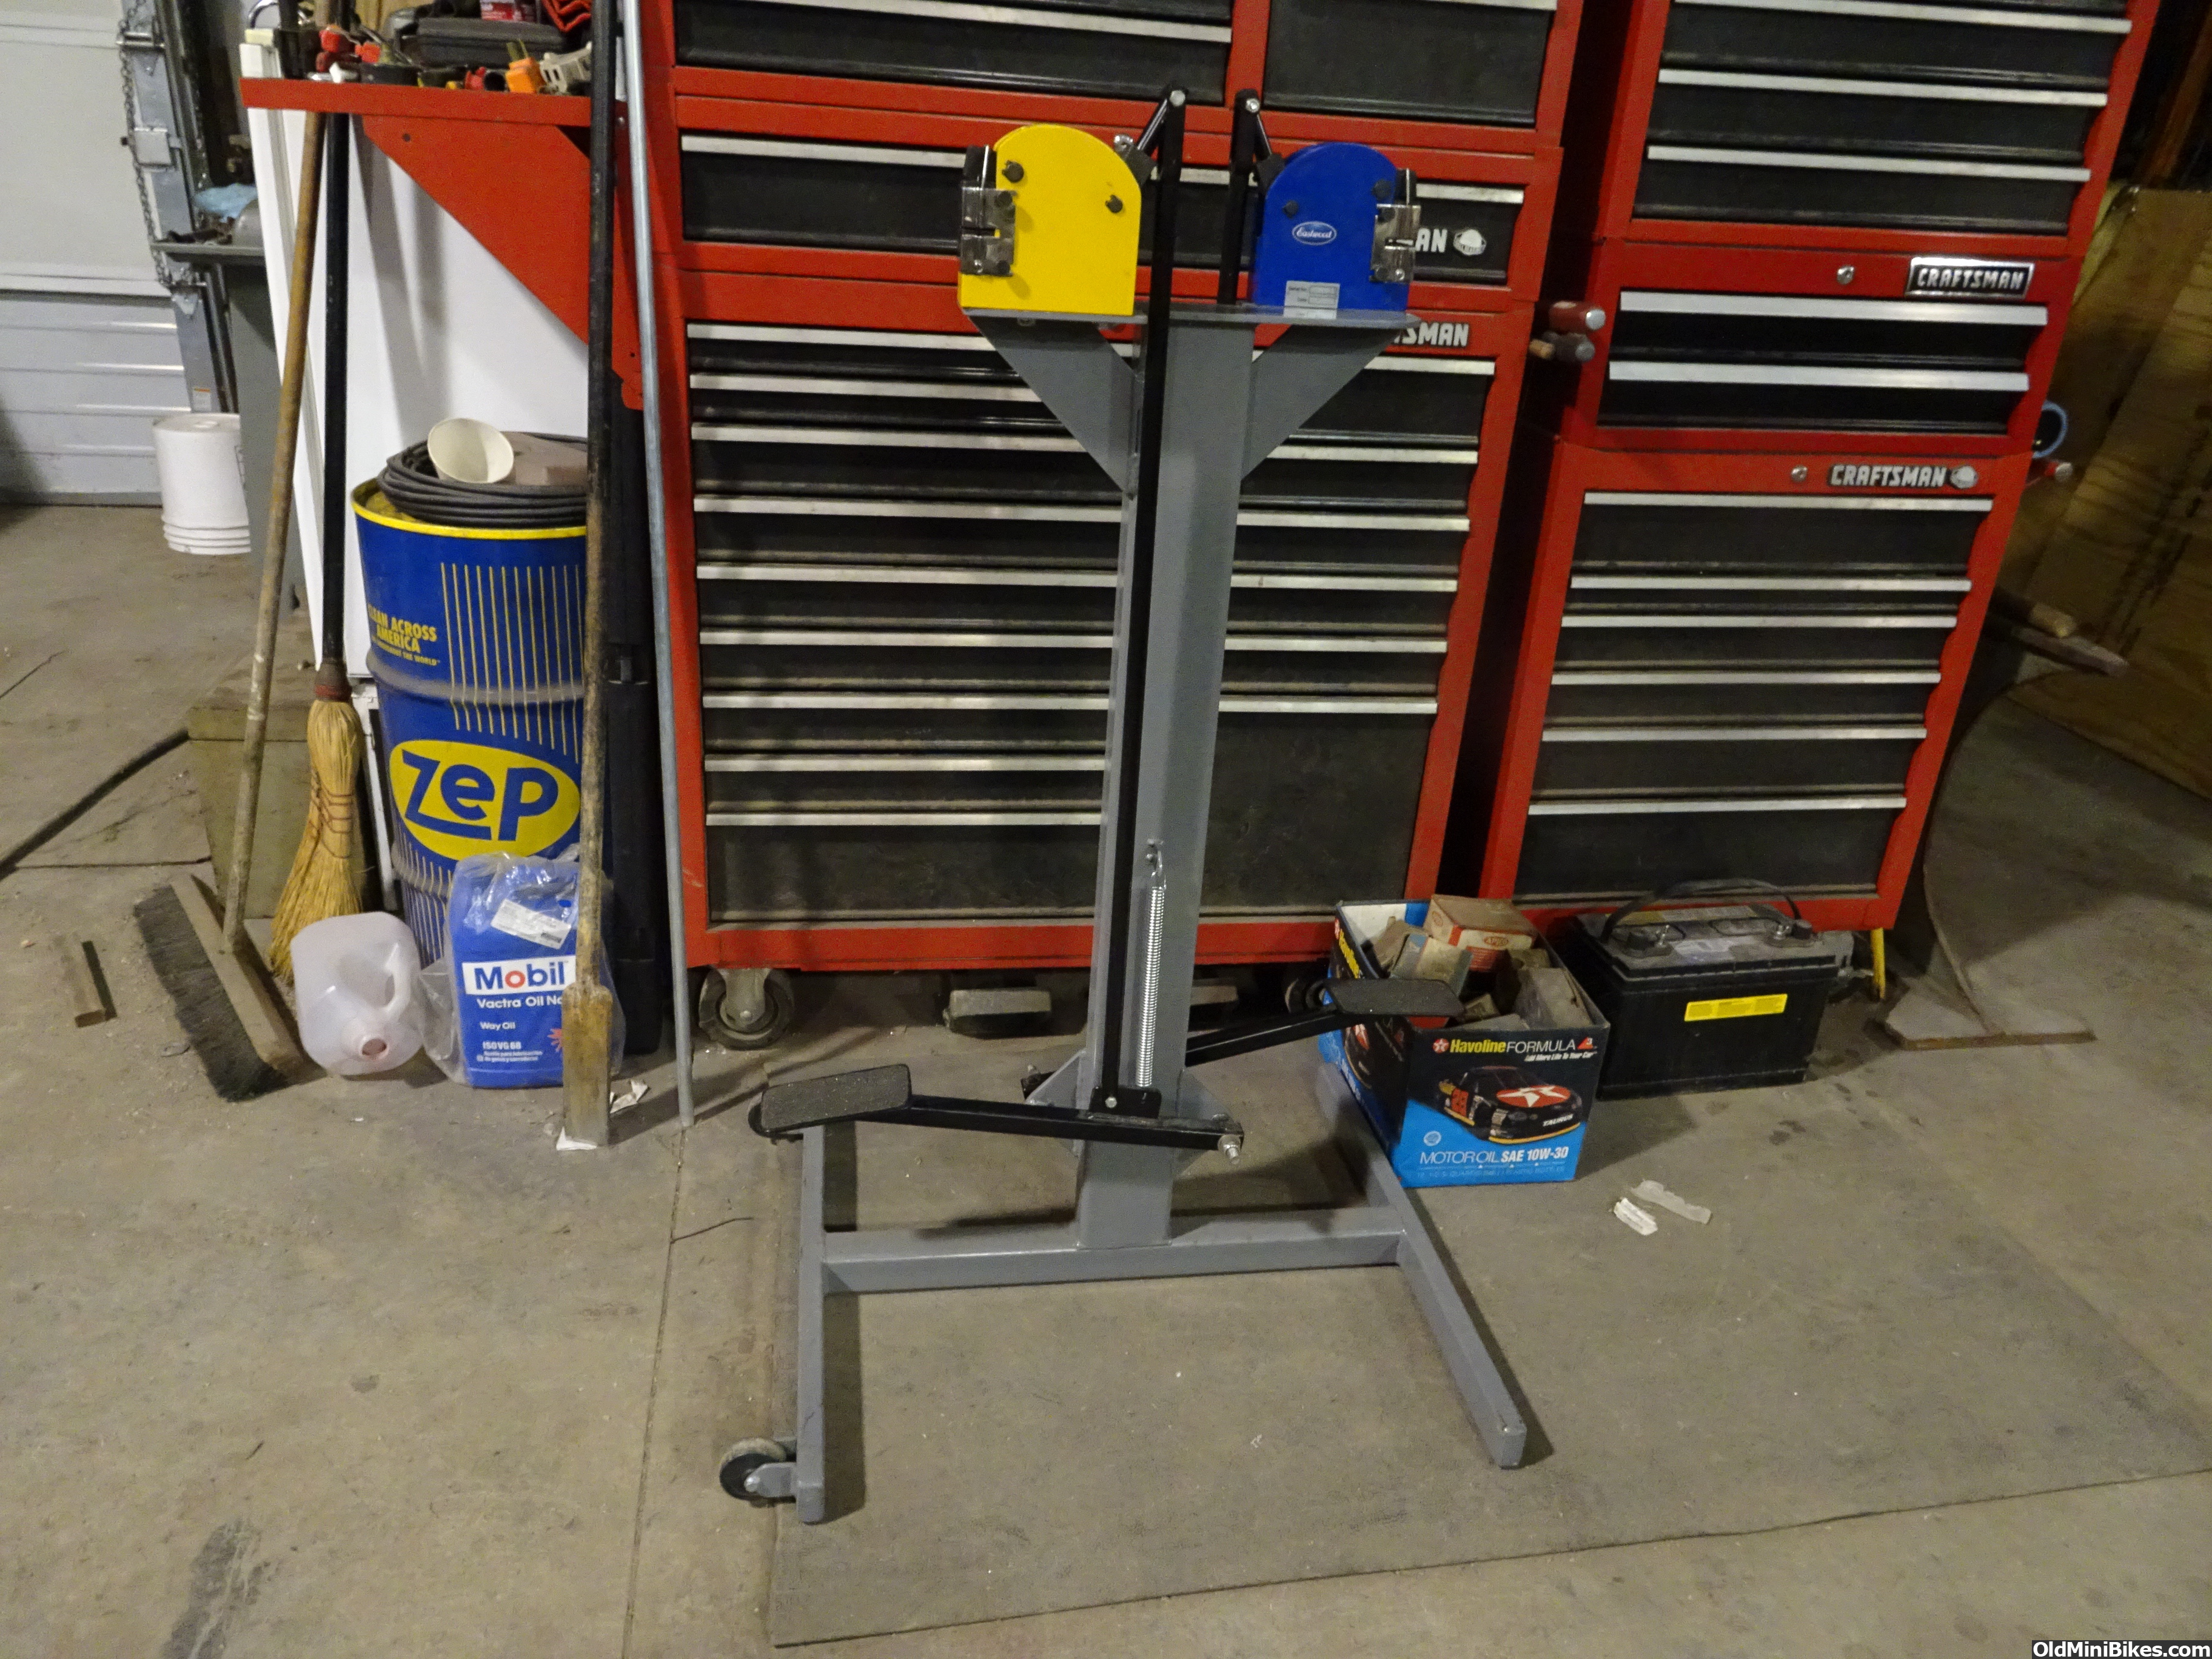
I like it Pat. It looks good. You will get a lot of use out of it when you start using it. Here is mine. I see one thing that might be a challenge on yours. My pedals bottom out on the bottom of the stand. They are at full travel without anything in the jaws when they bottom out. So you are above the stand when you are working a piece of steel. You may want to add a piece of square tubing across under the pedals to stop any over travel which will wear out the jaws. Also you need to brace under your heads like mine is done. They will flex if you don't. The pull rod in the yellow head looks to long too. You have a lot of leverage advantage with the foot pedal and you are increasing it even more with the longer pull rod. I can measure mine and give you the length on the pull rod and the pedal so you can figure the lengths. I got all my measurements off of a commercial unit that was at a shop I went to. Put a couple of small wheels on one side so that you can tip it over and roll it around...
It will get the better of you until you learn just how quickly it will move the metal. I actually push down on the short lever that the pedals pull with my hand and let the weight of the pedals do the work. Just give it a good push and the pedal will do the work for you. This is best when you only need to move the shape slightly. The foot will over power it and then its an oops... I would suggest getting some 20 gauge sheet and bending it 90 degrees and play with it until you get the feel for it. Thicker takes more effort and is slower to move. The 20 gauge will move easily and better show the actual movement when you clamp down on it. Also if it seems to be taking more effort to get the results that you want then you need to take the jaws out and clean them. When they fill up with metal they don't grip and you have to use more pressure to get the same results.
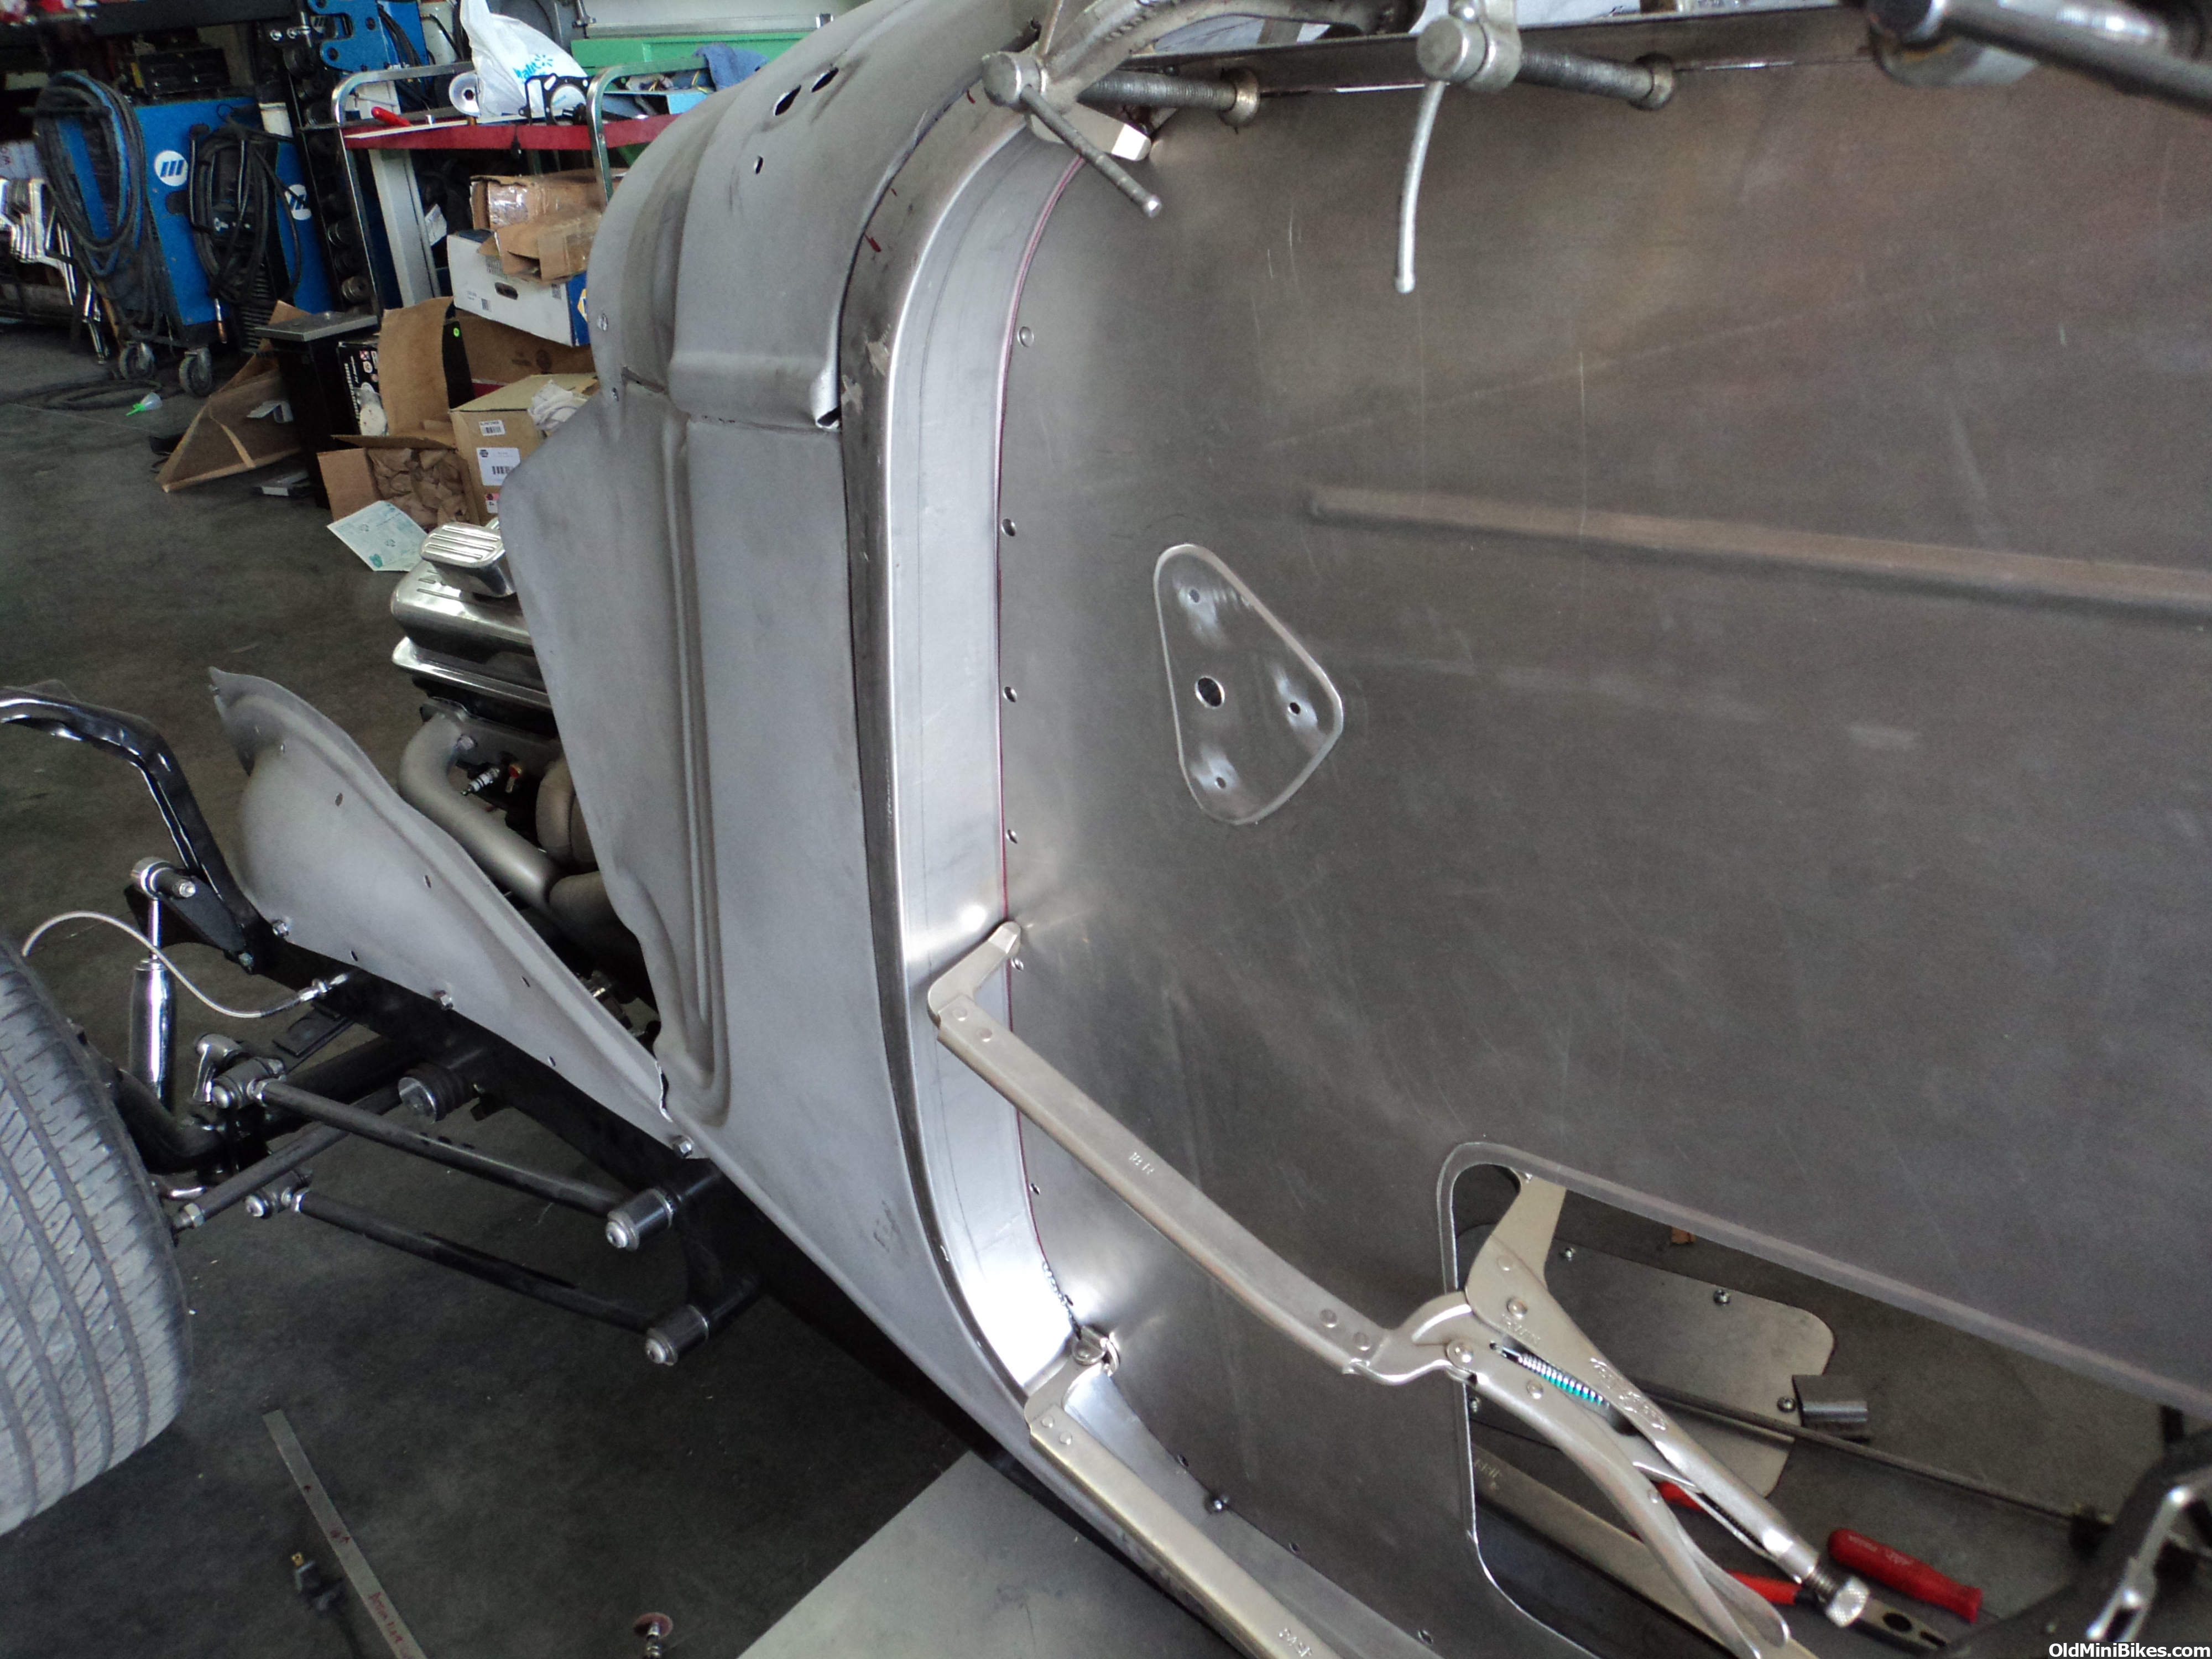
Great tool that is always in the way like a cherry picker or an engine stand until you need it. Then nothing else will do what it does.
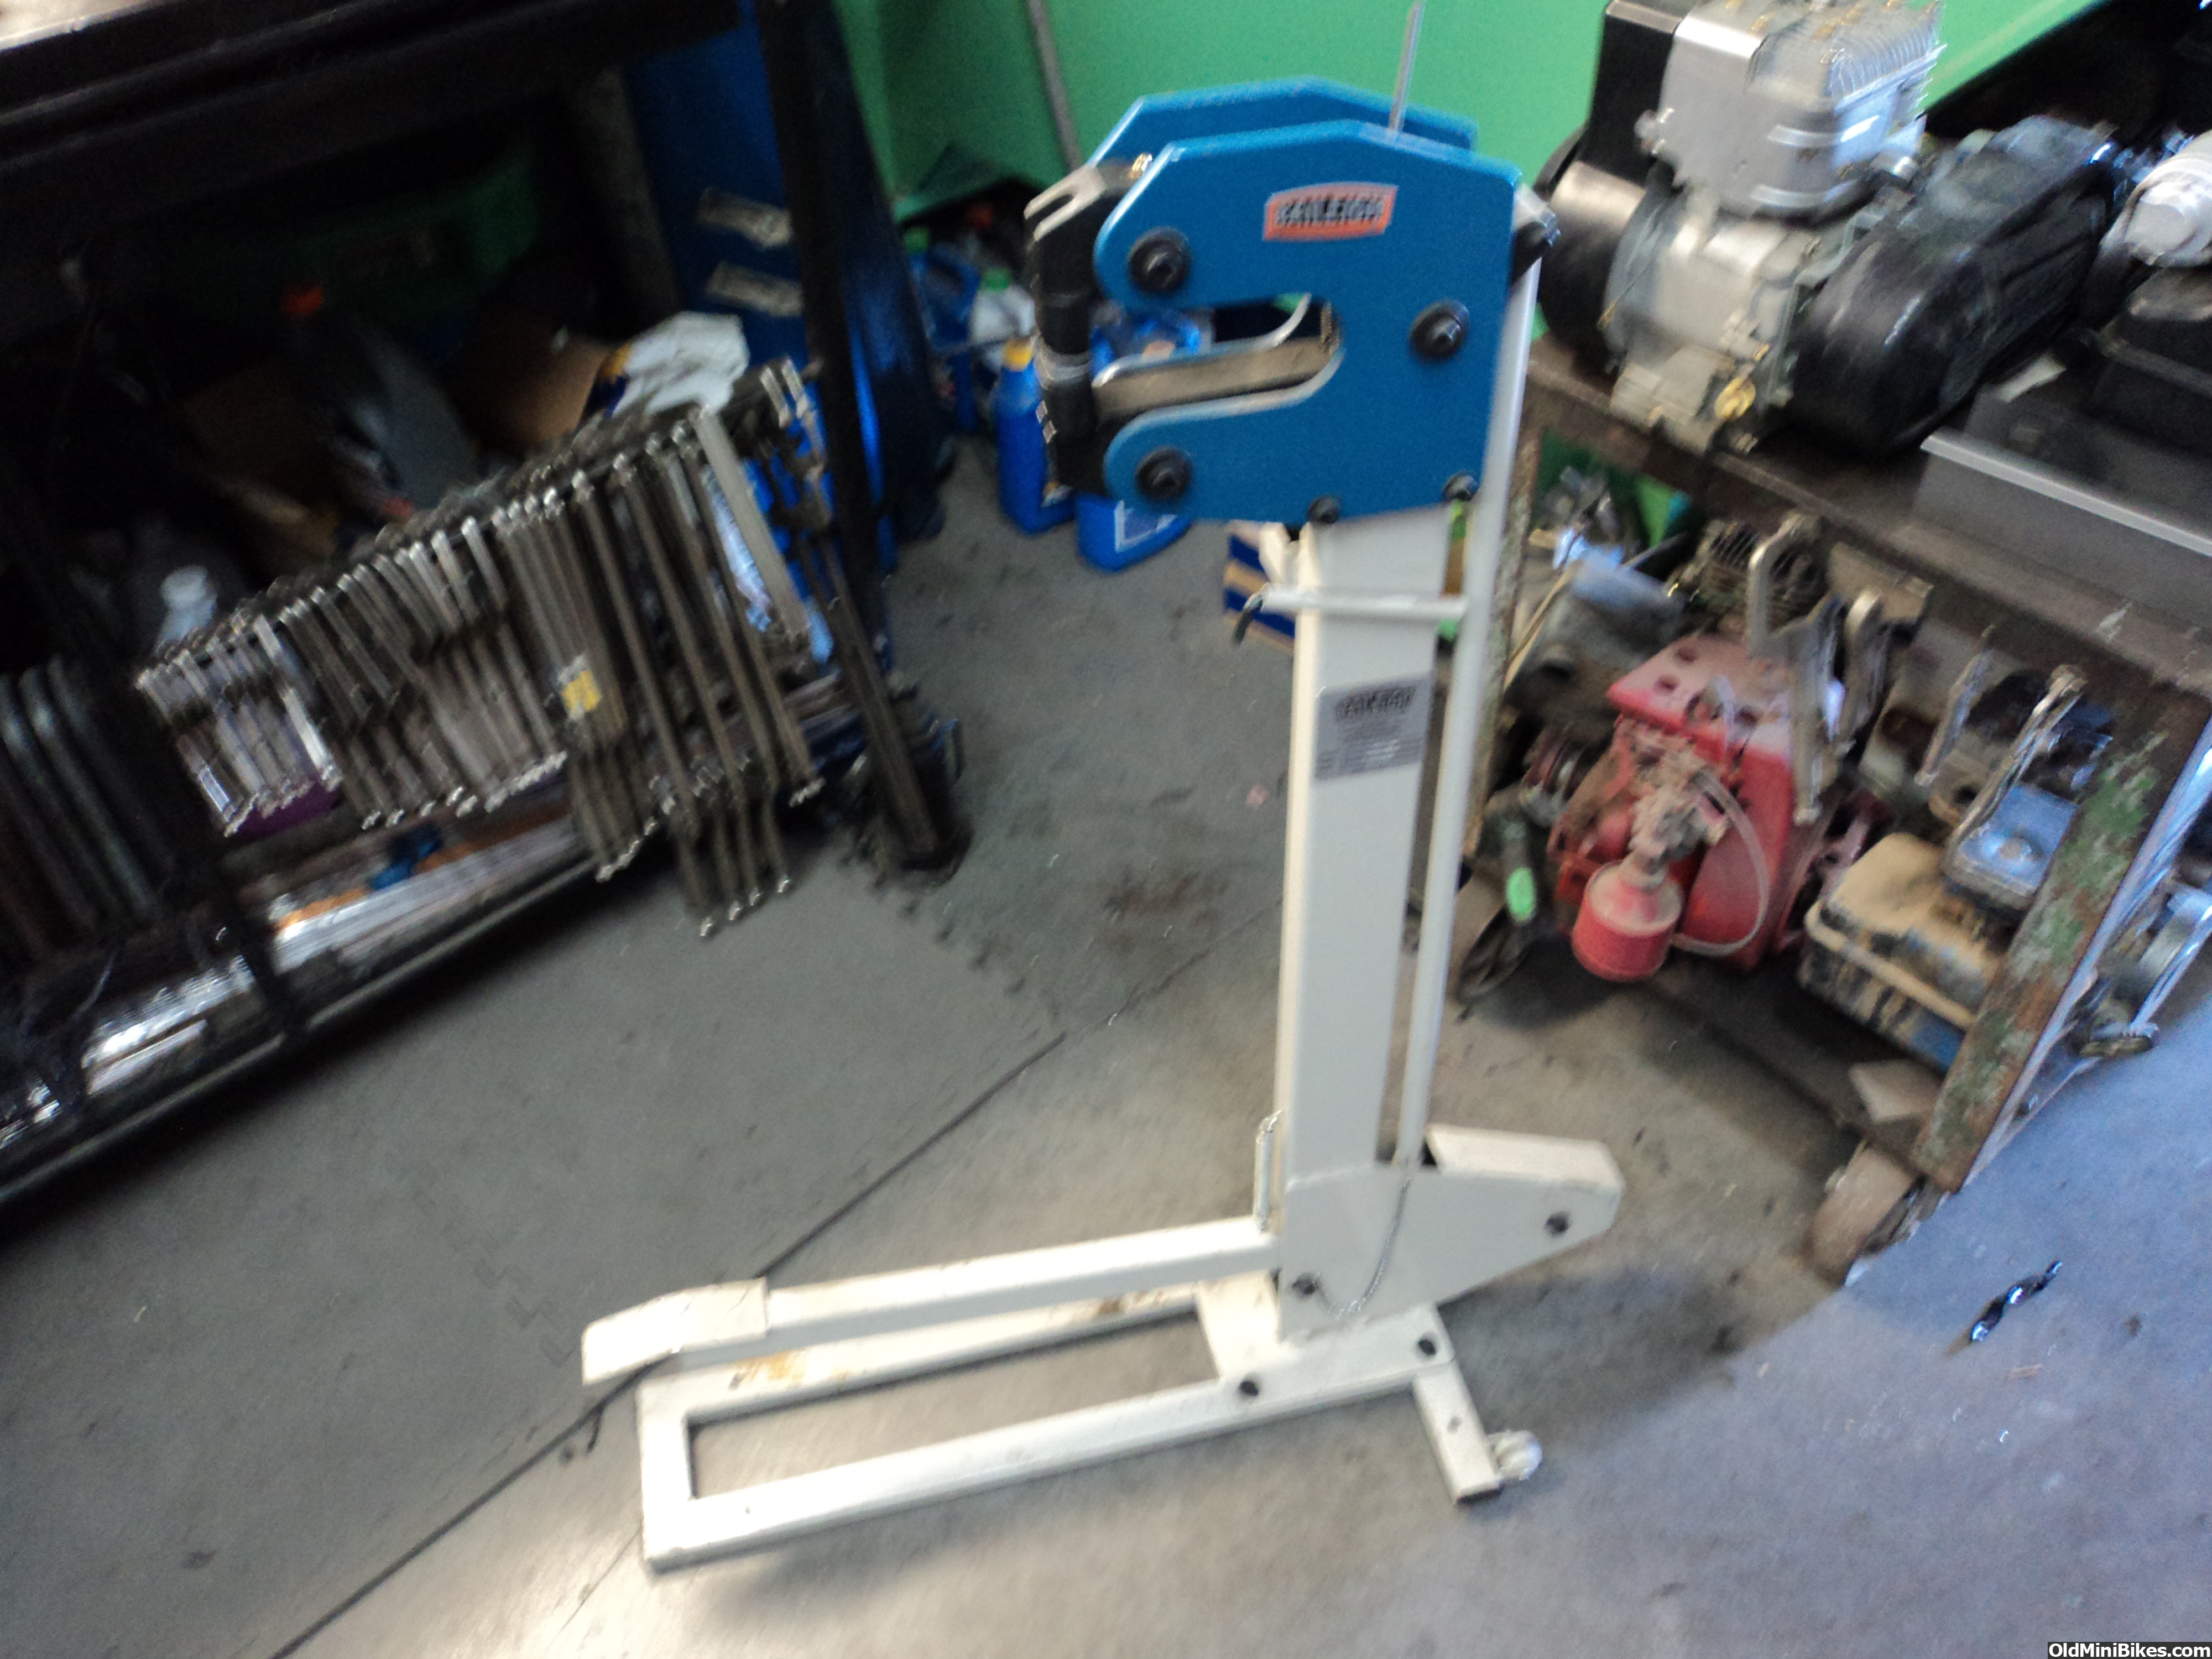
I made the clevises on mine in the lathe with the milling attachment and the pull rod they are welded to is just a simple piece of 1/2'' conduit.
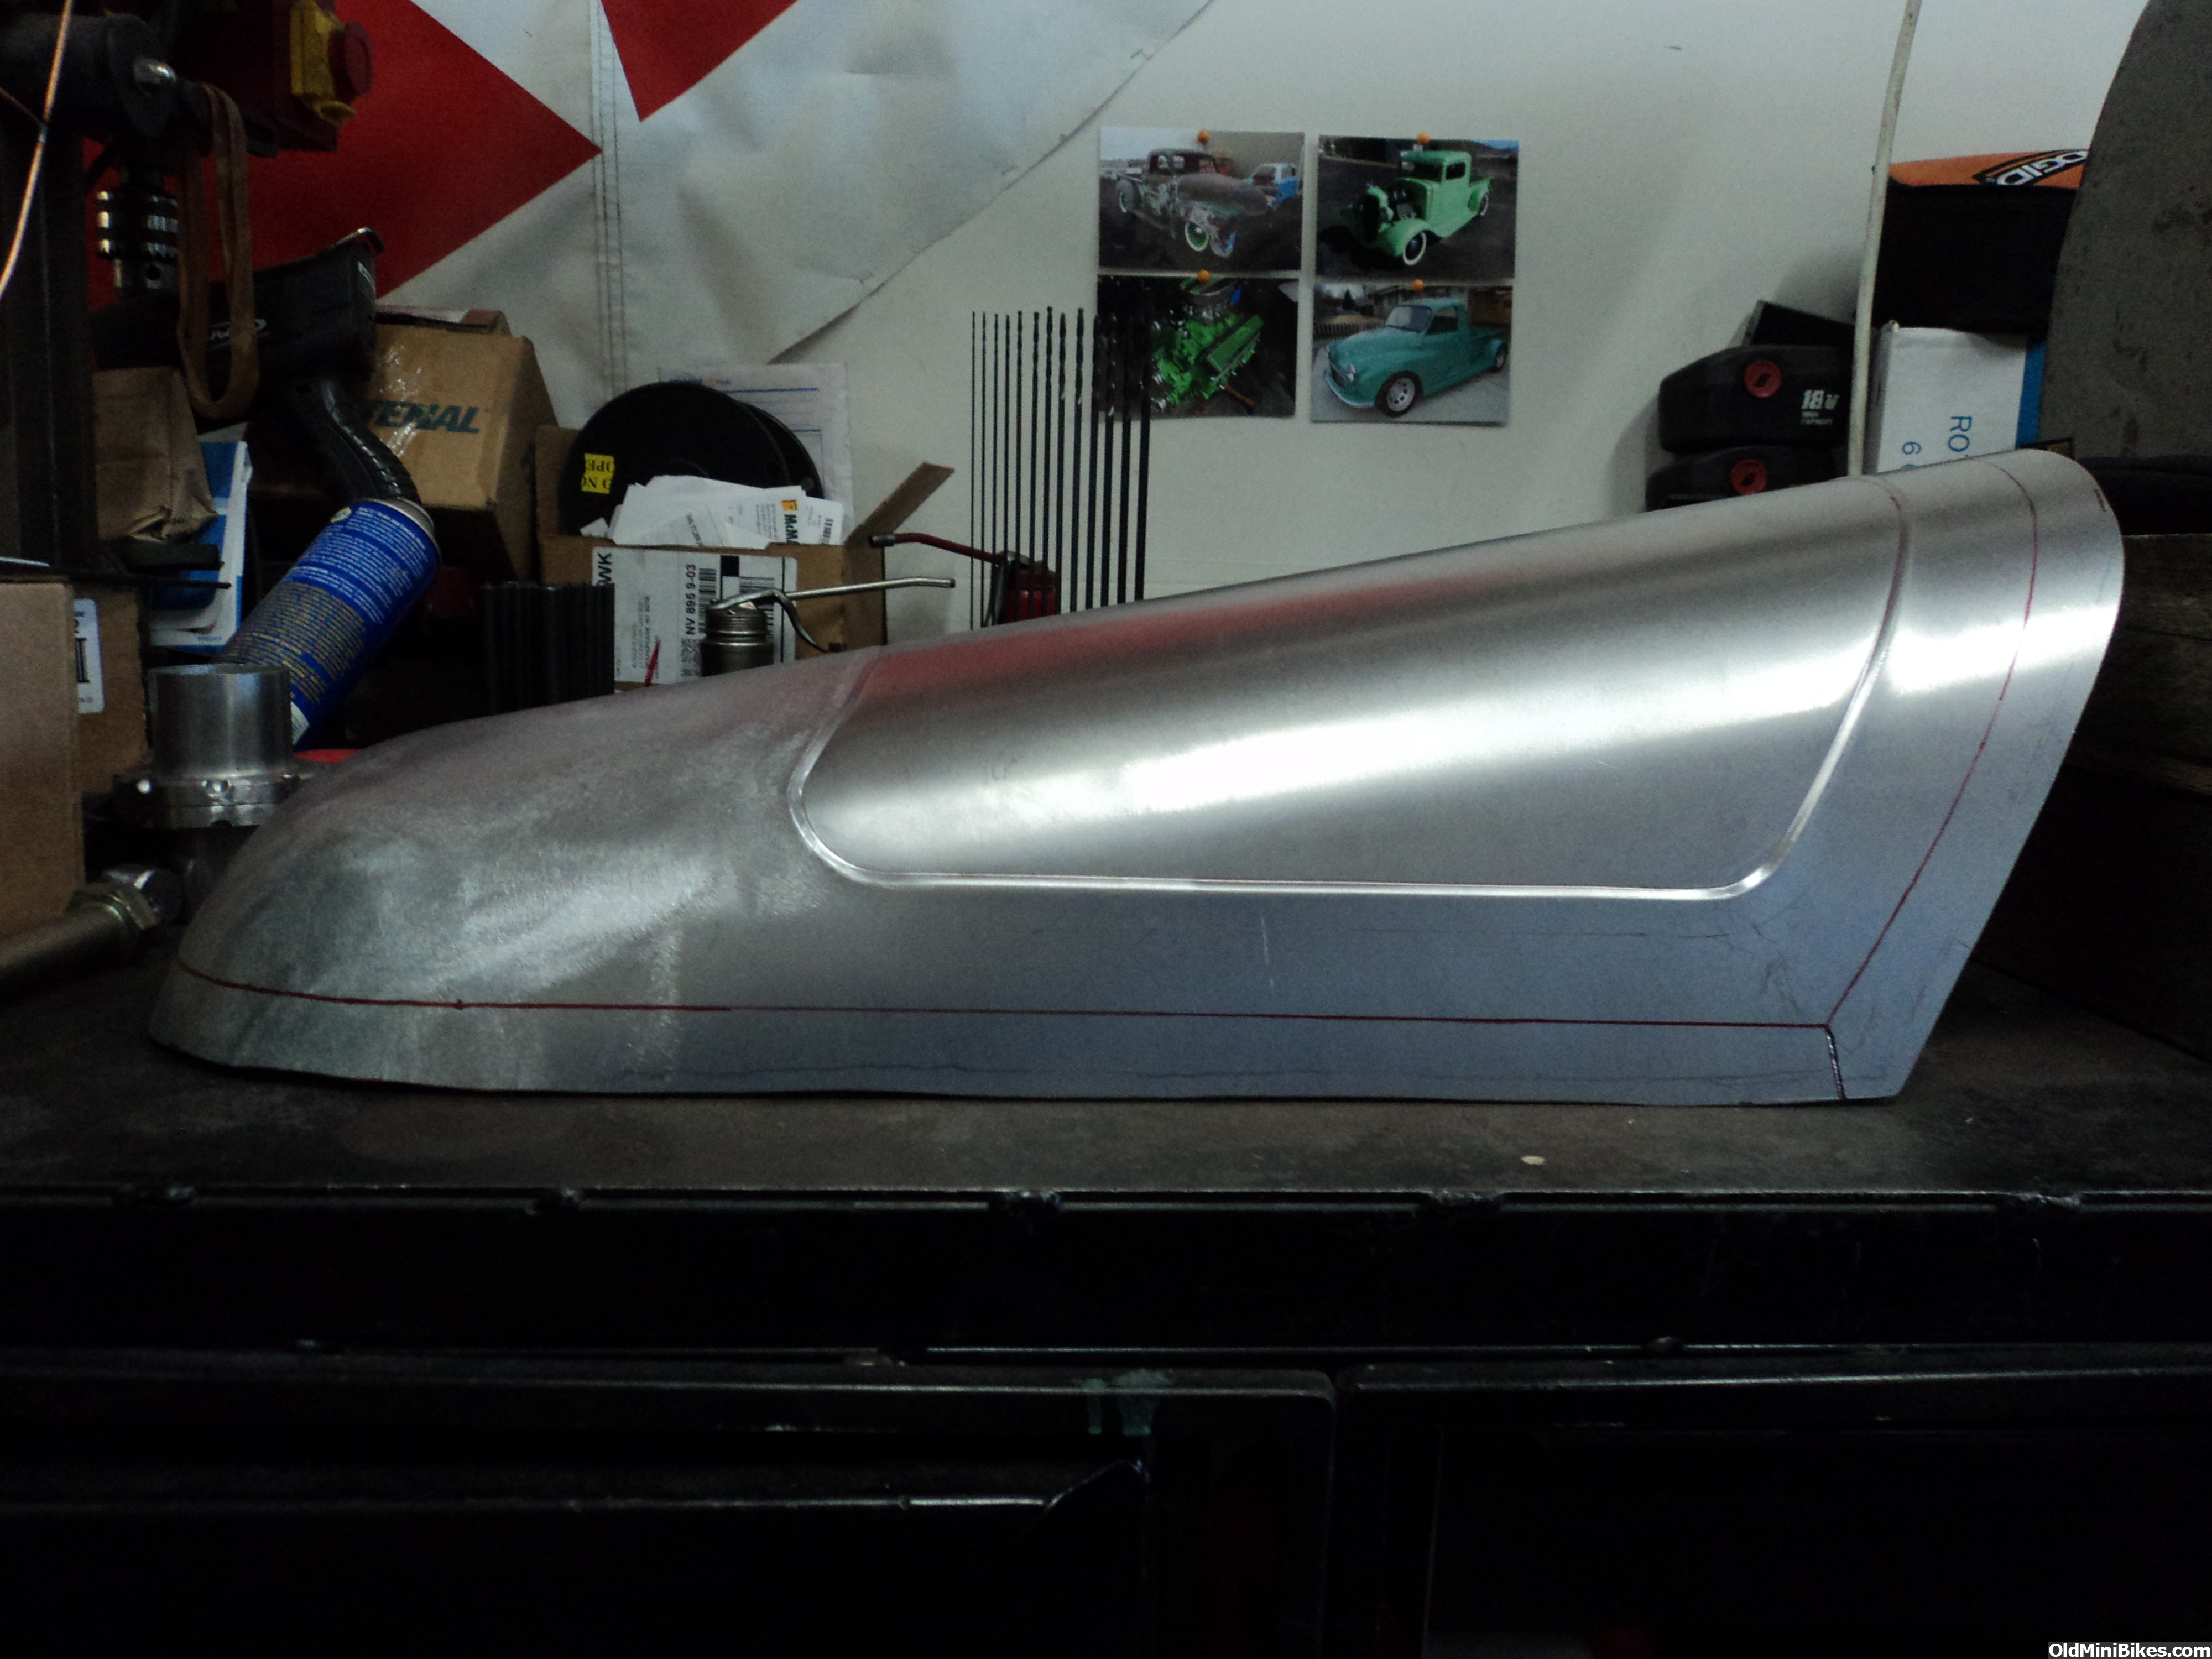
I took mine to school and made all the inner fenders for our 1/2 scale chassis project. Everybody that uses mine likes it.
Doug
If you over shrink or over stretch don't be afraid to put it in the other head and take out what you overdid. If you do this more than a couple of times it will tear the metal and make a mess so be aware of your foot pressure.