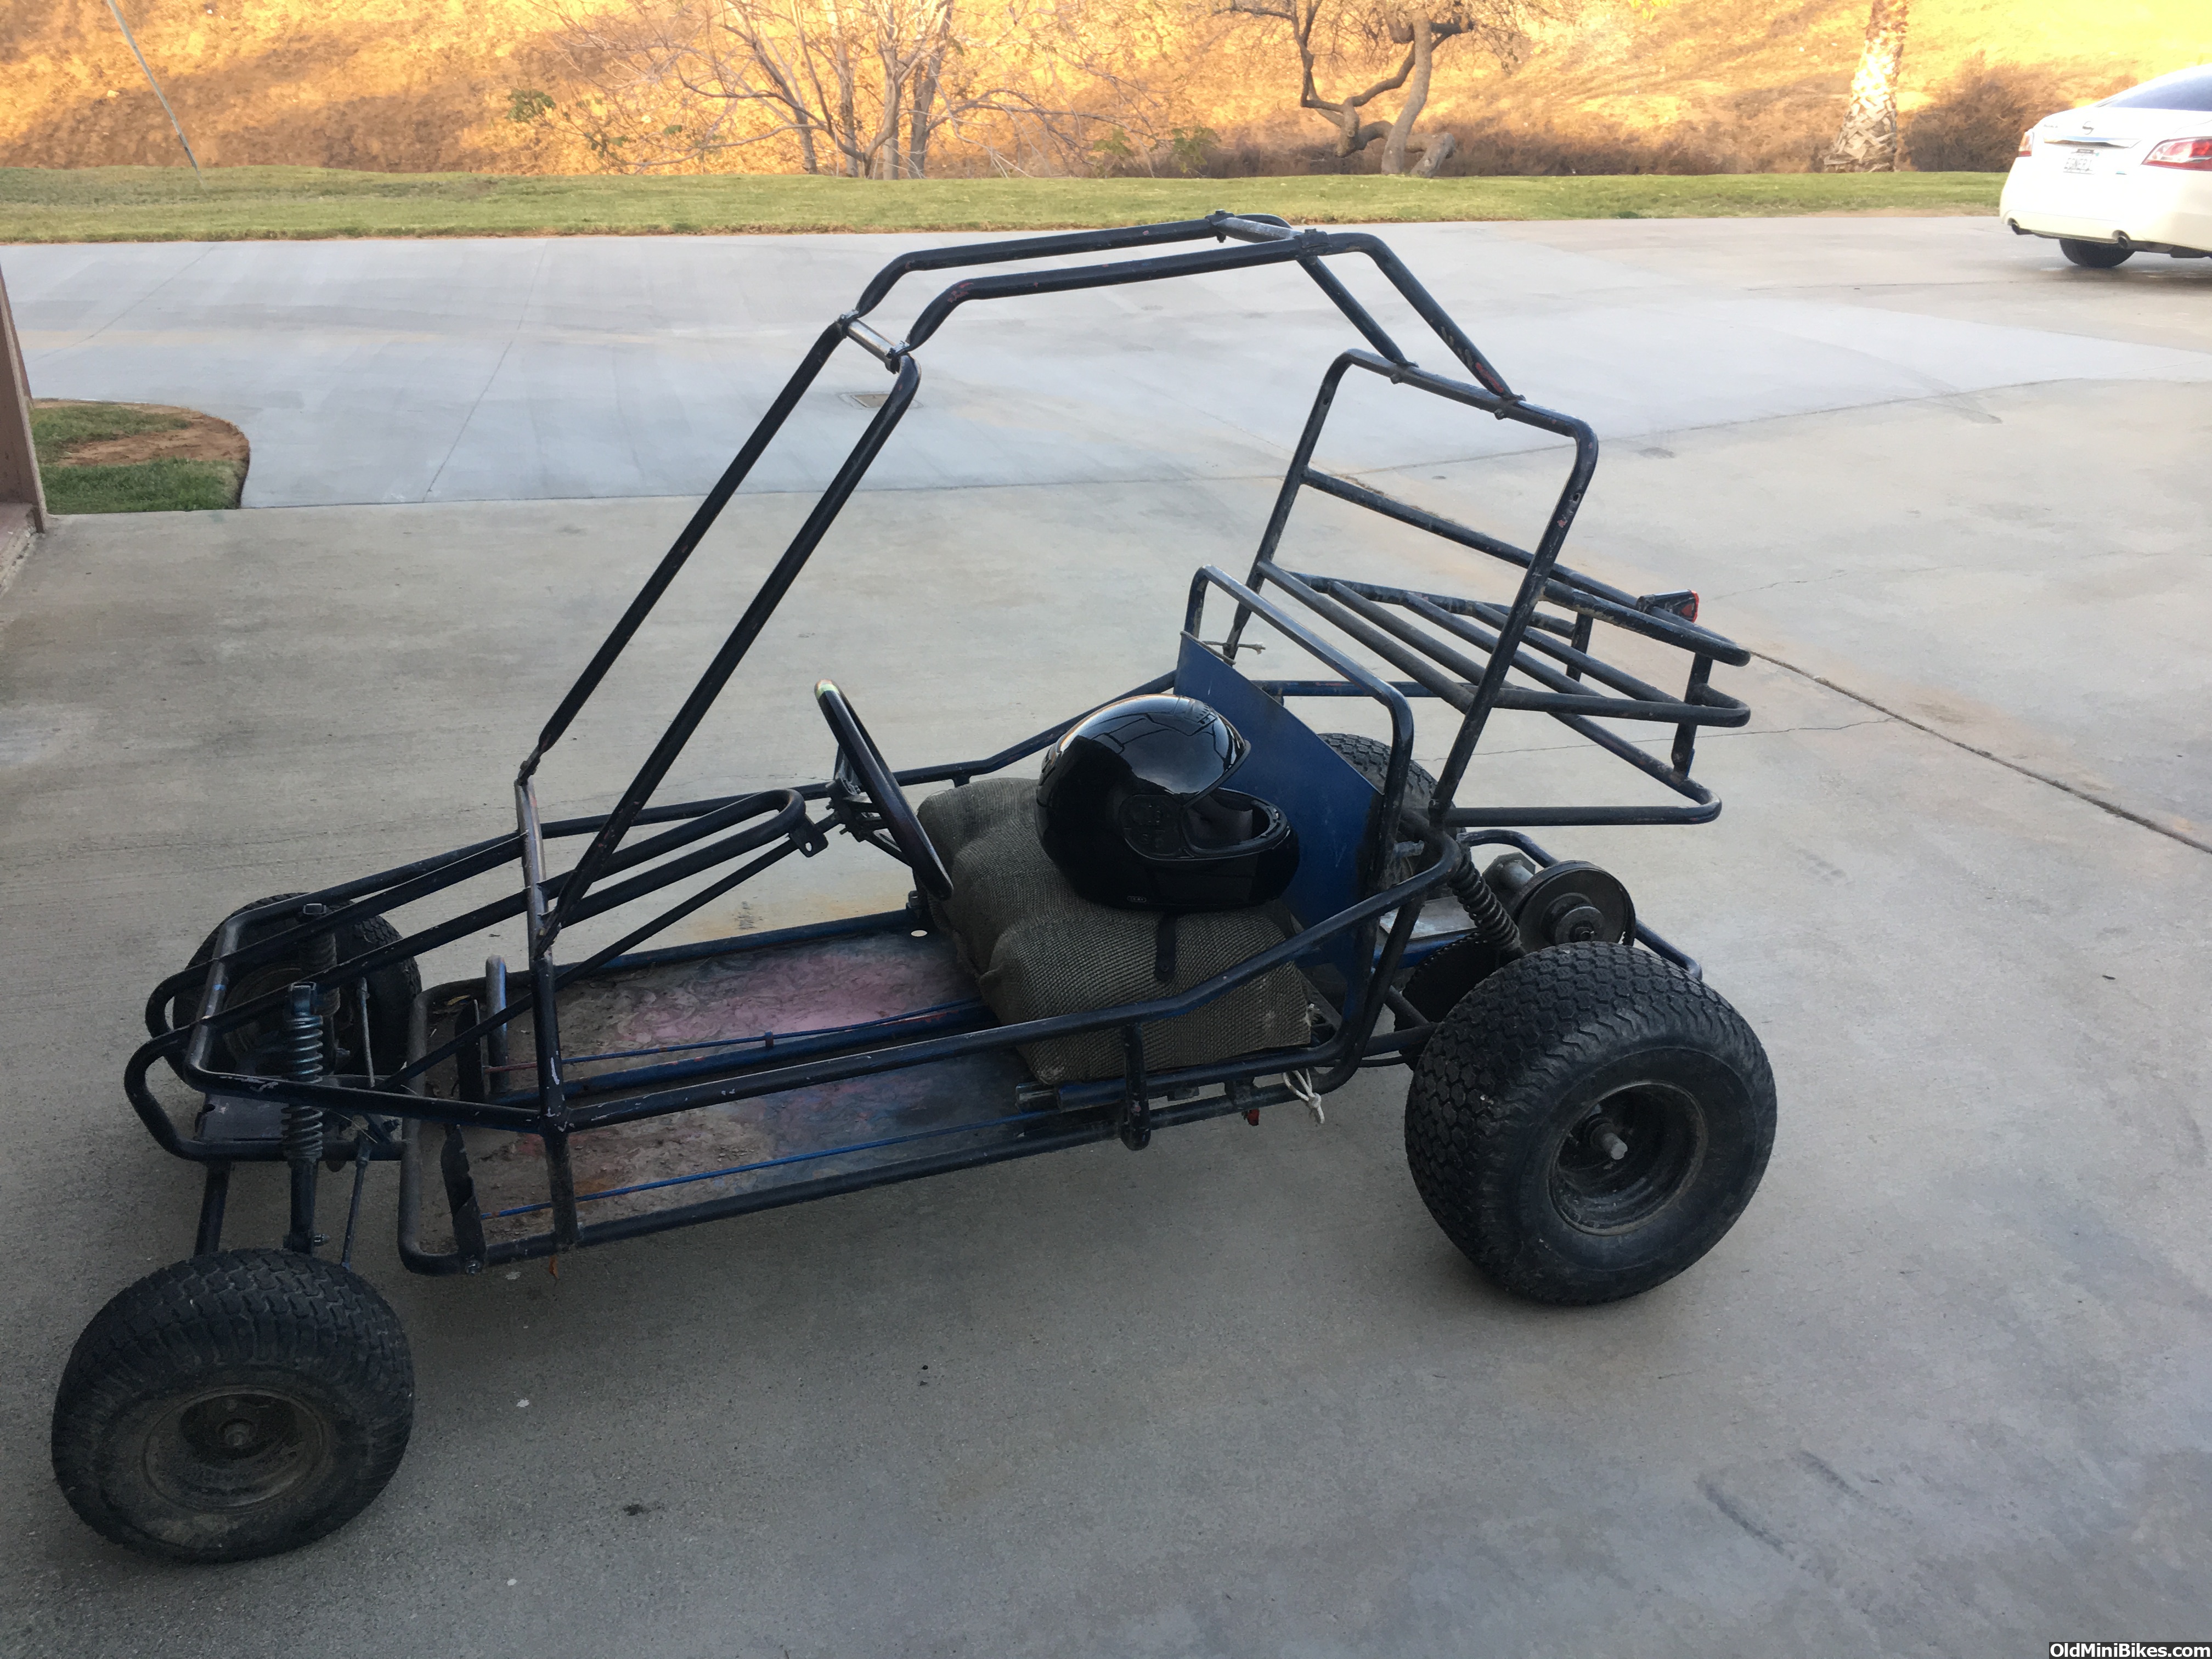
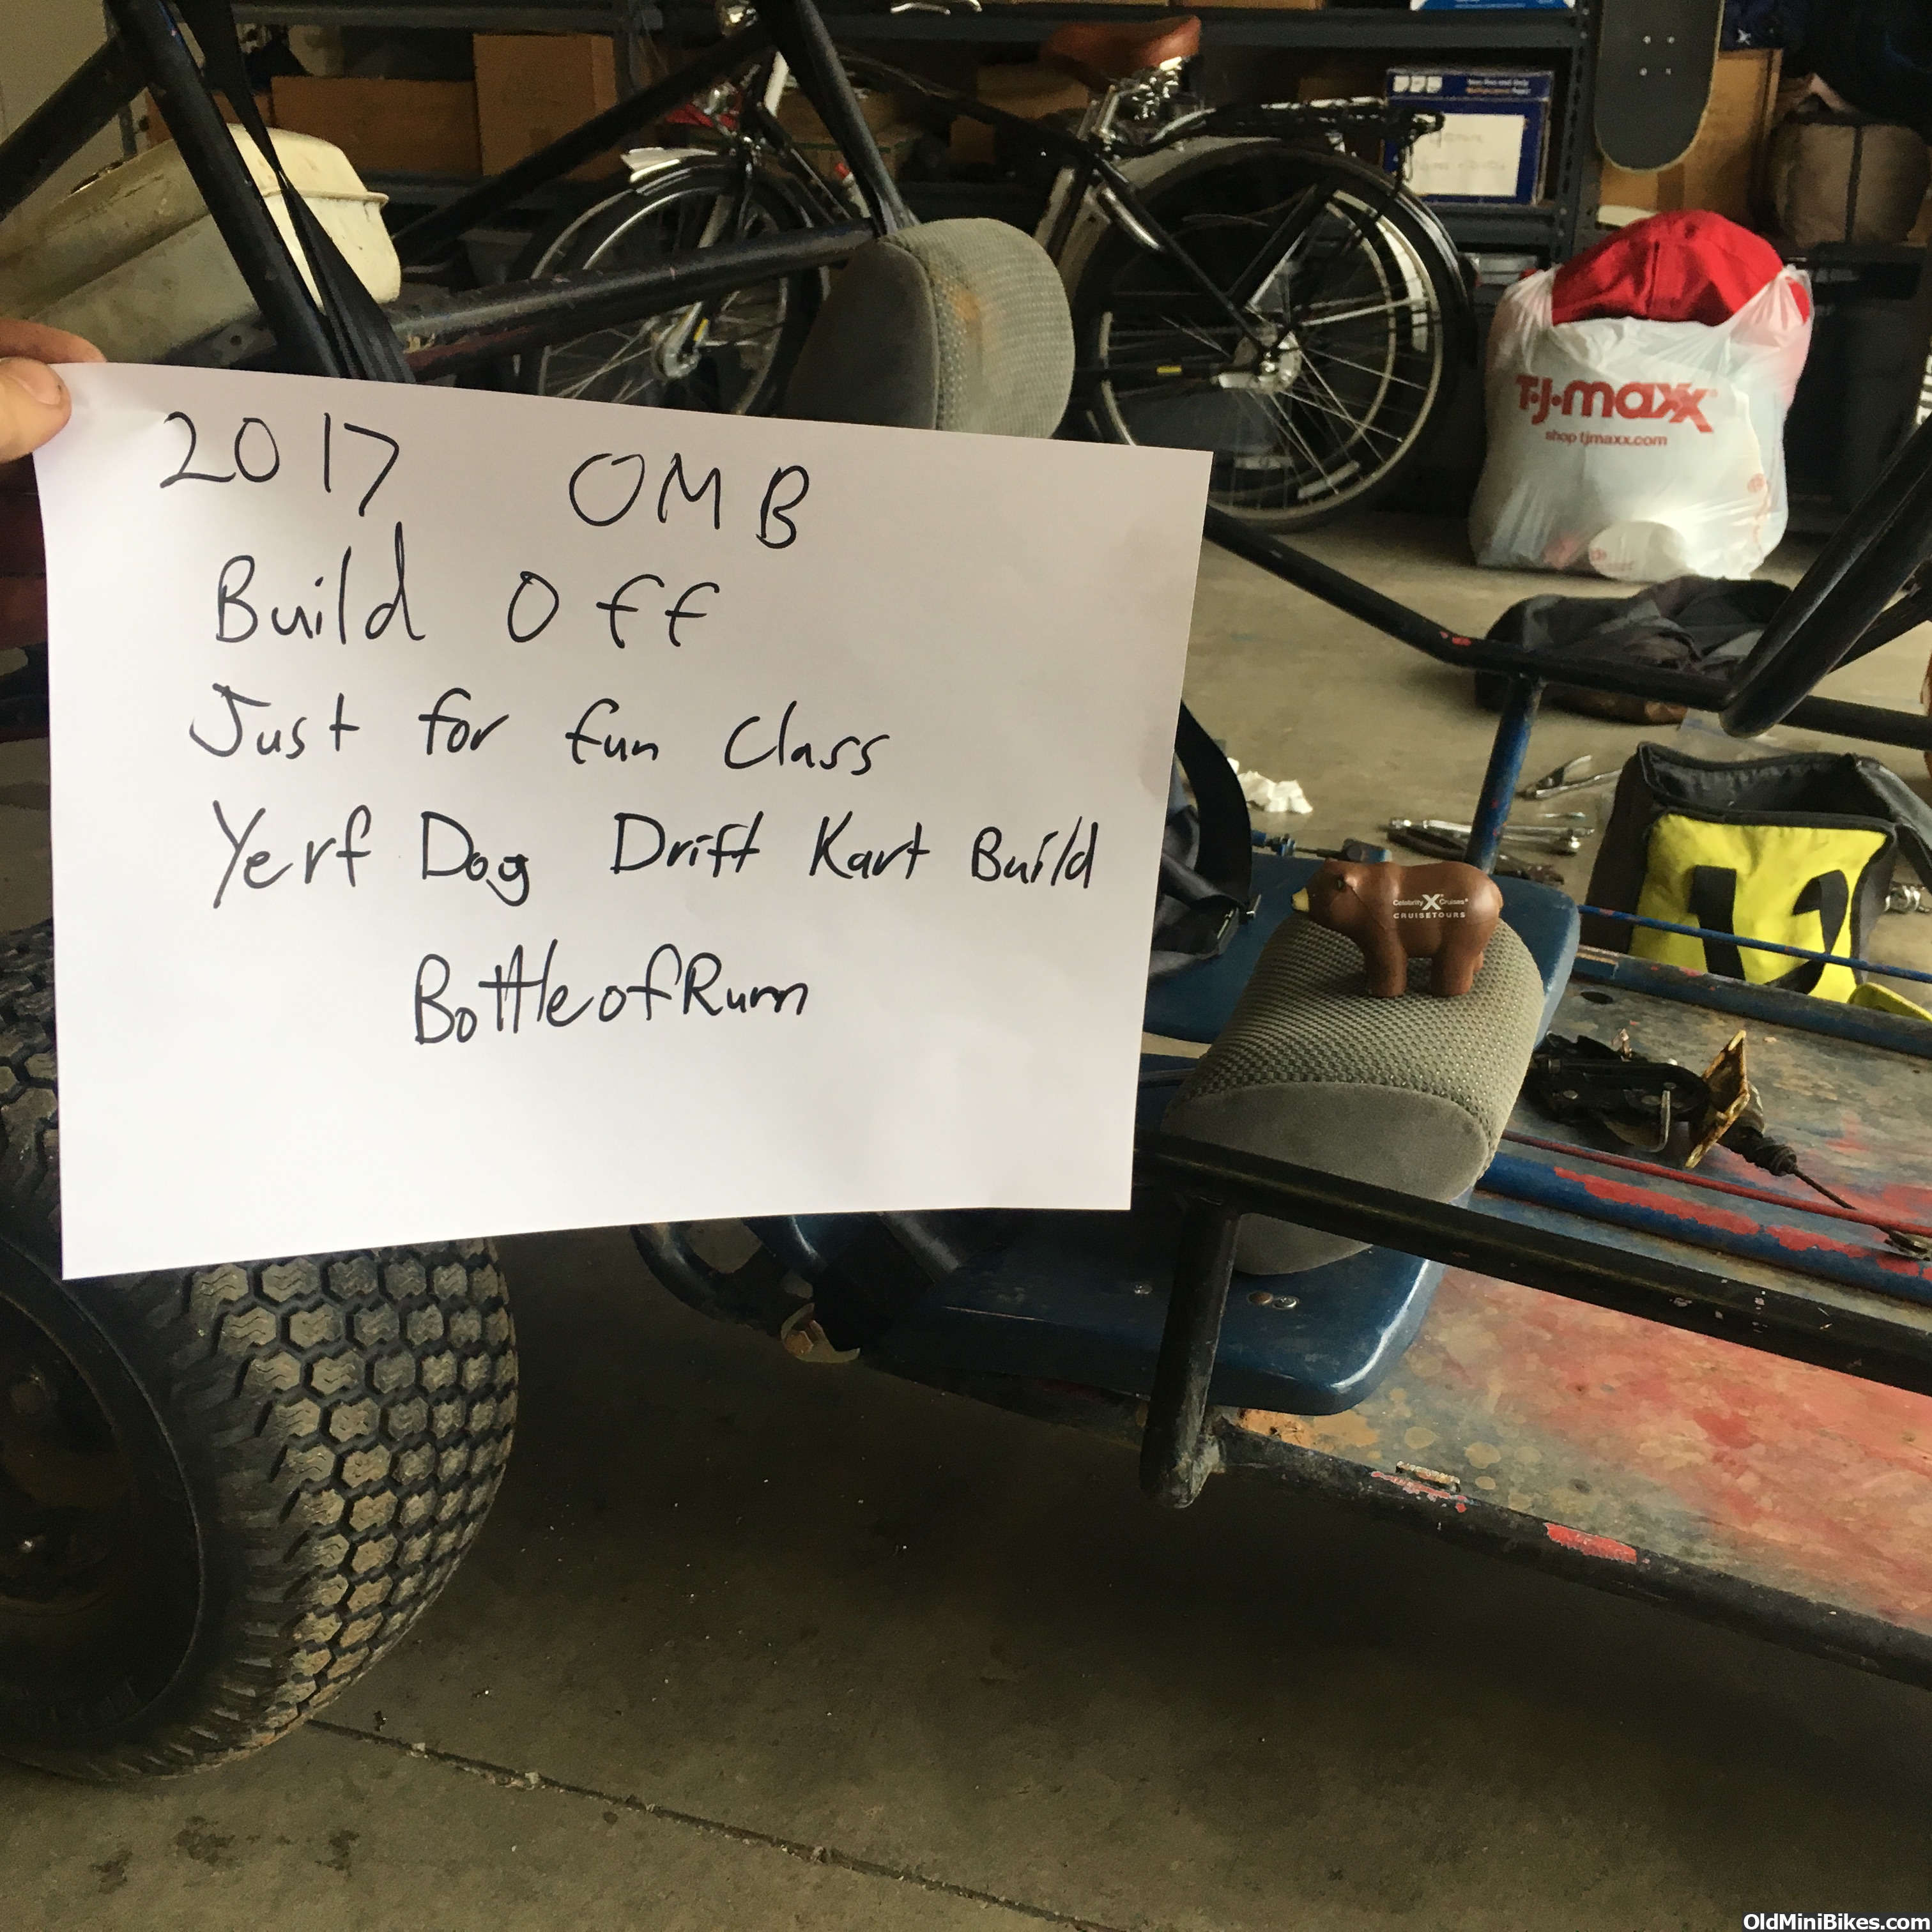
Hey guys, i figured id make a thread for my drift kart yerf dog that i entered into the 2017 build contest since i have already done some work and this can potentially go beyond the contest end date so here we go.
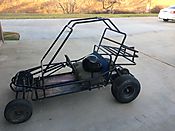
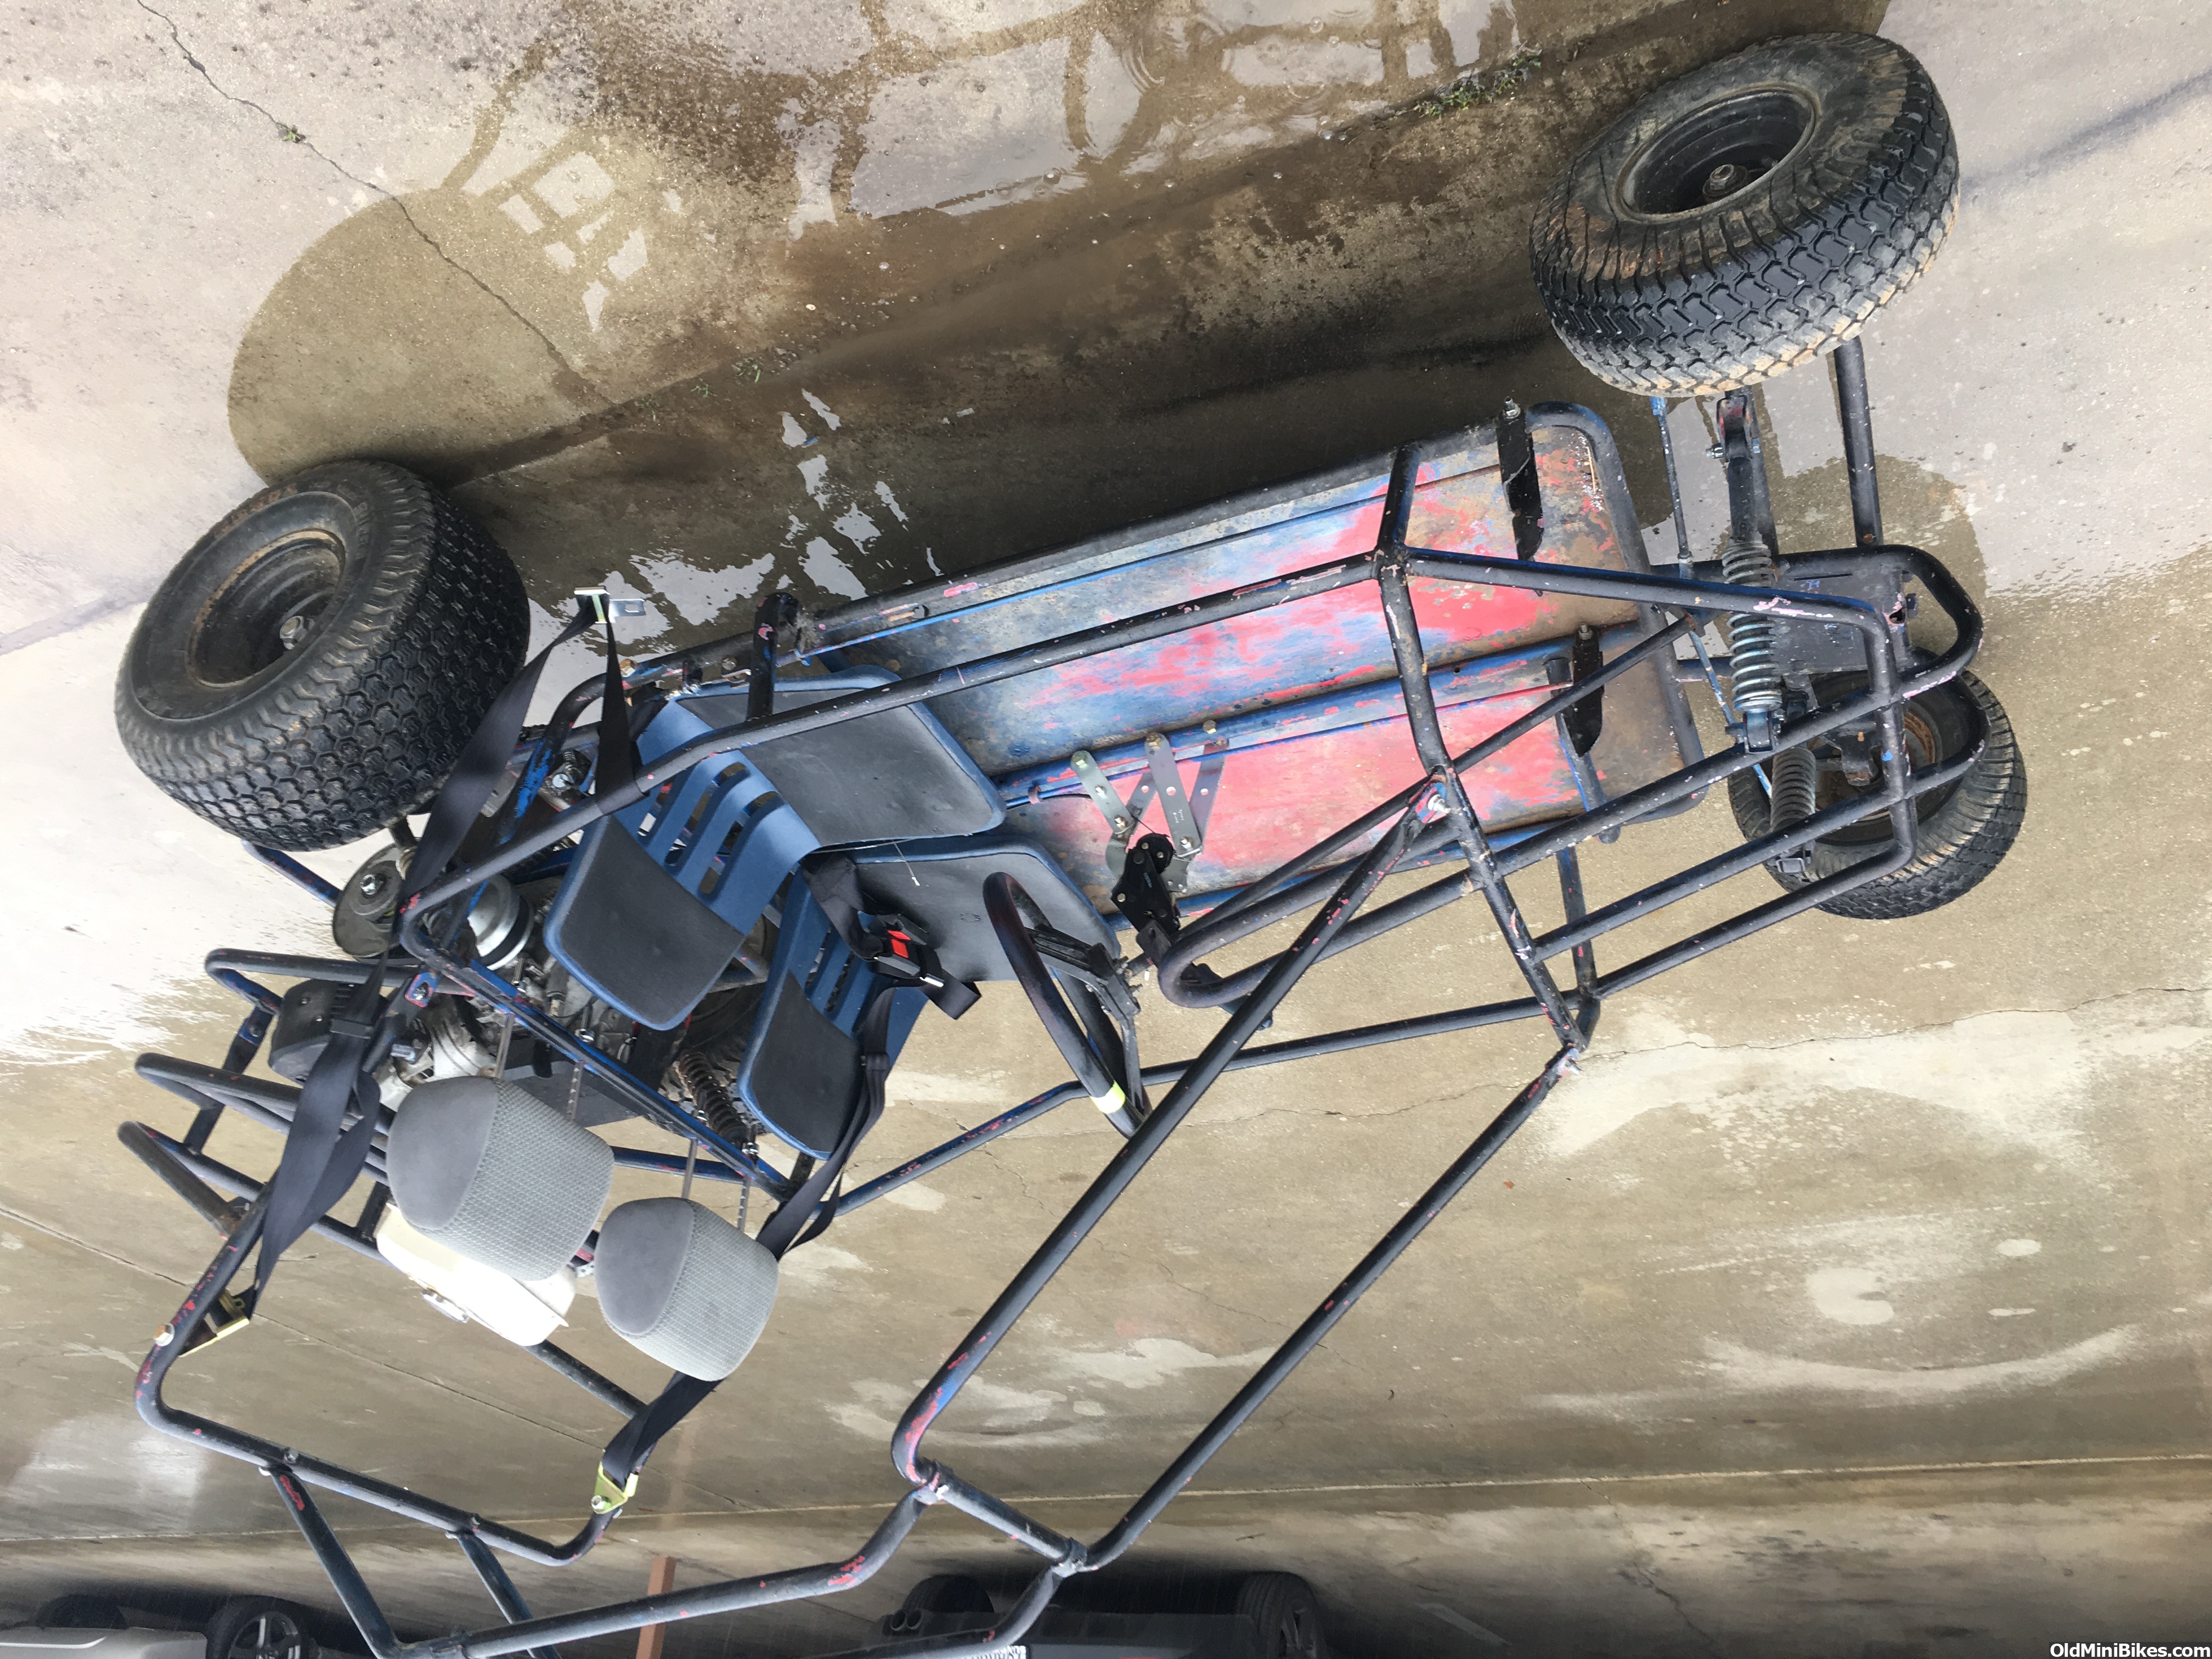
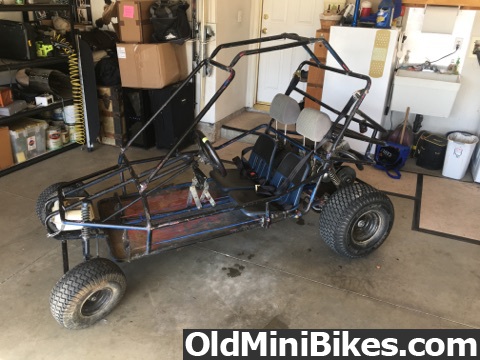
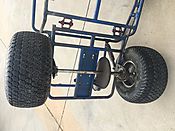
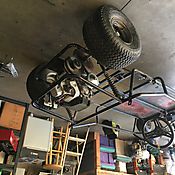
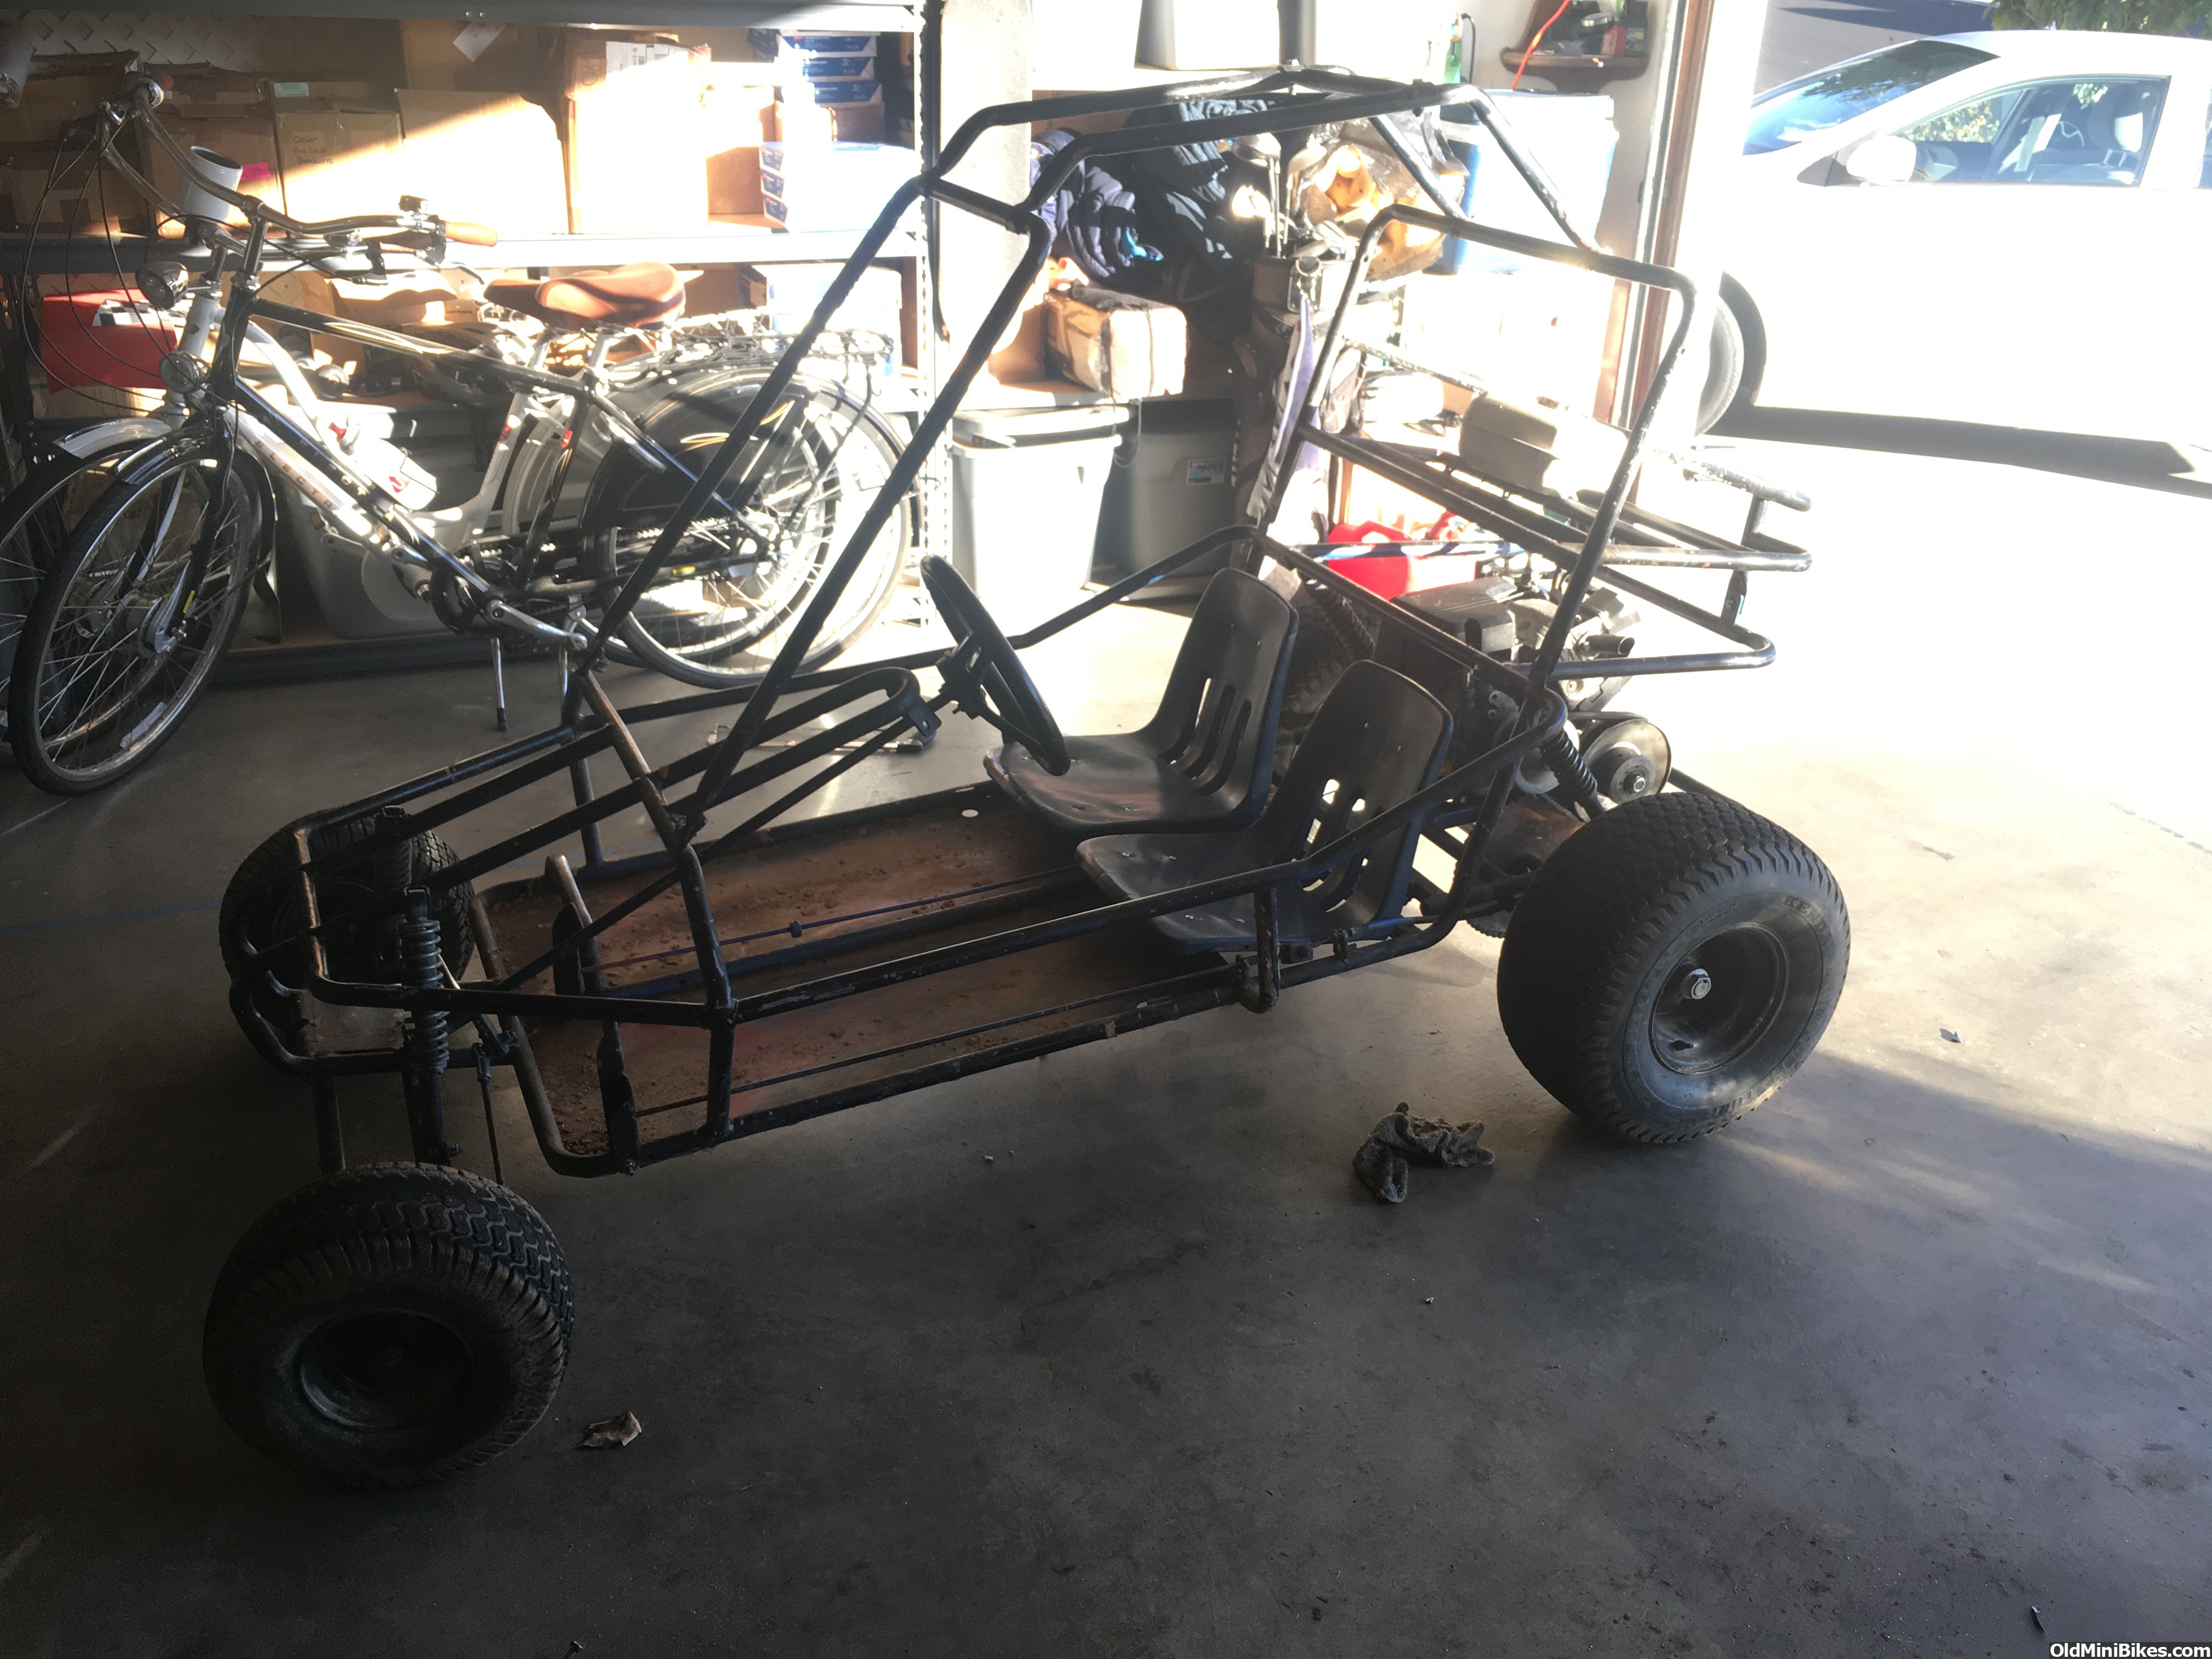
frame as it was when i picked it up, got it off some kid for 170, was missing alot of harware and virtualy everything was stripped, came with 2 motors, a honda clone and an old briggs. Clone was done, had a hole in the piston and a bent rod, and the briggs was old ans missing alot of parts, so the next day i drove 3 hours away to buy these for 115, both not running.
(I know its sideways, dont feel like fixing)
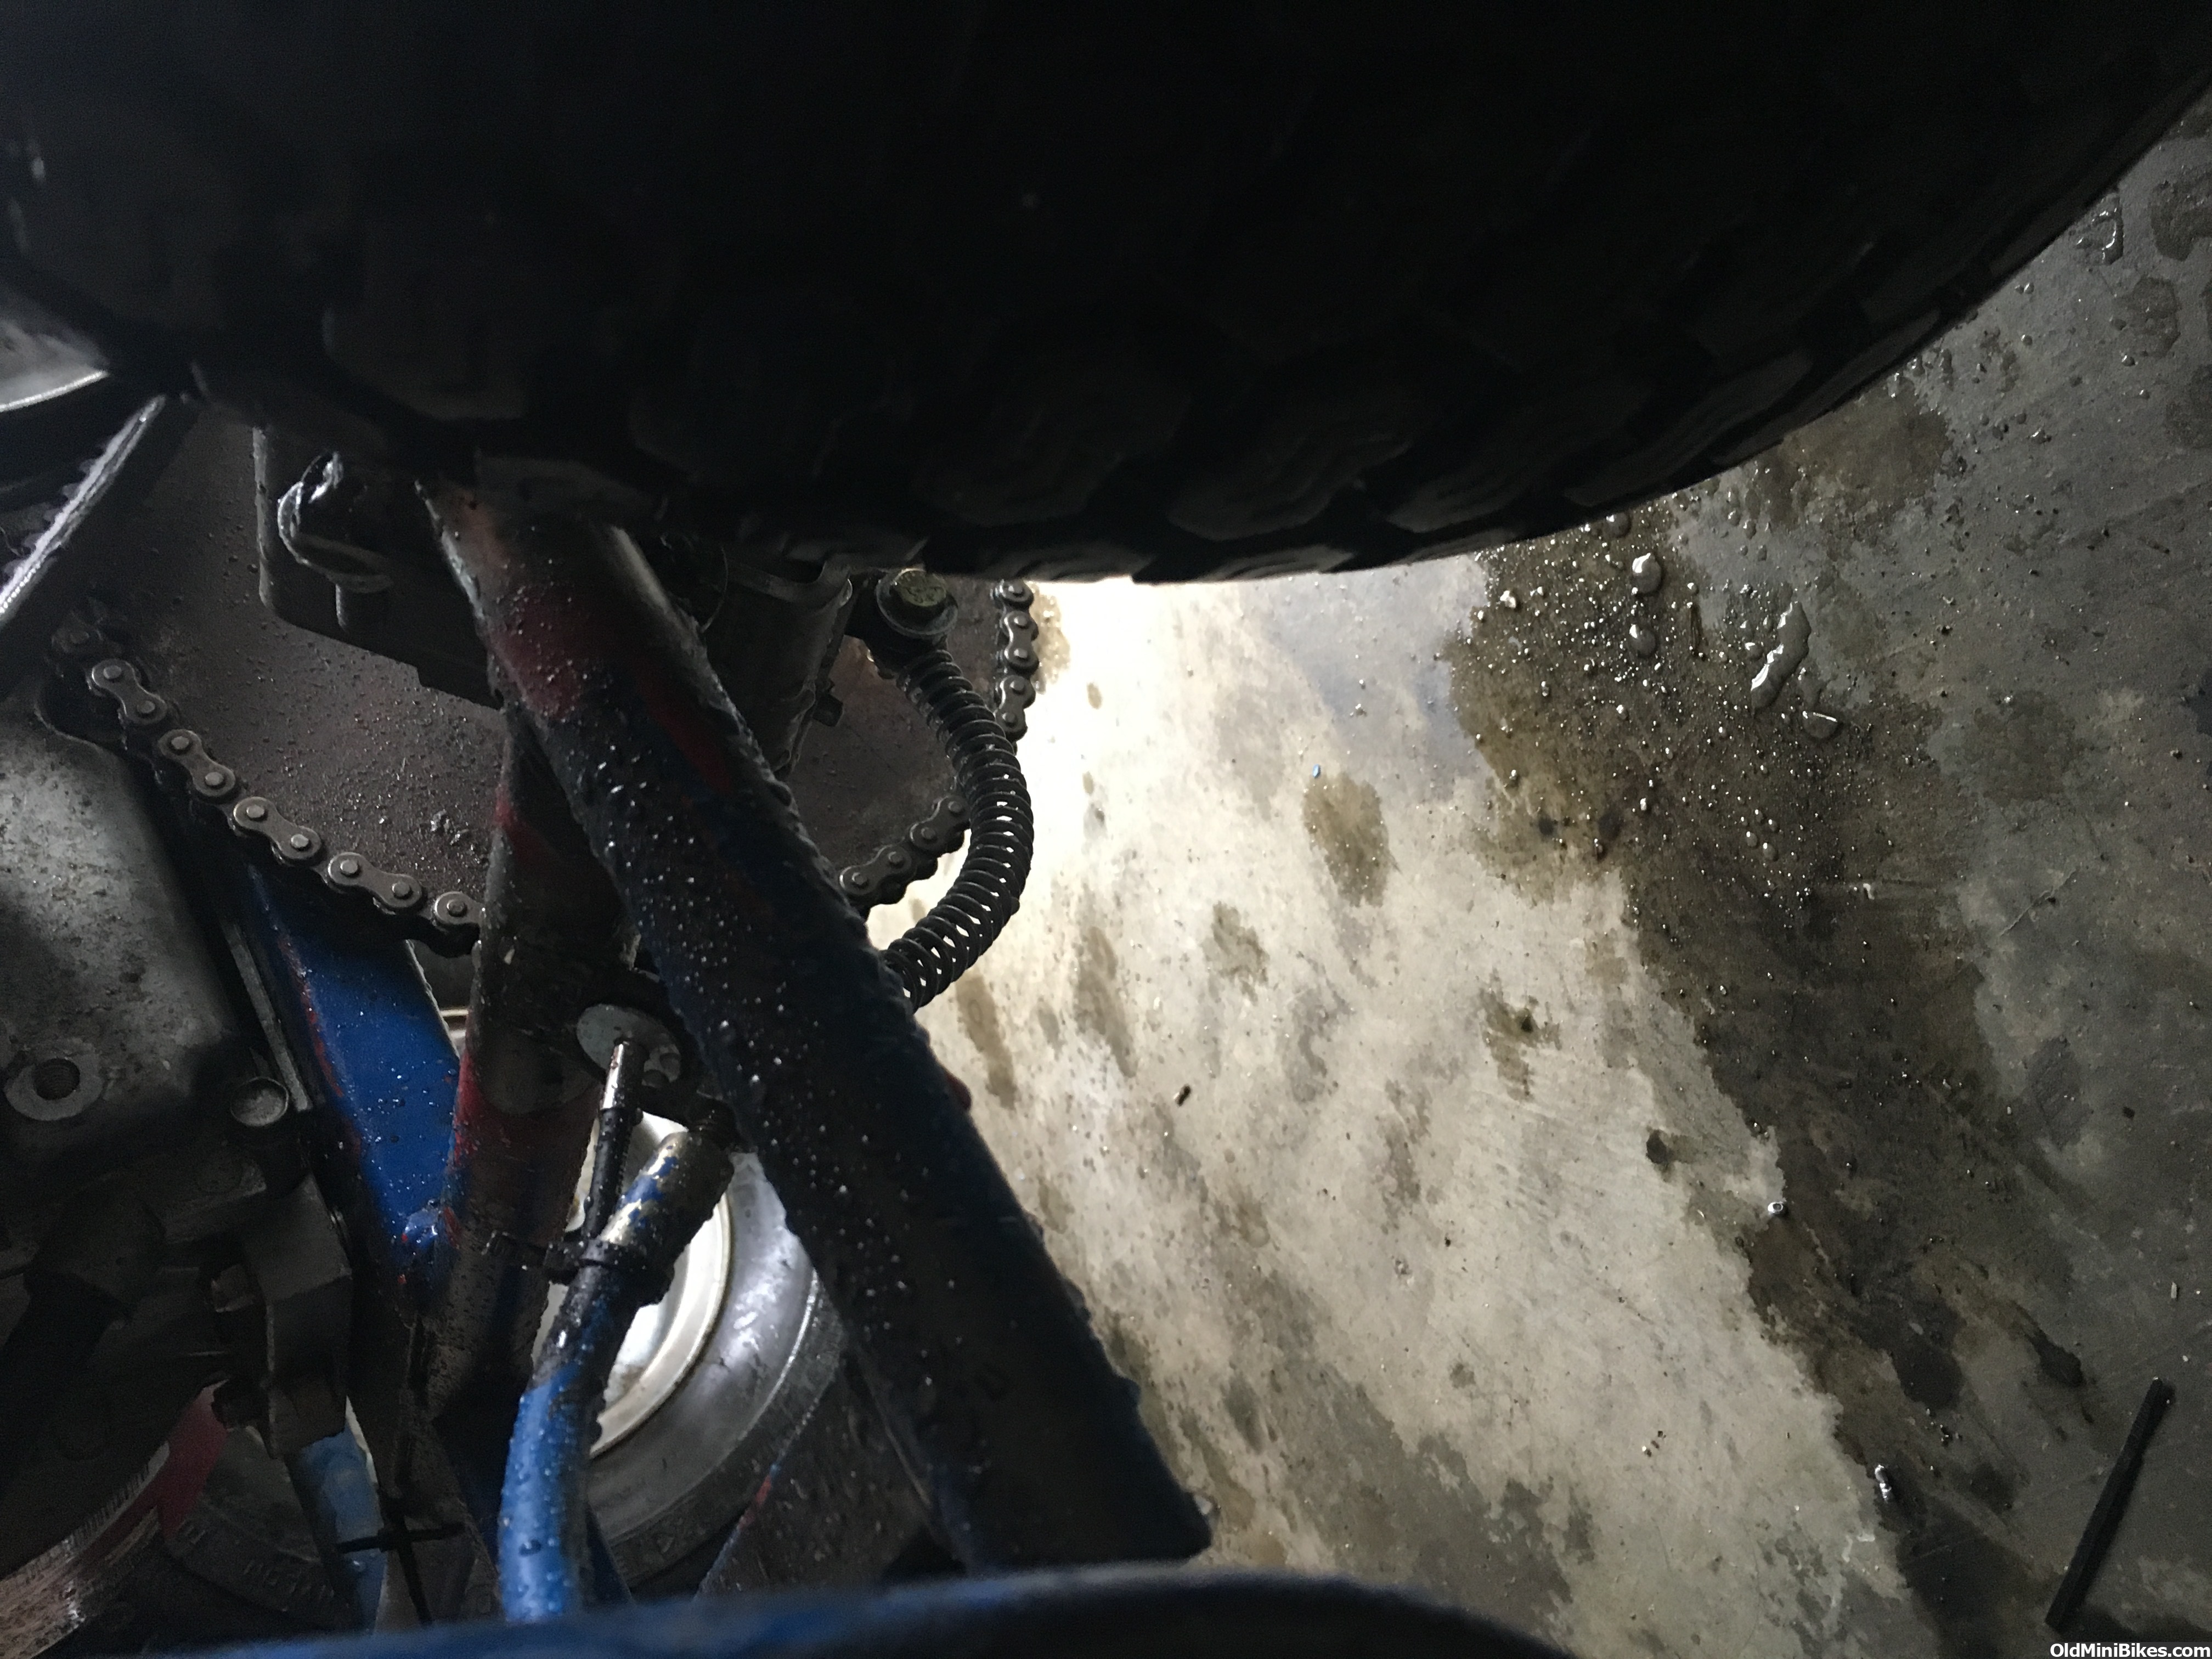
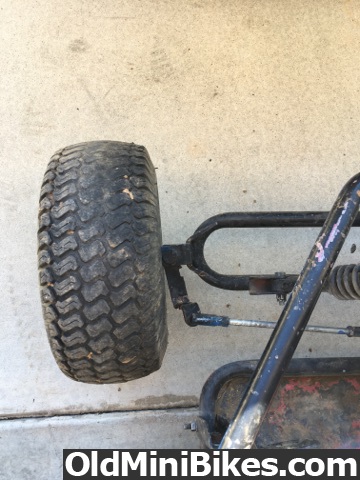
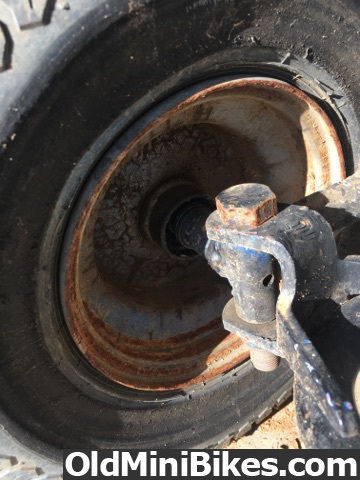
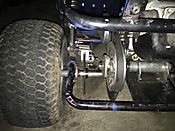
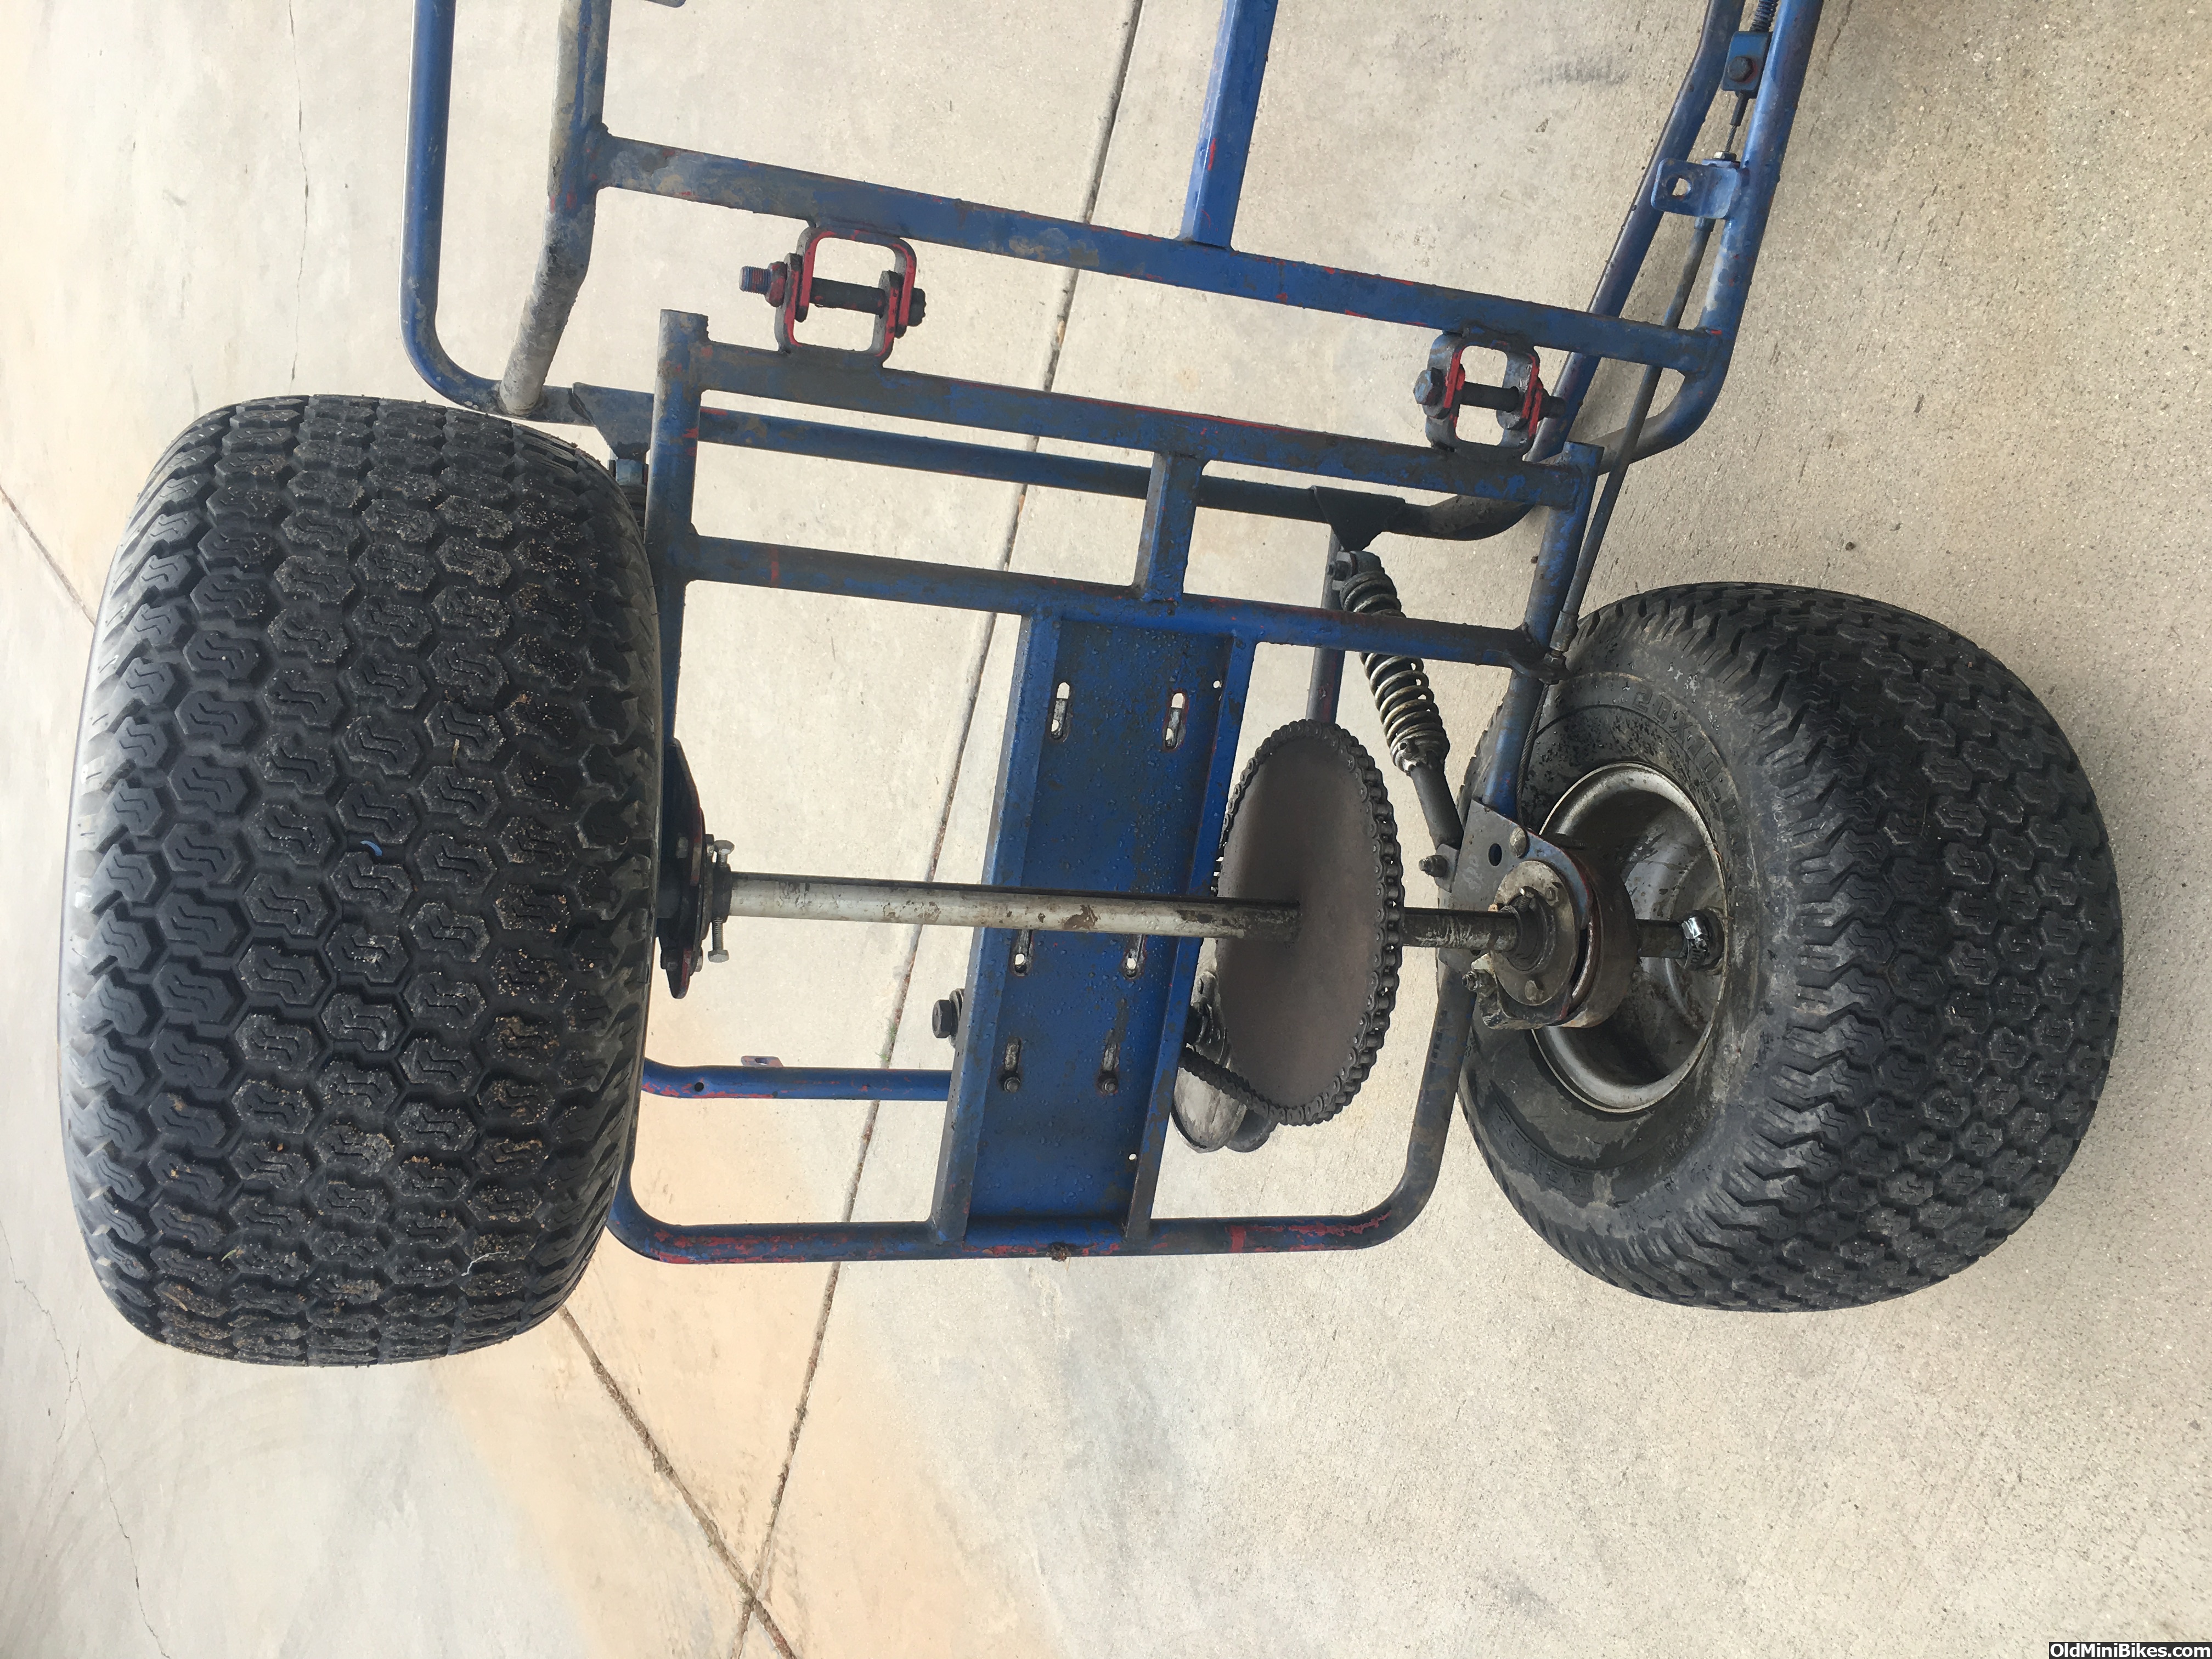
First i rebuilt the axle as it was missing alot of hardware and one of the wheels was held on by a c-clip, lol.
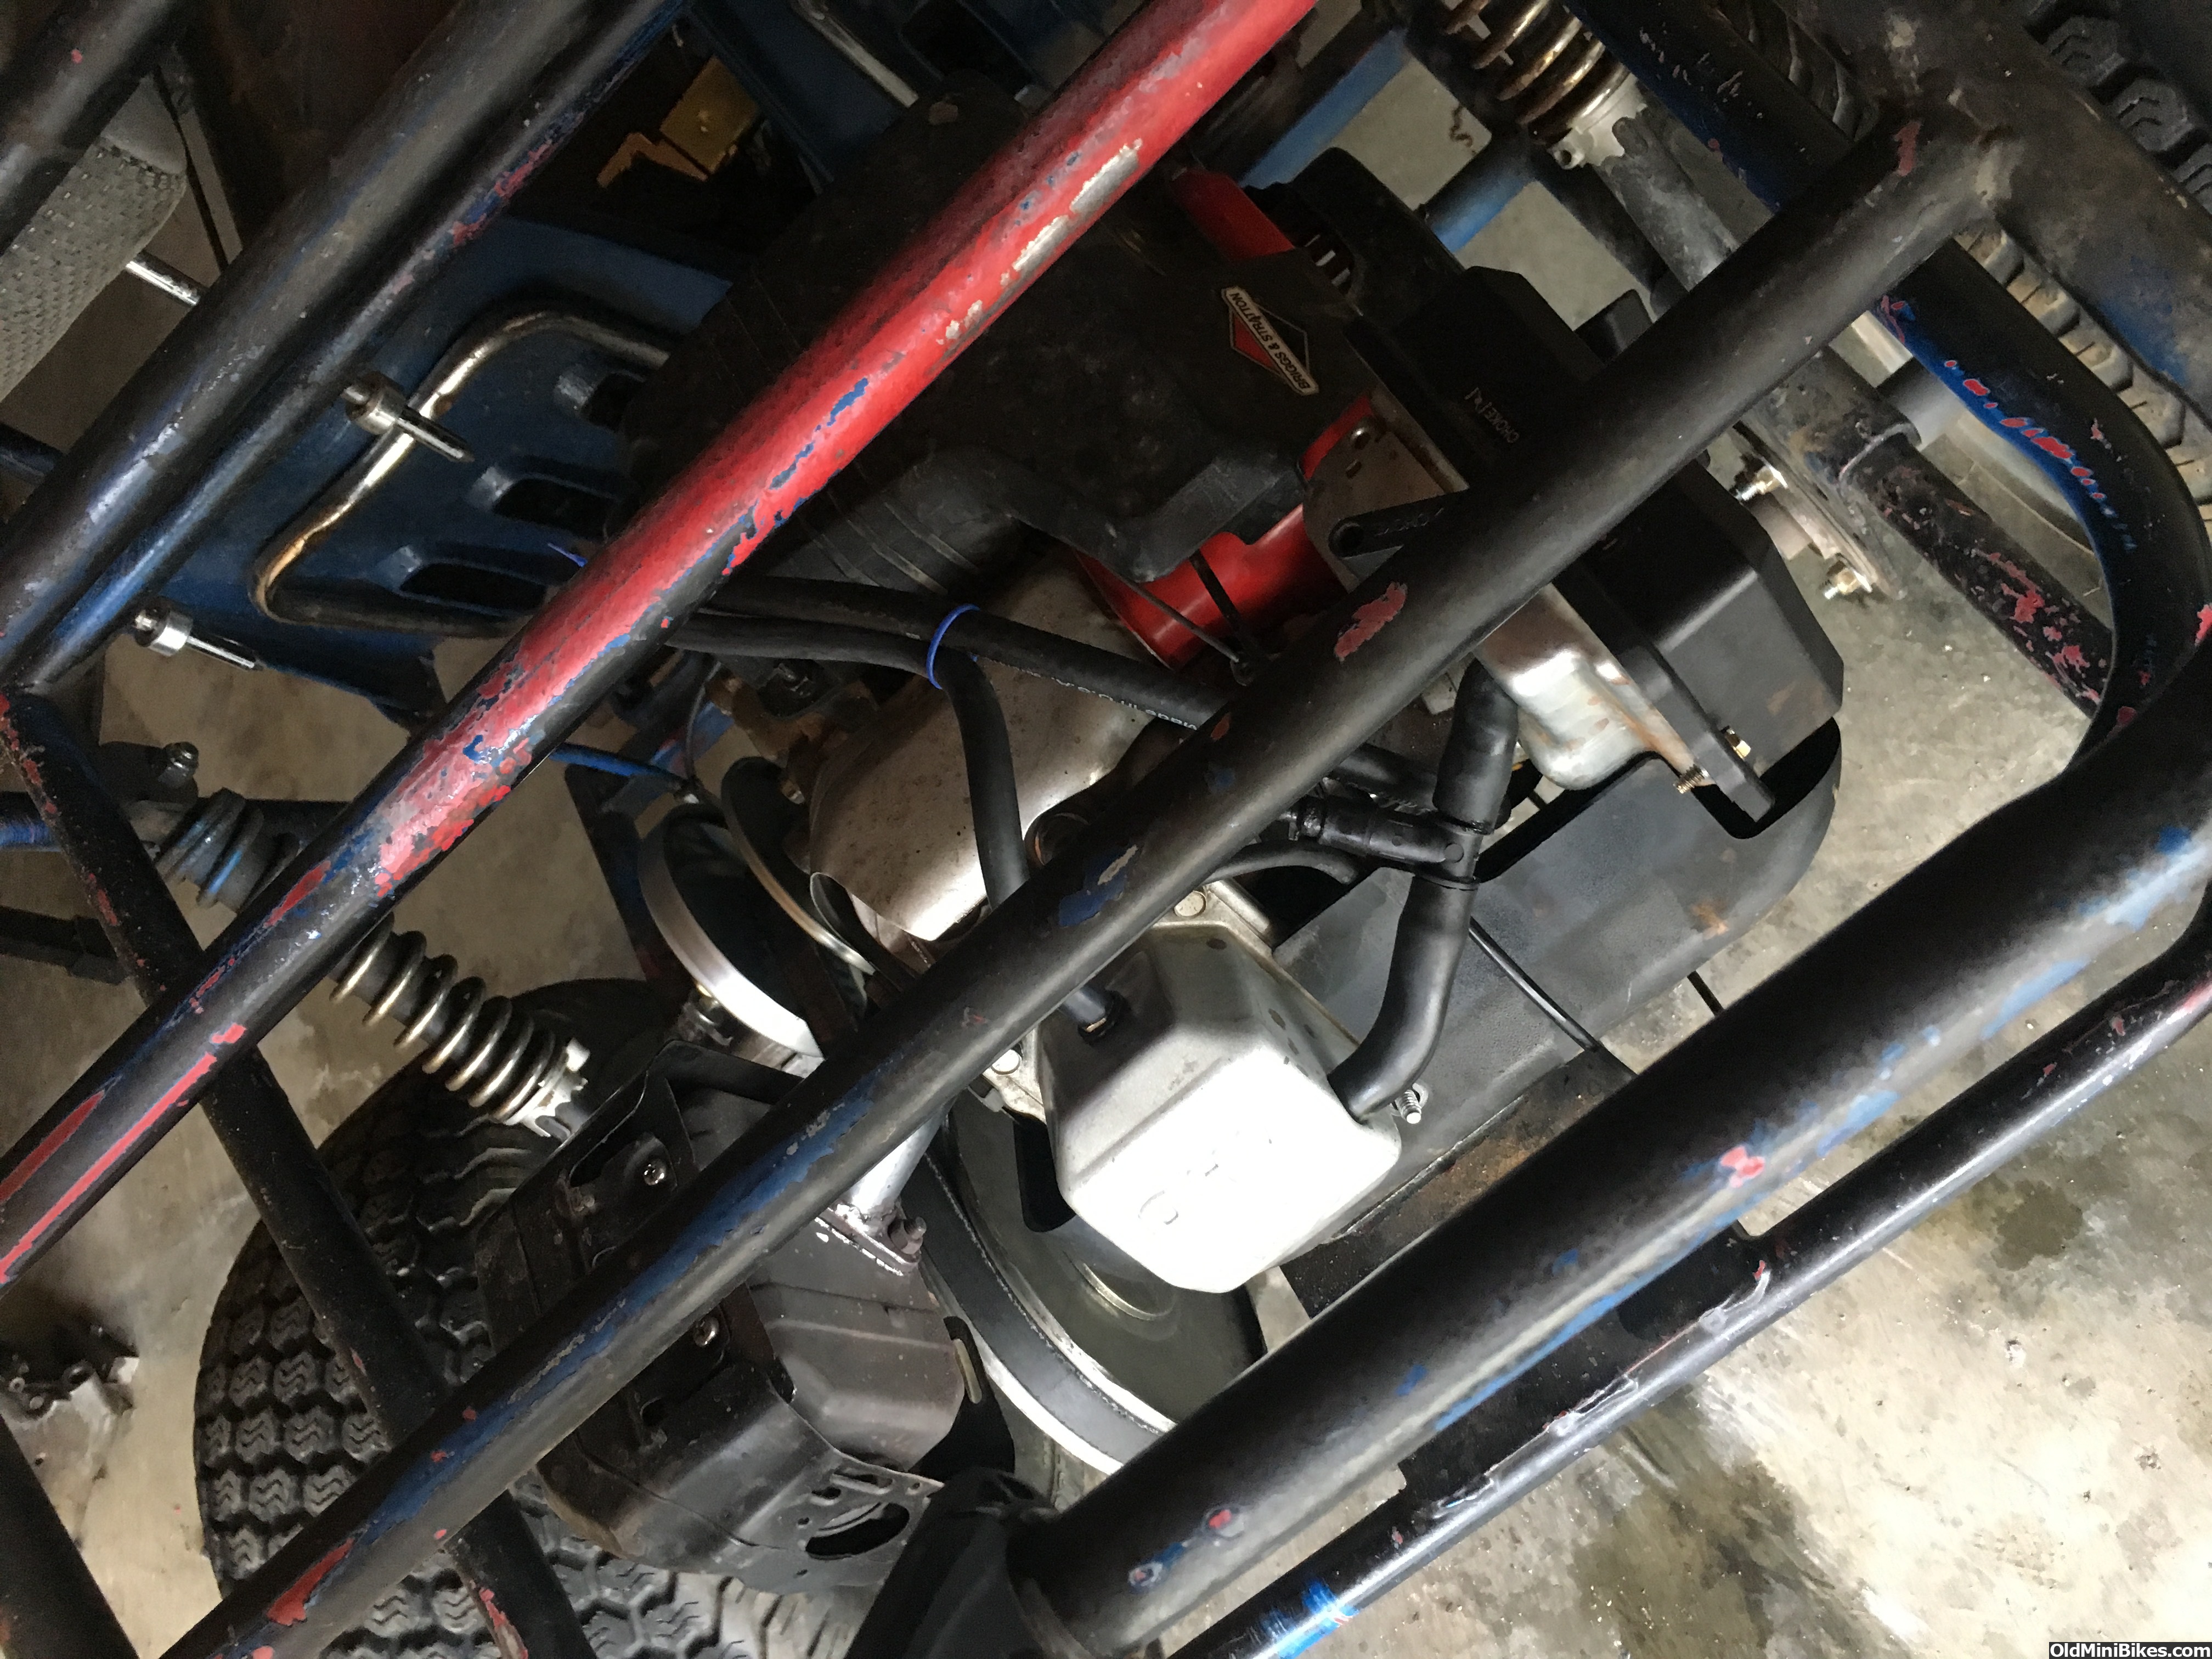
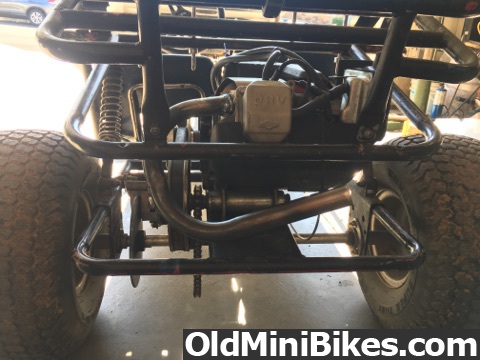
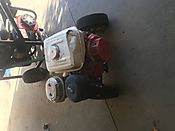
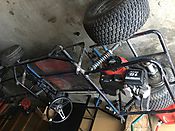
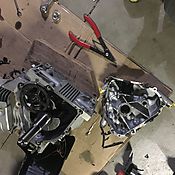
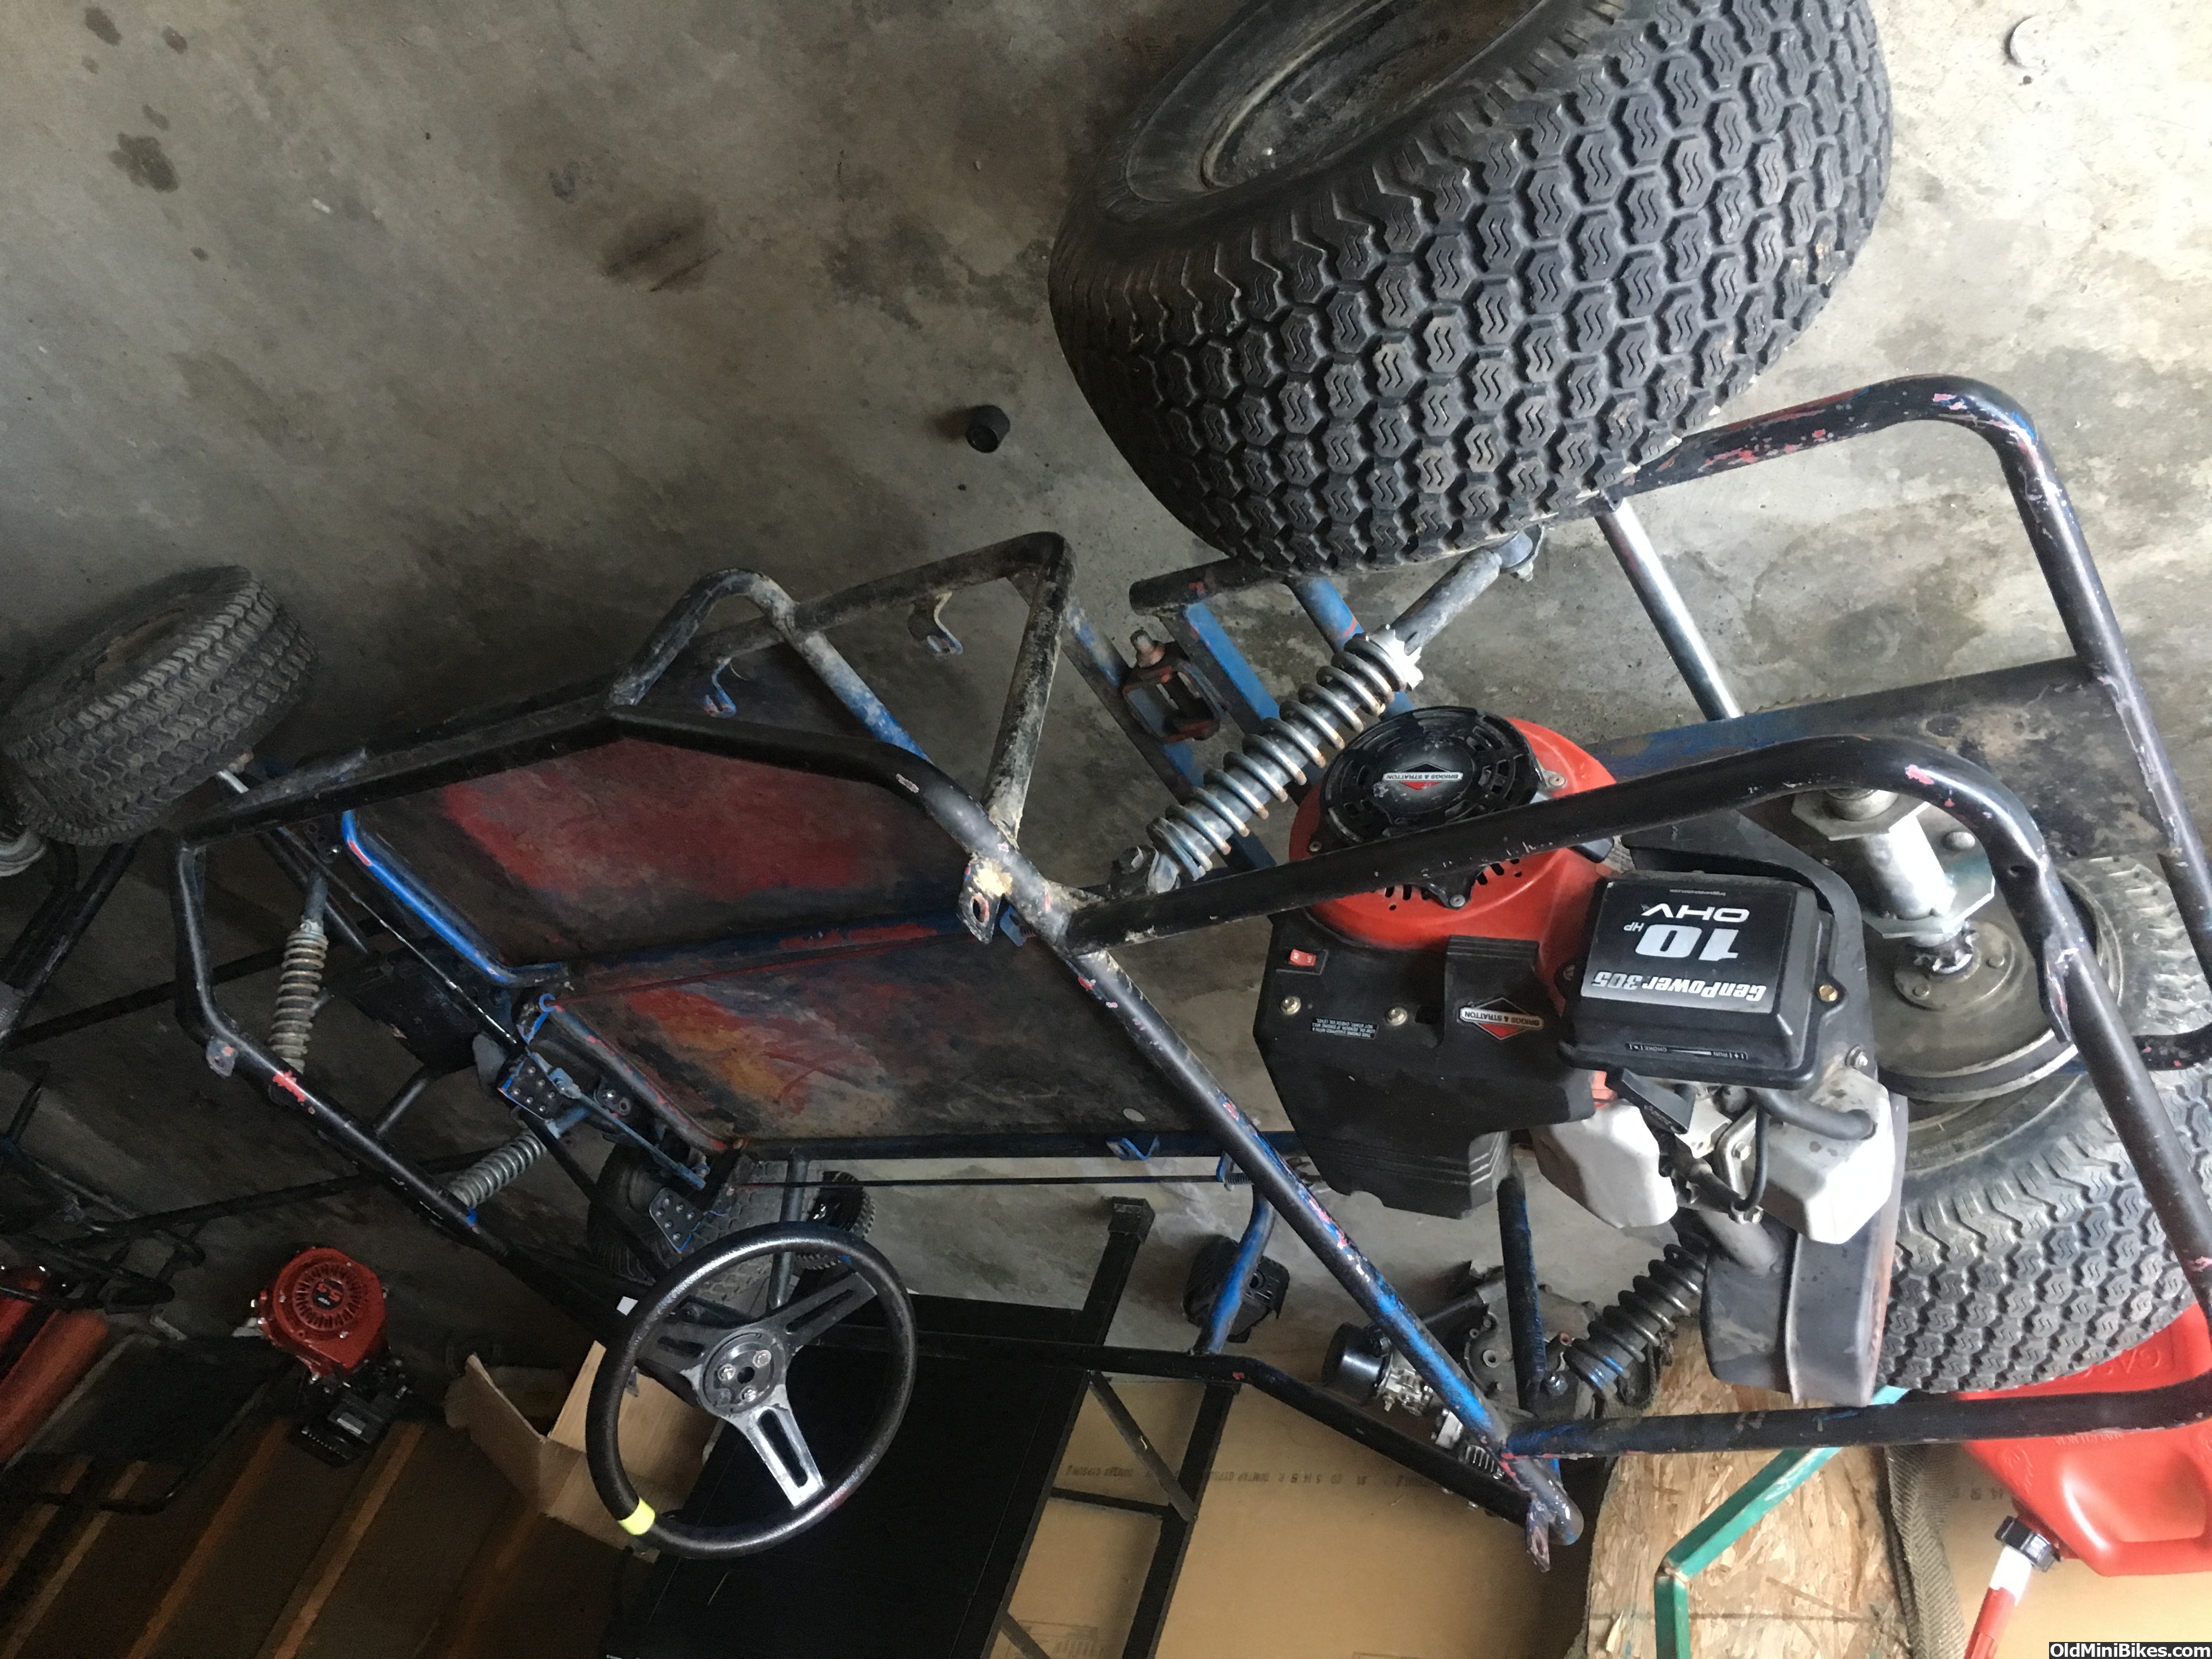
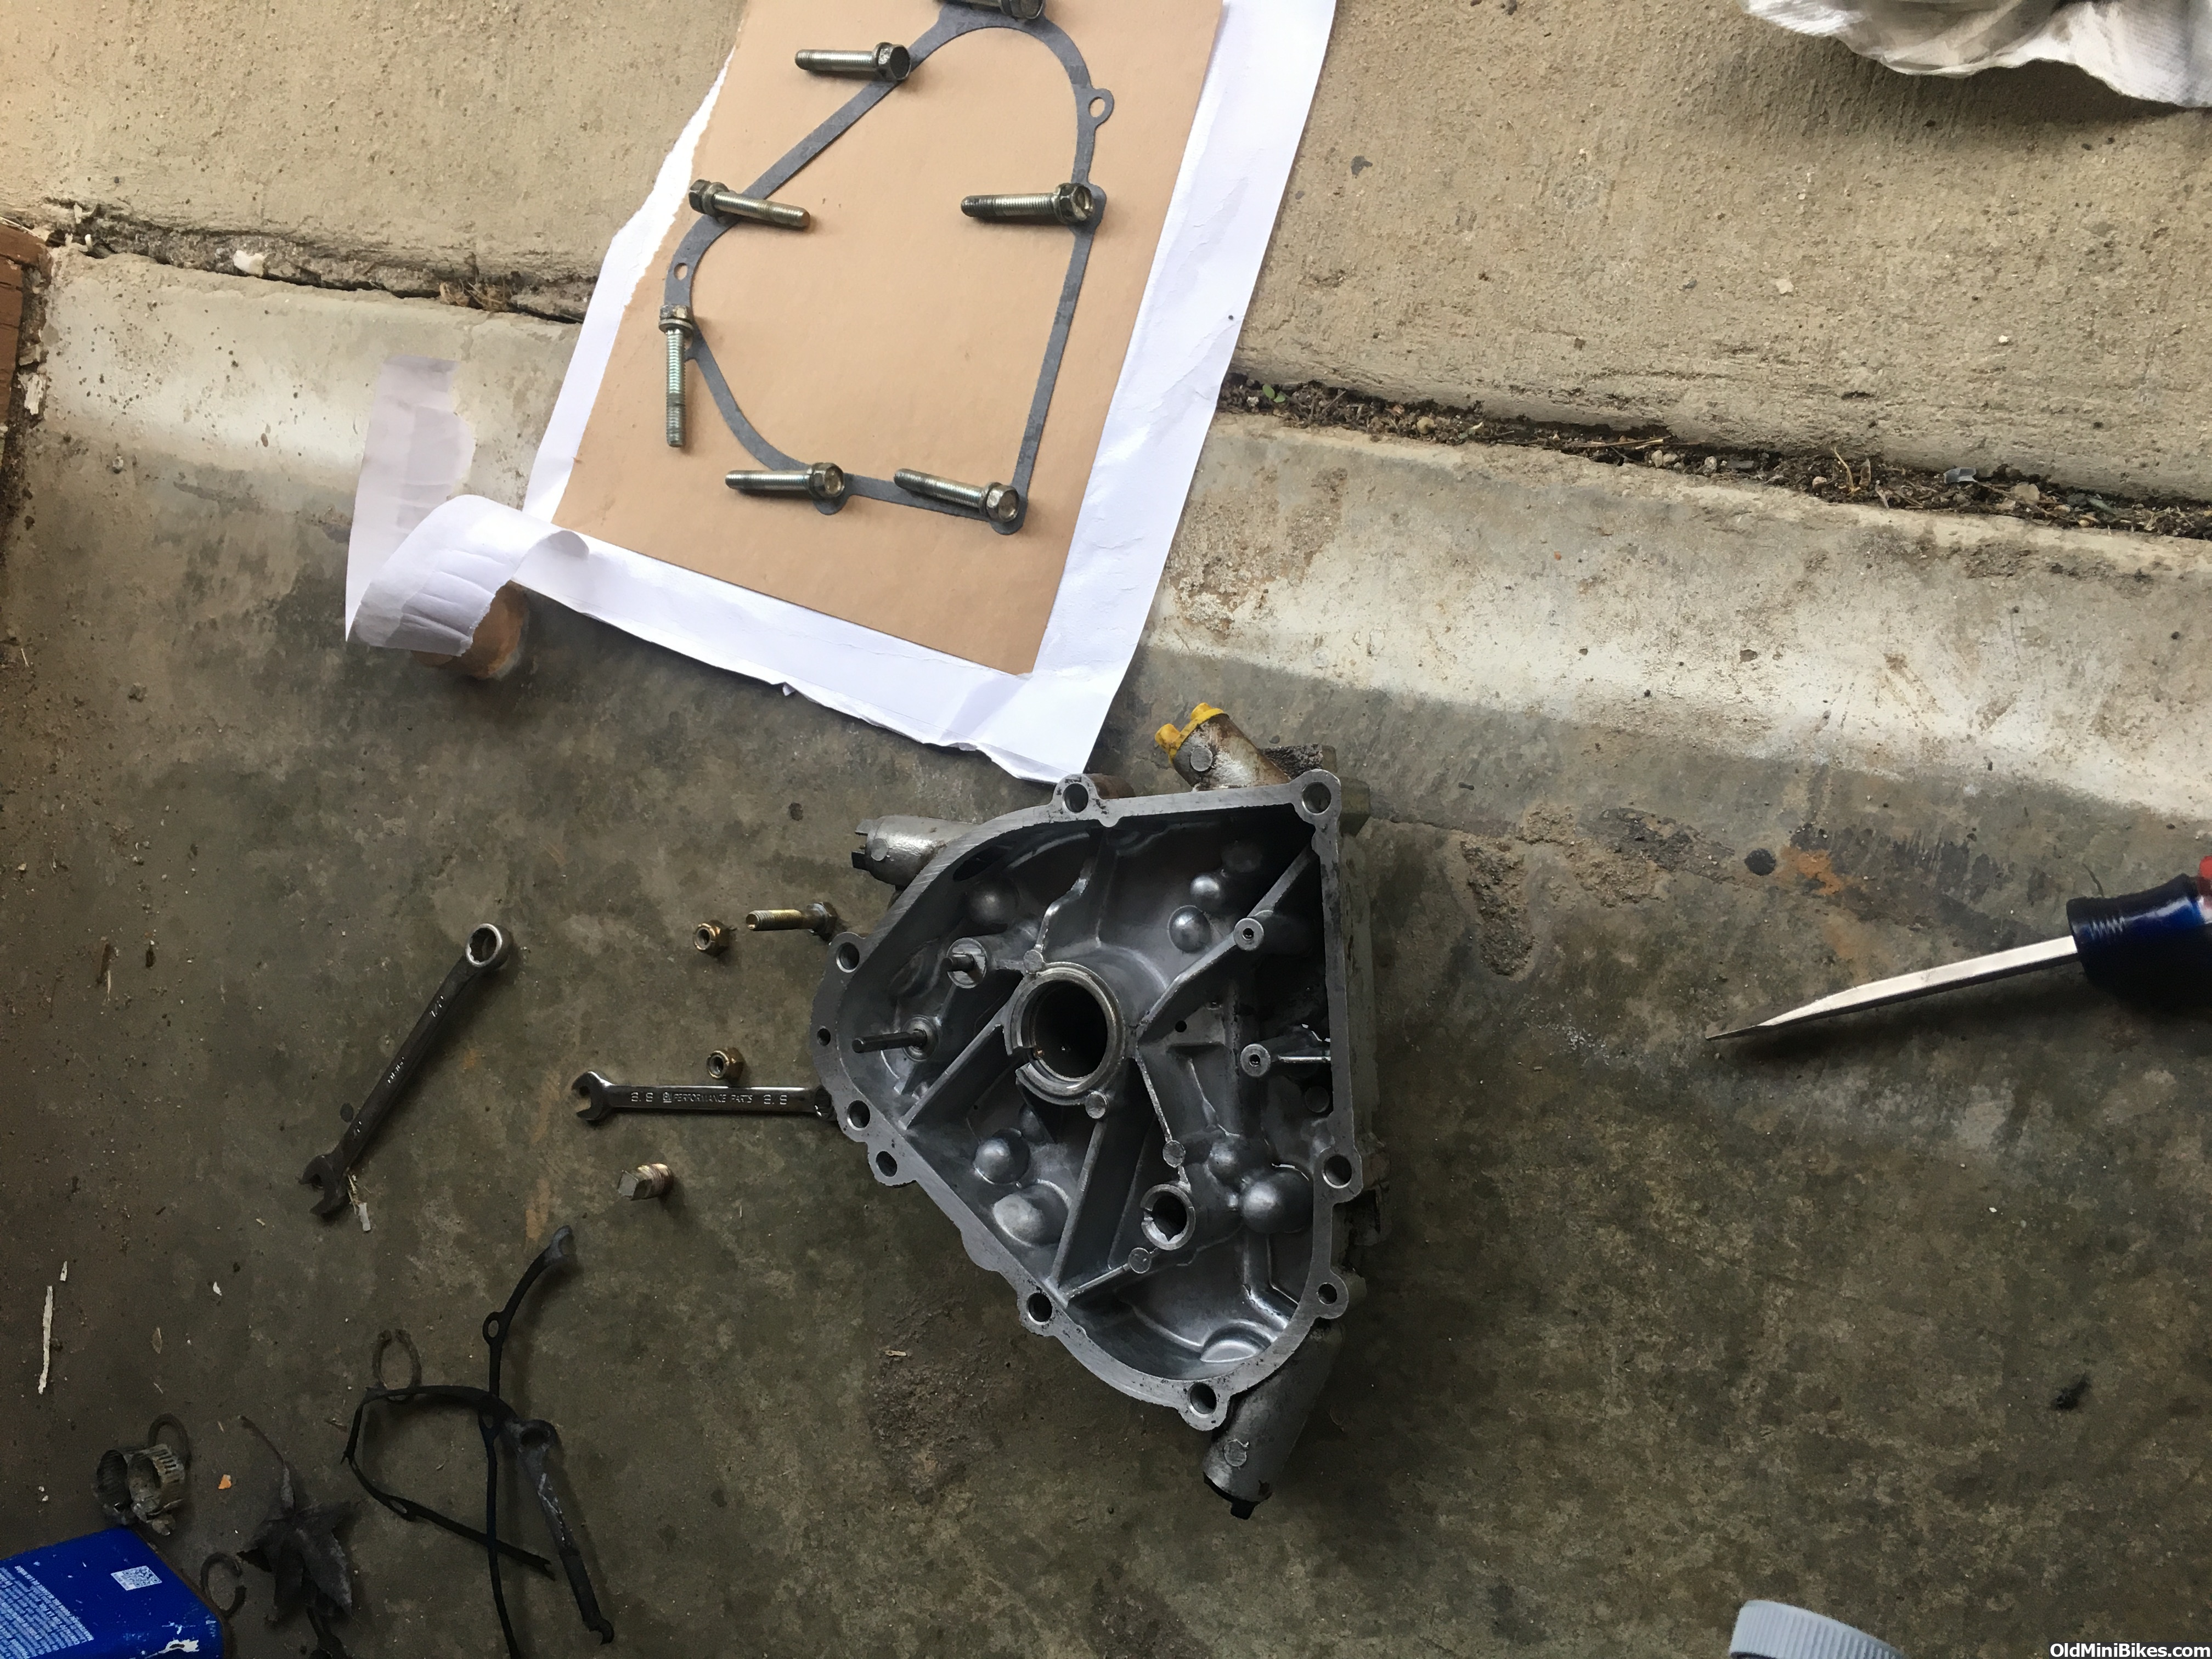
Mock up of the briggs while i waited for the crank shaft and driver pulley
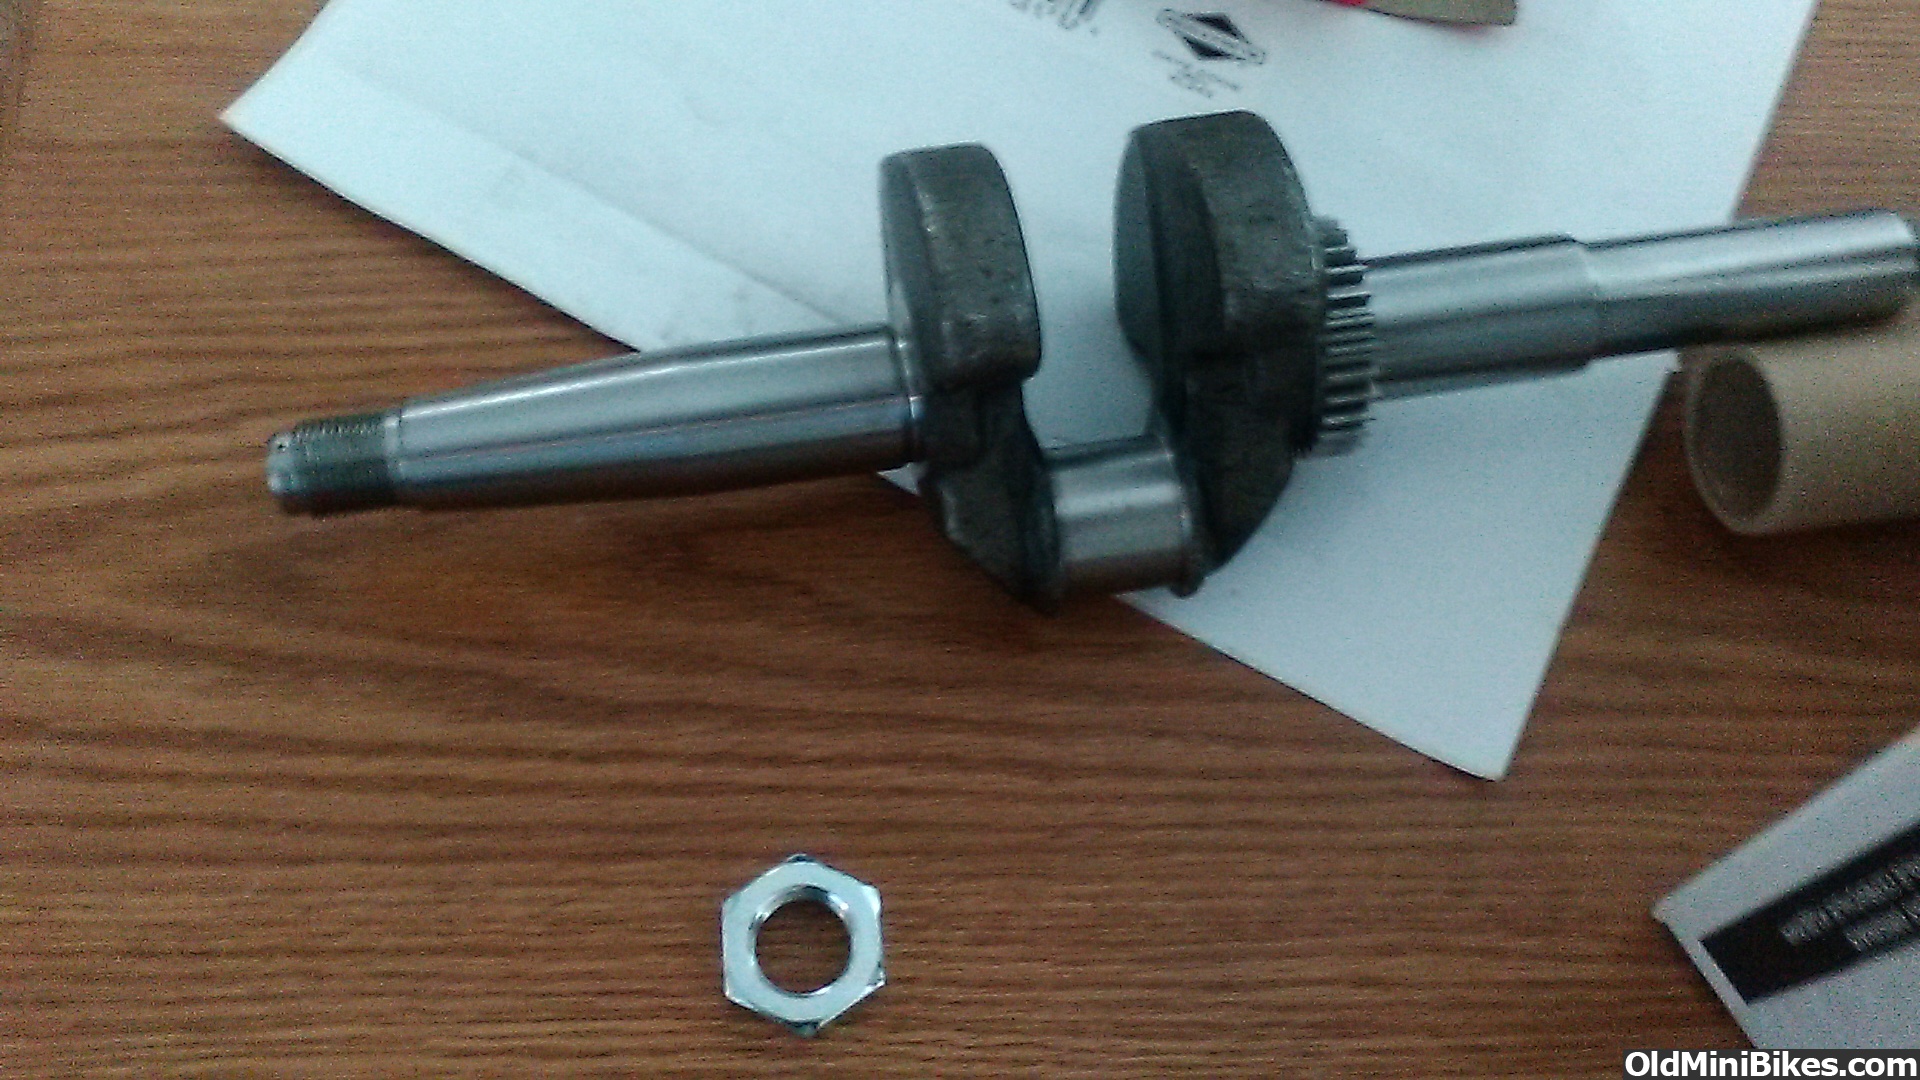
new crank
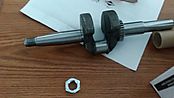
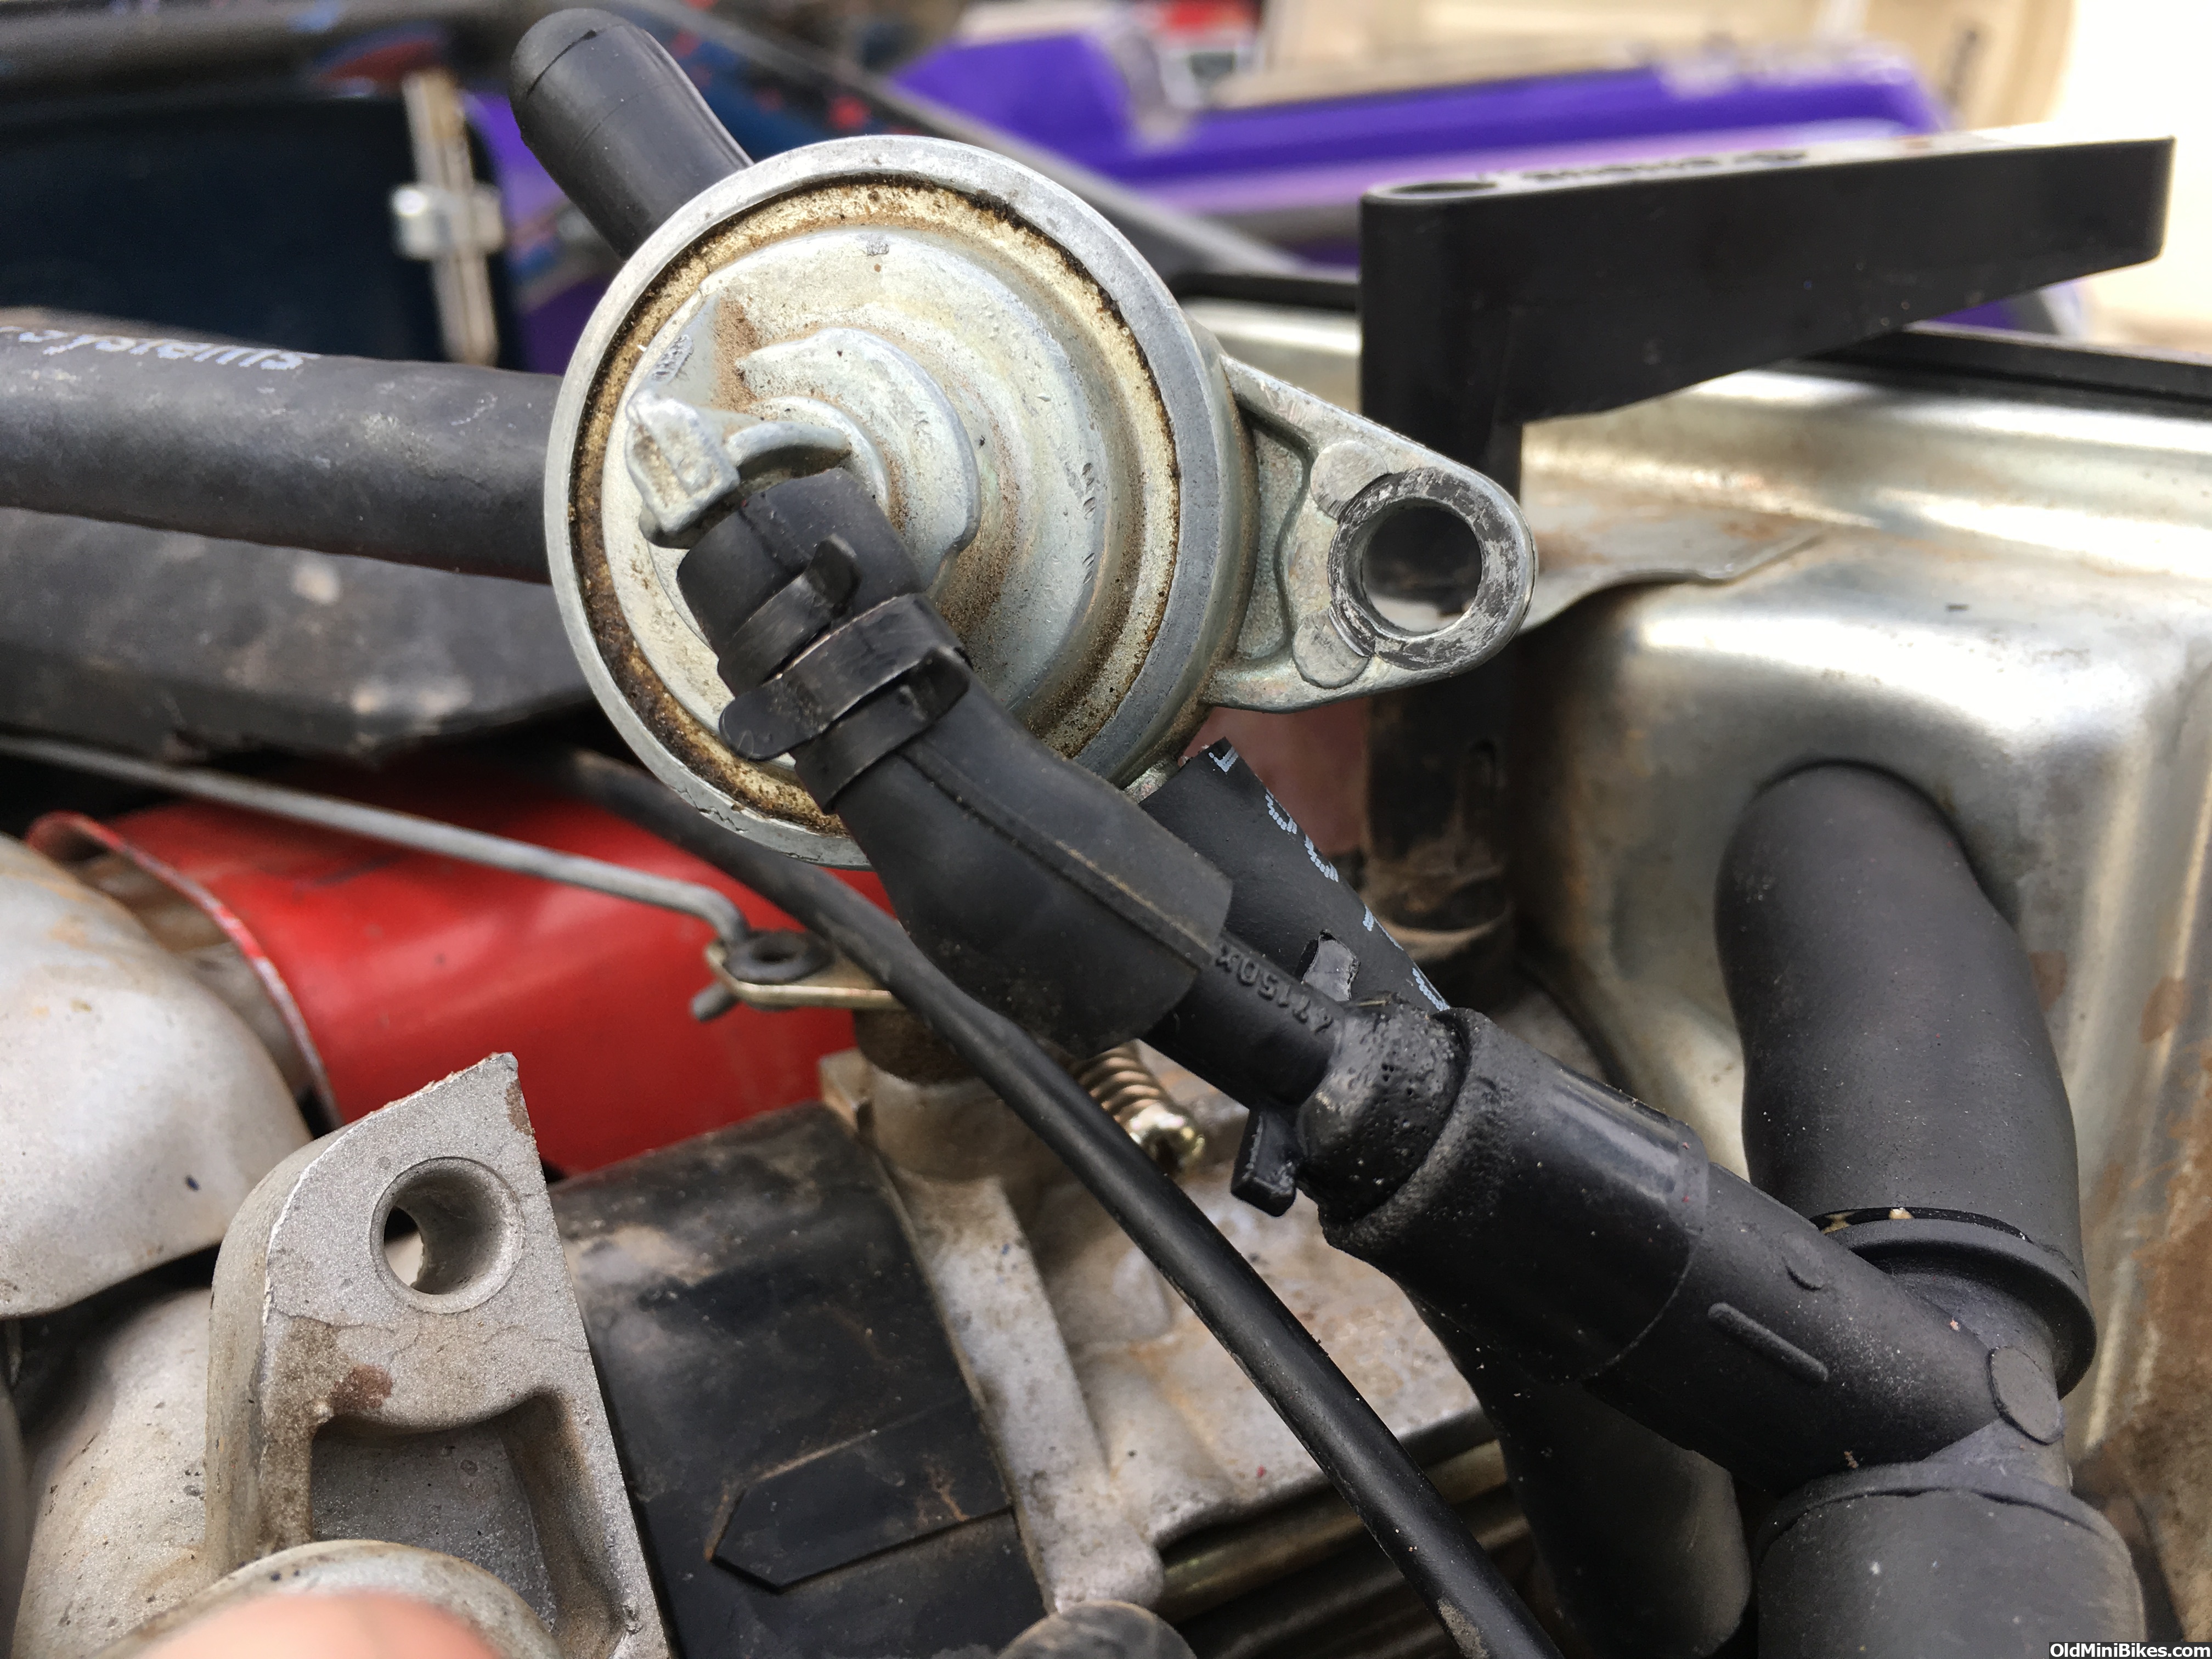
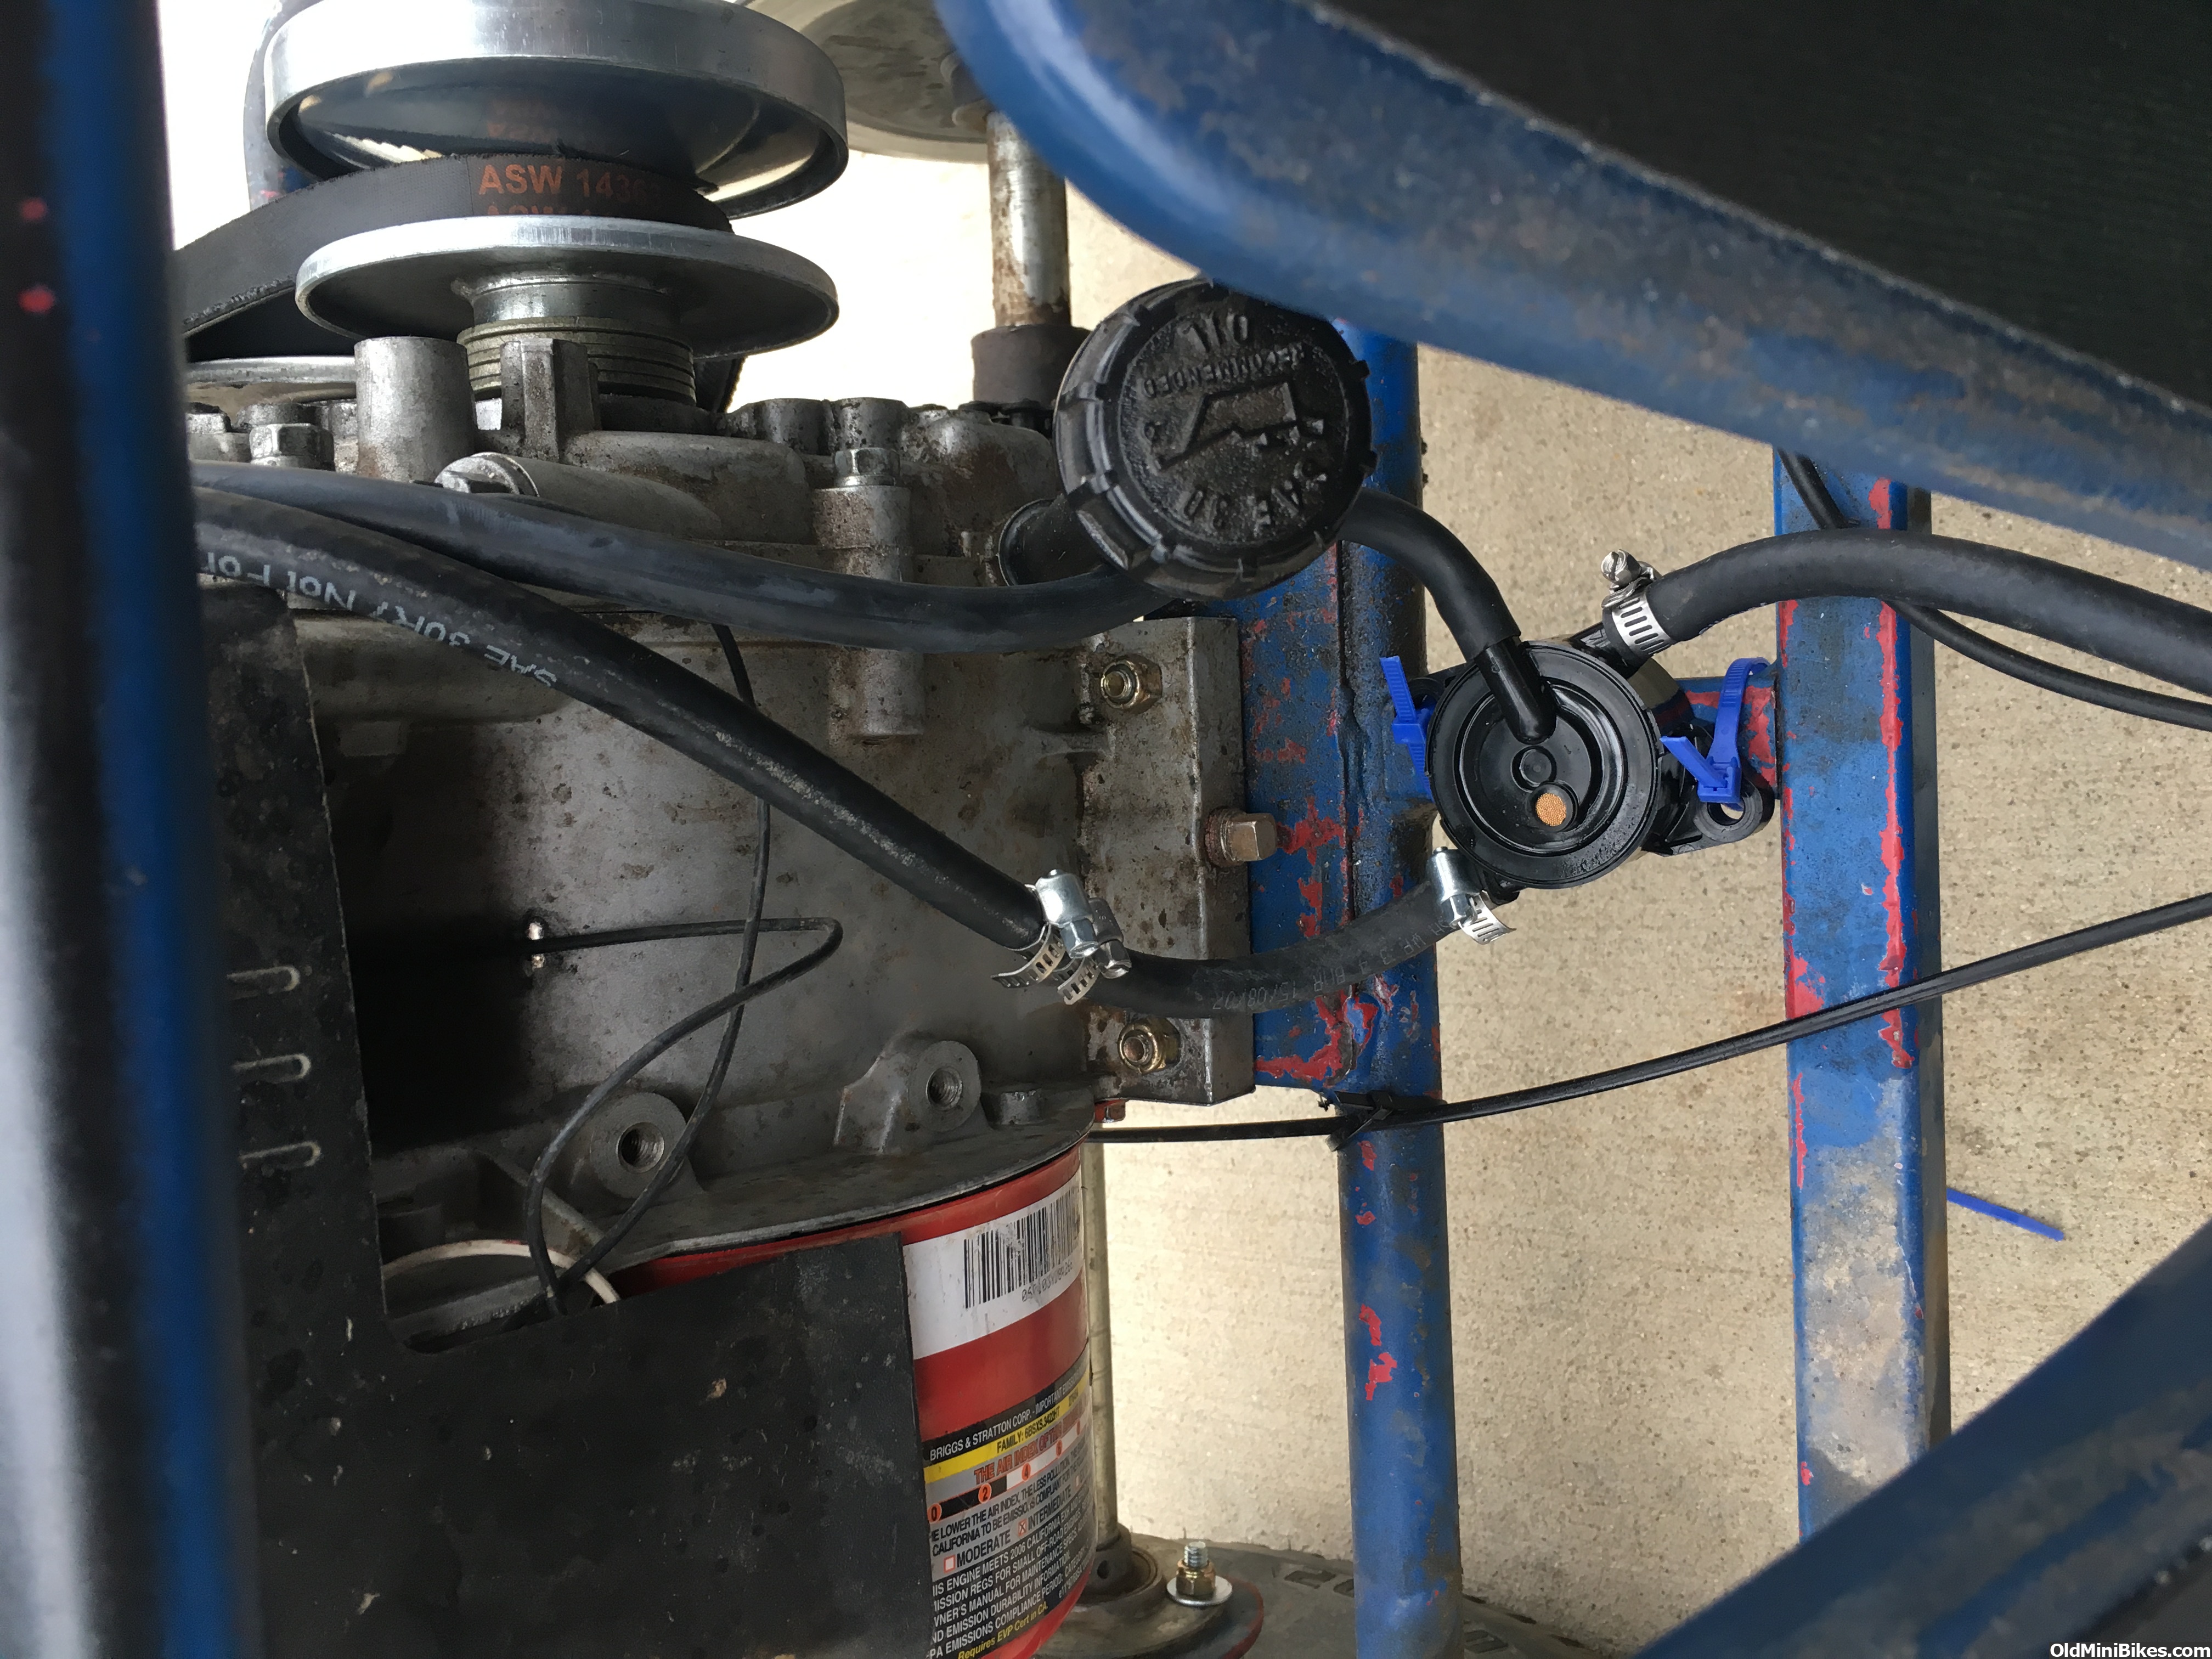
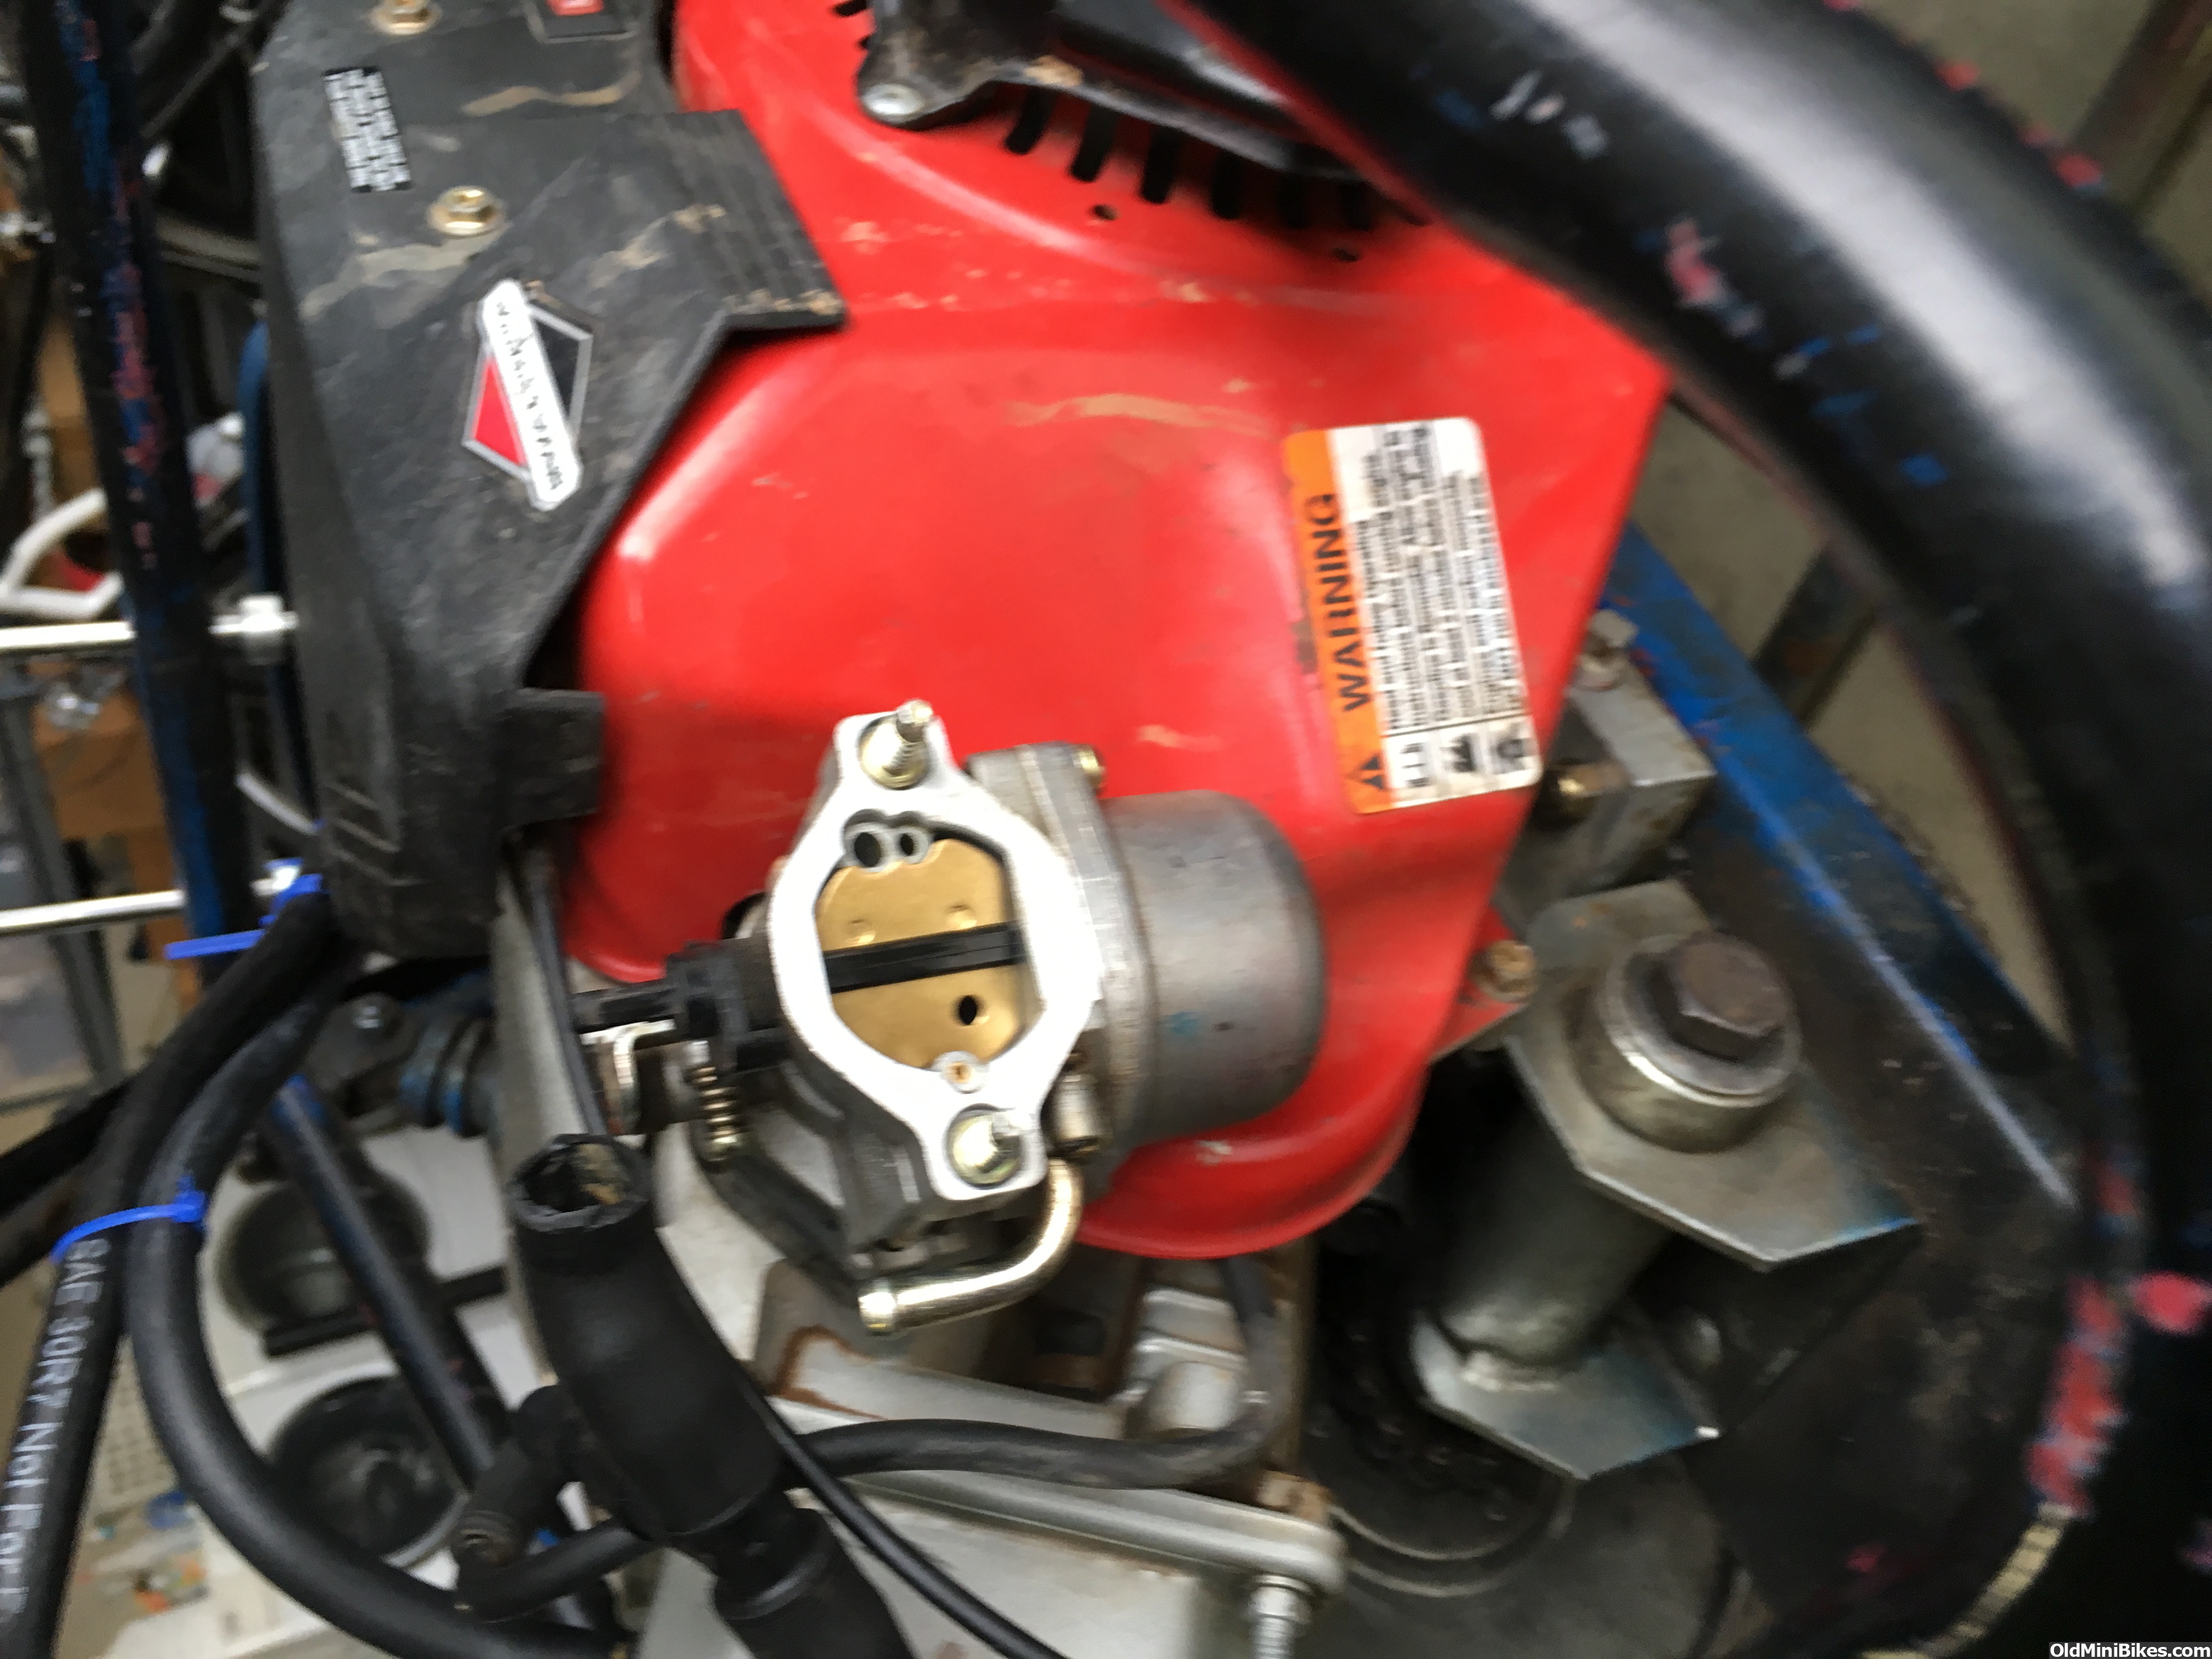
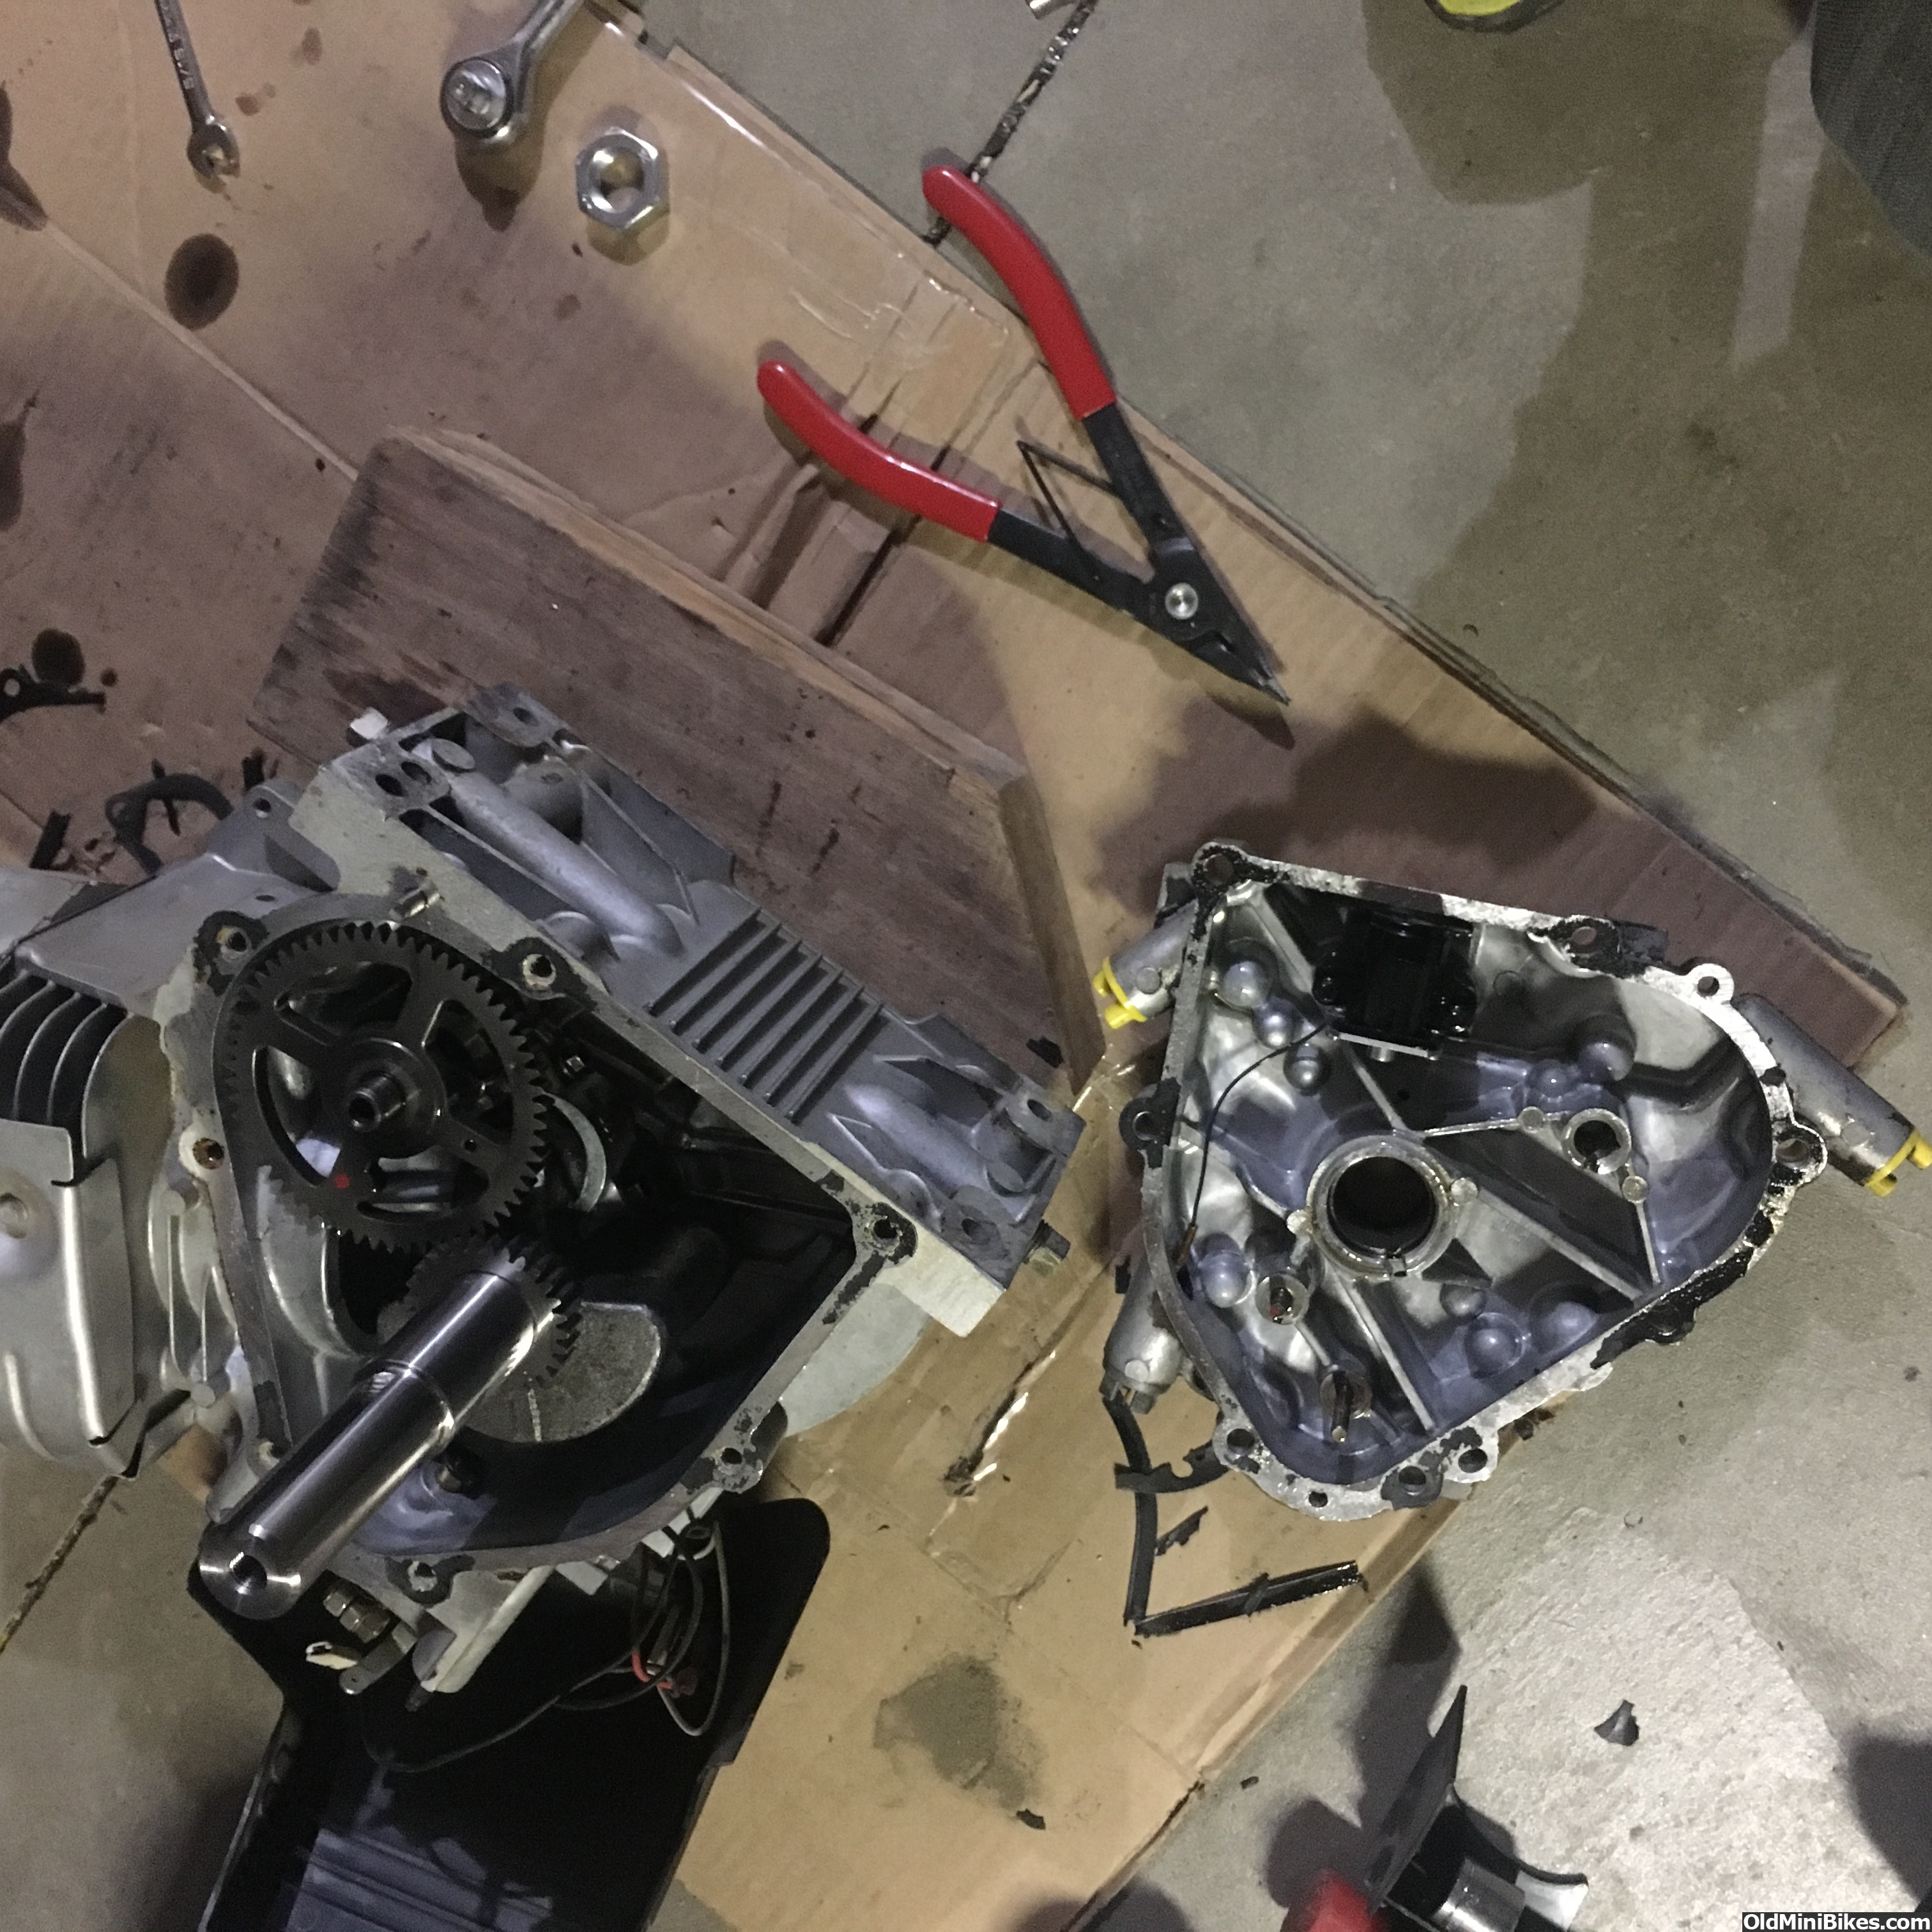
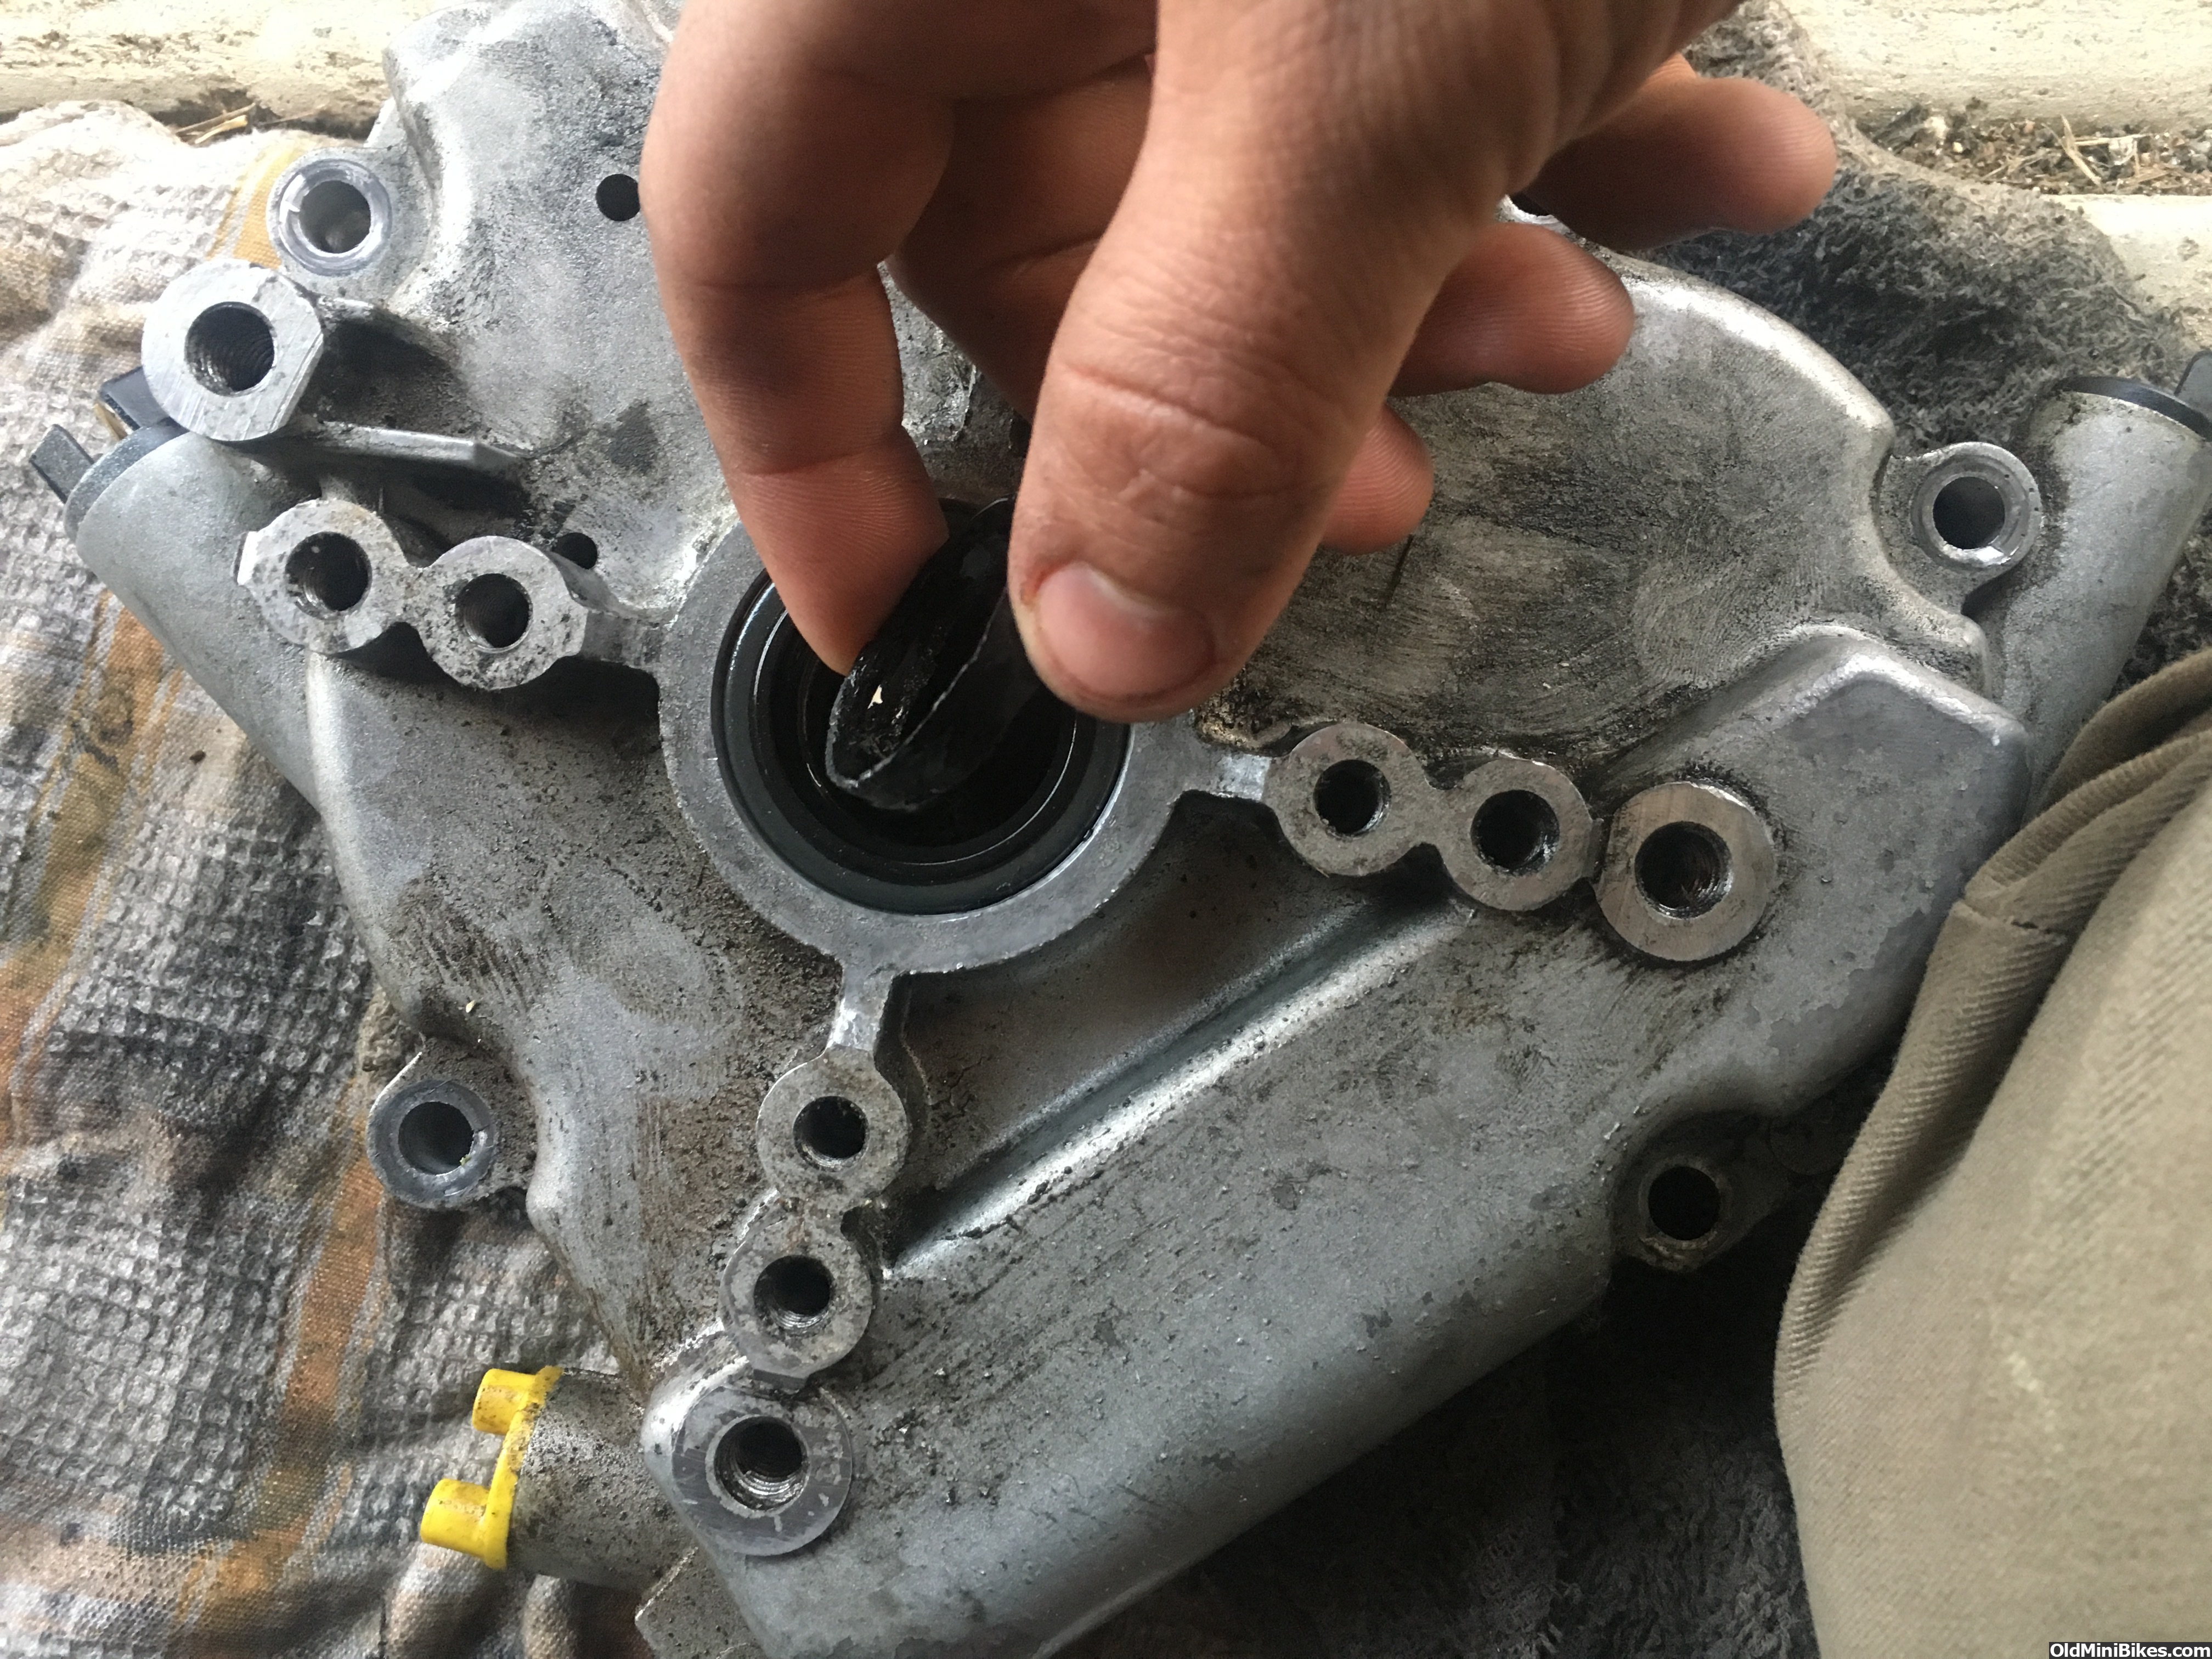
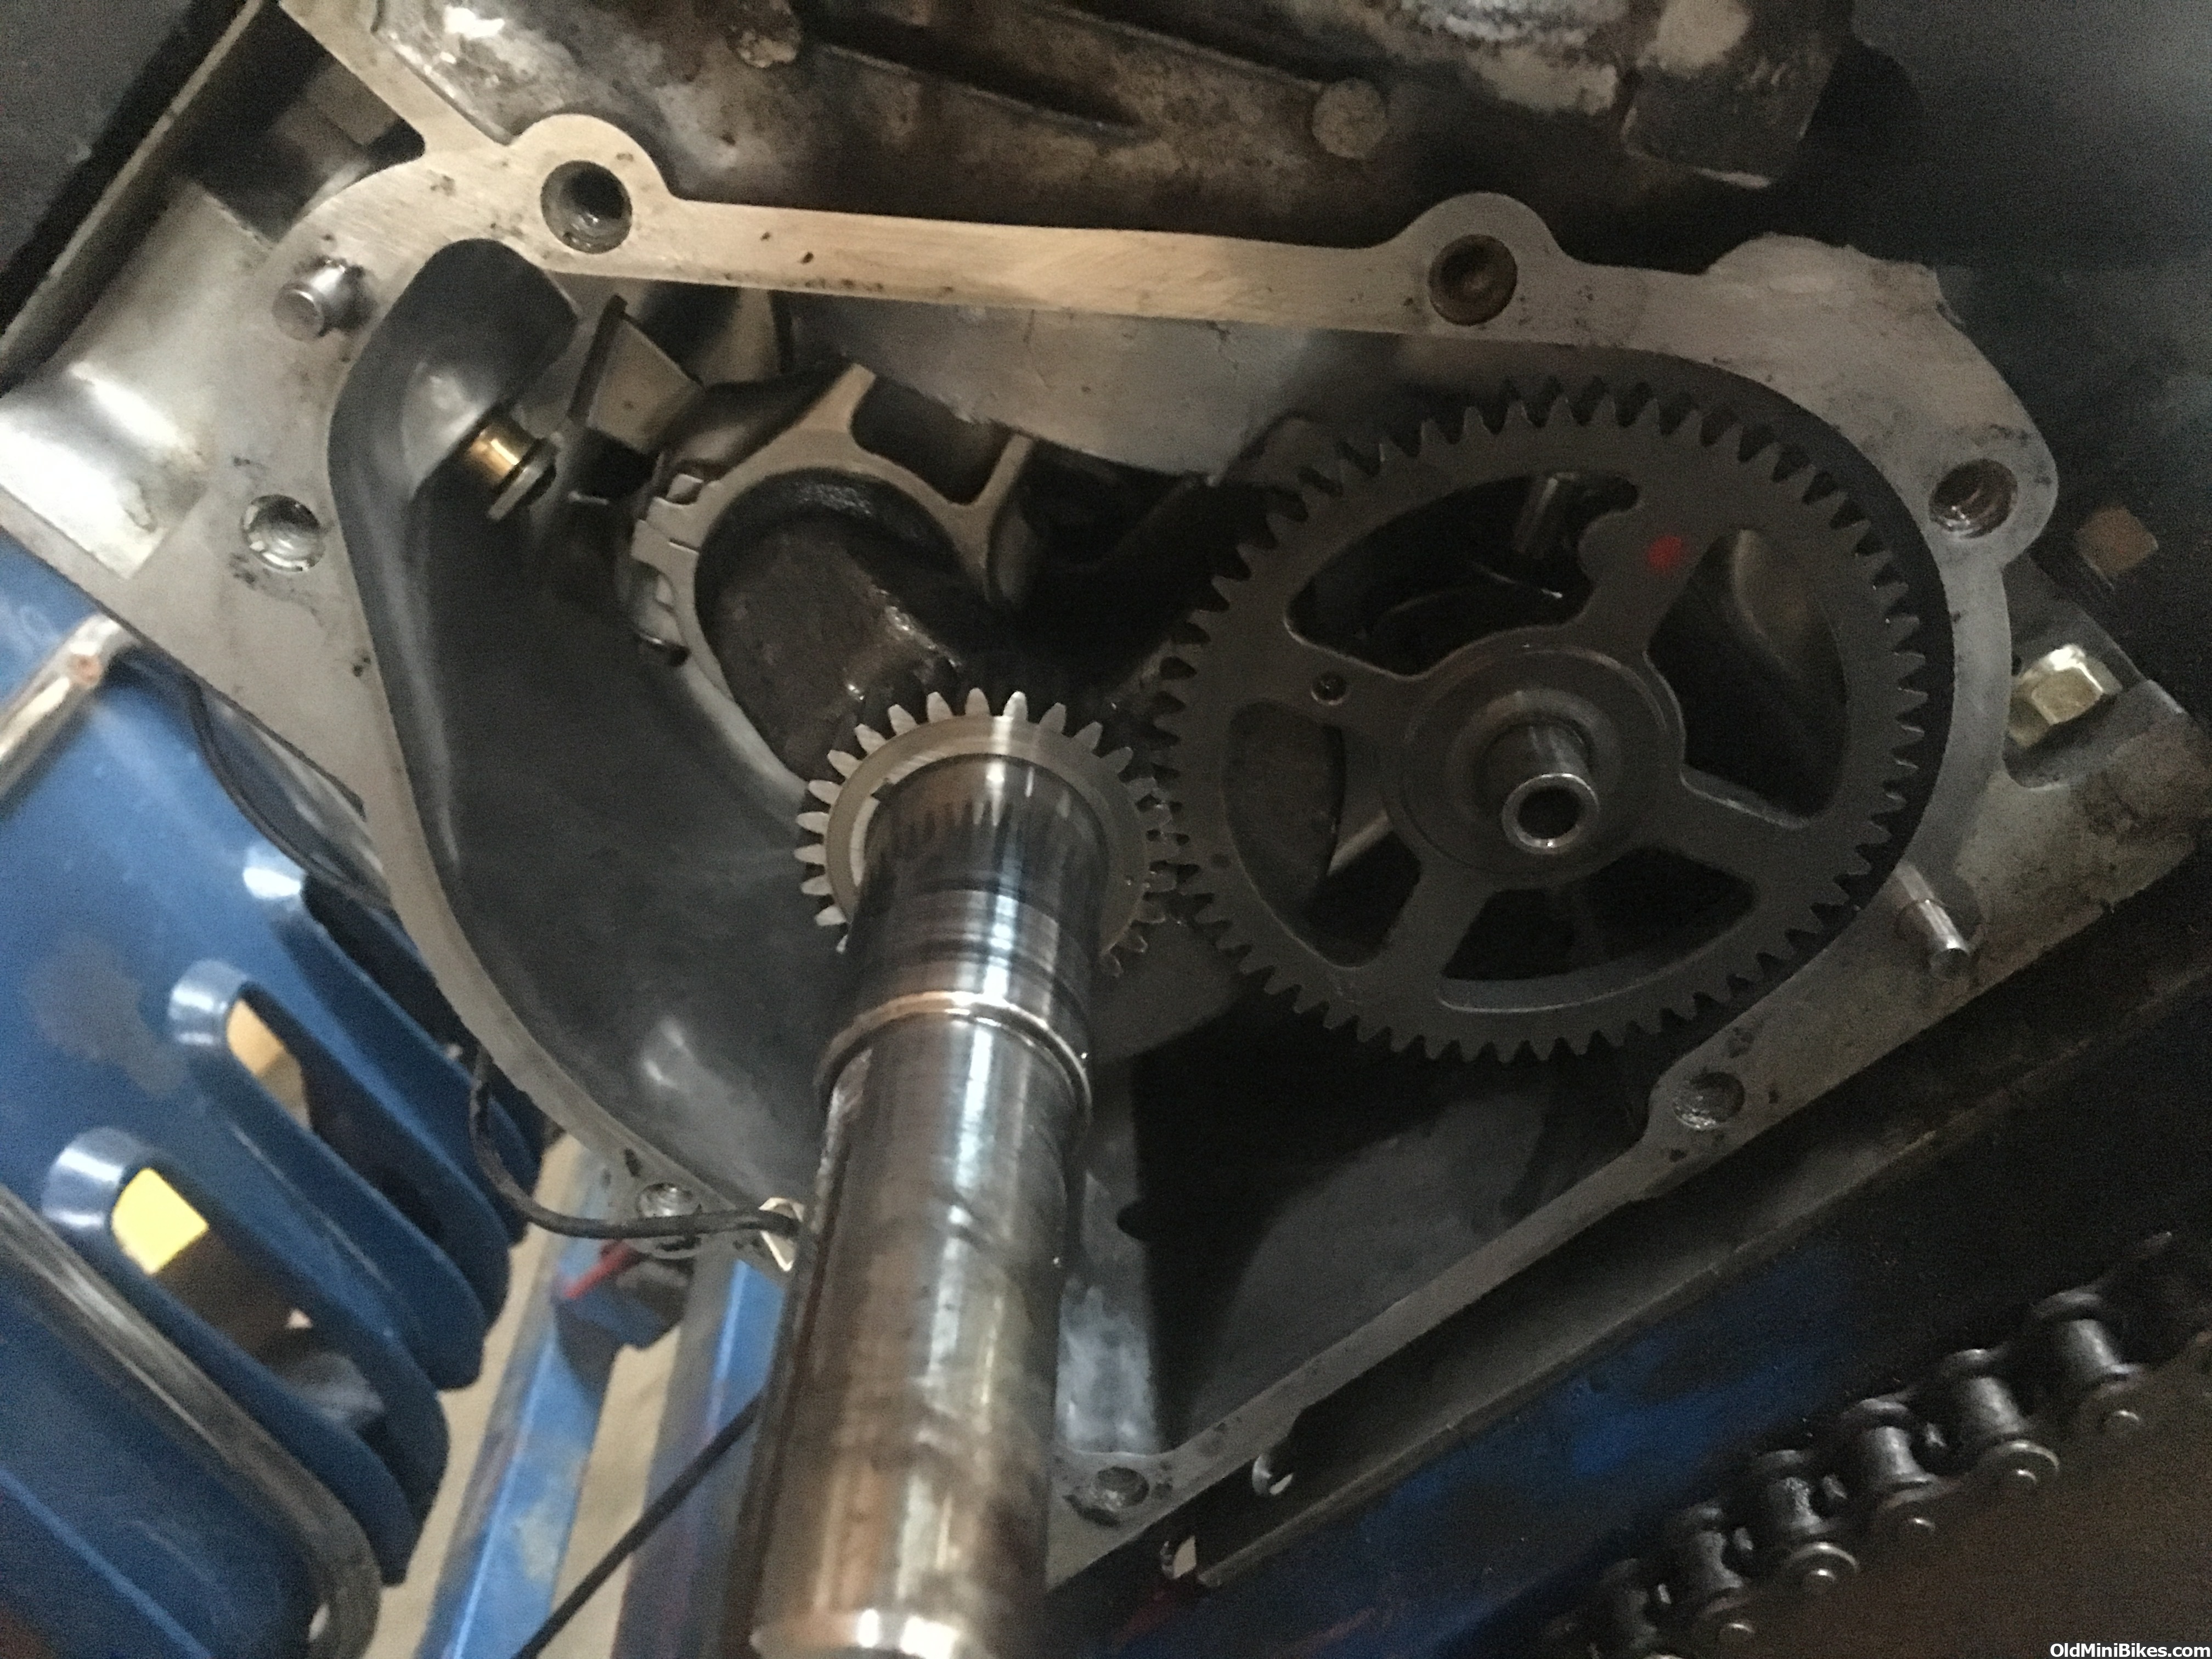
removed governor and oil sensor while i was in there
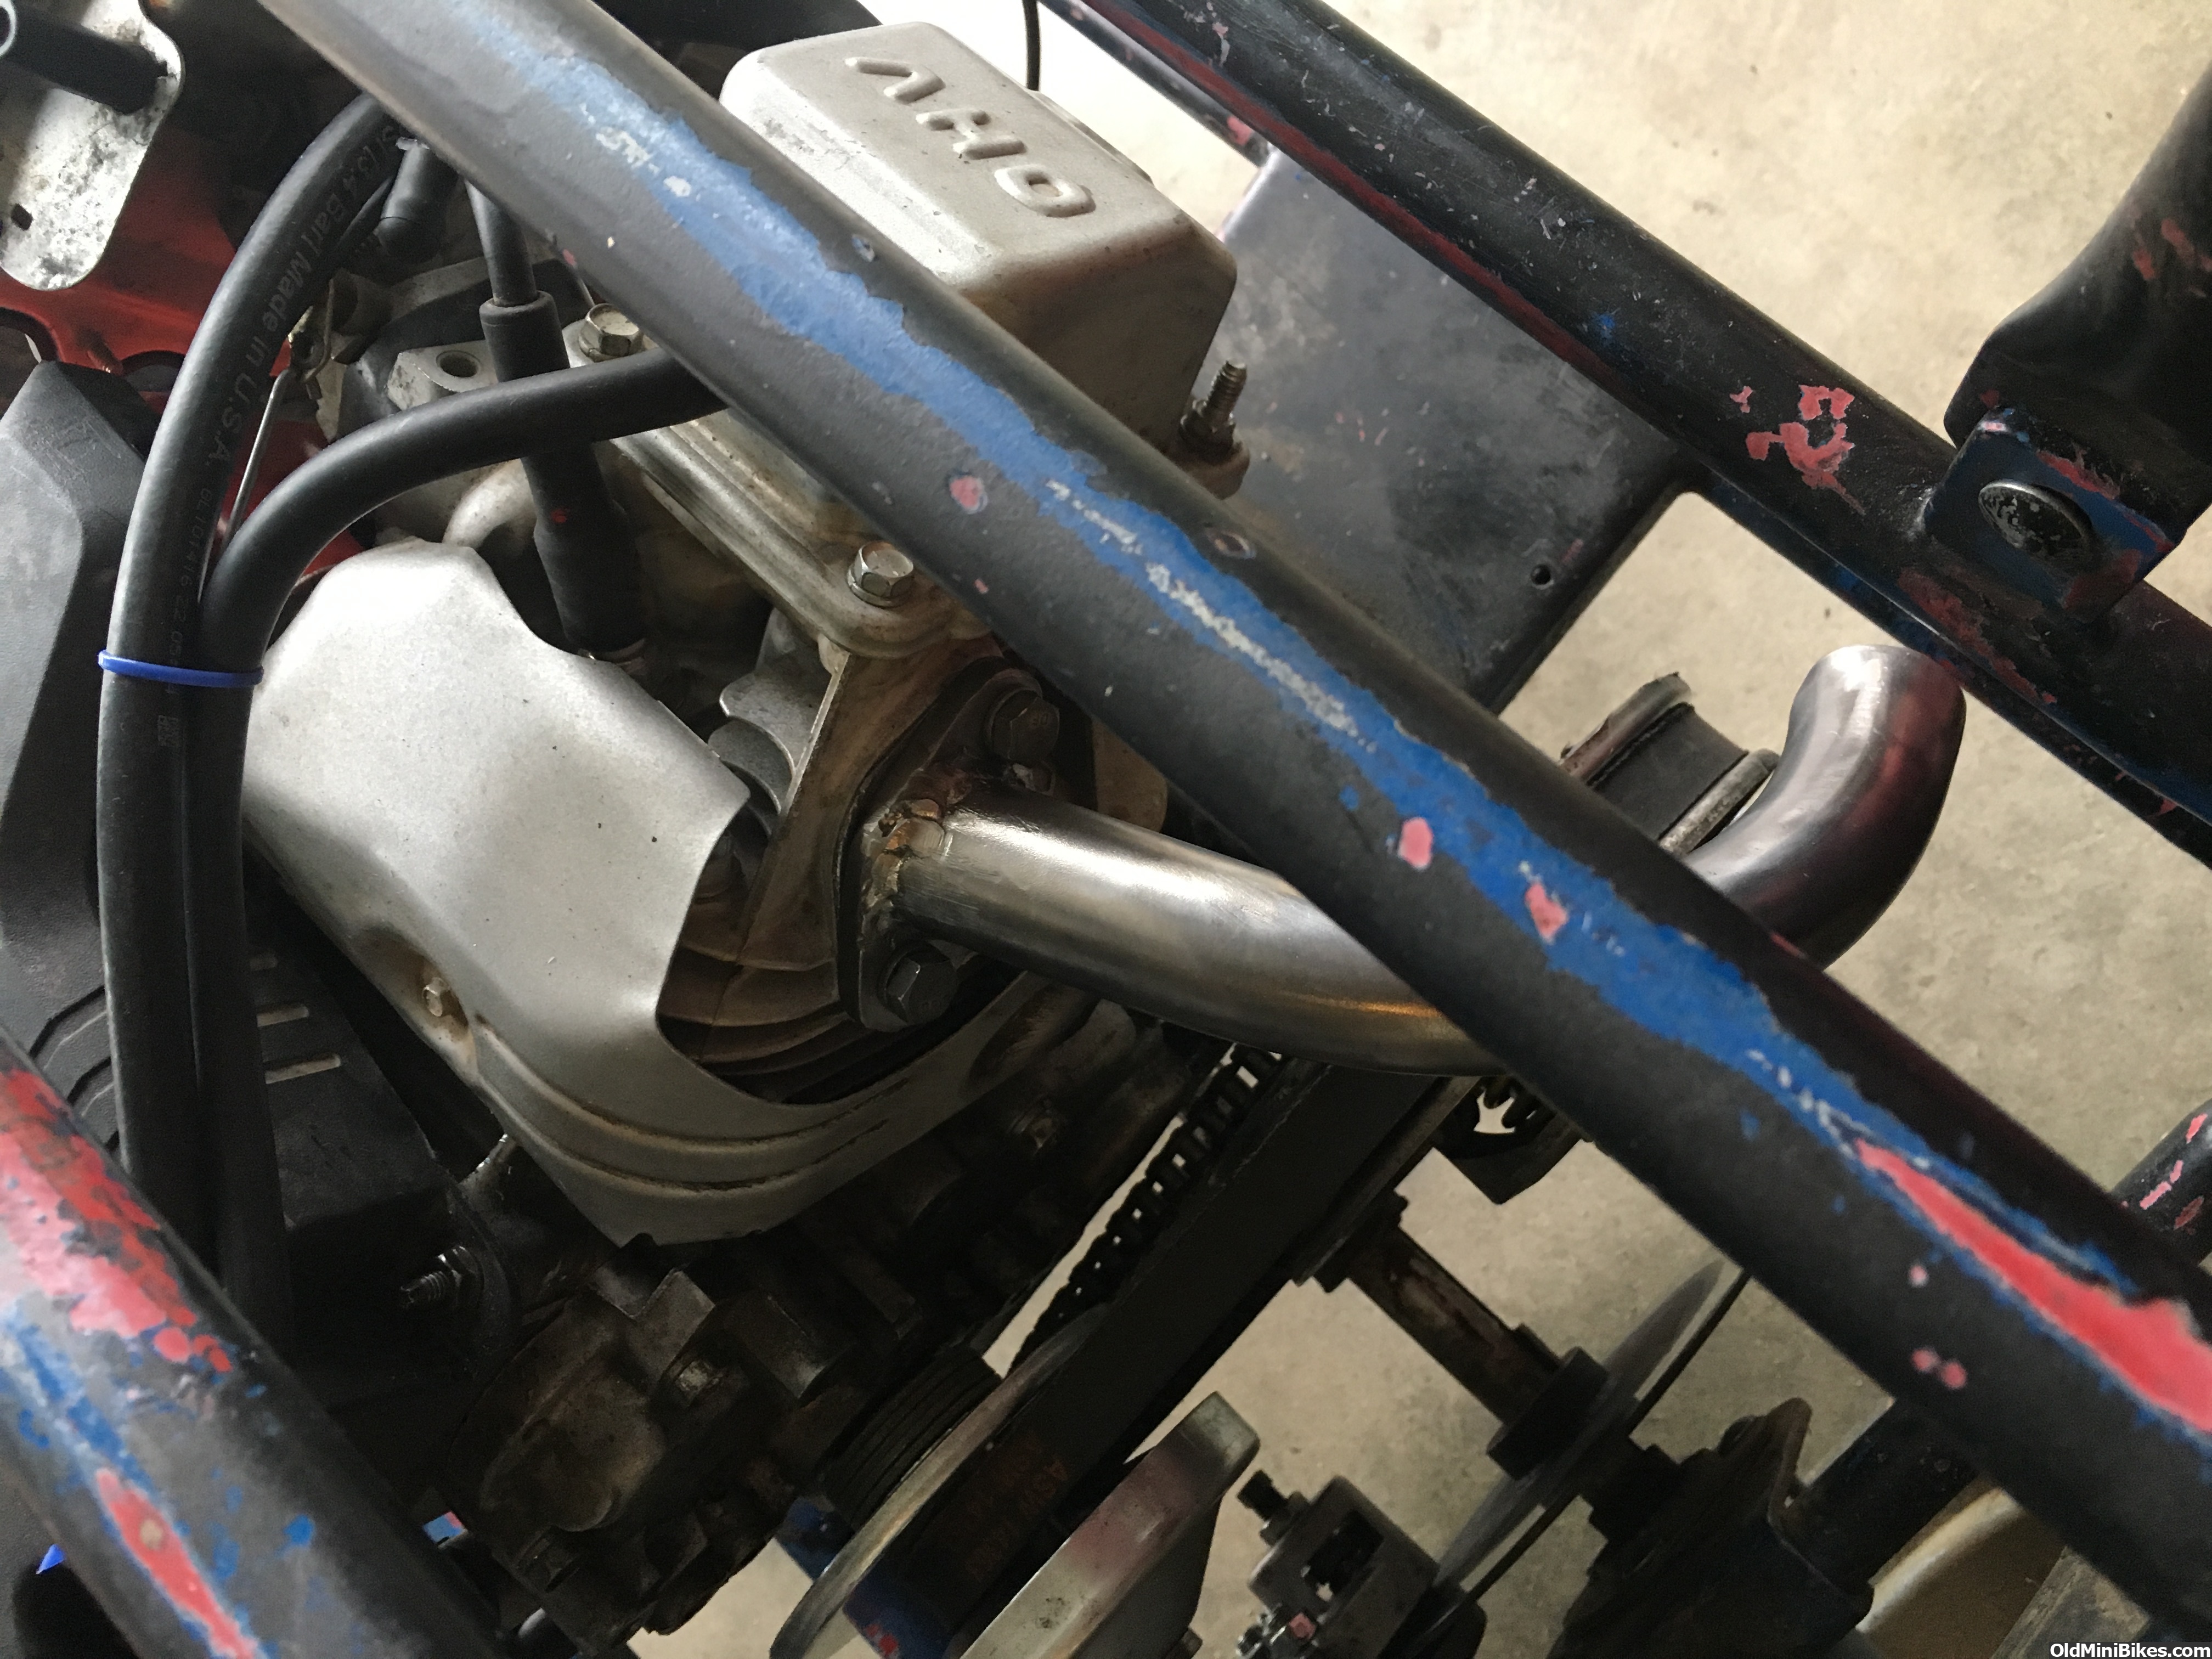
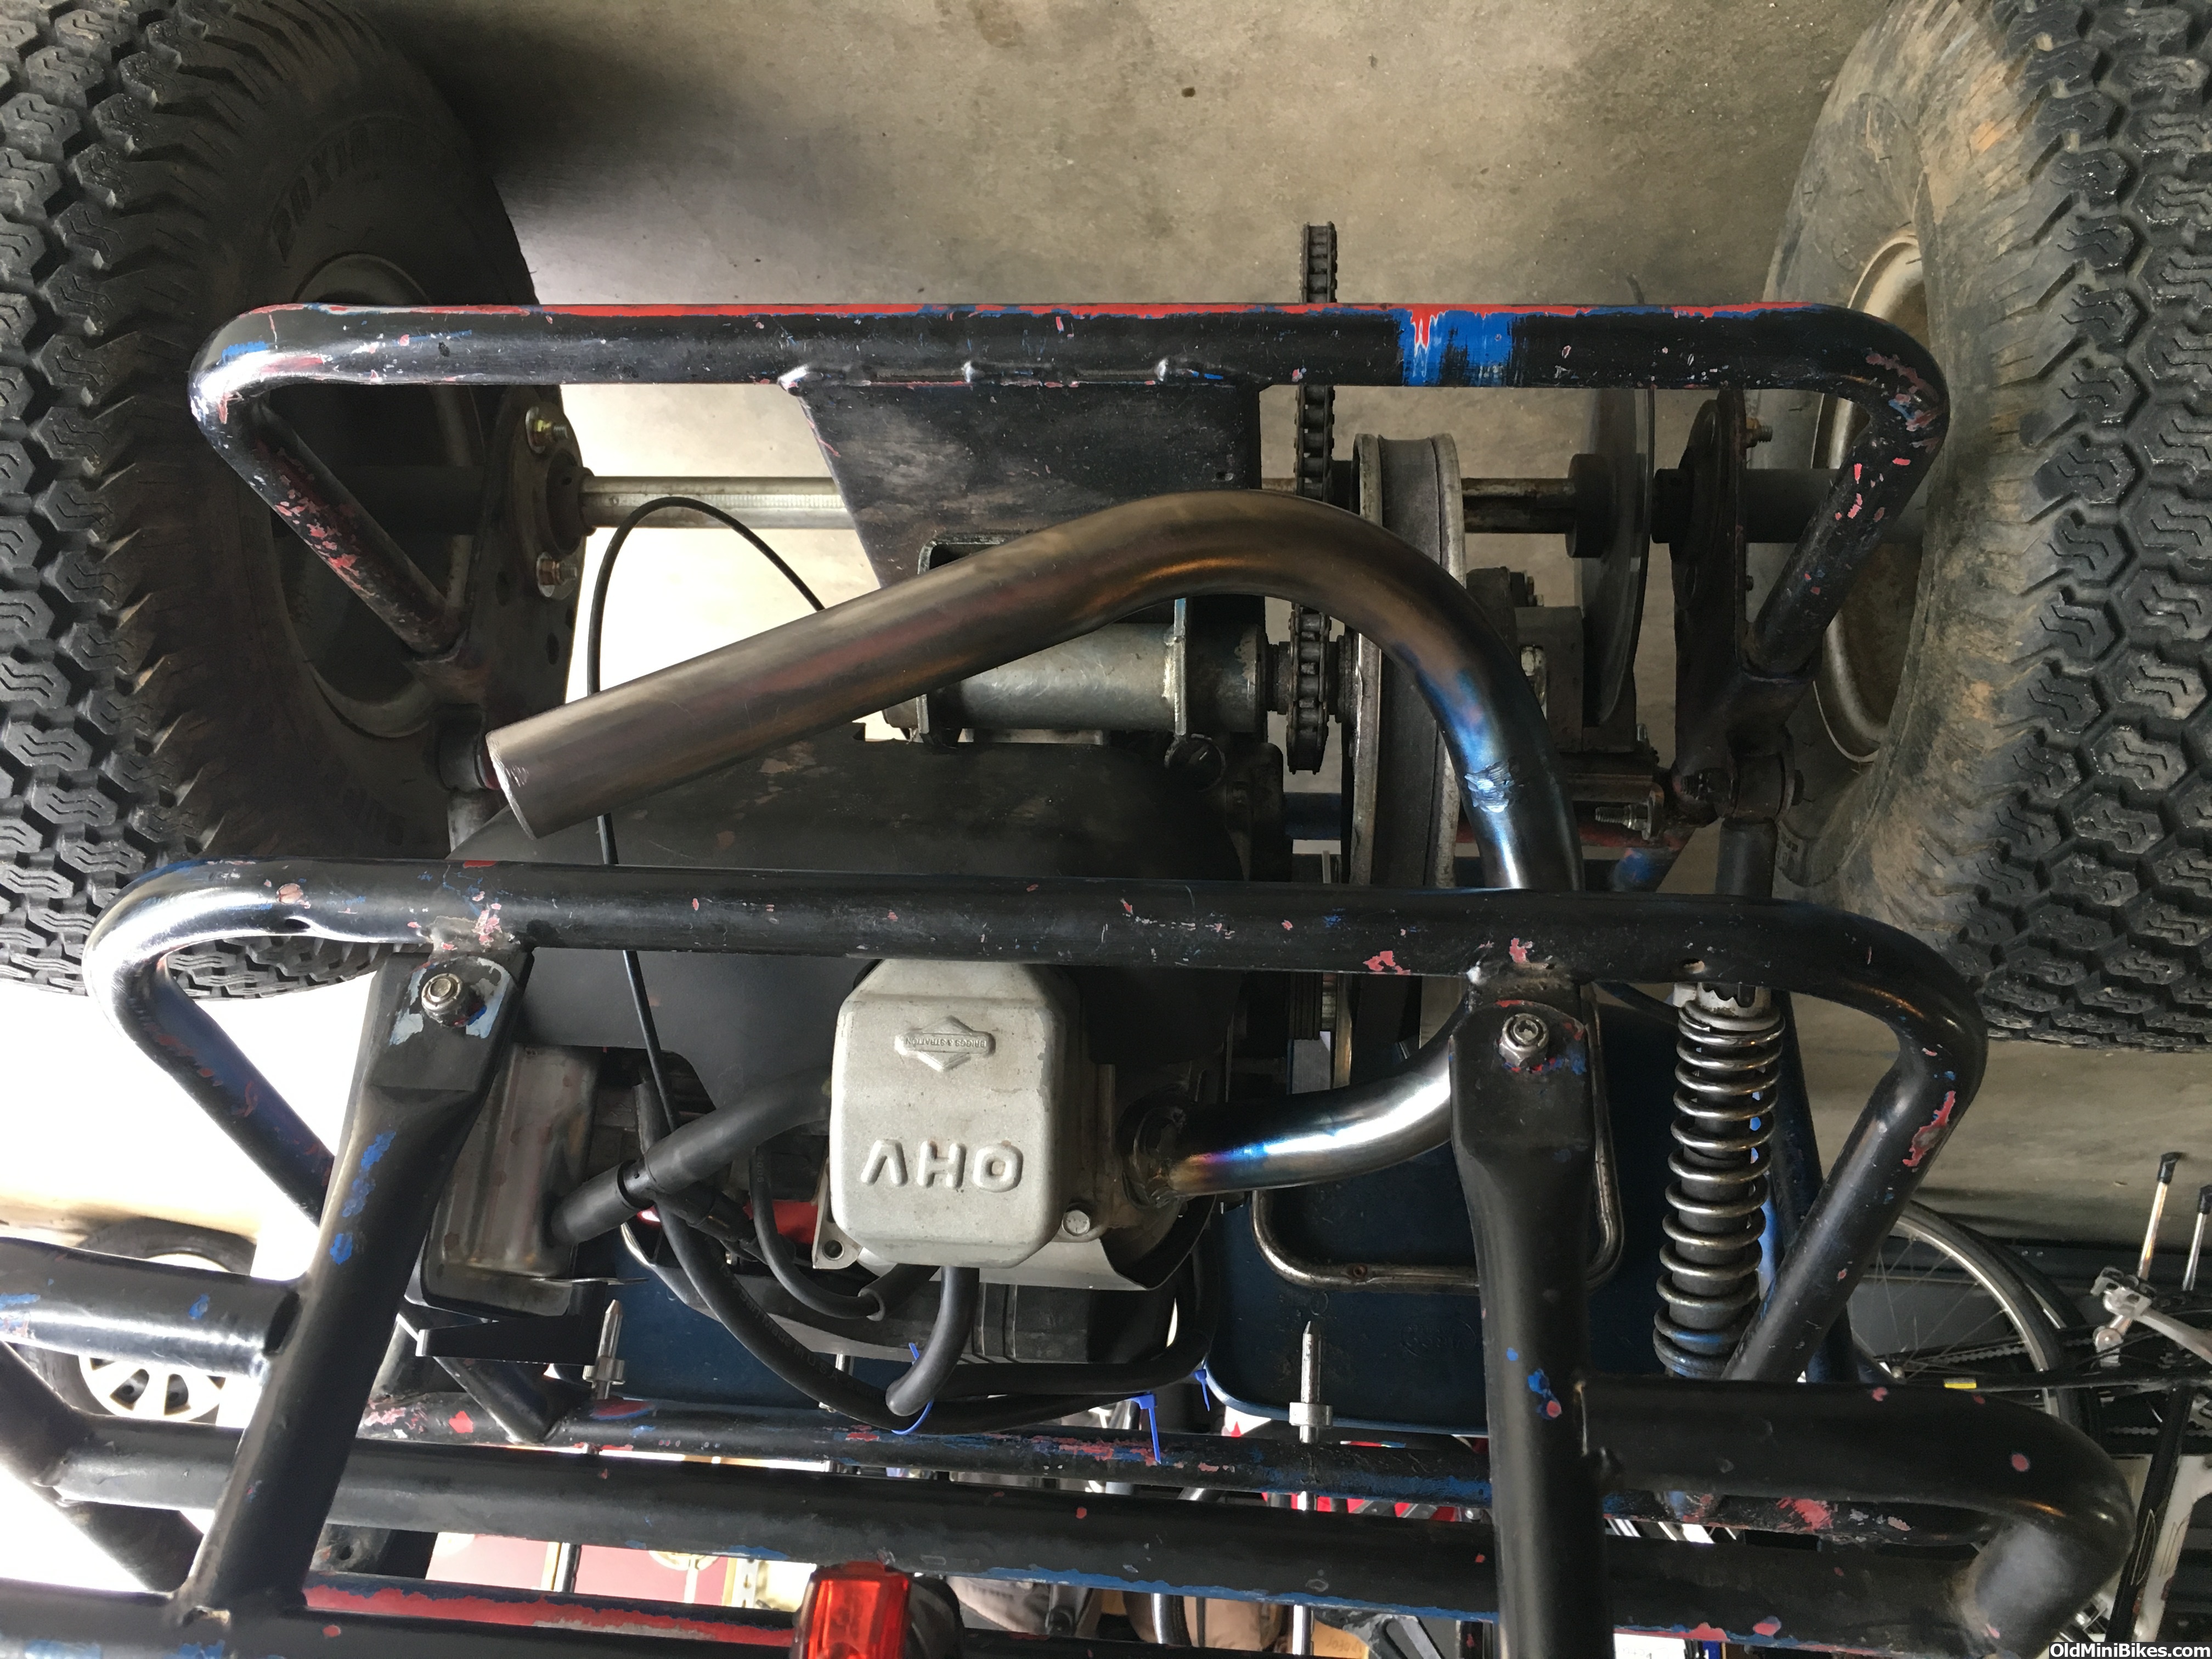
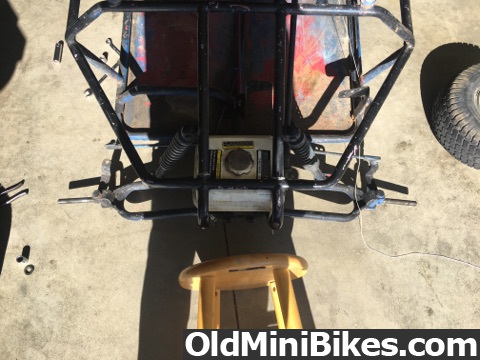
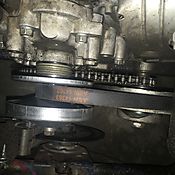
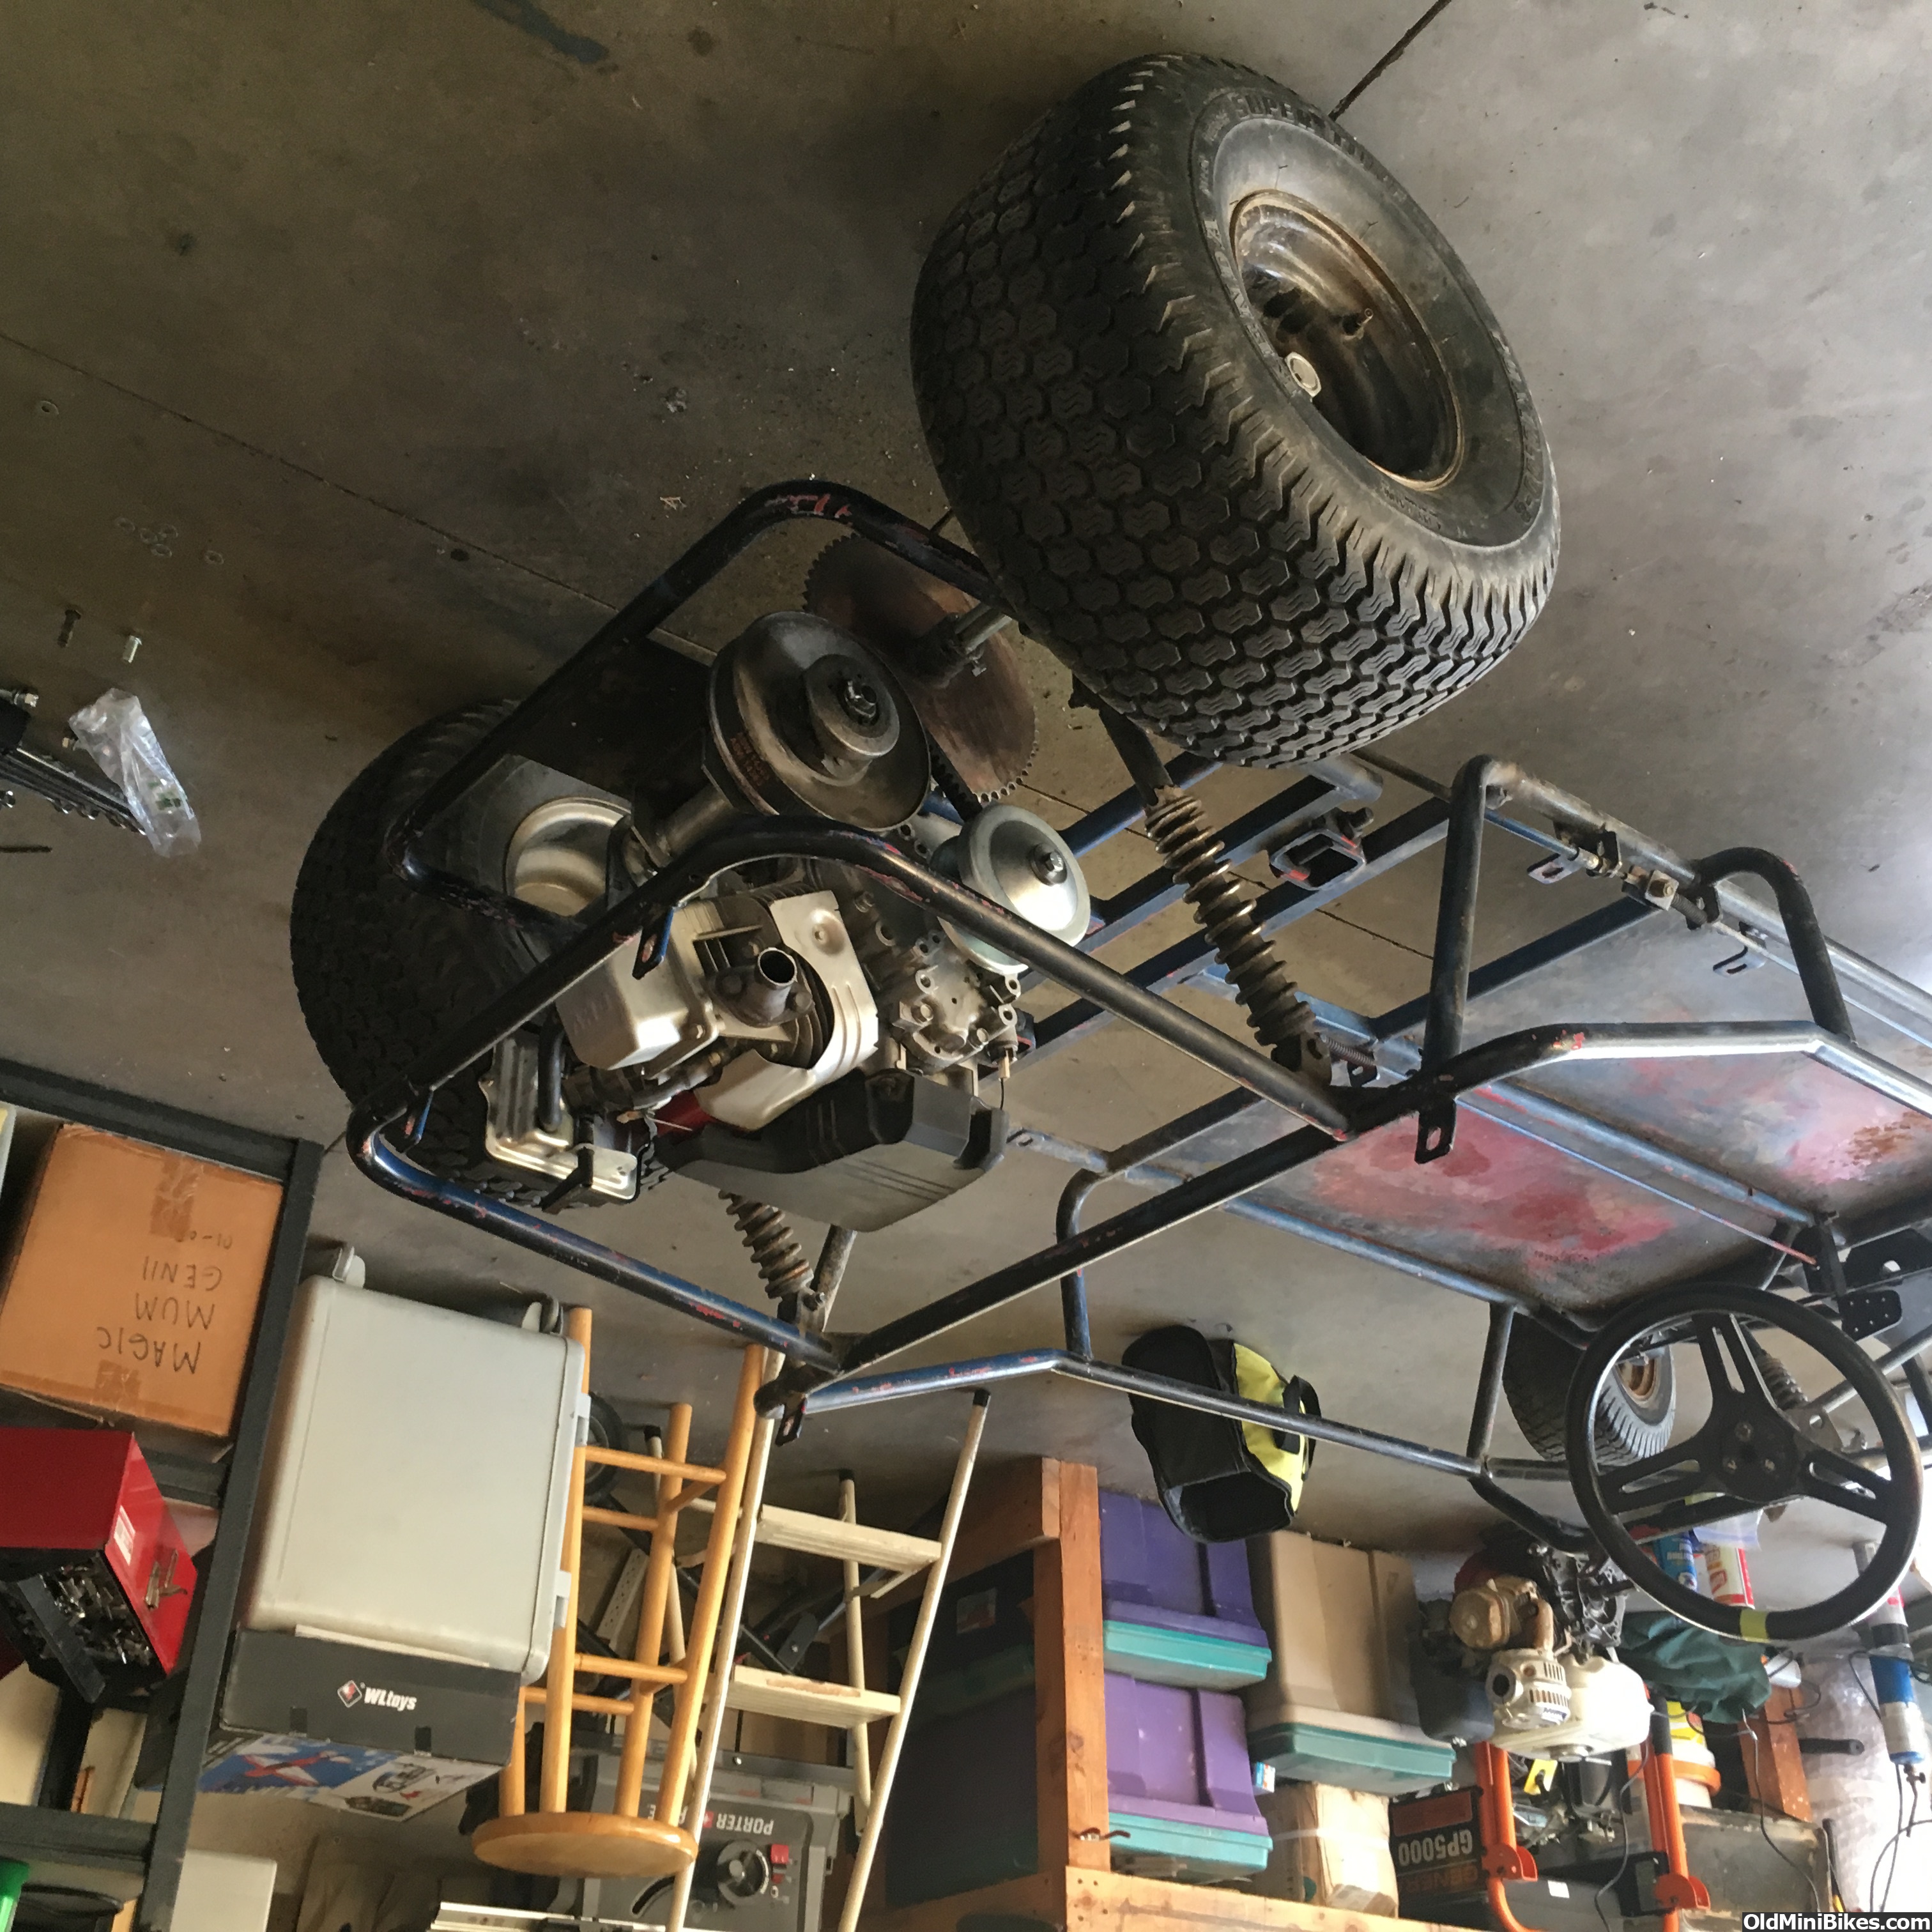
Pulley came so i mounted (upside-own again sorry lol)
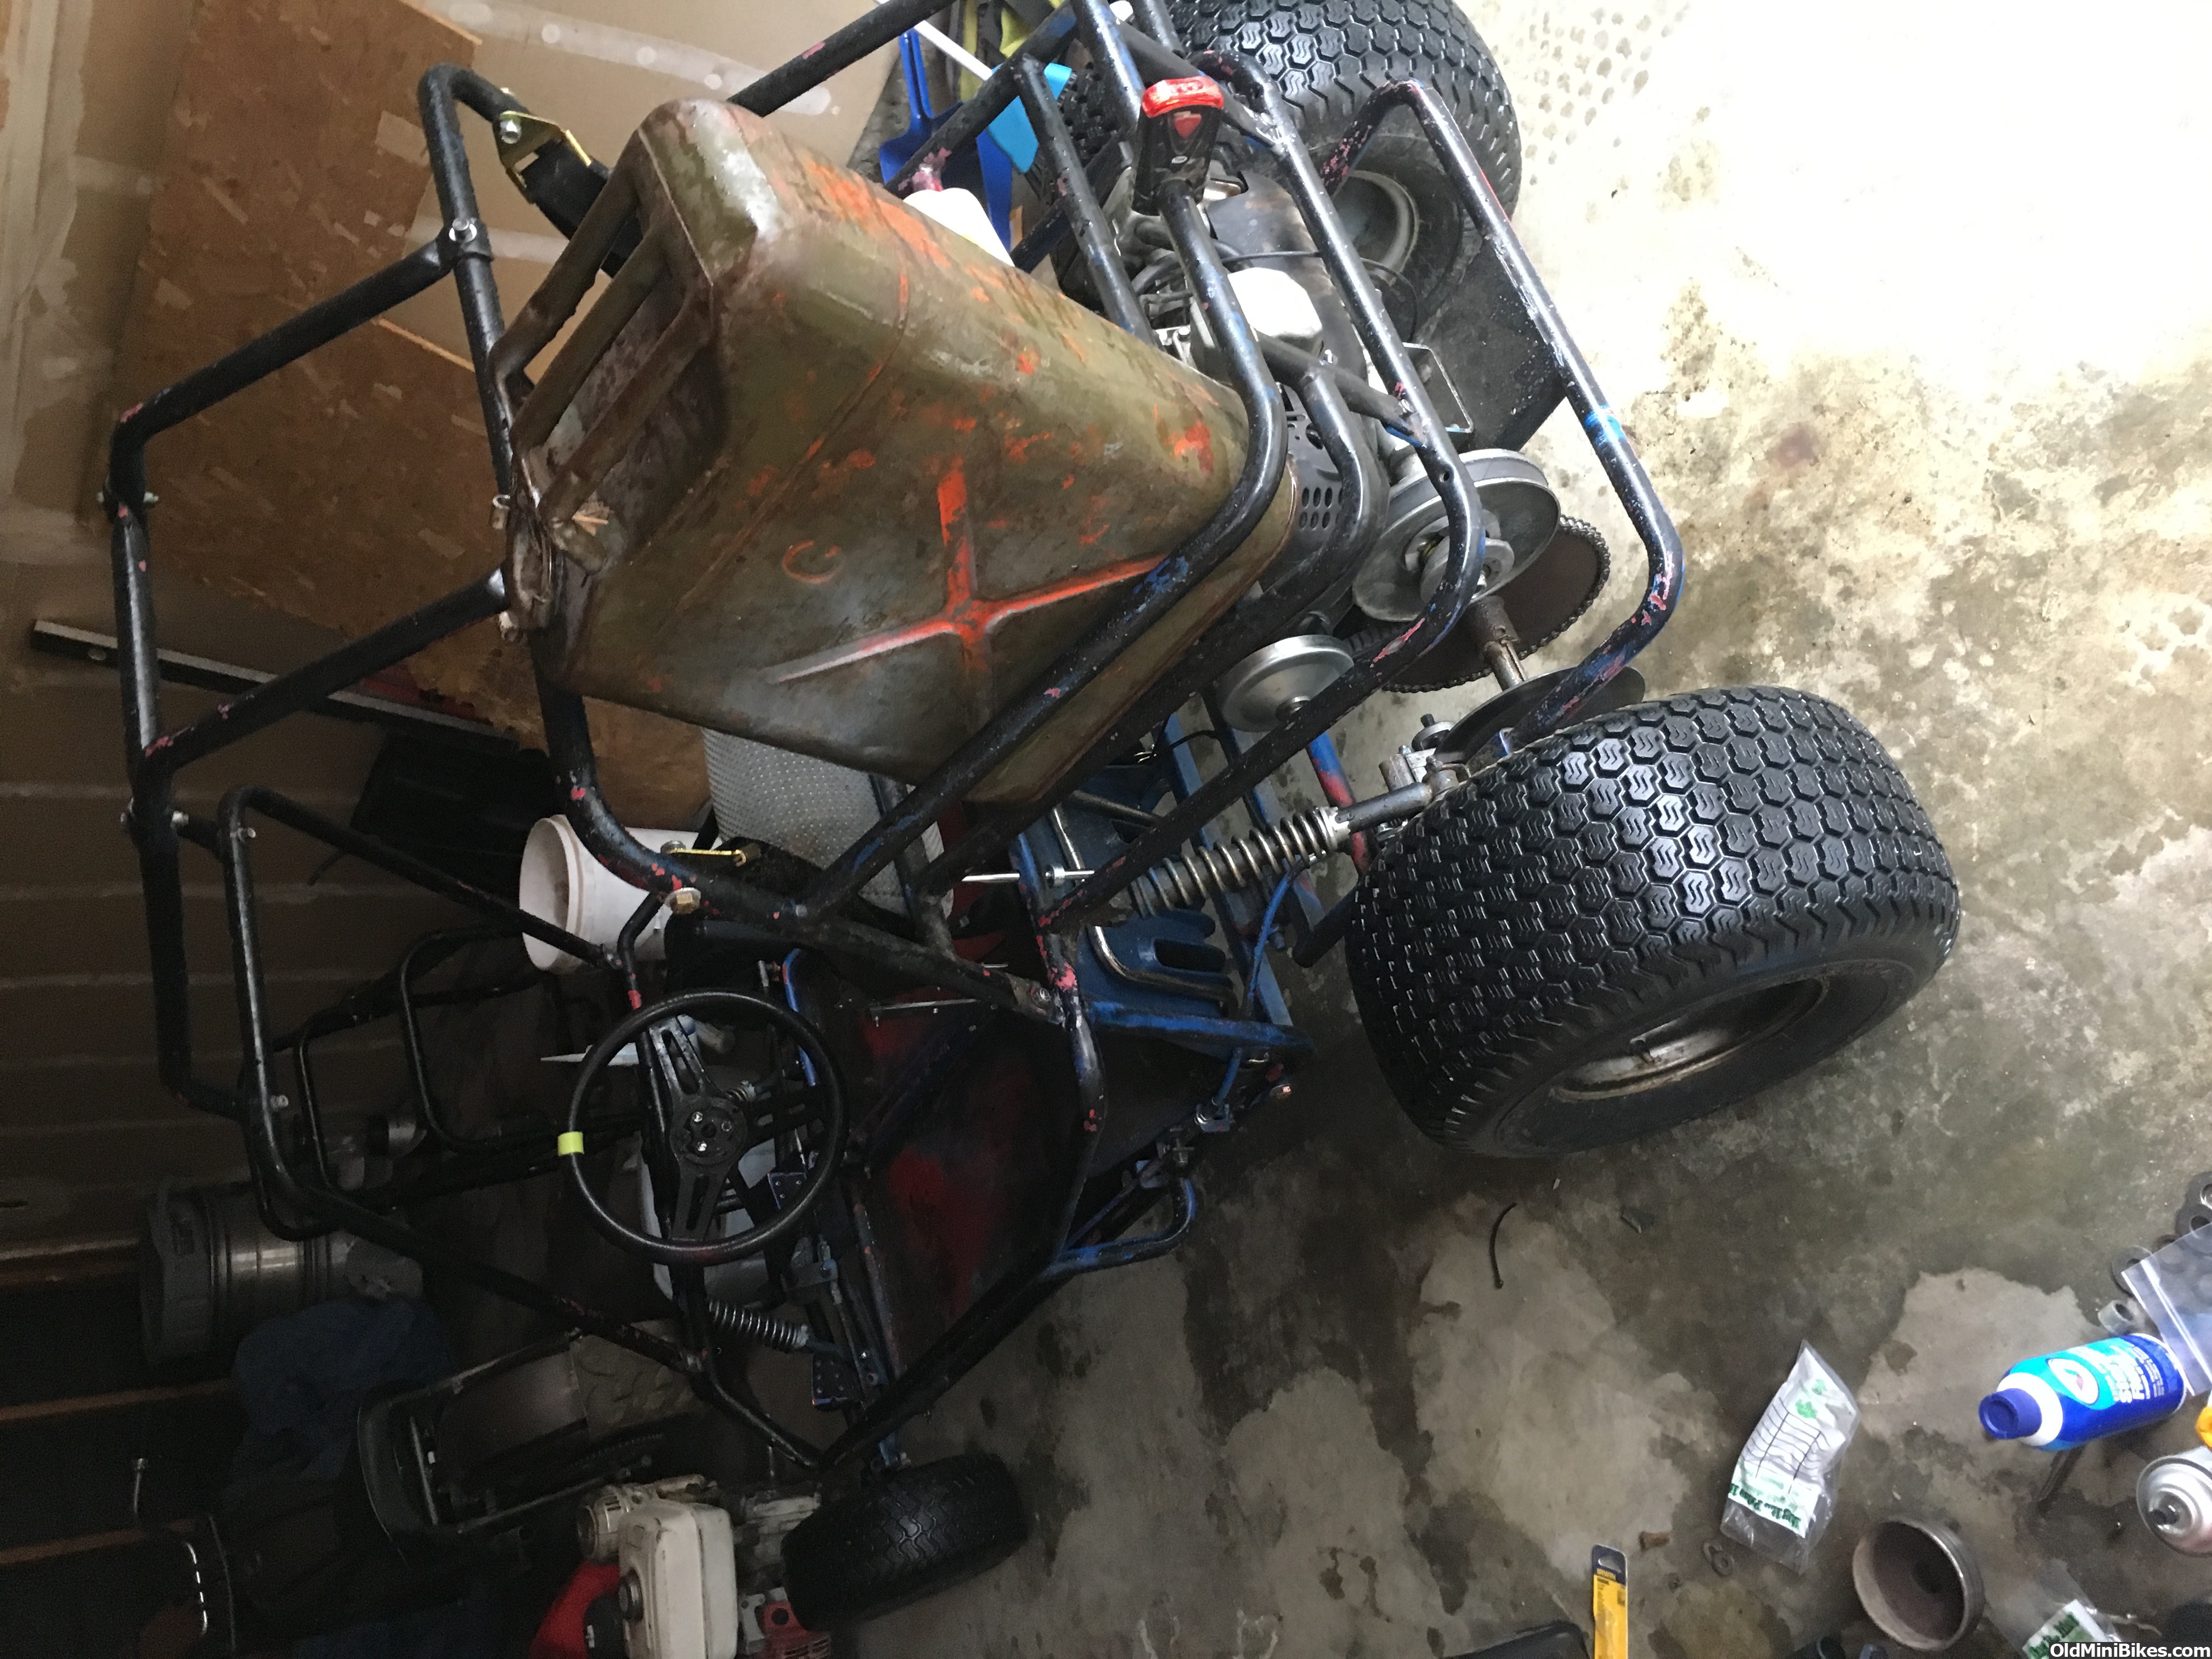
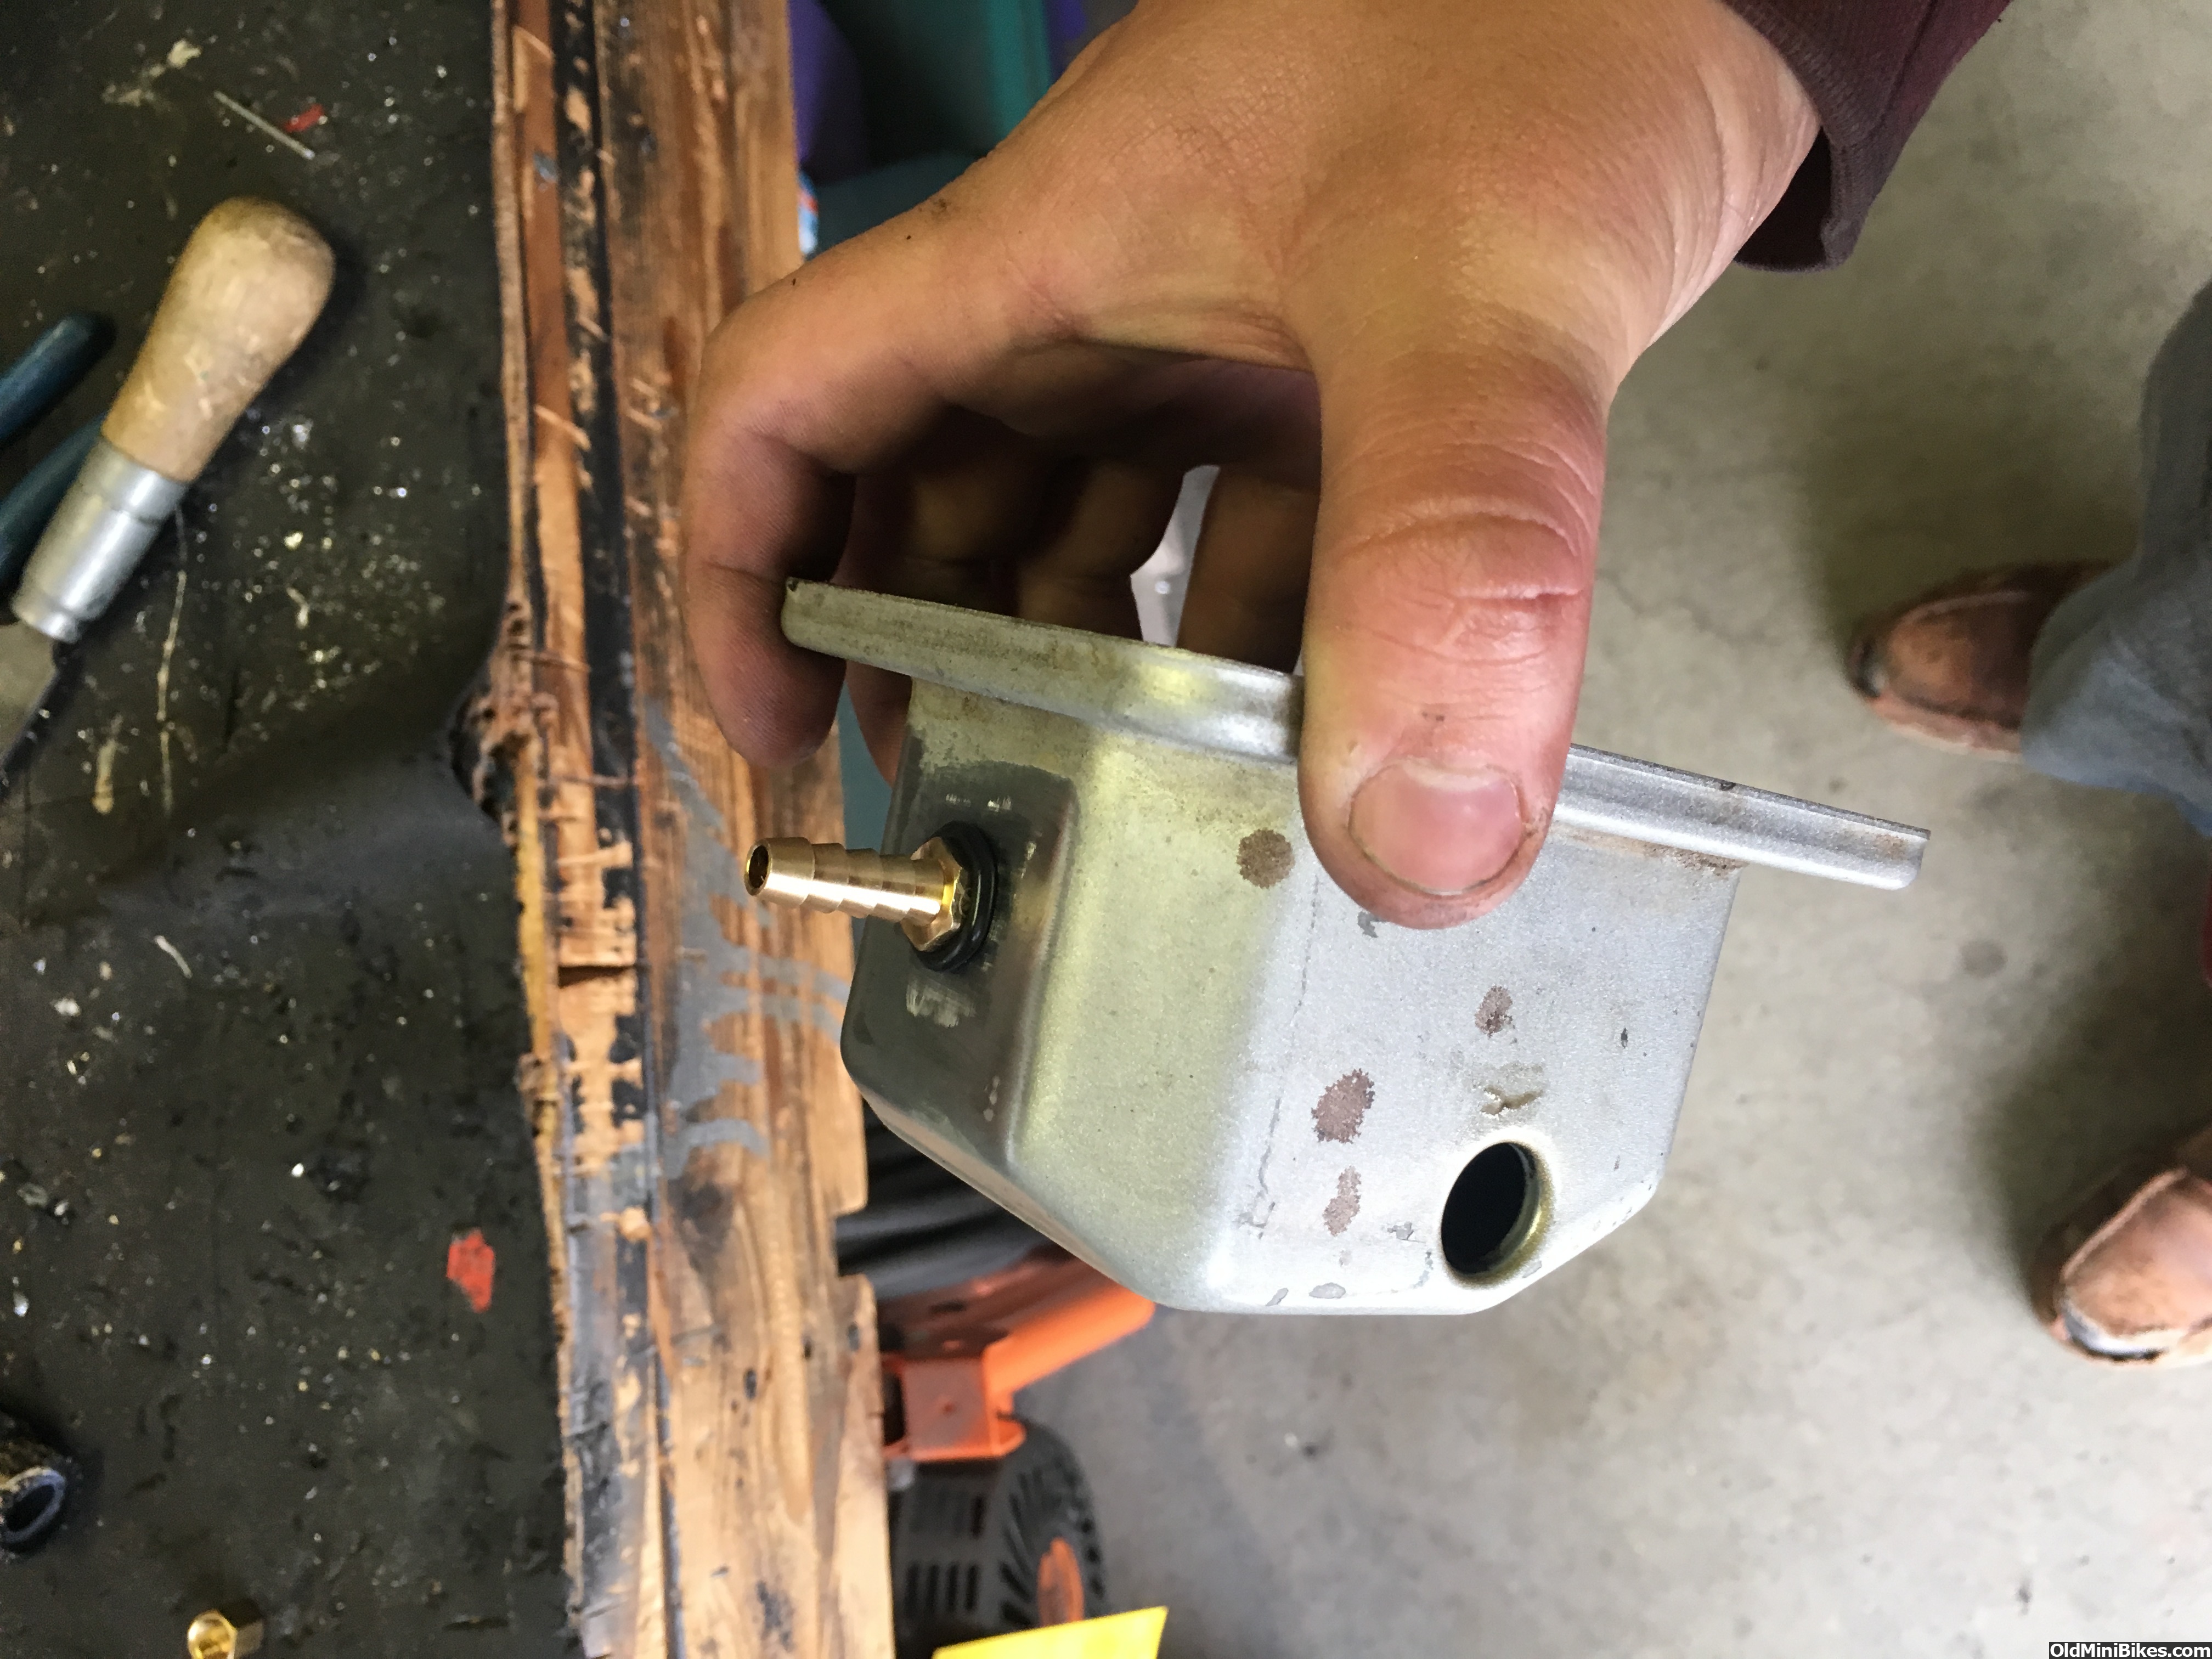
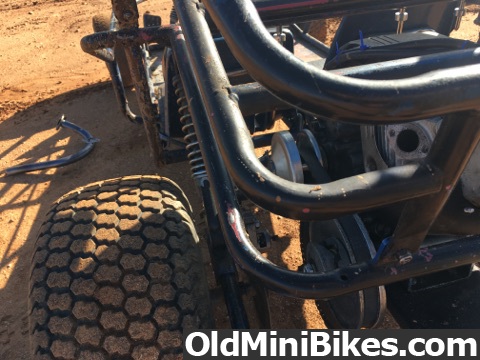
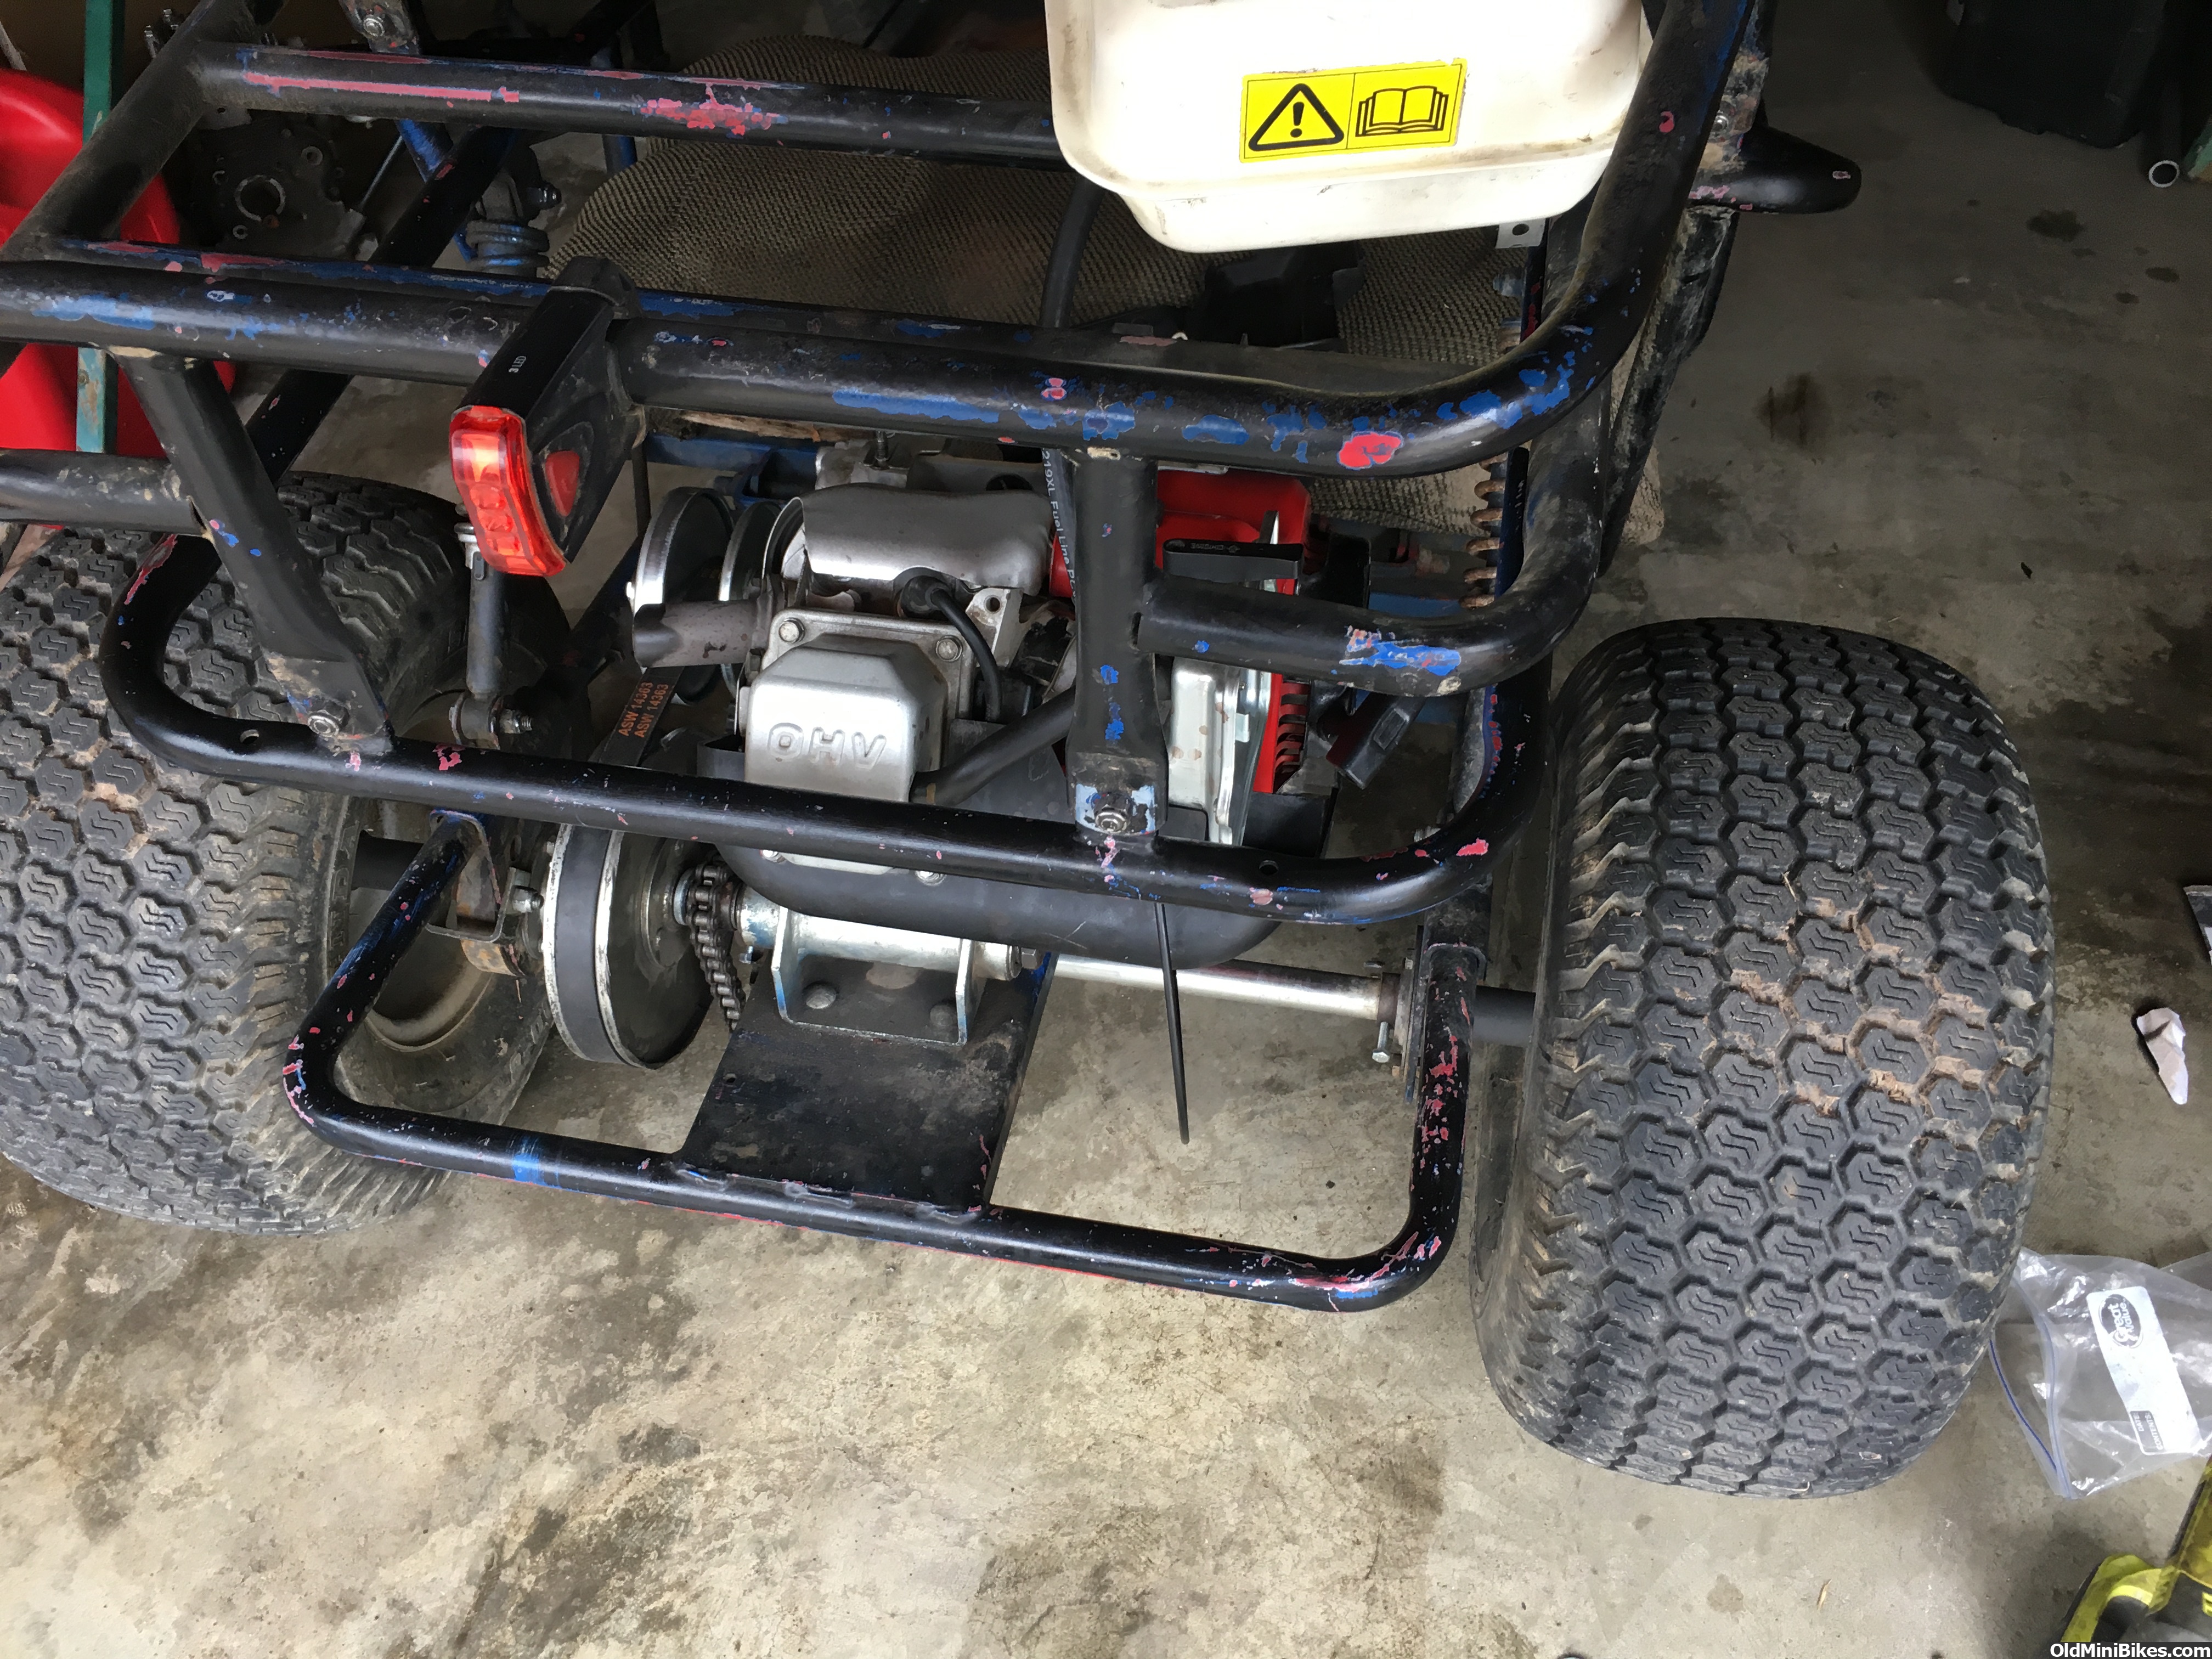
Ghetto rigged a gas tank so i could drive it for the first time. was alot quicker than i expected! Fist run was sketchy, the throttle stuck and the brakes didnt work, lmao!
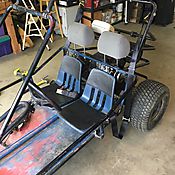
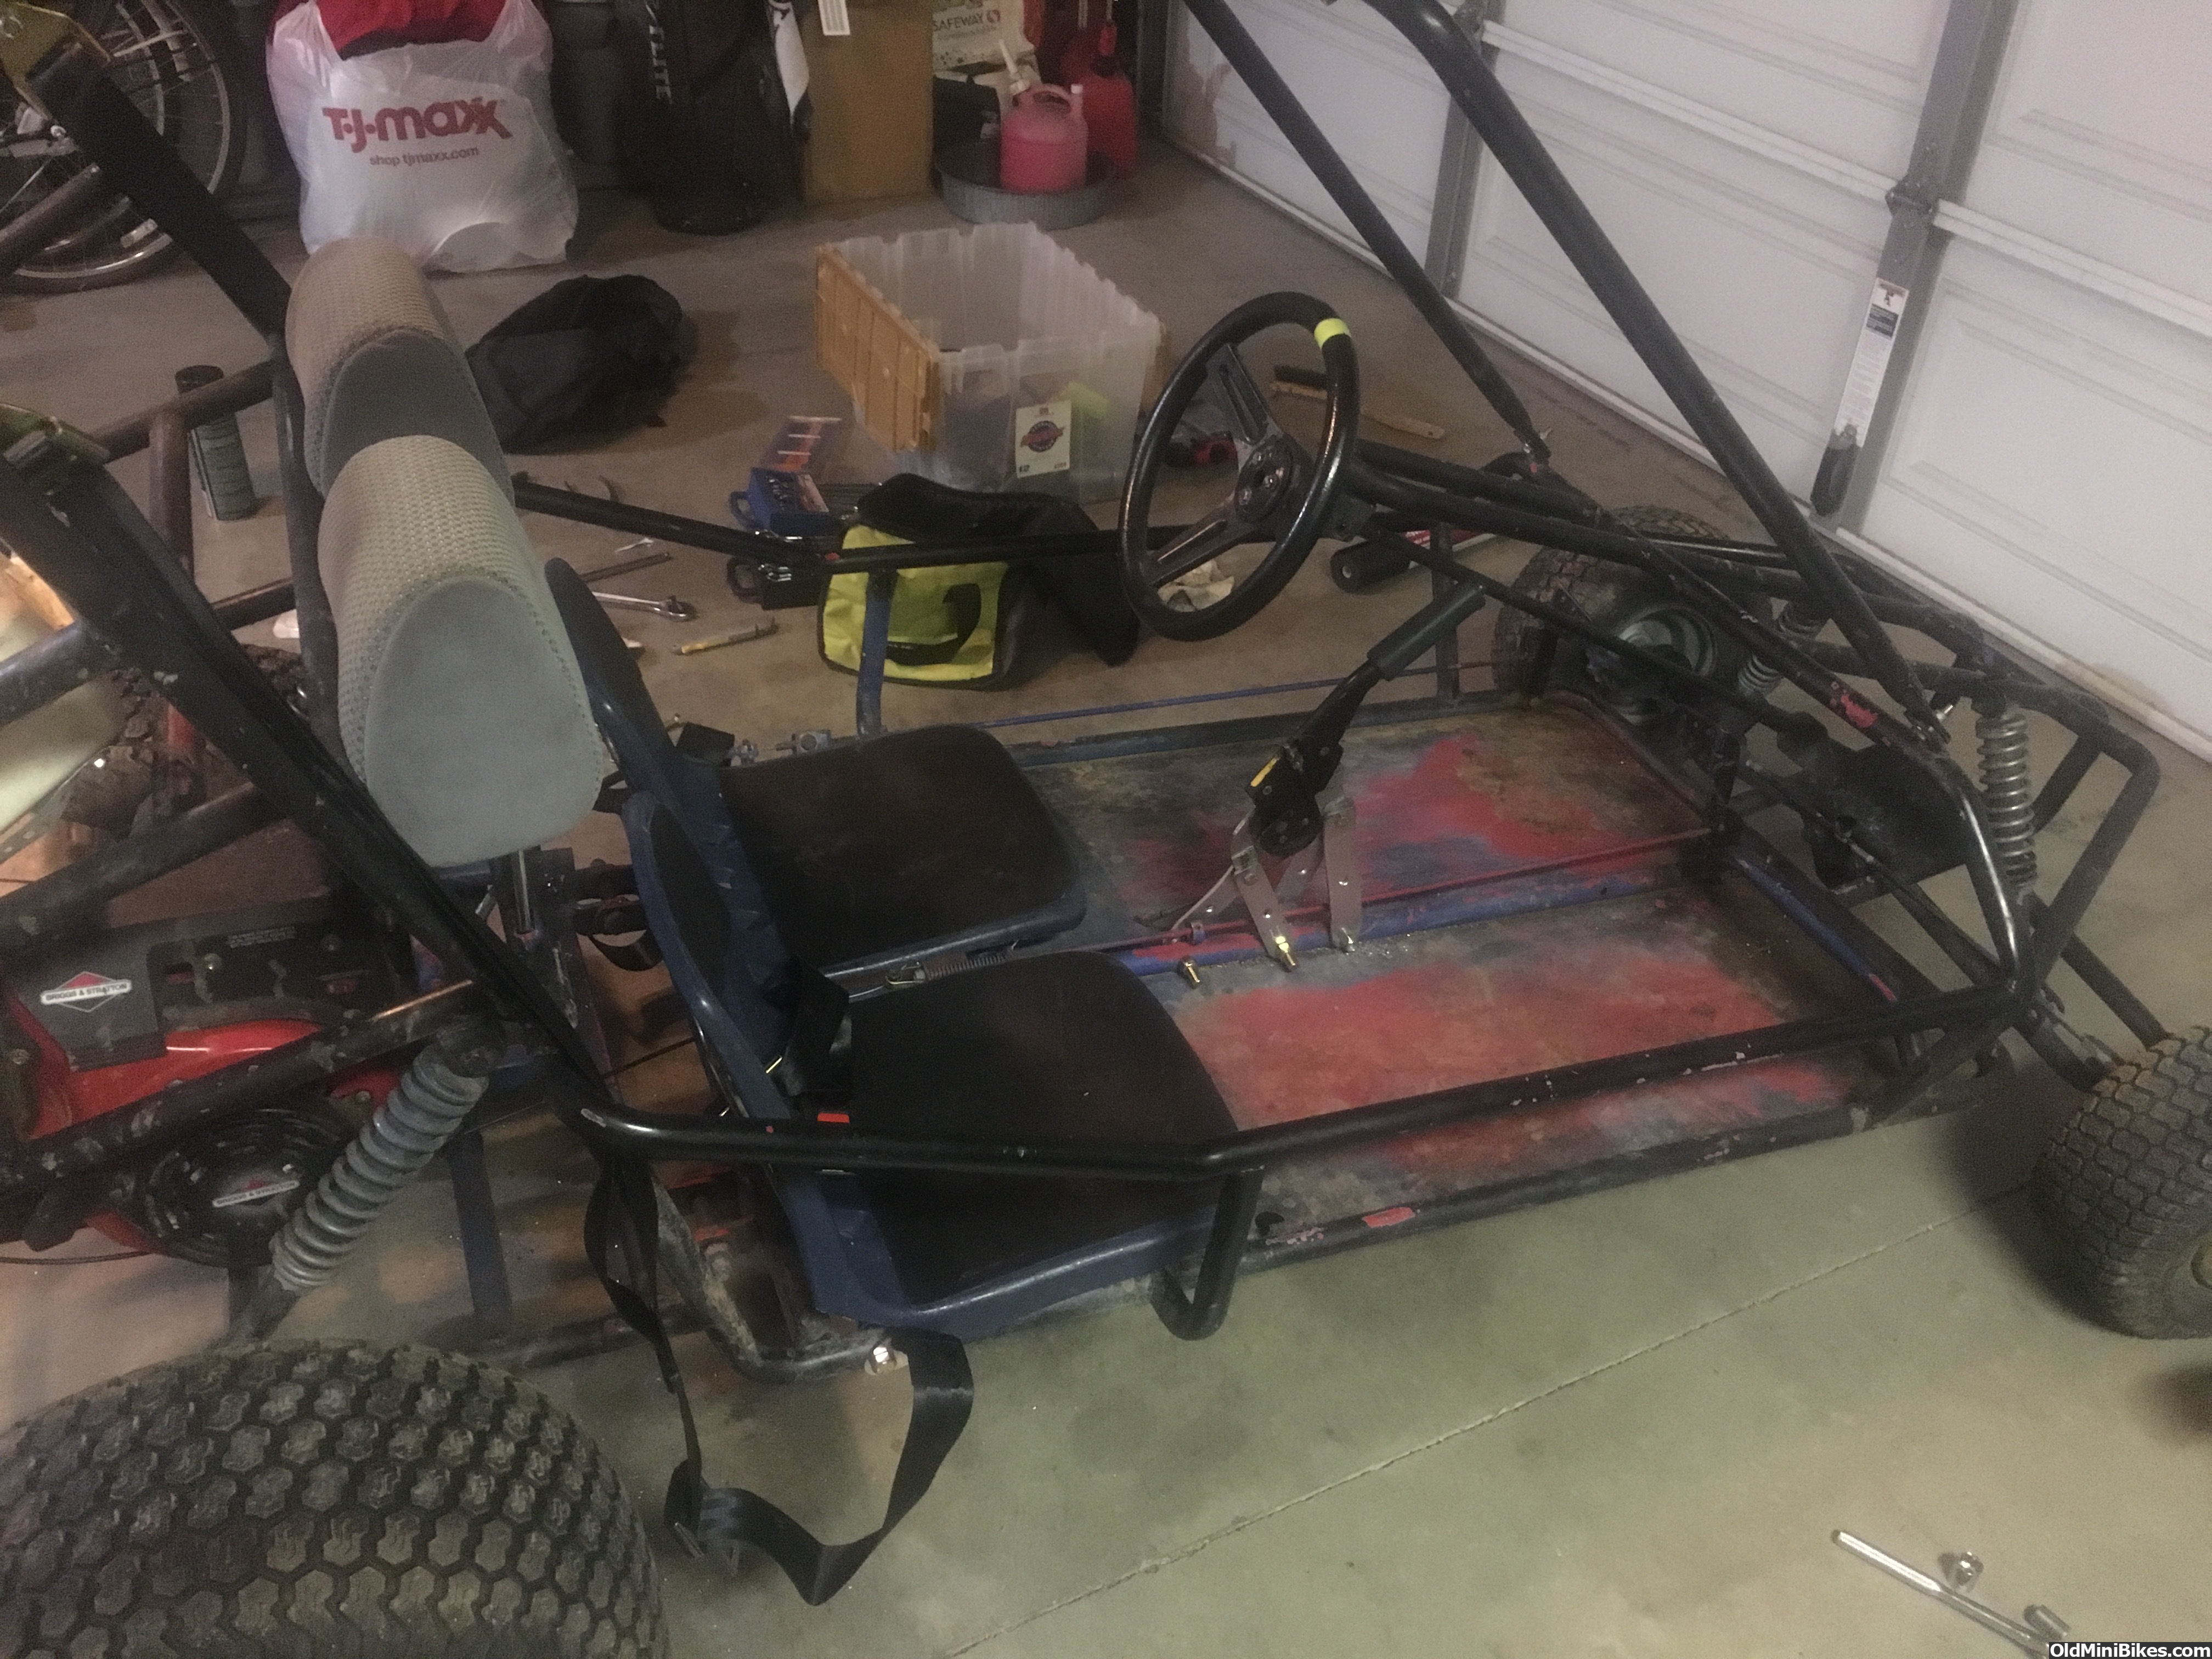
picked up some sick new seats haha!!
And... in!!

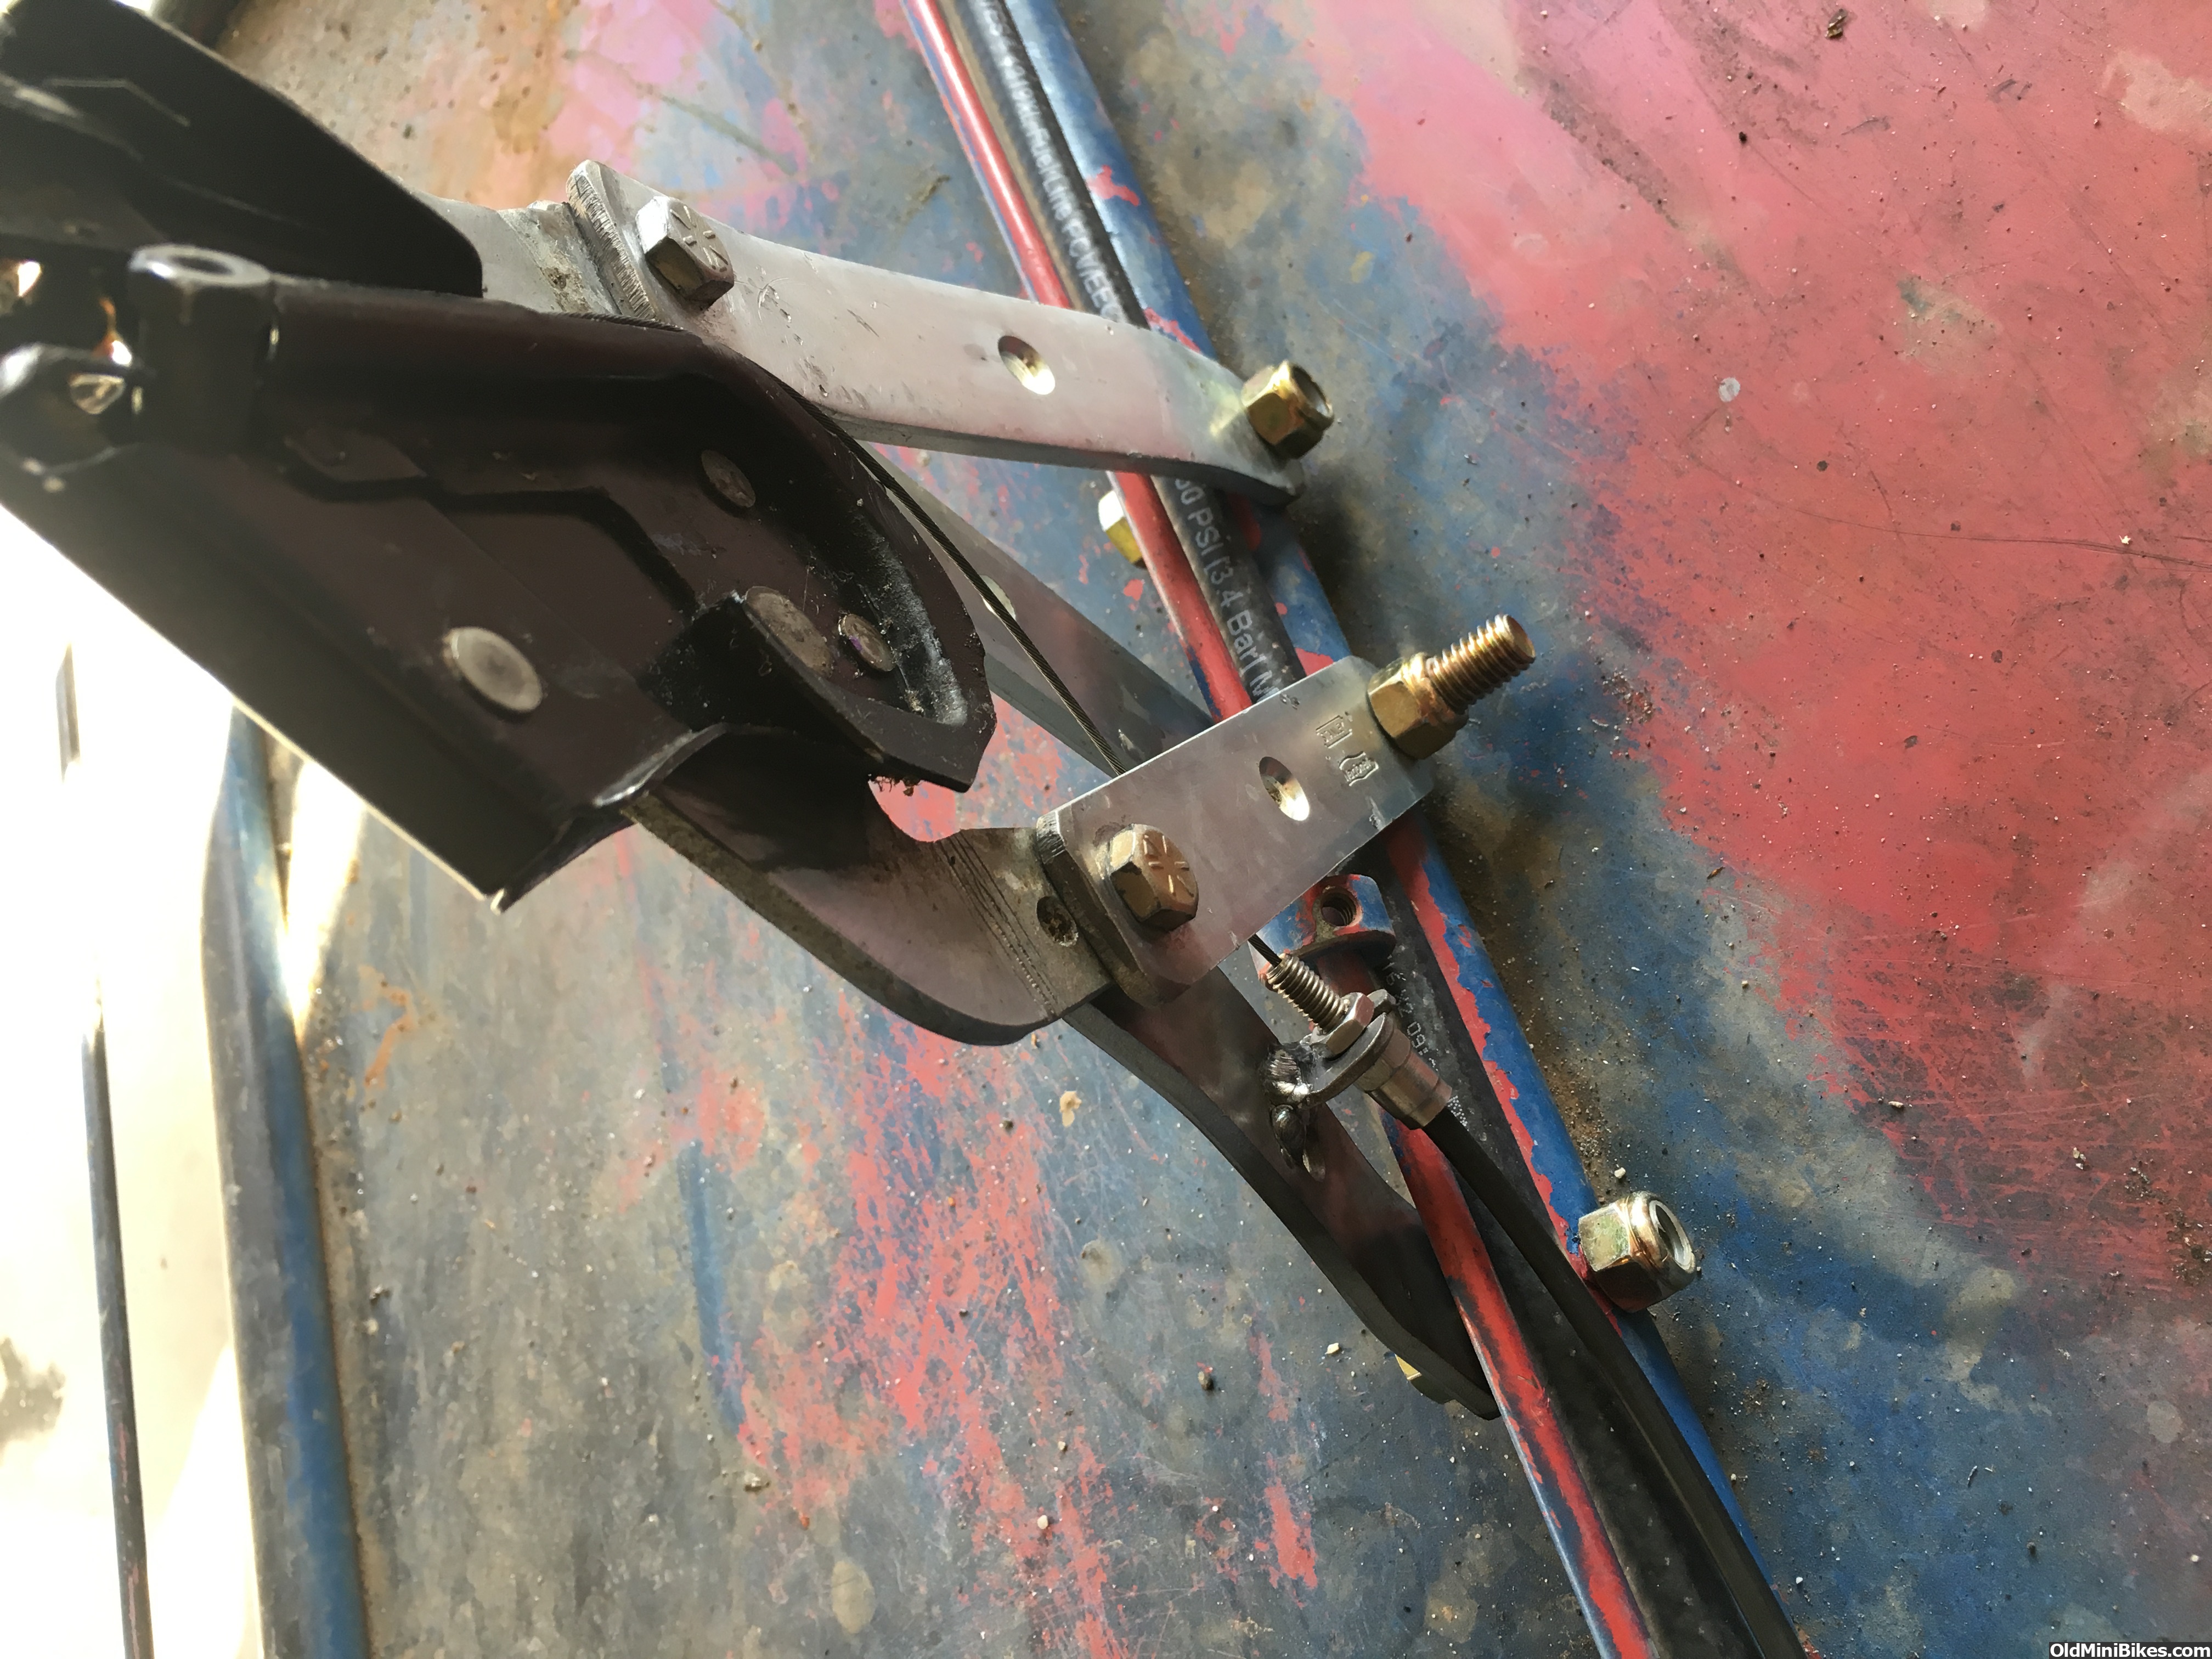
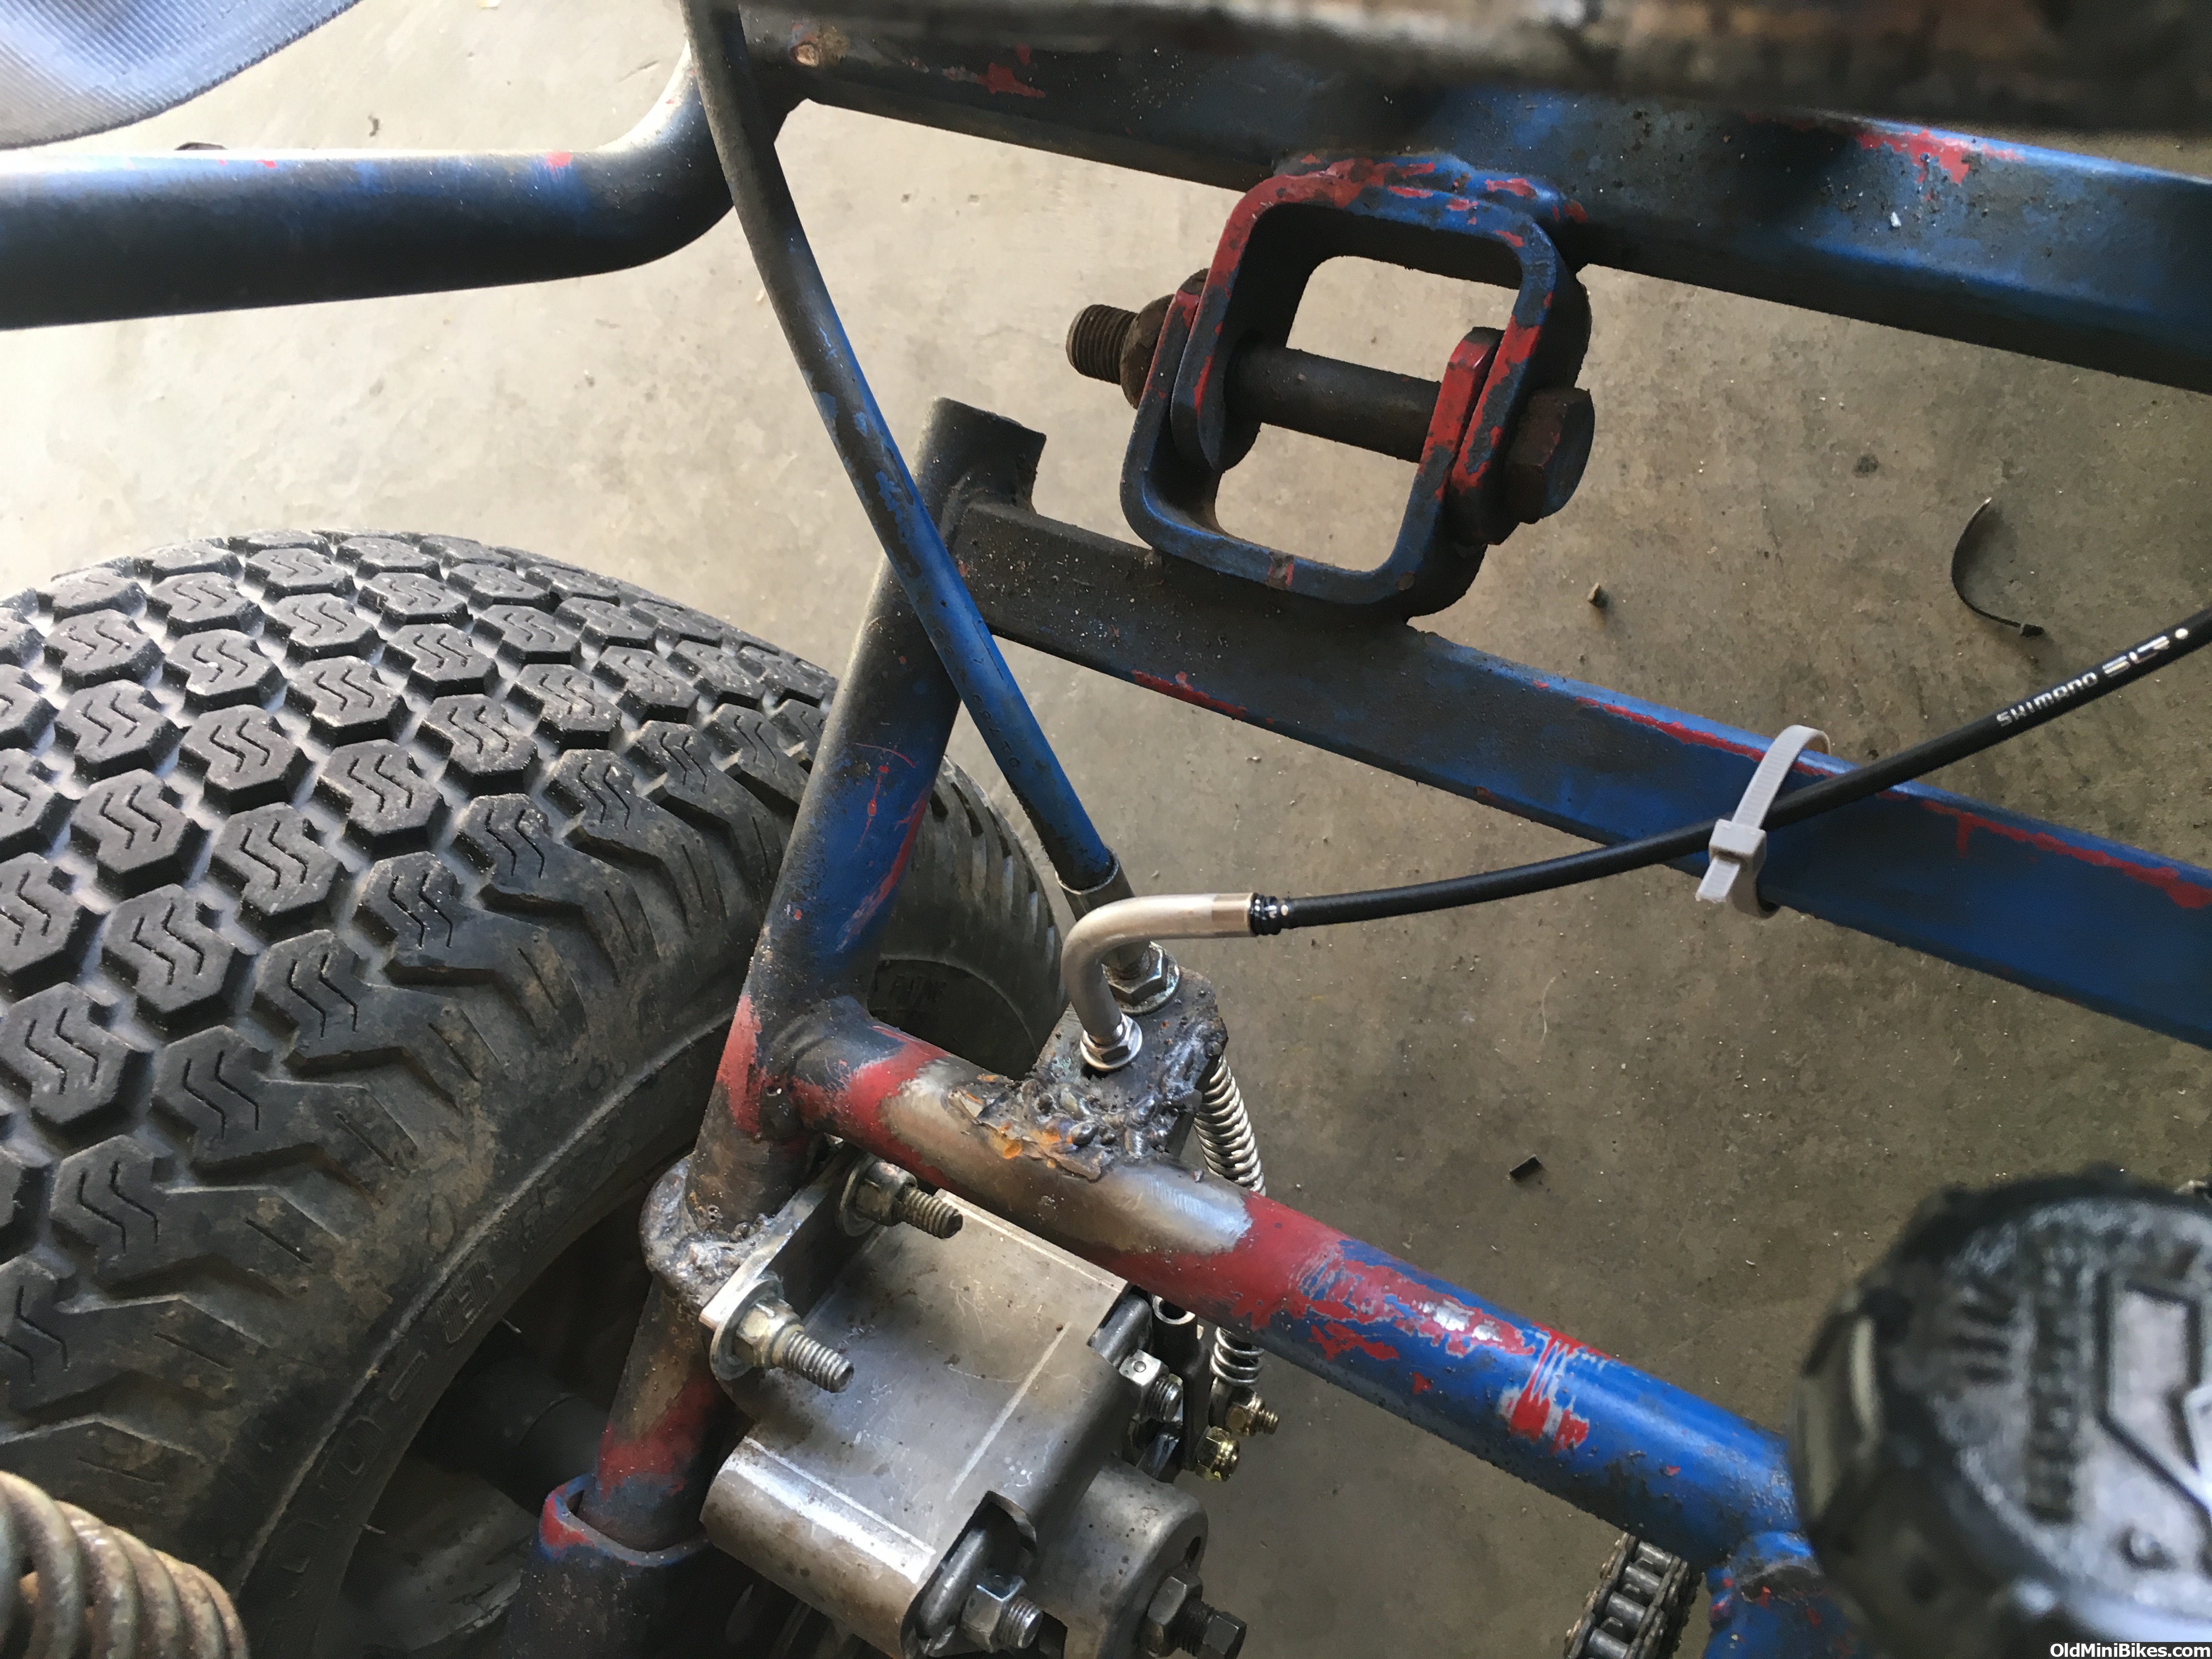
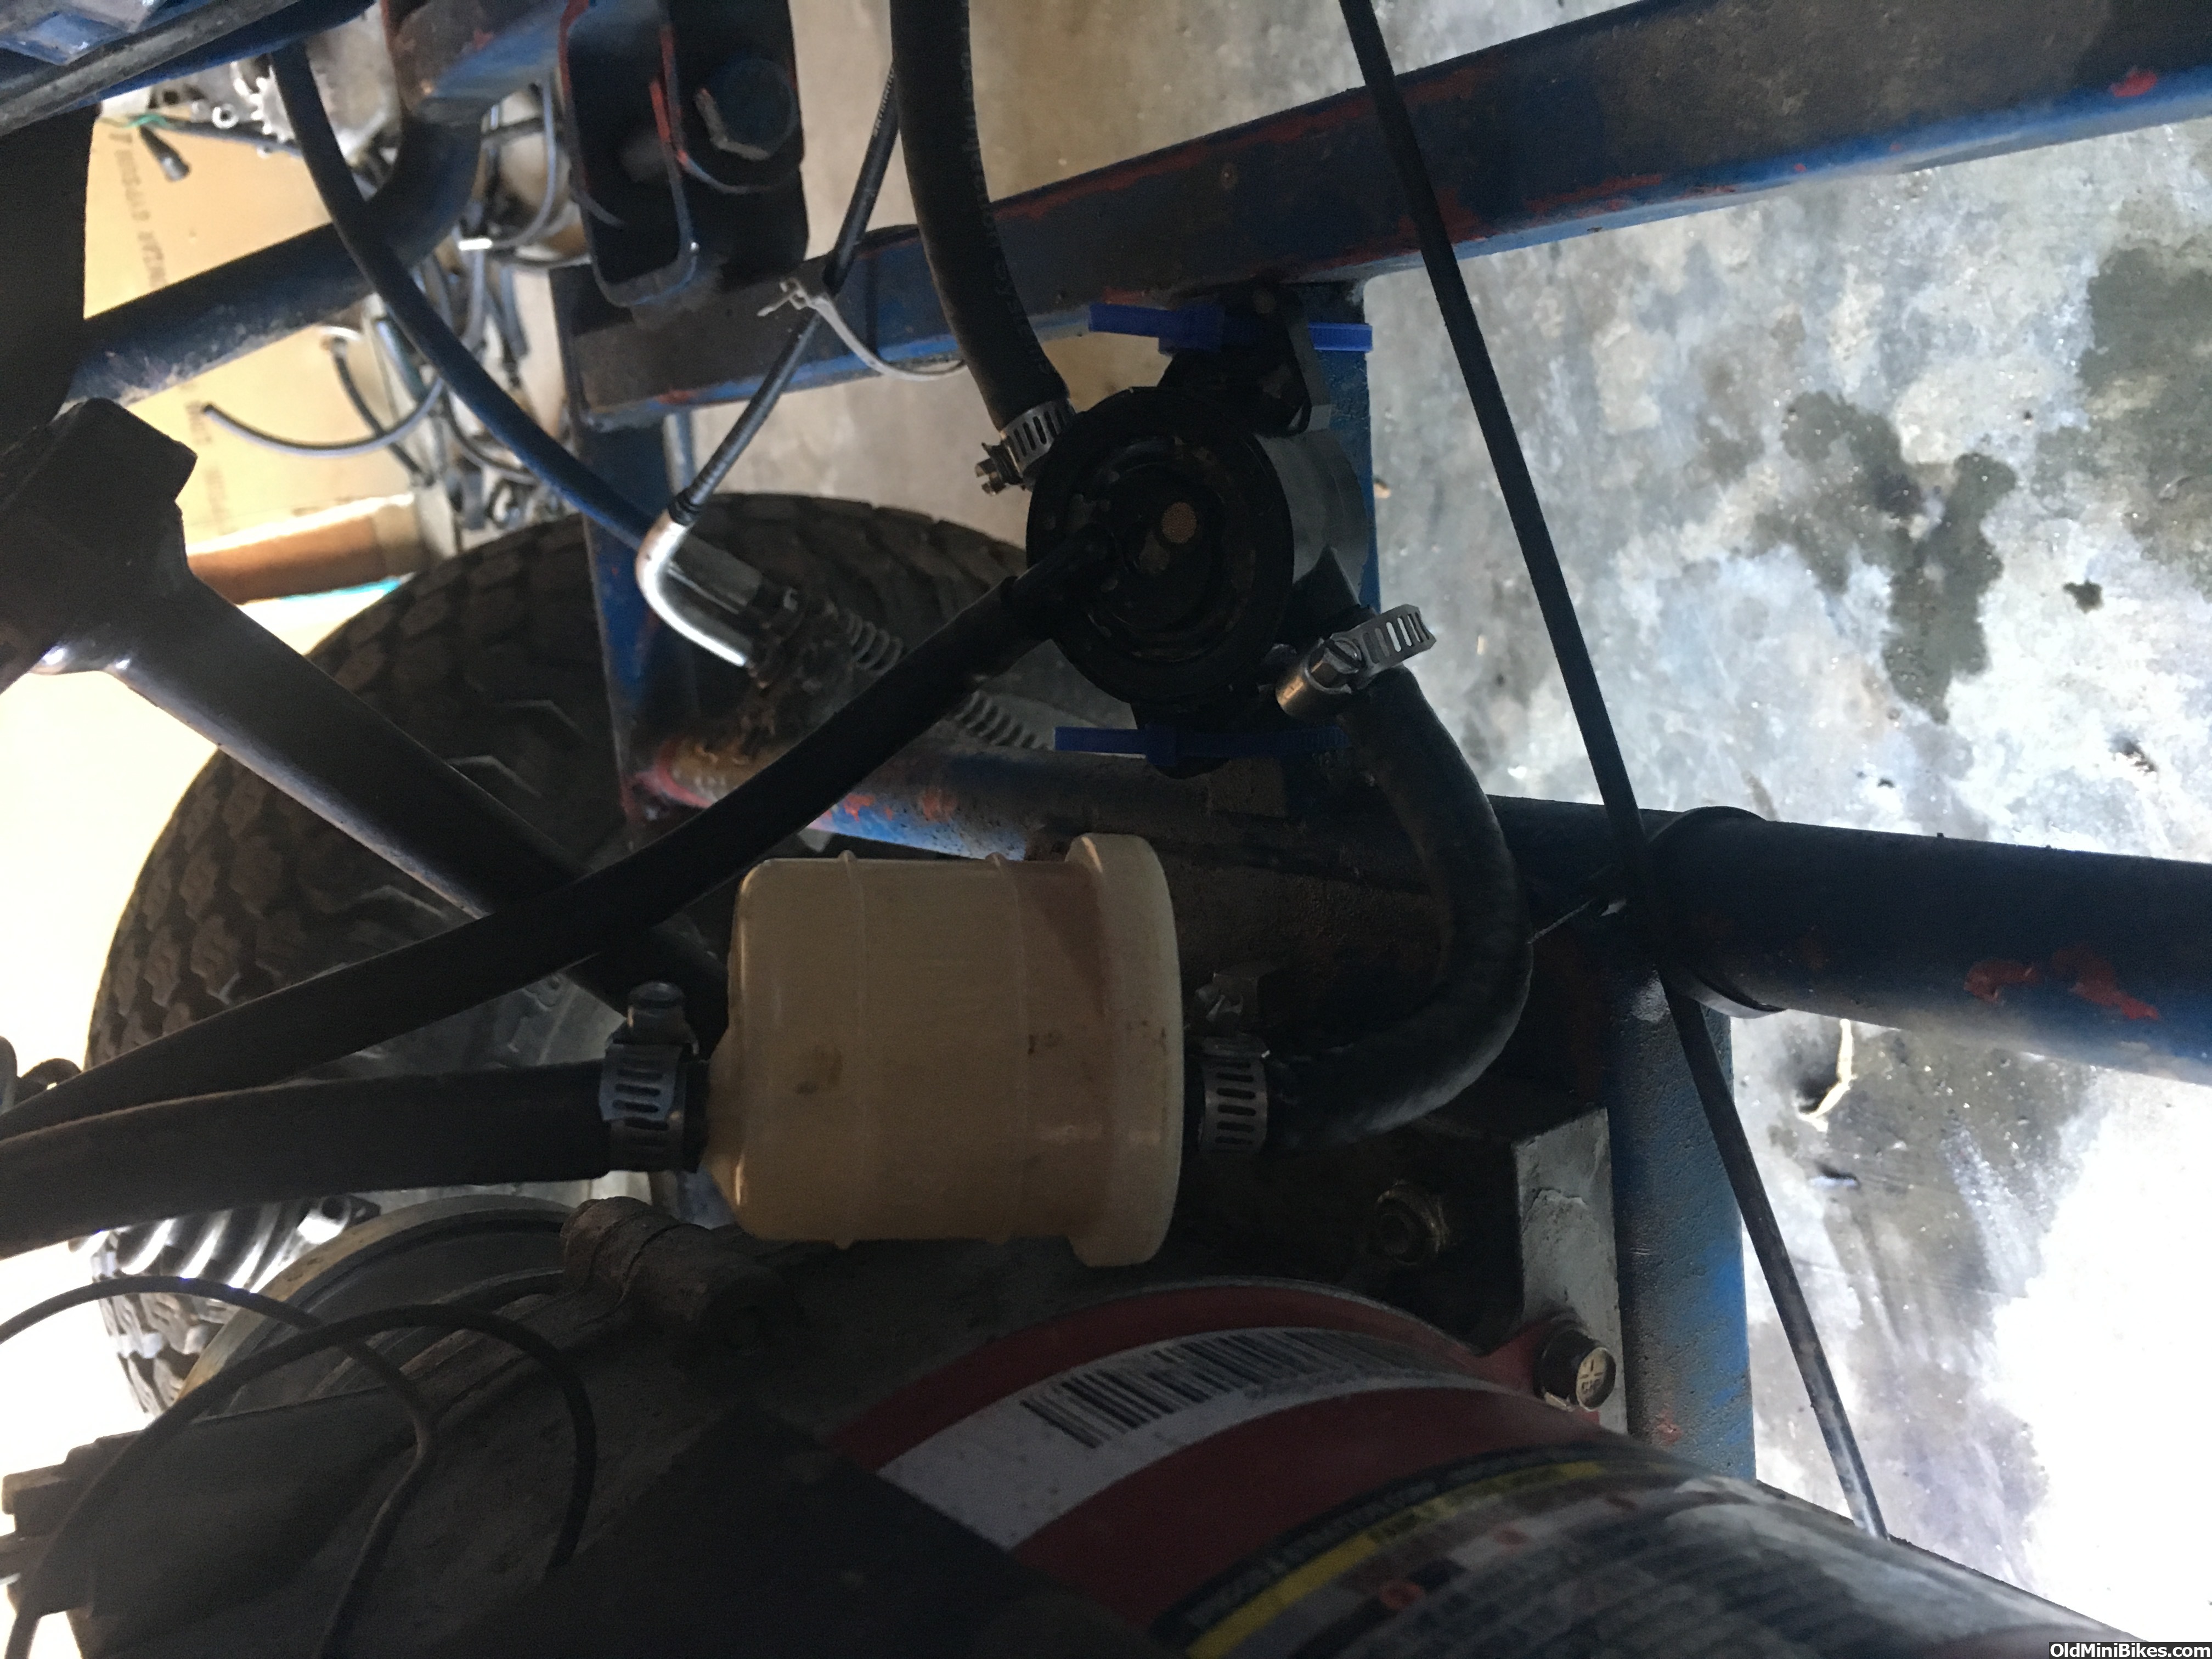
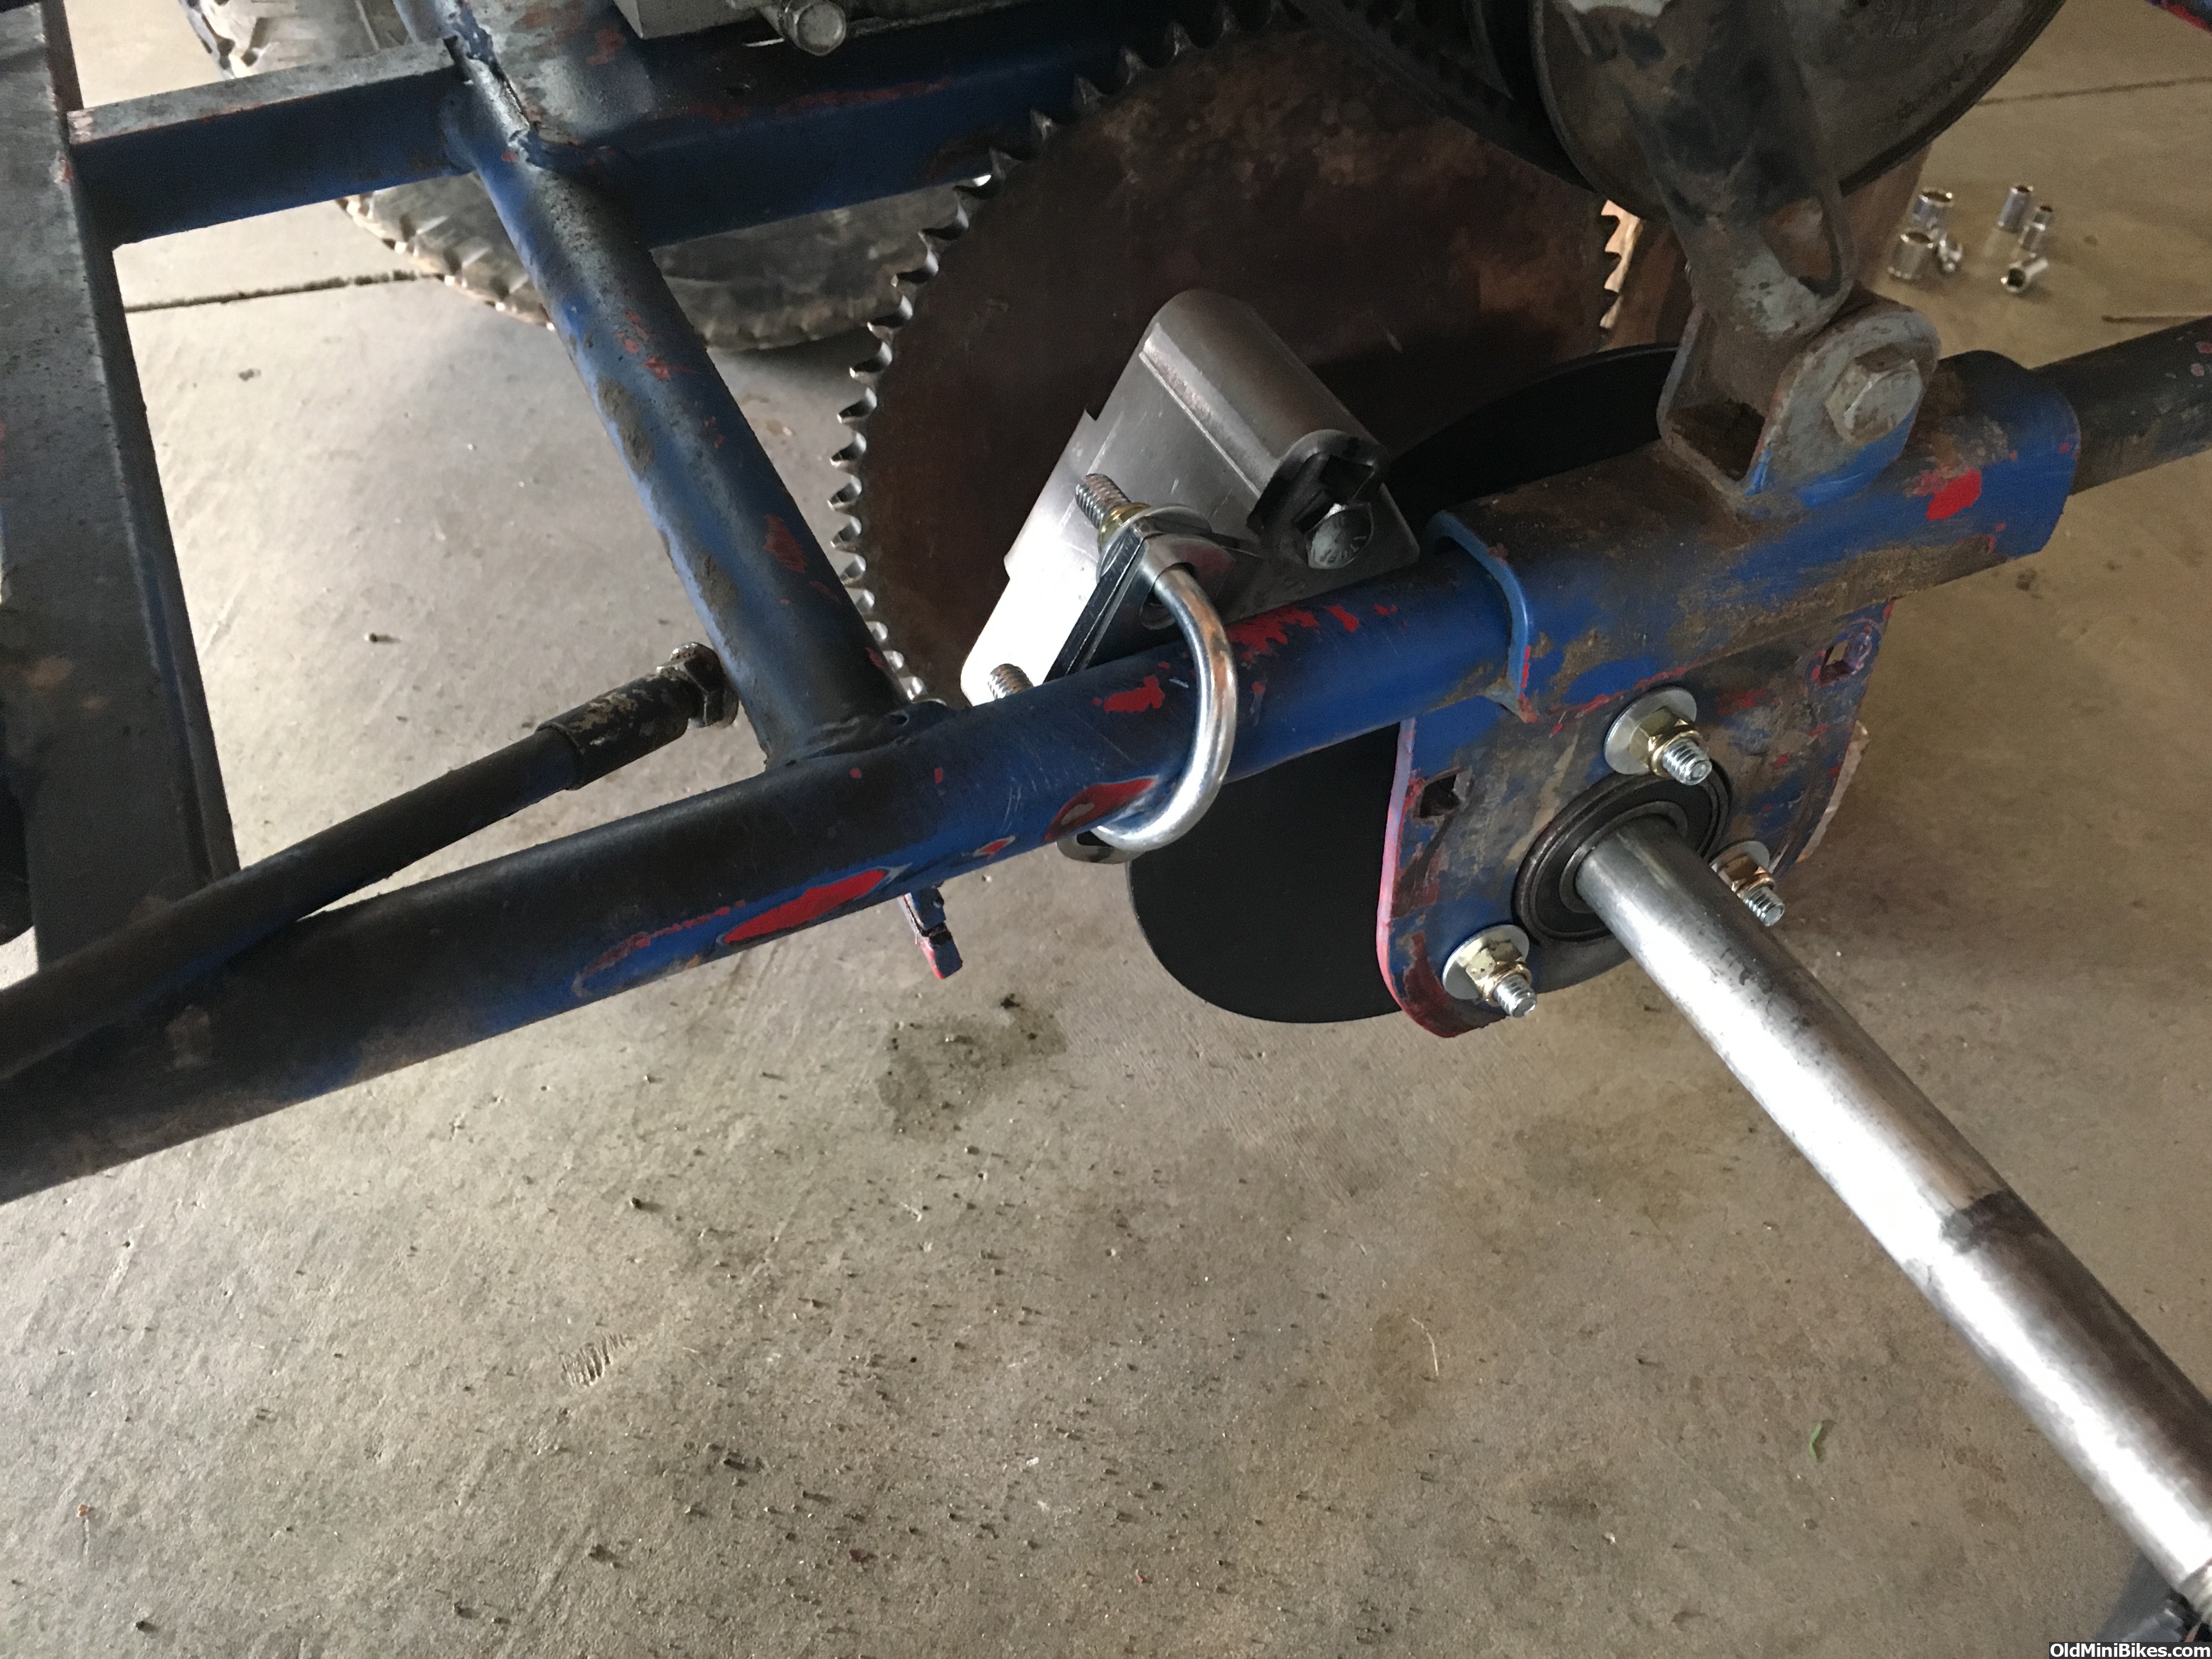
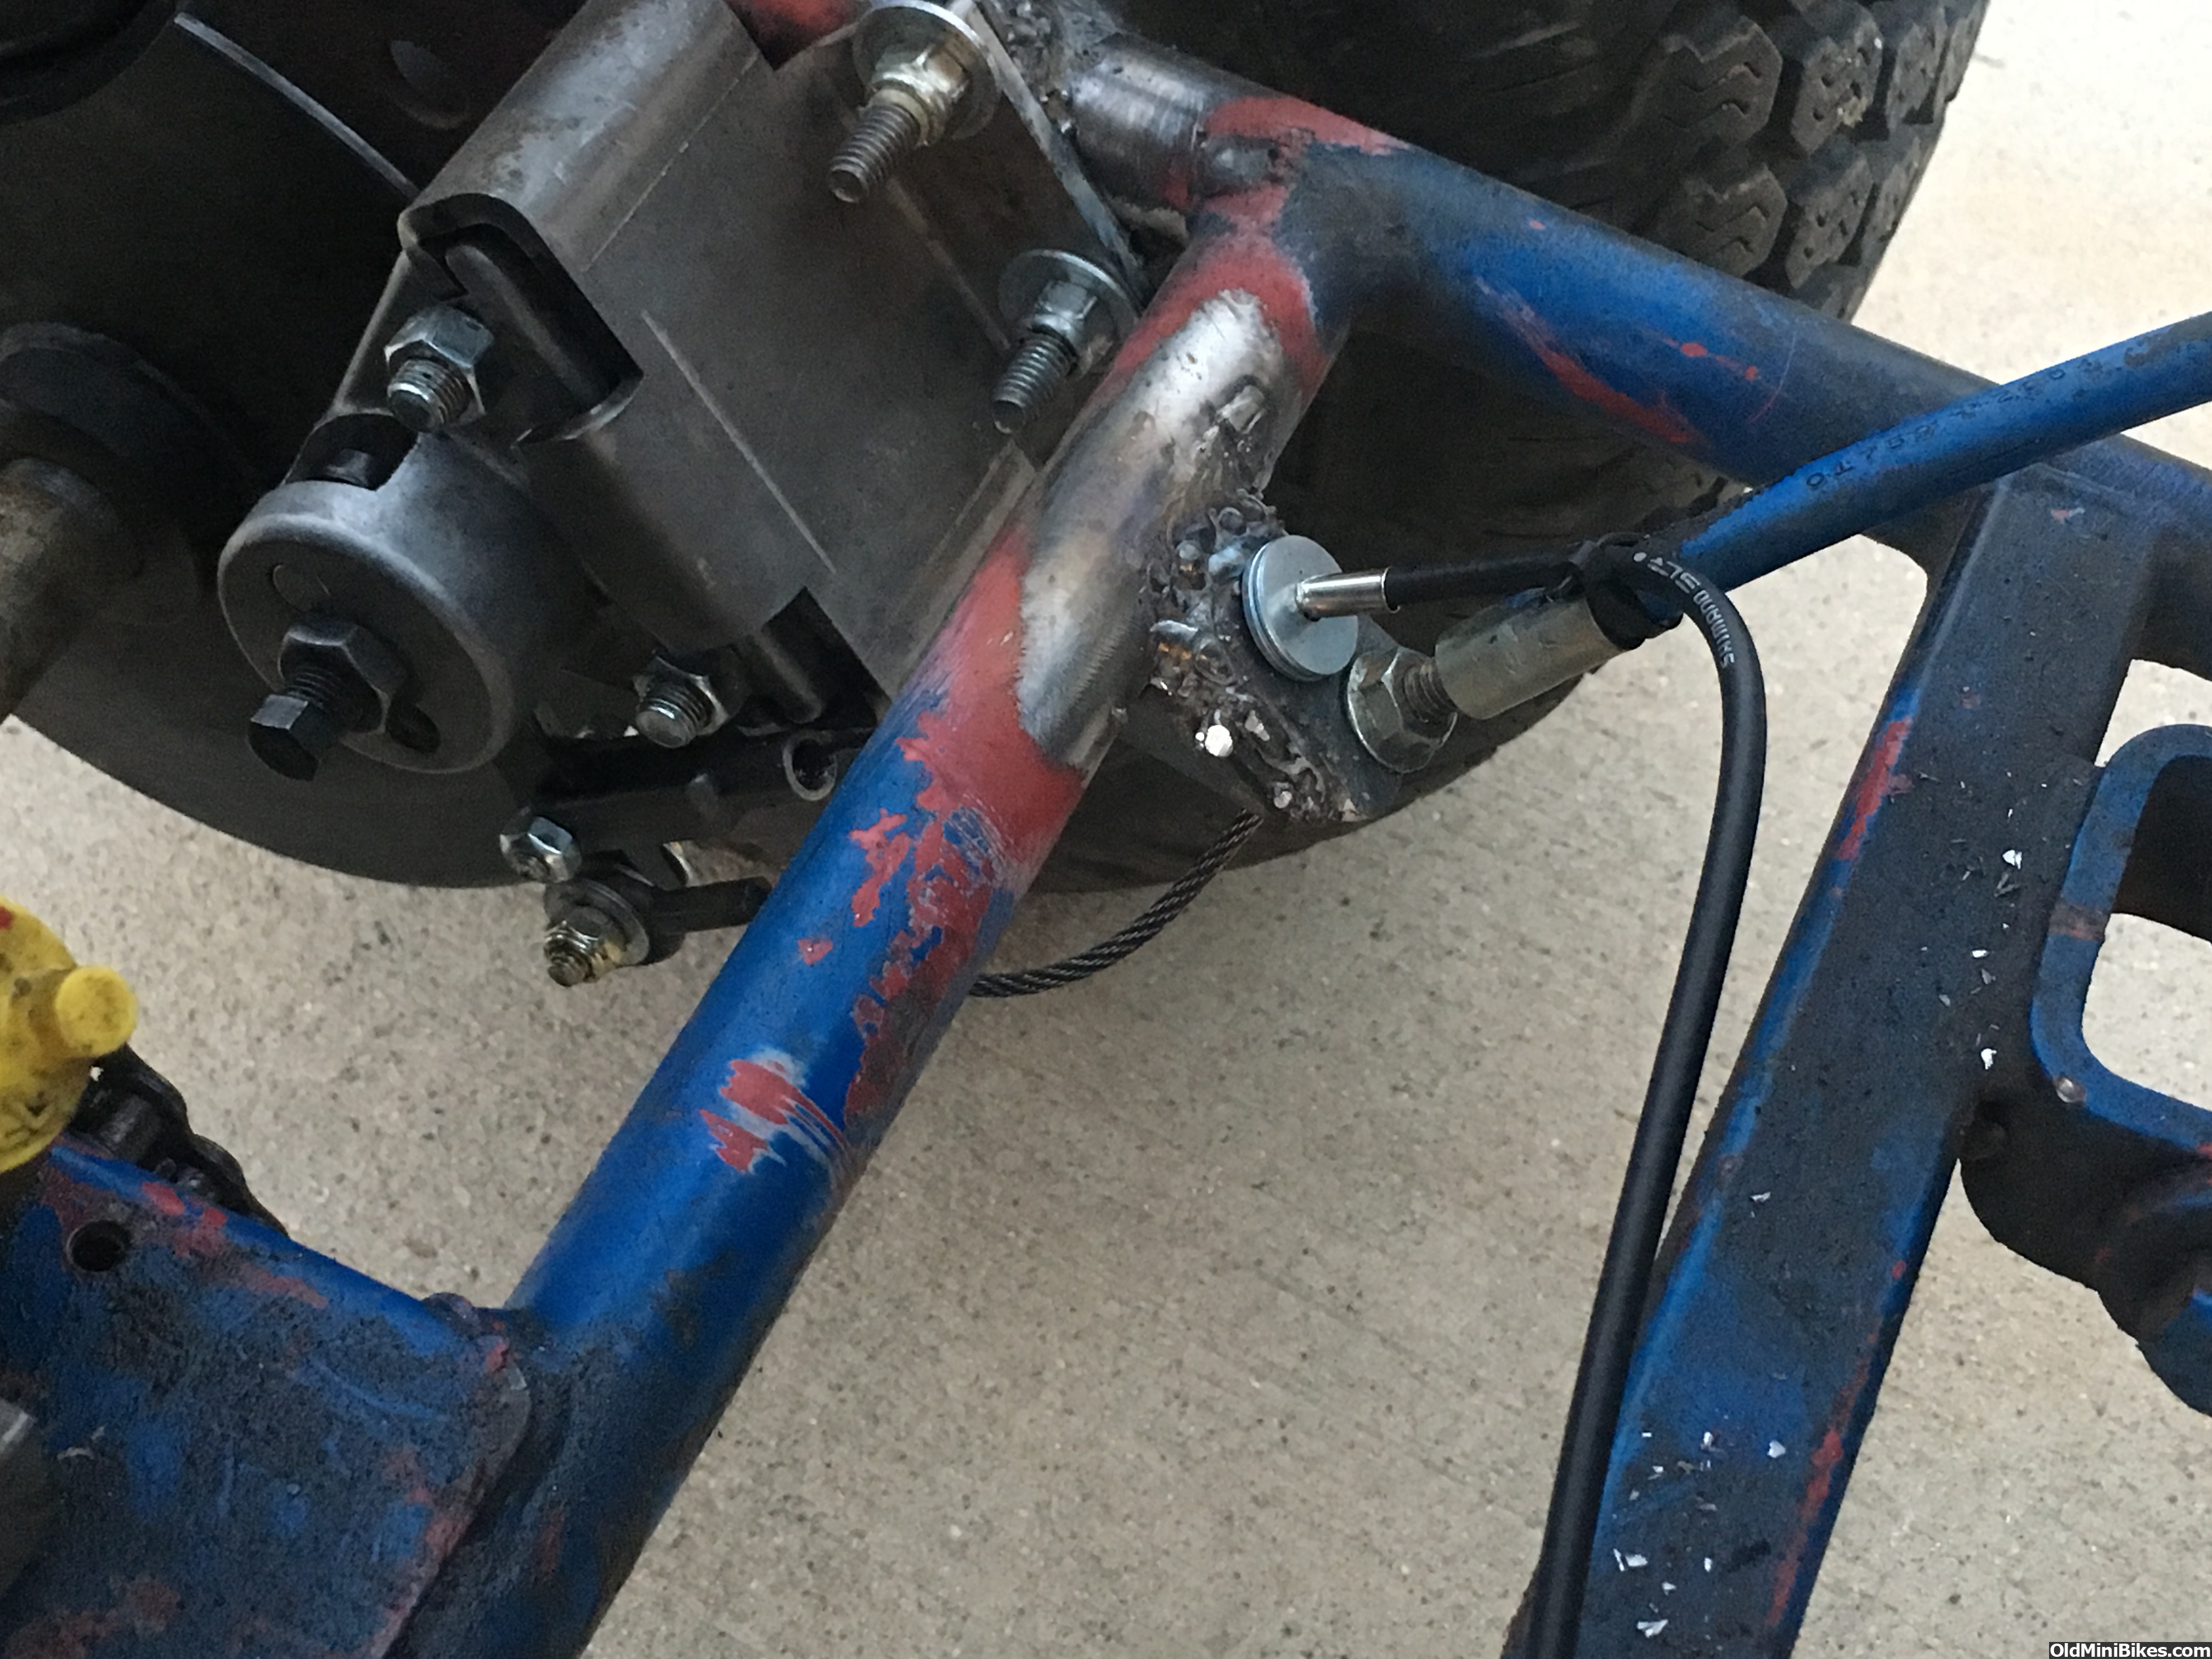
Finnaly got my disk brake which was good because the worn out band brake didnt do crap!
this is definitely the right way to attach a caliper haha!! safety first!!

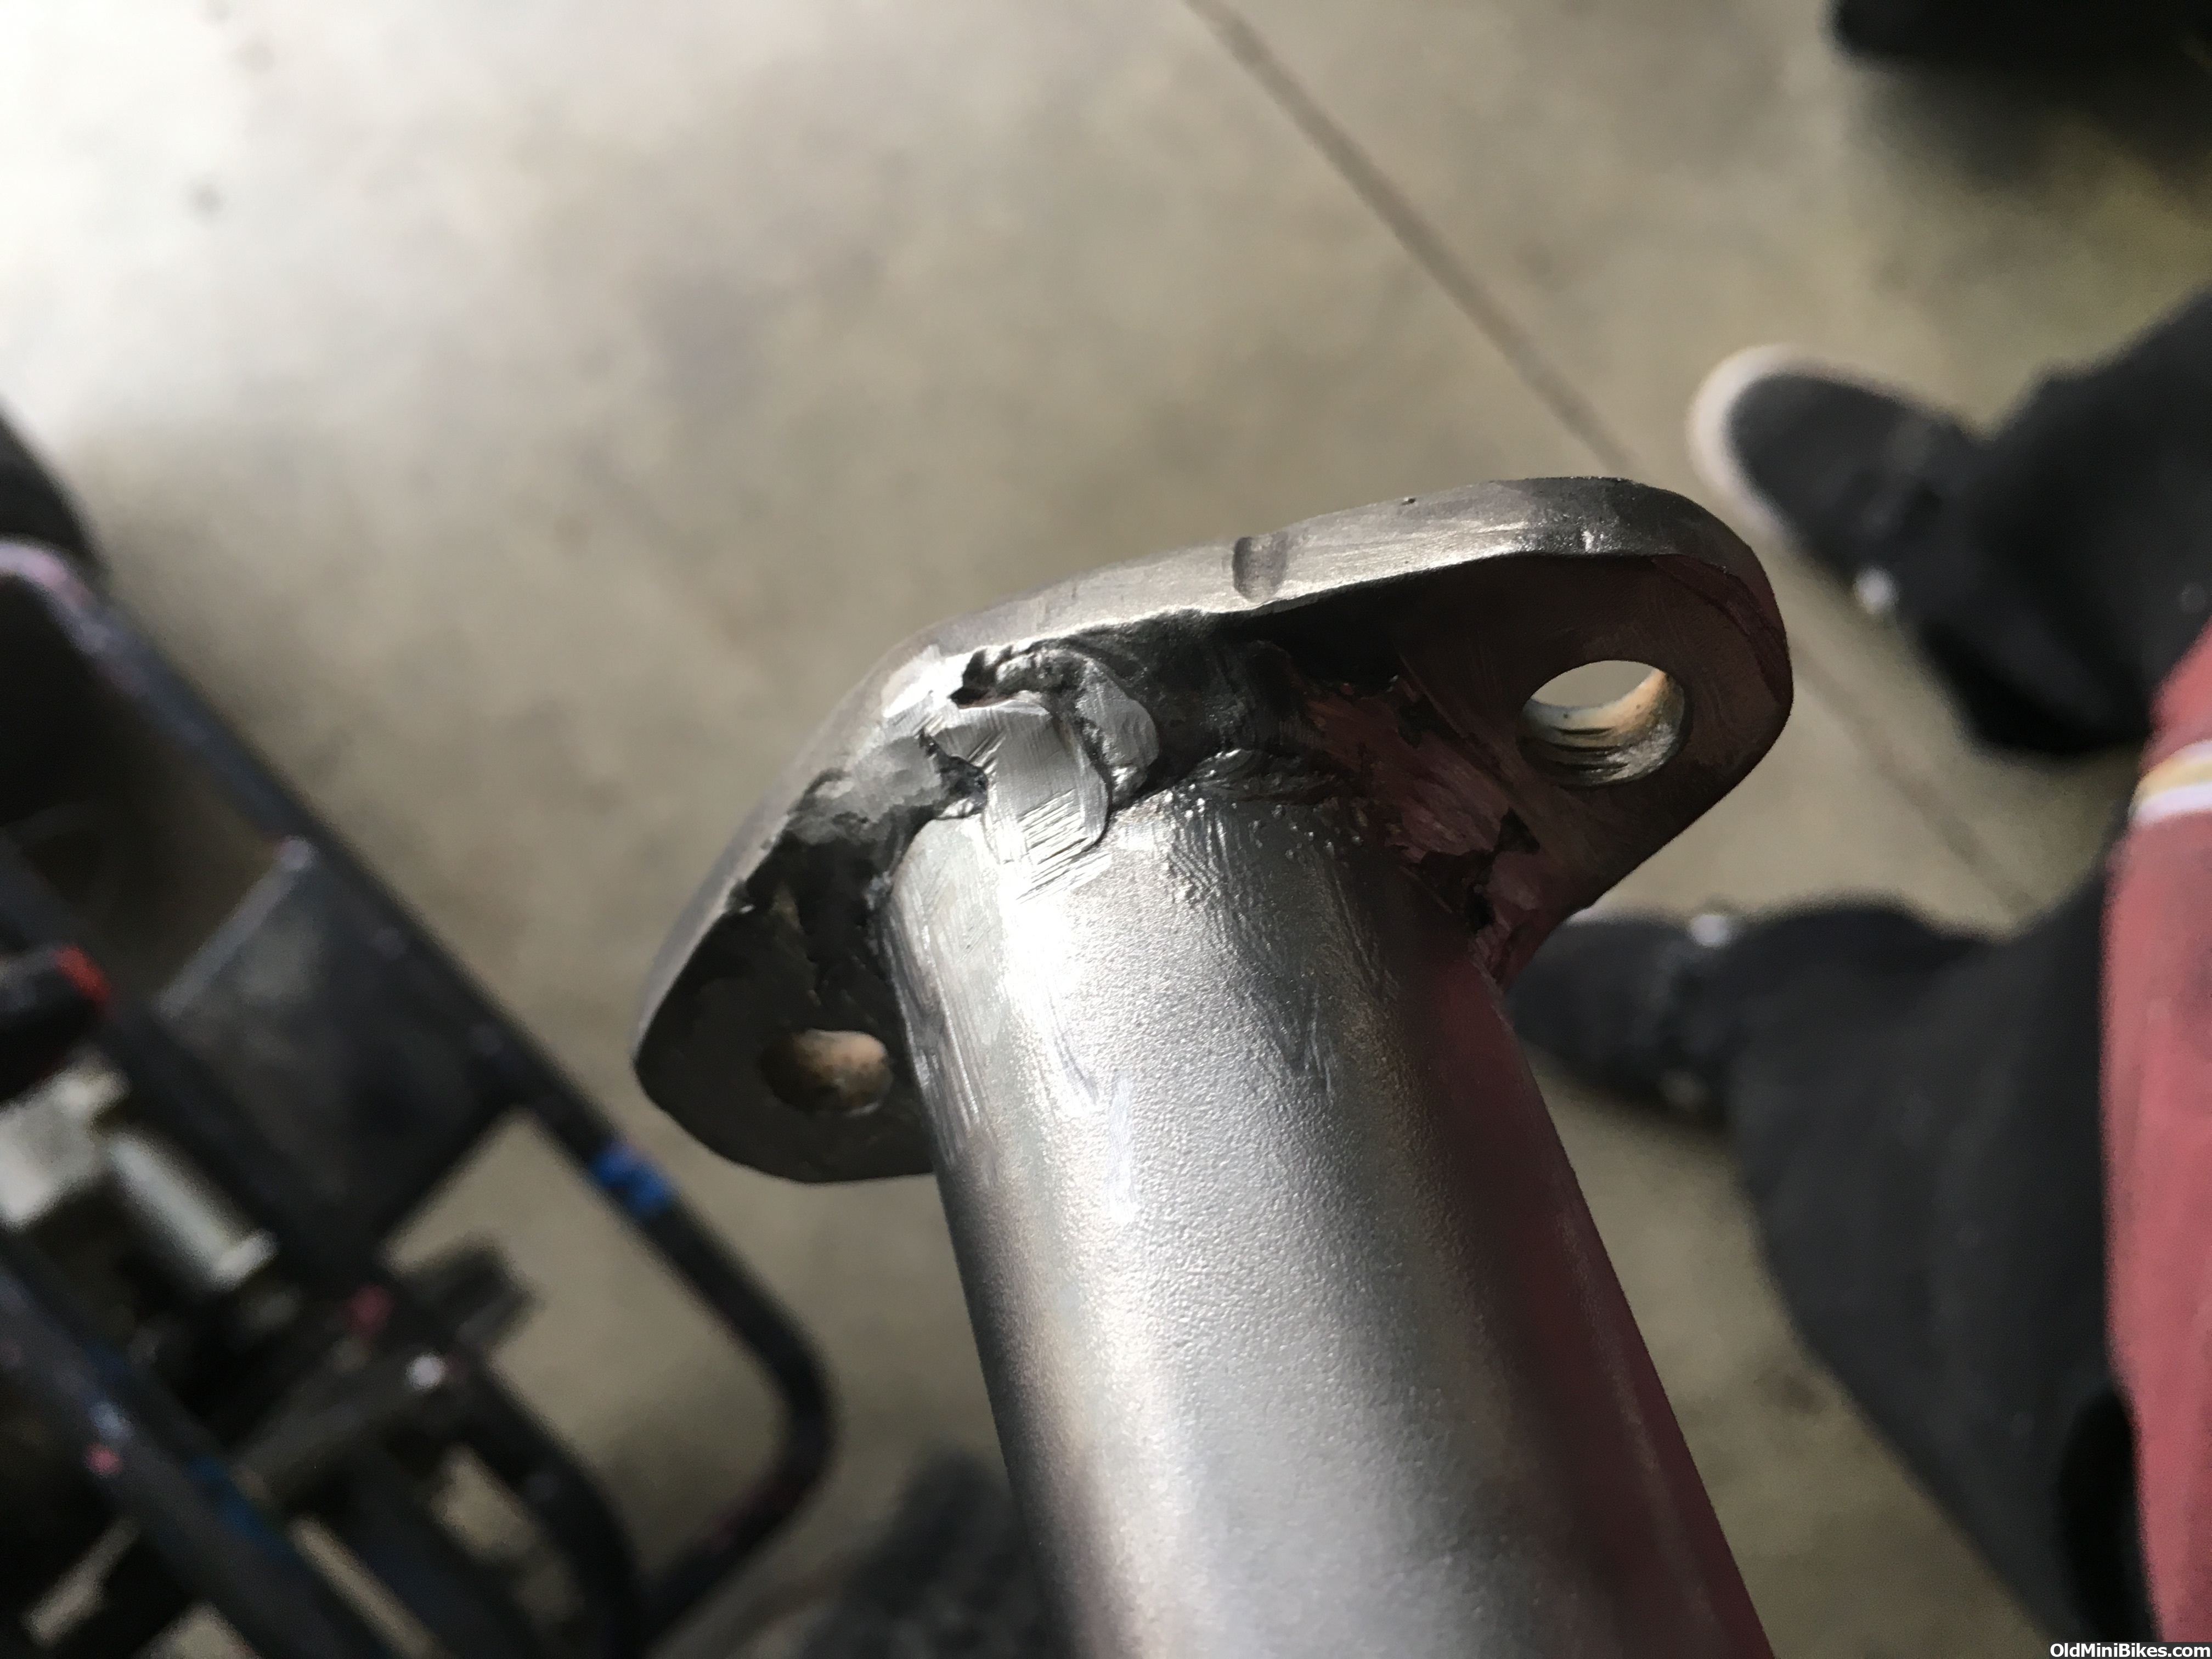
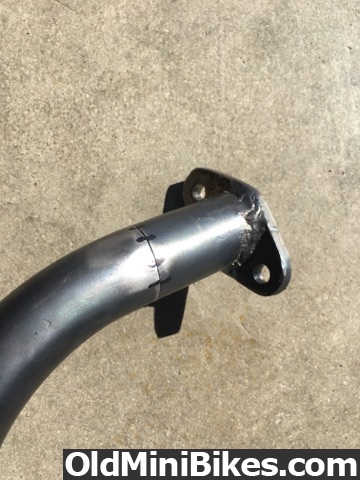
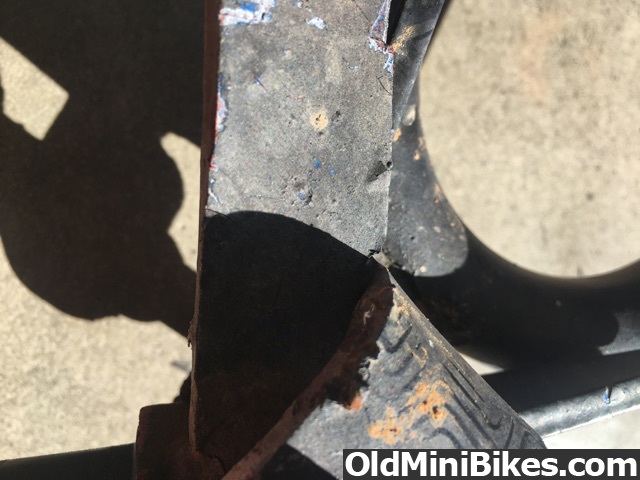
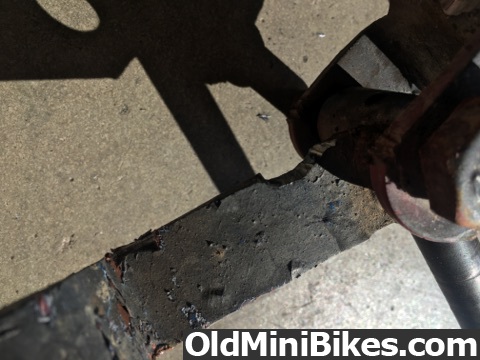
I'm not what you would call a good welder, but this is my best ever weld dont hate it holds, lol

used the stock brake line with no mods other than the mount
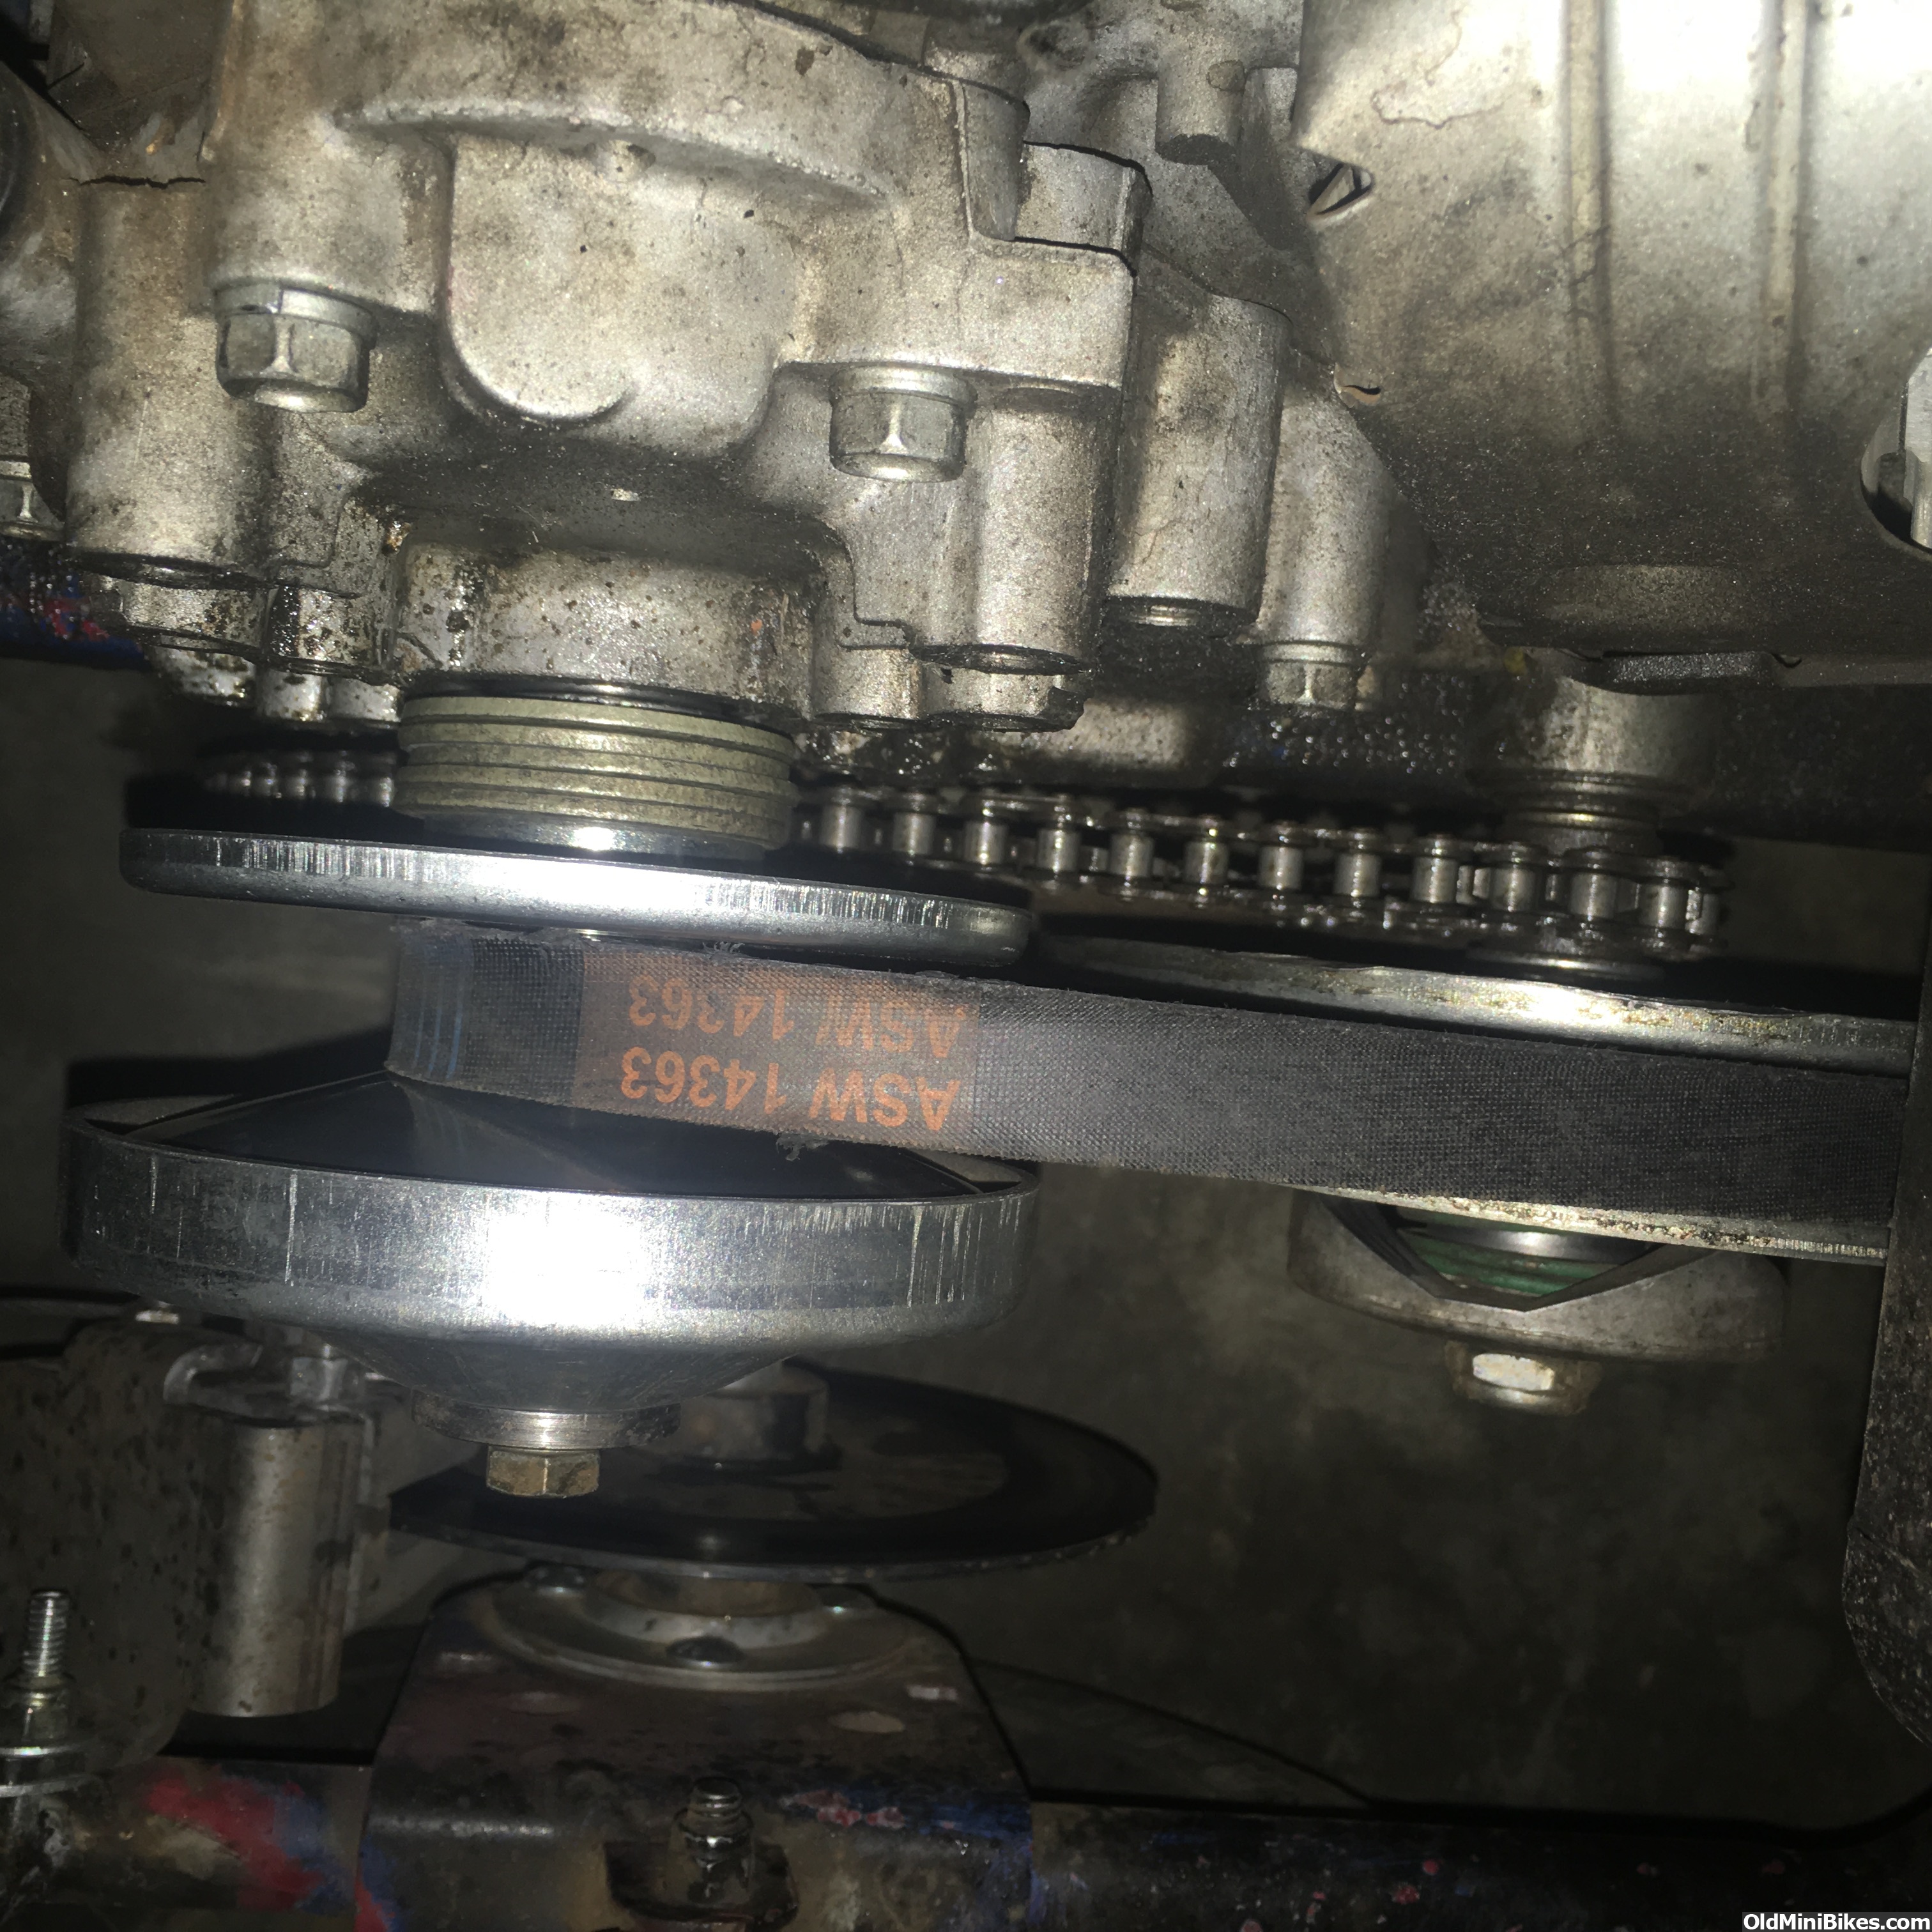
Had to play with the spacing to get everything to work.
Entered

pick apart was 40% off today so i got headrests and a handbrake. swung by home depot after to get some work bench tops for the seat upholstry so i dont slide around, and i installed seatbelts earlyer this week as well.
and handbrake mounted but i need the cable still. ill hit the bike shop tomorrow if i get home in time from work but i doubt i will.
and now its up to date. i have alot of plans, i want to widen the axle and front to fight flipping, do front brakes, and swap in a 200cc from a bike or quad or at least do a manual clutch, but time and money will tell, haha.
frame as it was when i picked it up, got it off some kid for 170, was missing alot of harware and virtualy everything was stripped, came with 2 motors, a honda clone and an old briggs. Clone was done, had a hole in the piston and a bent rod, and the briggs was old ans missing alot of parts, so the next day i drove 3 hours away to buy these for 115, both not running.

(I know its sideways, dont feel like fixing)
First i rebuilt the axle as it was missing alot of hardware and one of the wheels was held on by a c-clip, lol.
Mock up of the briggs while i waited for the crank shaft and driver pulley
new crank
removed governor and oil sensor while i was in there
Pulley came so i mounted (upside-own again sorry lol)
Ghetto rigged a gas tank so i could drive it for the first time. was alot quicker than i expected! Fist run was sketchy, the throttle stuck and the brakes didnt work, lmao!
picked up some sick new seats haha!!
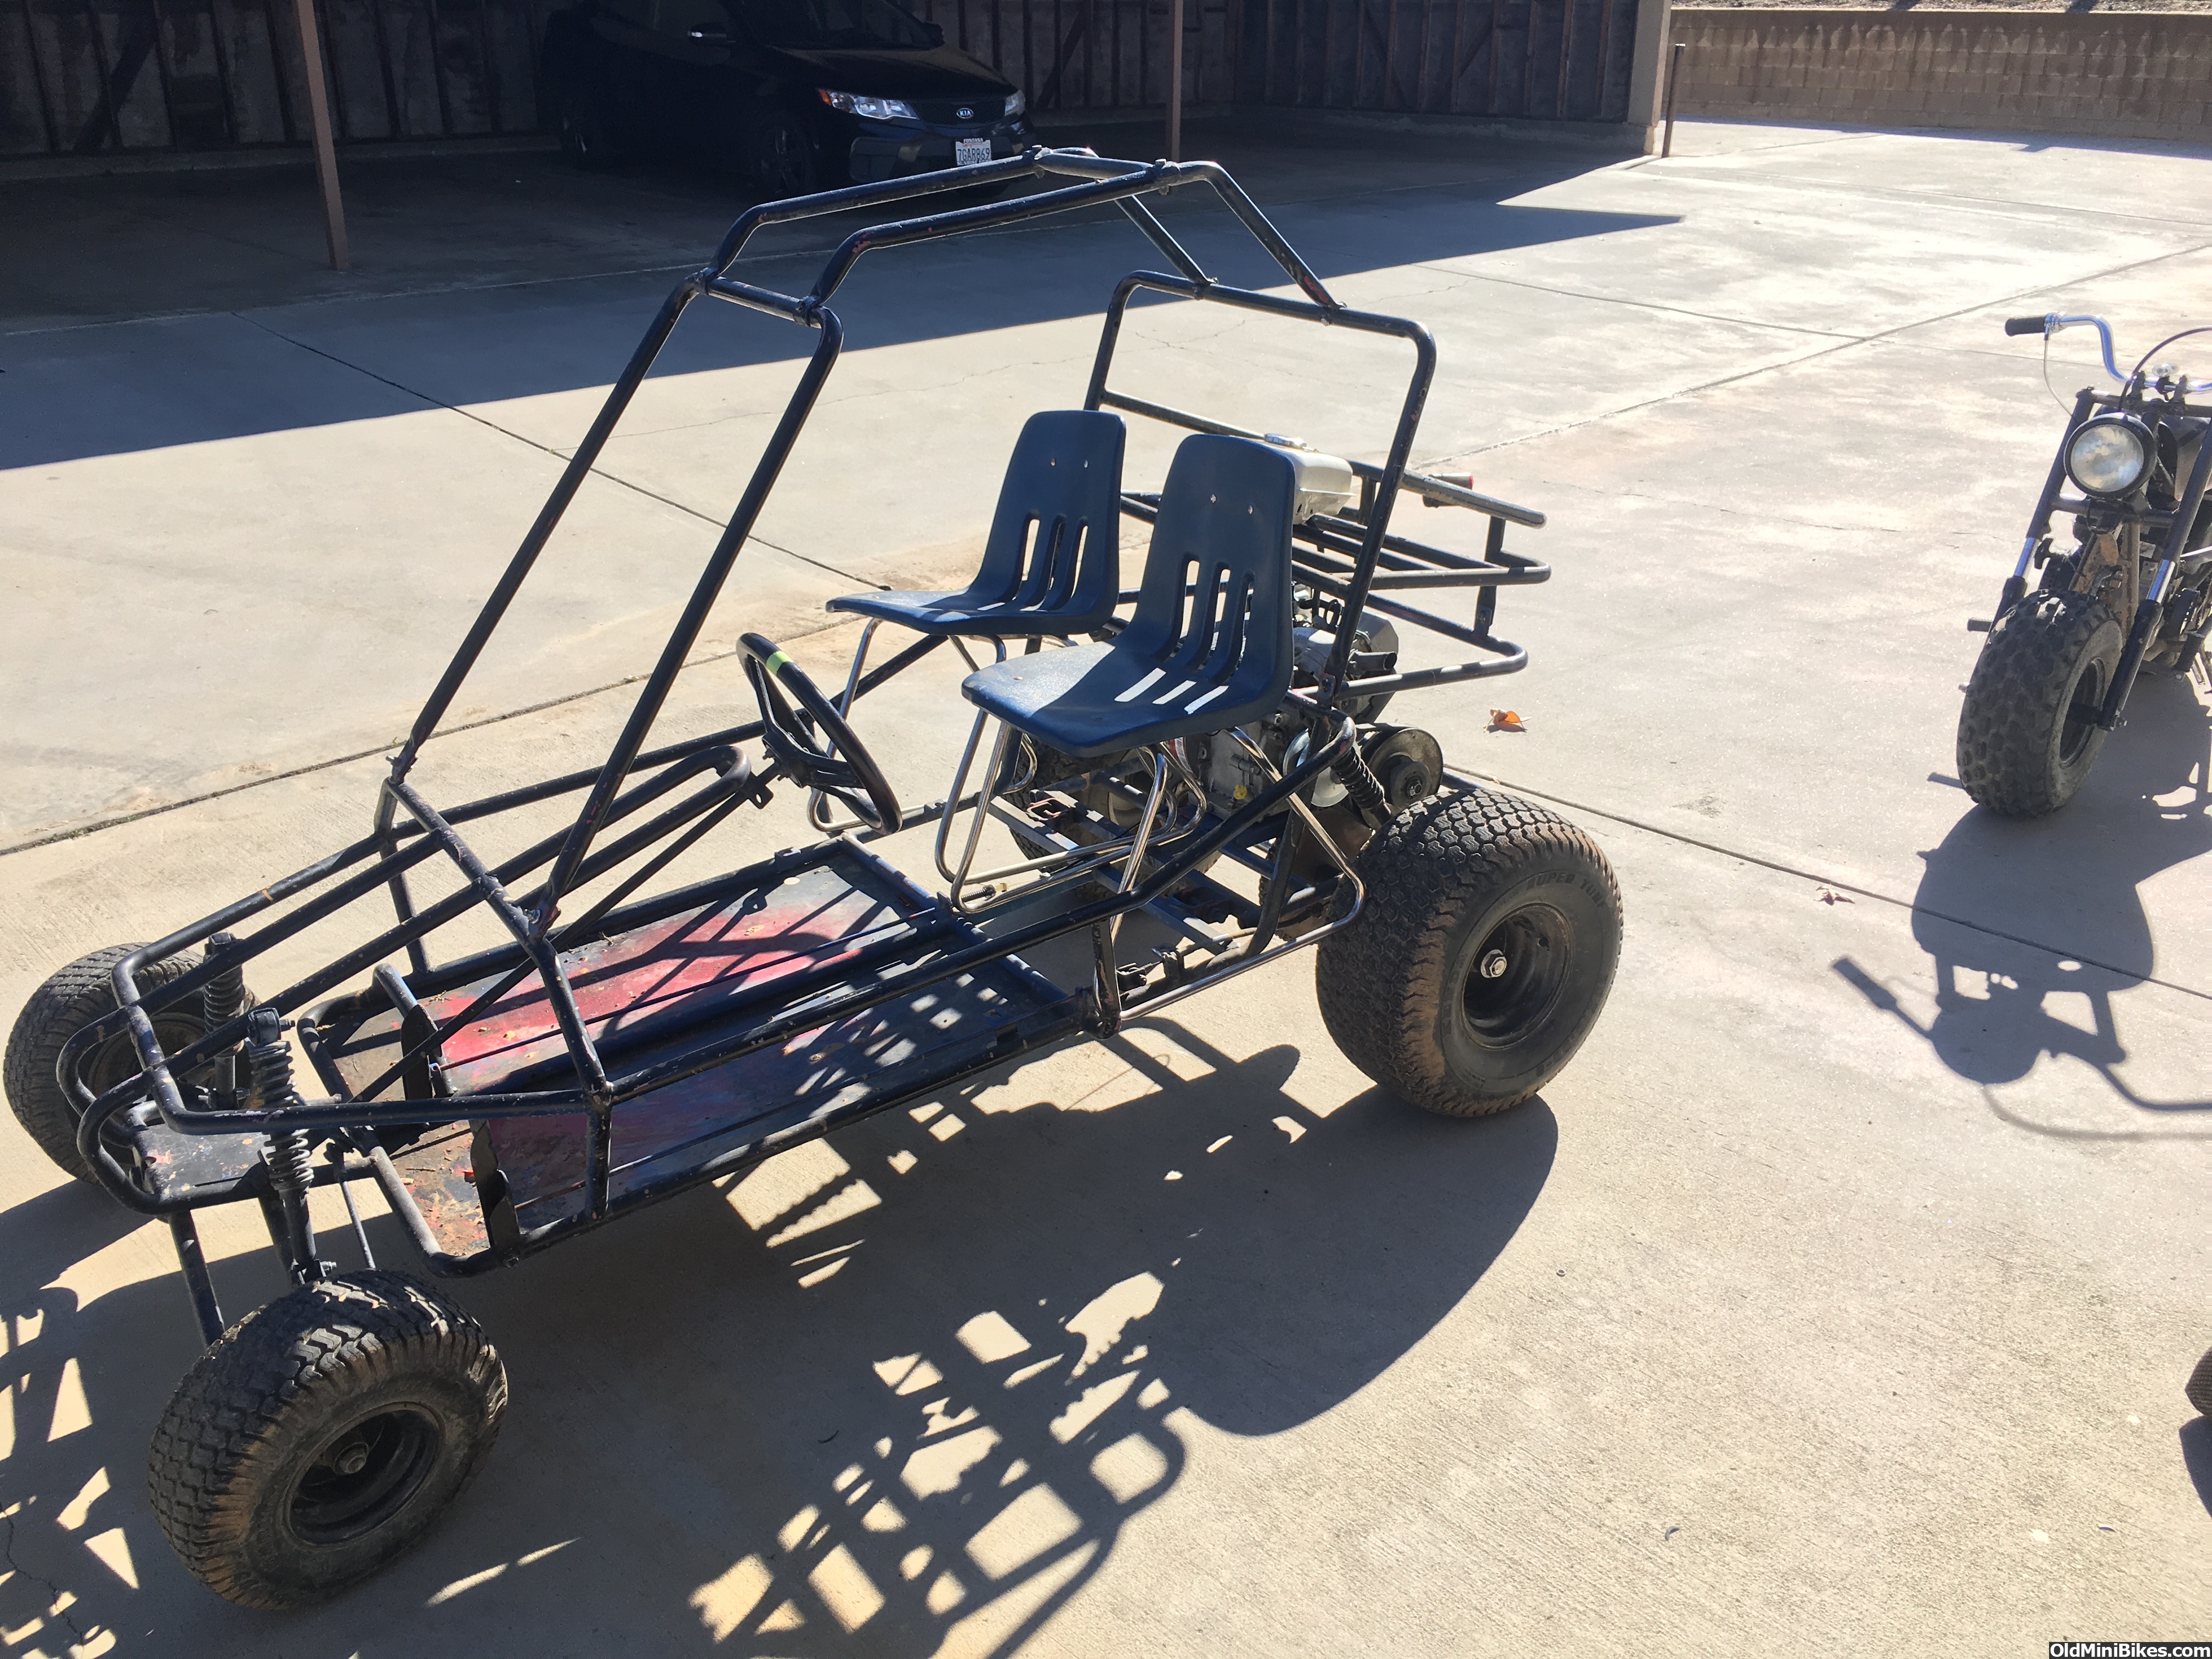
And... in!!
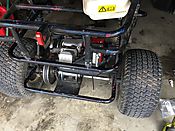
Finnaly got my disk brake which was good because the worn out band brake didnt do crap!

this is definitely the right way to attach a caliper haha!! safety first!!
I'm not what you would call a good welder, but this is my best ever weld dont hate it holds, lol
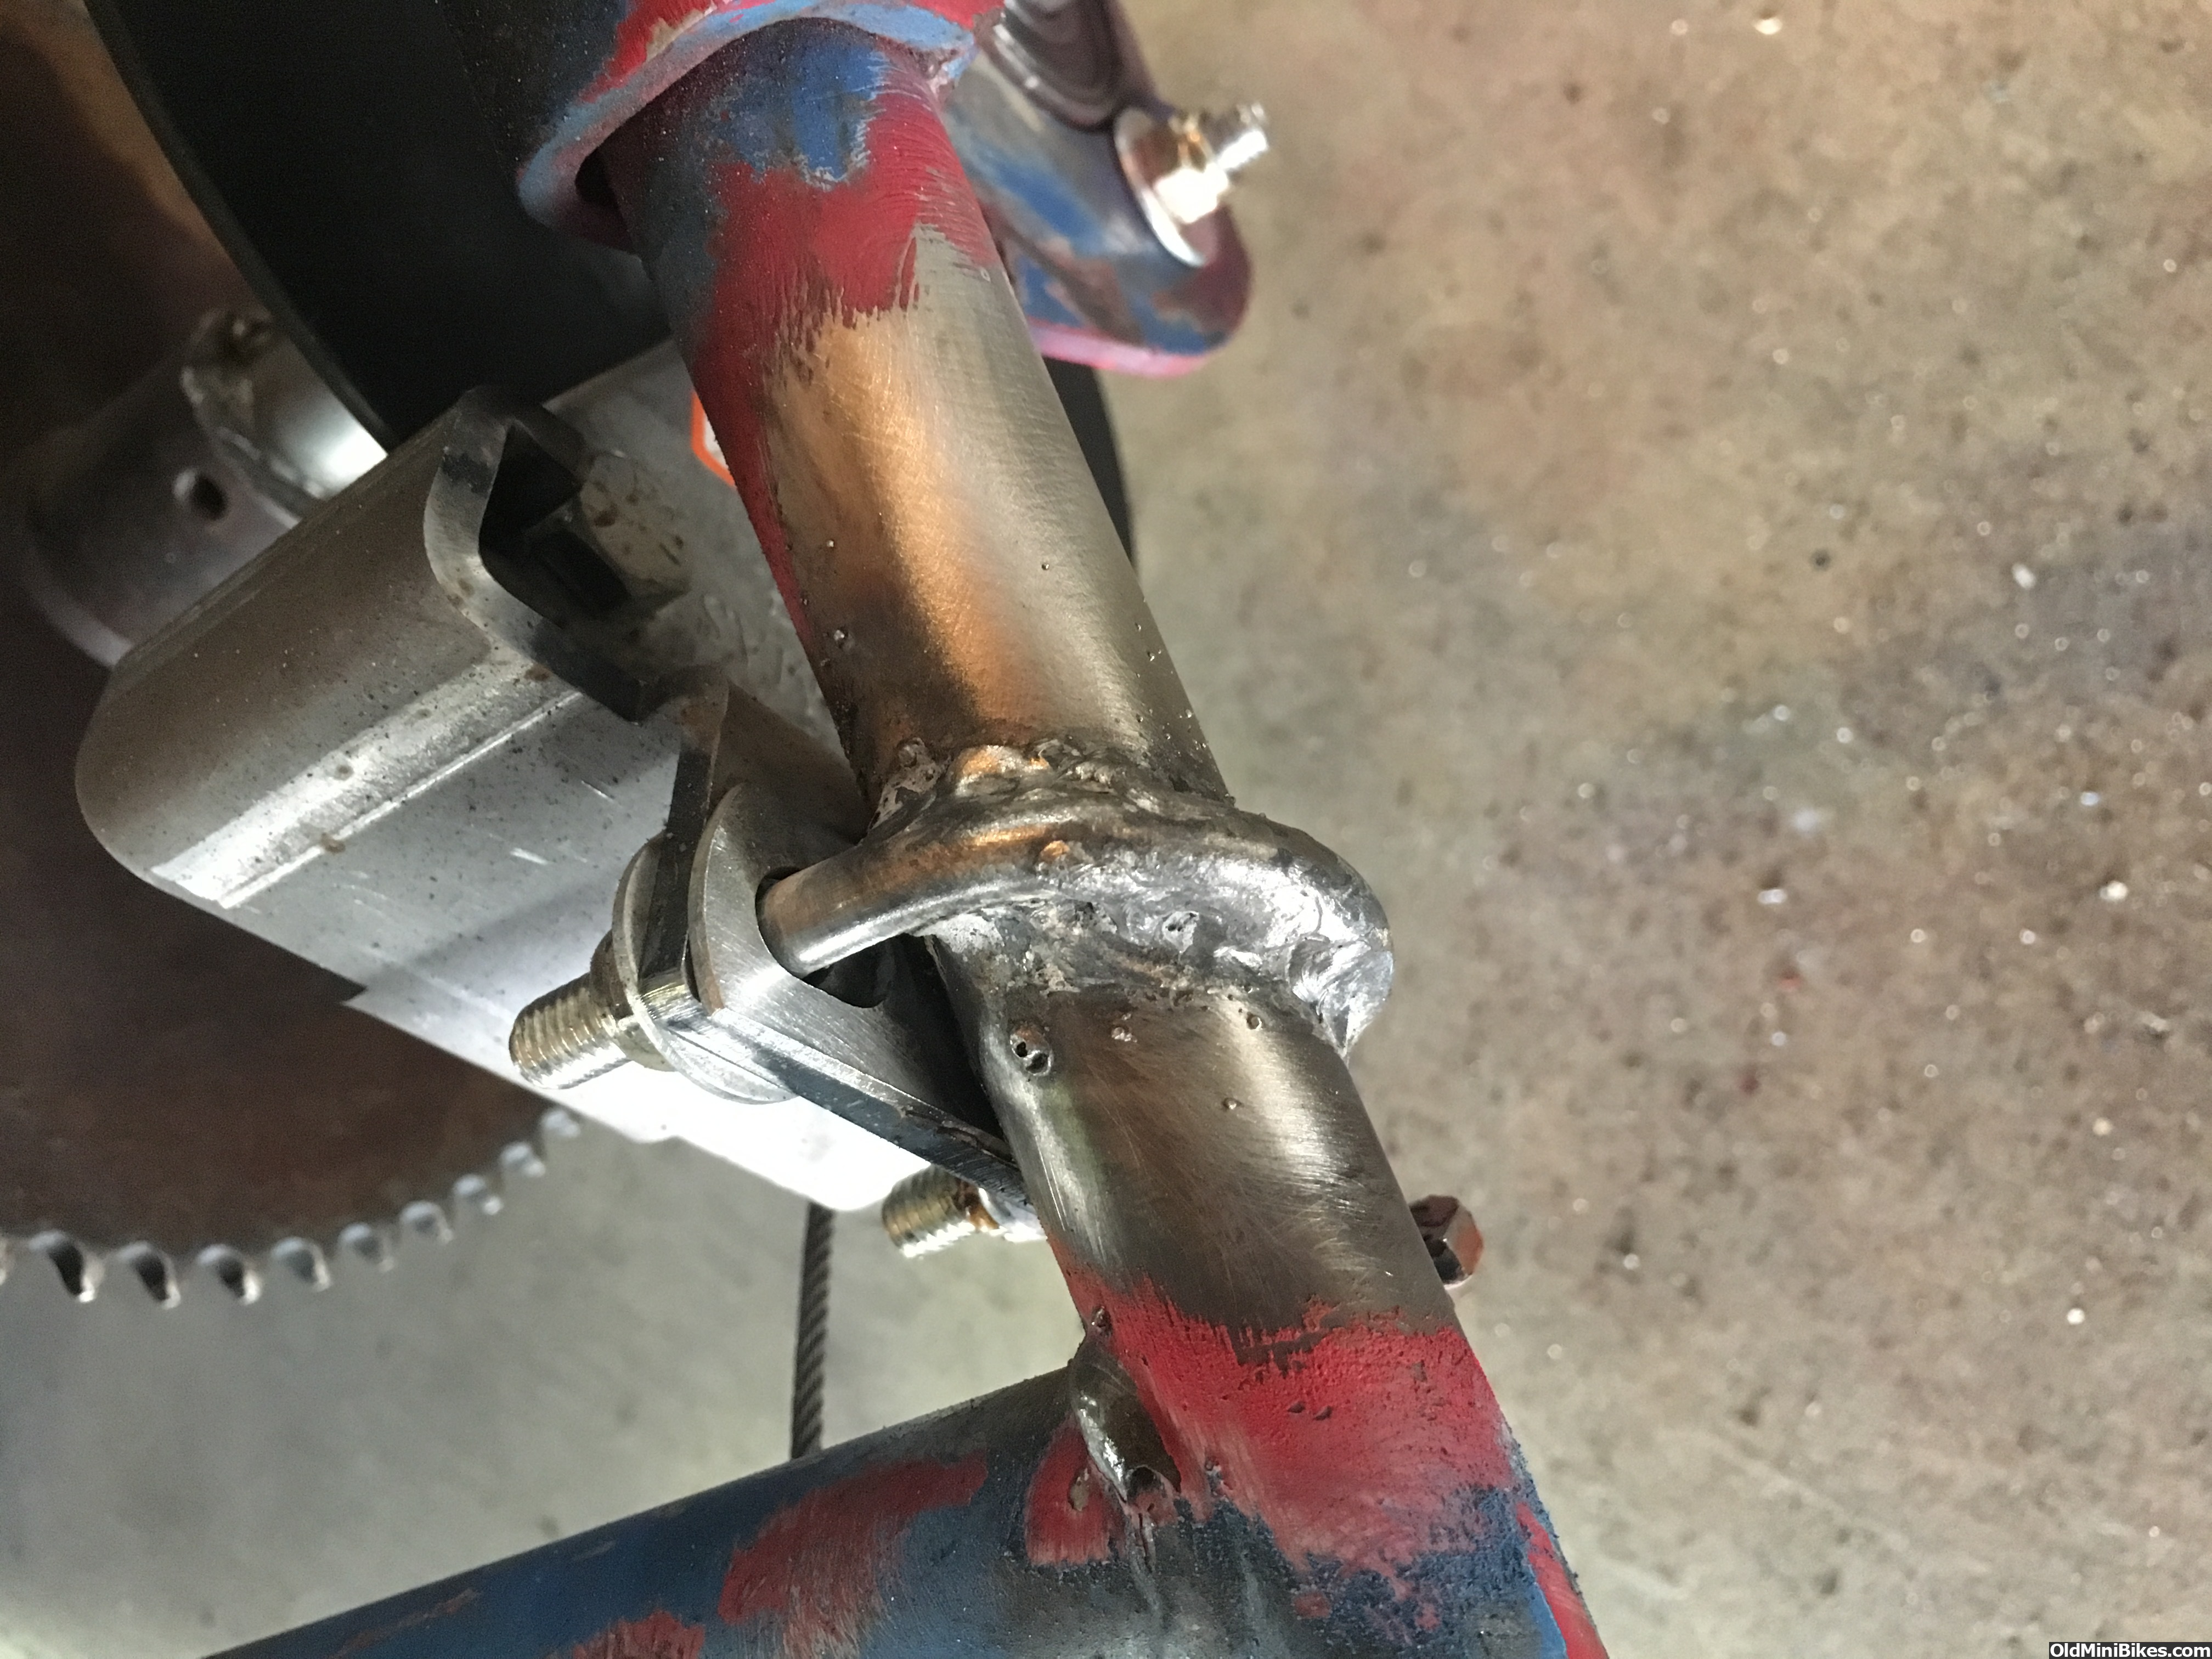
used the stock brake line with no mods other than the mount

Had to play with the spacing to get everything to work.
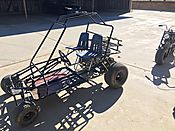
Entered
pick apart was 40% off today so i got headrests and a handbrake. swung by home depot after to get some work bench tops for the seat upholstry so i dont slide around, and i installed seatbelts earlyer this week as well.

and handbrake mounted but i need the cable still. ill hit the bike shop tomorrow if i get home in time from work but i doubt i will.
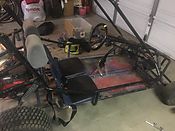
and now its up to date. i have alot of plans, i want to widen the axle and front to fight flipping, do front brakes, and swap in a 200cc from a bike or quad or at least do a manual clutch, but time and money will tell, haha.
Last edited:

")