Dr. Shop Teacher's JFF Gilson Knight Rider
- Thread starter Dr. Shop Teacher
- Start date

Looking good pete,can't wait to see it finish...:thumbsup:
Nice, Pete.
Most impressive master.
The color is just awesome , would you just look at that !!!
Fabbing the Guards--a weekend job
This job was a lot more than I expected. I ordered 5052 1/8" aluminum plate and, in retrospect, I should have gone with 0.080 aluminum. 5052 is cold formable but is NOT heat formable--as I discovered in this process--even after reading up on its properties (it was supposed to). Heat changes the properties of the 5052 and it gets brittle fast. More on that...
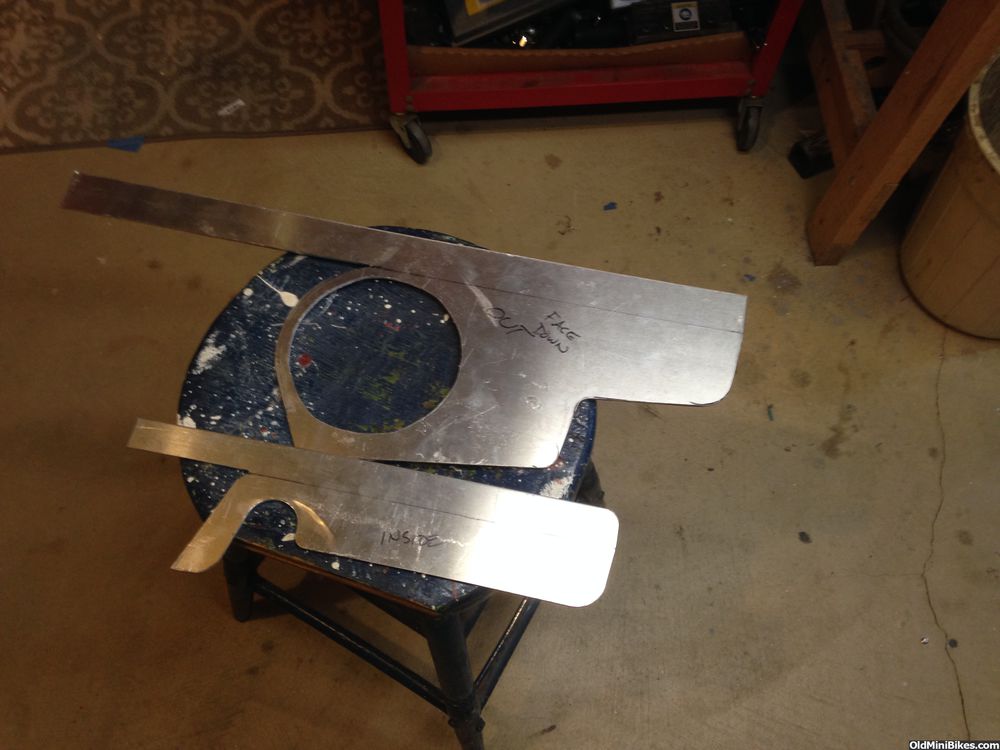
In a previous post, I showed the wooden bucks I made for both the clutch and chain guards. These came in handy. I laid out the pattern on the sheet and used my ancient scroll saw to cut the flats out. Below is the second cut after the band has been slotted.

After the cut.
 Layout for the frustum hole (covers the clutch).
 The two blanks cut. My thought was, with a little heat, I could bend the sheet pretty easily. But that was not going to be the case. The chain guard required far more heat and did not soften. What happened is that it became really brittle and literally fell apart when I started to bend it.
So, I made a tactical decision today: I cut slots along the fold line and bent the metal cold. More welding, but it worked. I used the buck to form the curved edge. All of this was by hand with some help from a few clamps.

The frustum was remeasured to make sure I had the right dimensions and, glad I did...made up a new template this morning and transferred it to the sheet. This was cut with the scroll saw about 4" at a time.

To form the cone, I used a 2" tube mounted in the vise and slowly began bending the cone to shape. This was all done with a lot of grunt and time. Periodically, I'd have to pull the curve back and reshape it to close the two ends. The hardest part was getting the curve on the end...I used a clamp and gently nudged it along.

The key to getting the cone correct is to constantly check and adjust against the buck (upper and lower radius). I screwed the buck into the work bench so could tweak a little here and a little there.

Below is the nearly finished product. The circle on the guard needed to be adjusted some (I kept it smaller just to be safe).

I left a tail on the piece in case the welder needs a grounding point. It seems to me that it'll be best to tack it together on the buck and then weld it all up.
This job was a lot more than I expected. I ordered 5052 1/8" aluminum plate and, in retrospect, I should have gone with 0.080 aluminum. 5052 is cold formable but is NOT heat formable--as I discovered in this process--even after reading up on its properties (it was supposed to). Heat changes the properties of the 5052 and it gets brittle fast. More on that...
In a previous post, I showed the wooden bucks I made for both the clutch and chain guards. These came in handy. I laid out the pattern on the sheet and used my ancient scroll saw to cut the flats out. Below is the second cut after the band has been slotted.

After the cut.


So, I made a tactical decision today: I cut slots along the fold line and bent the metal cold. More welding, but it worked. I used the buck to form the curved edge. All of this was by hand with some help from a few clamps.

The frustum was remeasured to make sure I had the right dimensions and, glad I did...made up a new template this morning and transferred it to the sheet. This was cut with the scroll saw about 4" at a time.

To form the cone, I used a 2" tube mounted in the vise and slowly began bending the cone to shape. This was all done with a lot of grunt and time. Periodically, I'd have to pull the curve back and reshape it to close the two ends. The hardest part was getting the curve on the end...I used a clamp and gently nudged it along.

The key to getting the cone correct is to constantly check and adjust against the buck (upper and lower radius). I screwed the buck into the work bench so could tweak a little here and a little there.

Below is the nearly finished product. The circle on the guard needed to be adjusted some (I kept it smaller just to be safe).

I left a tail on the piece in case the welder needs a grounding point. It seems to me that it'll be best to tack it together on the buck and then weld it all up.
This job was a lot more than I expected. I ordered 5052 1/8" aluminum plate and, in retrospect, I should have gone with 0.080 aluminum. 5052 is cold formable but is NOT heat formable--as I discovered in this process--even after reading up on its properties (it was supposed to). Heat changes the properties of the 5052 and it gets brittle fast. More on that...
In a previous post, I showed the wooden bucks I made for both the clutch and chain guards. These came in handy. I laid out the pattern on the sheet and used my ancient scroll saw to cut the flats out. Below is the second cut after the band has been slotted.
After the cut.
Layout for the frustum hole (covers the clutch).
The two blanks cut. My thought was, with a little heat, I could bend the sheet pretty easily. But that was not going to be the case. The chain guard required far more heat and did not soften. What happened is that it became really brittle and literally fell apart when I started to bend it.
So, I made a tactical decision today: I cut slots along the fold line and bent the metal cold. More welding, but it worked. I used the buck to form the curved edge. All of this was by hand with some help from a few clamps.
The frustum was remeasured to make sure I had the right dimensions and, glad I did...made up a new template this morning and transferred it to the sheet. This was cut with the scroll saw about 4" at a time.
To form the cone, I used a 2" tube mounted in the vise and slowly began bending the cone to shape. This was all done with a lot of grunt and time. Periodically, I'd have to pull the curve back and reshape it to close the two ends. The hardest part was getting the curve on the end...I used a clamp and gently nudged it along.
The key to getting the cone correct is to constantly check and adjust against the buck (upper and lower radius). I screwed the buck into the work bench so could tweak a little here and a little there.
Below is the nearly finished product. The circle on the guard needed to be adjusted some (I kept it smaller just to be safe).
I left a tail on the piece in case the welder needs a grounding point. It seems to me that it'll be best to tack it together on the buck and then weld it all up.
In a previous post, I showed the wooden bucks I made for both the clutch and chain guards. These came in handy. I laid out the pattern on the sheet and used my ancient scroll saw to cut the flats out. Below is the second cut after the band has been slotted.
After the cut.
So, I made a tactical decision today: I cut slots along the fold line and bent the metal cold. More welding, but it worked. I used the buck to form the curved edge. All of this was by hand with some help from a few clamps.
The frustum was remeasured to make sure I had the right dimensions and, glad I did...made up a new template this morning and transferred it to the sheet. This was cut with the scroll saw about 4" at a time.
To form the cone, I used a 2" tube mounted in the vise and slowly began bending the cone to shape. This was all done with a lot of grunt and time. Periodically, I'd have to pull the curve back and reshape it to close the two ends. The hardest part was getting the curve on the end...I used a clamp and gently nudged it along.
The key to getting the cone correct is to constantly check and adjust against the buck (upper and lower radius). I screwed the buck into the work bench so could tweak a little here and a little there.
Below is the nearly finished product. The circle on the guard needed to be adjusted some (I kept it smaller just to be safe).
I left a tail on the piece in case the welder needs a grounding point. It seems to me that it'll be best to tack it together on the buck and then weld it all up.
The third day of fabbing guards...
Finished fabrication today and got the battery cover made, the chain guard and finished up the clutch guard. All very time consuming but should look nice when welded.
Layout below--

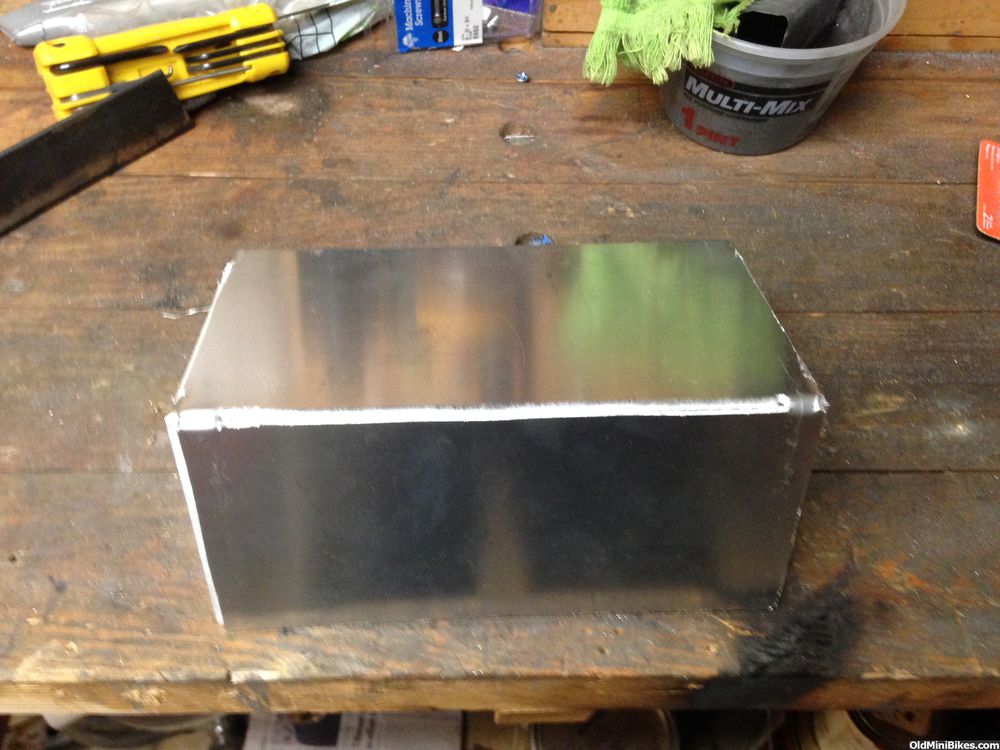
Battery cover--

Chain guard without jackshaft hole cut--

Chain guard bend and sanded to get some divots out--

Battery cover--
Clutch cover--

Finished fabrication today and got the battery cover made, the chain guard and finished up the clutch guard. All very time consuming but should look nice when welded.
Layout below--

Battery cover--

Chain guard without jackshaft hole cut--

Chain guard bend and sanded to get some divots out--

Battery cover--

Clutch cover--

Brakes and more....
Wait, there's more!
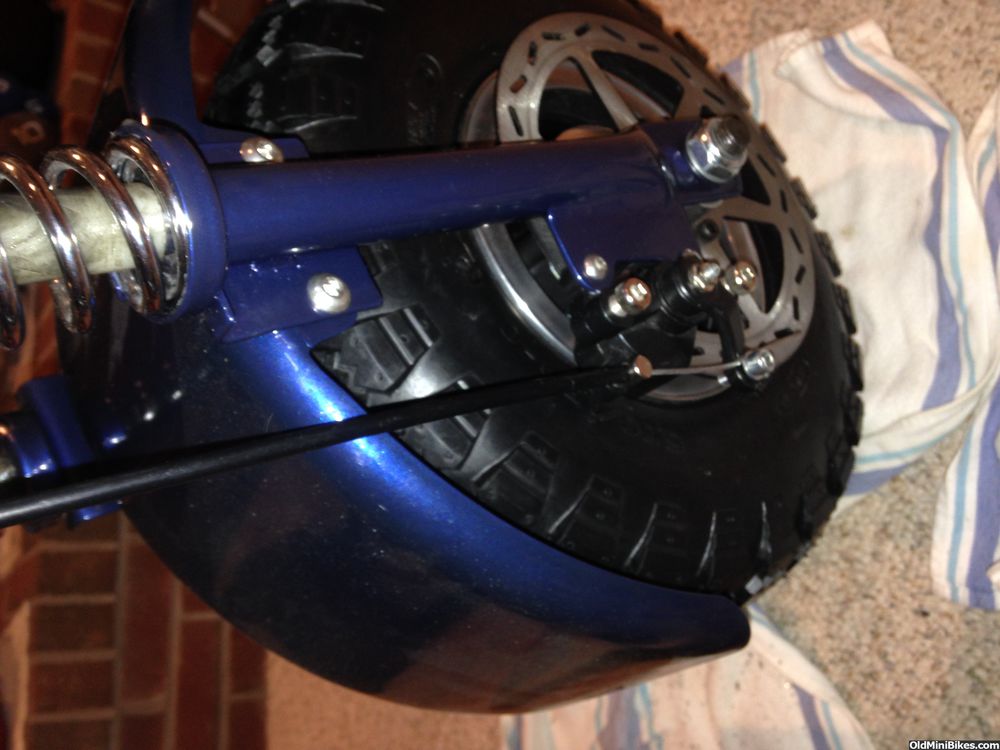
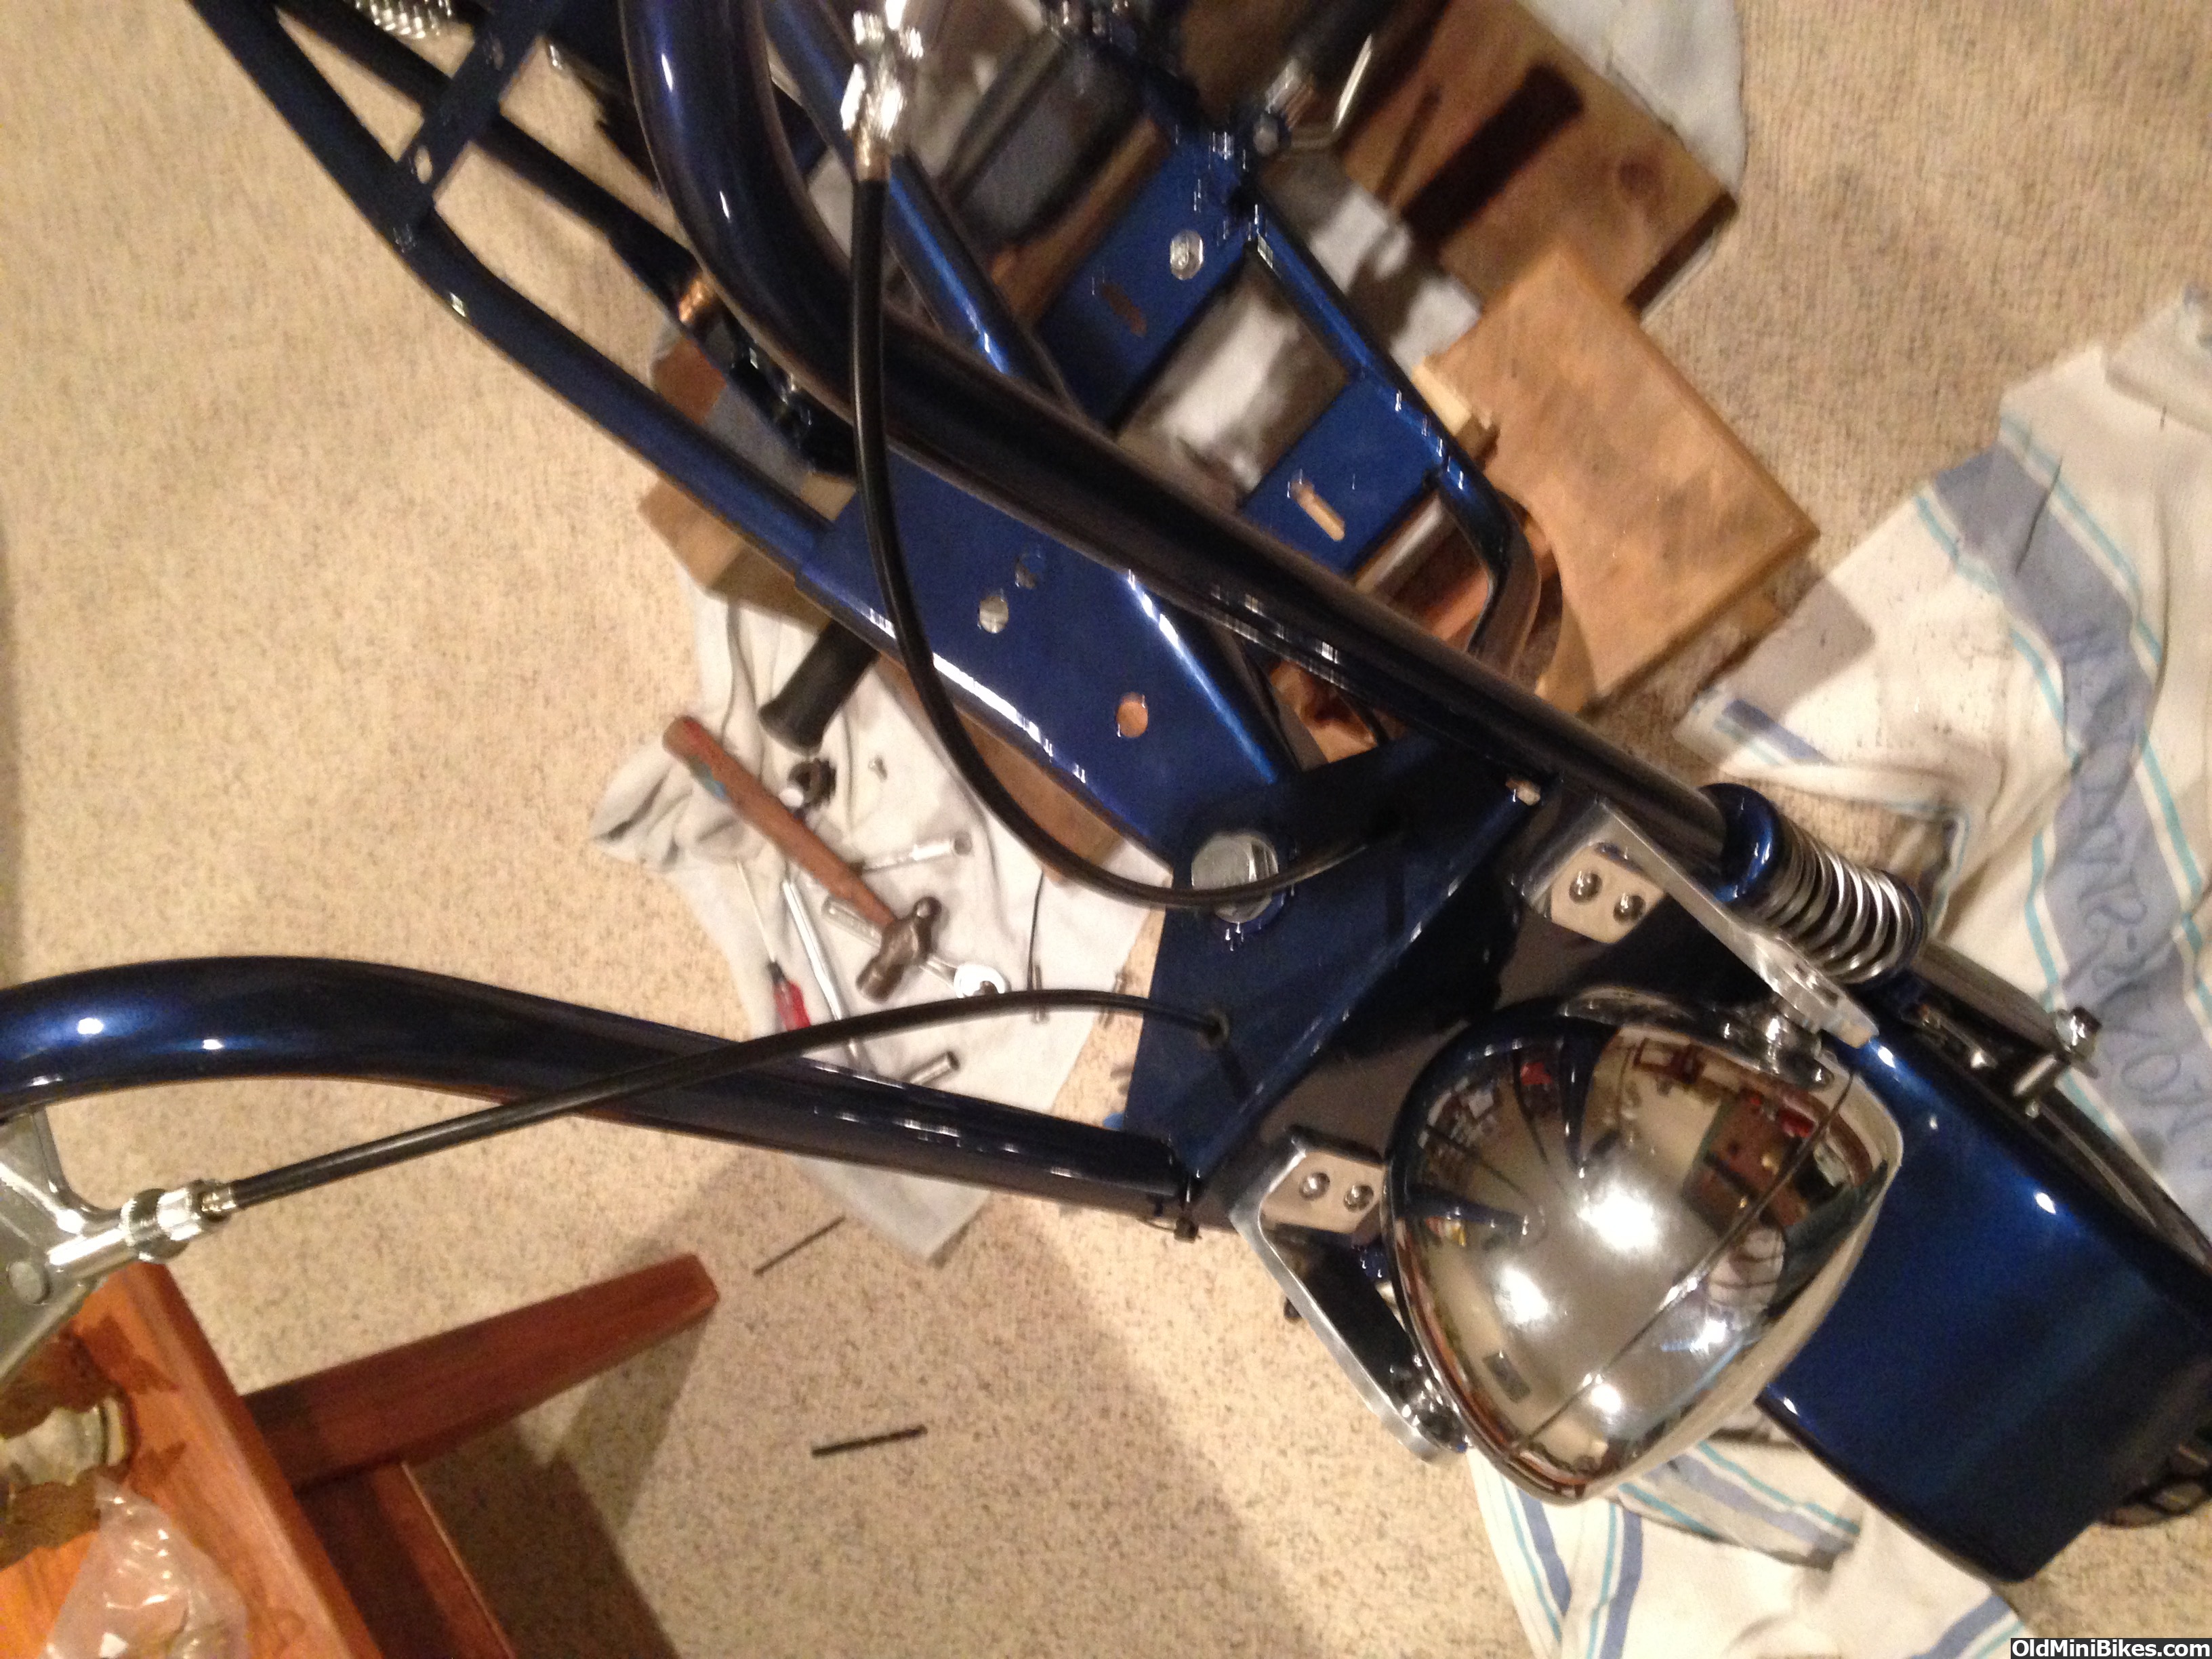
Spent literally the whole day figuring out the brake cables. The cable to the front caliper looked terrible zip-tied to the forks so I looked at several solutions. I came up with this:

I drilled two holes in the trees, put in grommets and fed the cables through--

This gave a nice clean look to the front disc and to the rear--
The stop switch (Rupp style) is located under the seat.

The starter motor has aluminum end caps and I couldn't resist...

Jack shaft is ready to go, so I'll fit the TAV tomorrow and maybe...just maybe...have the engine mounted.
Jeez I go away on vacation for a couple of weeks and I come back to a kick ass nearly complete bike. You've been a very busy guy!
Spent literally the whole day figuring out the brake cables. The cable to the front caliper looked terrible zip-tied to the forks so I looked at several solutions. I came up with this:
I drilled two holes in the trees, put in grommets and fed the cables through--

This gave a nice clean look to the front disc and to the rear--

The stop switch (Rupp style) is located under the seat.

The starter motor has aluminum end caps and I couldn't resist...

Jack shaft is ready to go, so I'll fit the TAV tomorrow and maybe...just maybe...have the engine mounted.
Nothing like coming to a screeching halt...
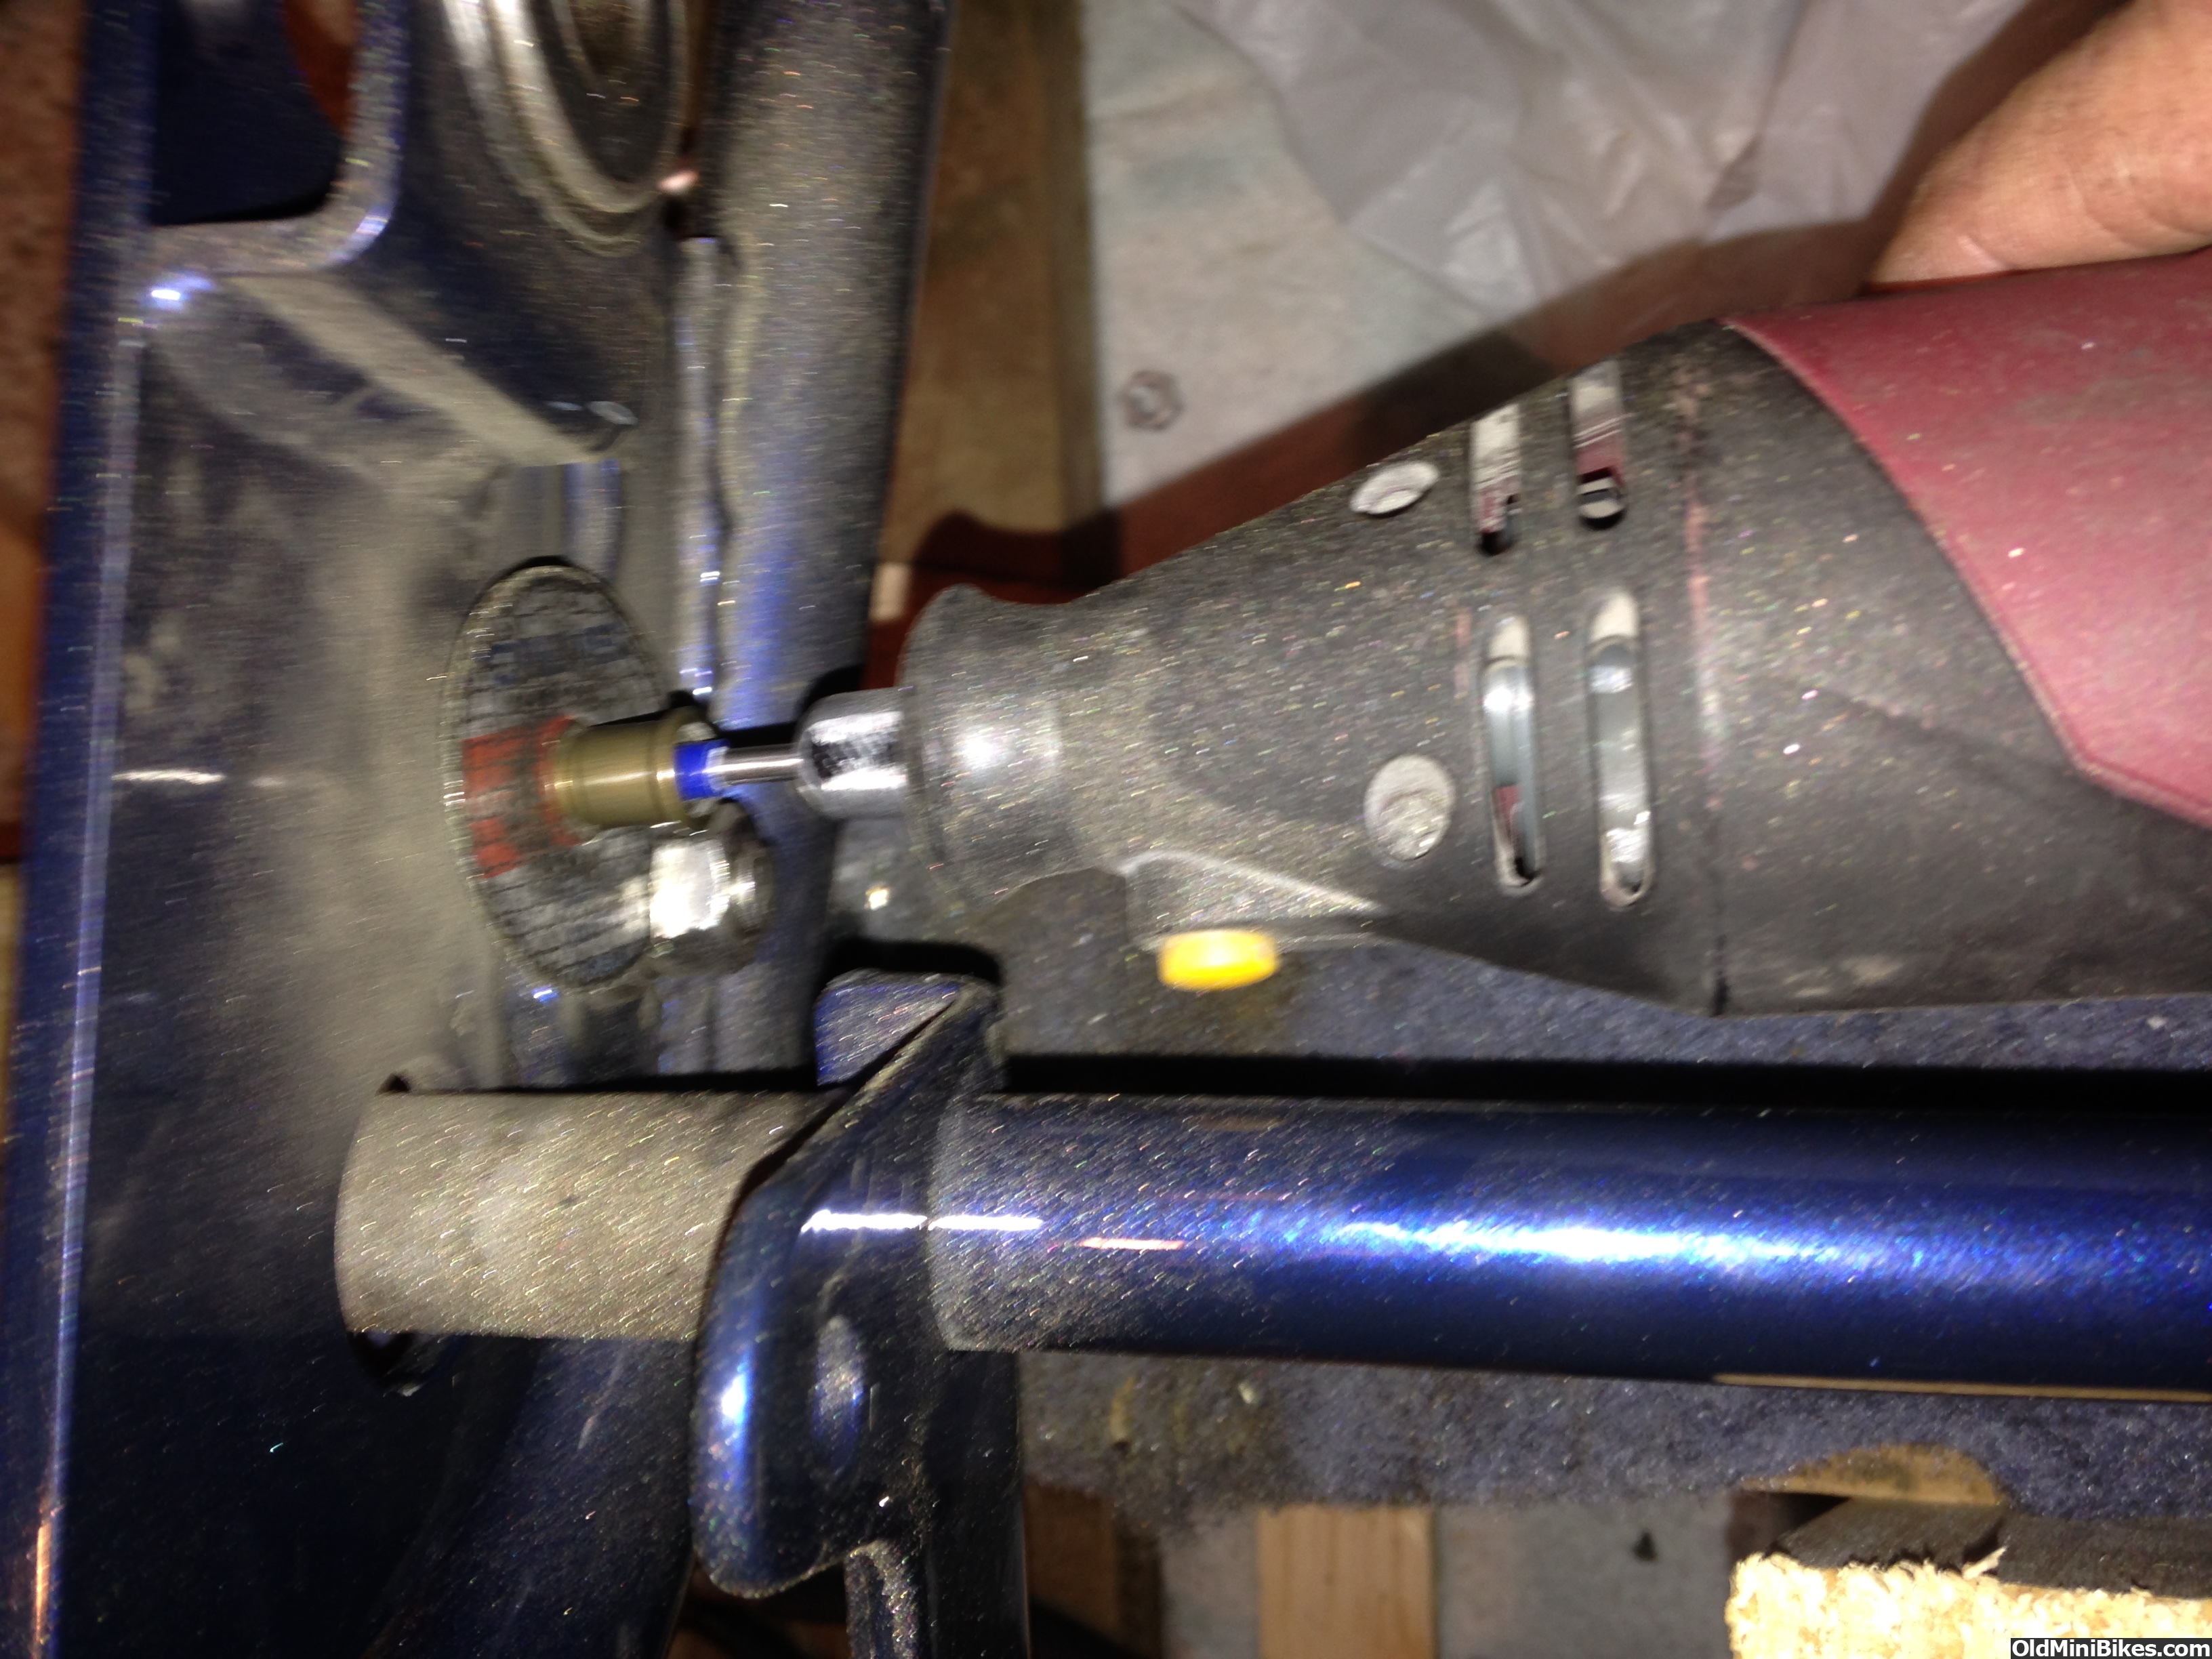
Day two of frustration....Had a bunch of little things to do starting with touching up the paint on the block. Got that going, painted the clutch guard bracket and the mounting plate for the starter solenoid. The plan was to try to have the engine test mounted today so I could measure the outer spacer for the driven clutch. But age has caught up to me...and I can't find the new head gasket for the engine, so no assembly.
The jackshaft was cut to length, end sealed with matte clear and installed with the lock collars and an 11t drive sprocket. All that's waiting until the engine can sit on the frame to measure the spacer (shown by the arrow). I also greased the swing arm mounts.

The other piece I didn't show yesterday was the brake switch (I hope it works as advertised). I installed the straps for the tank and added two cable straps to feed the wiring through (not visible).

Then it was cleaning up the shop looking for the missing head gasket....:doah:


Details, details and more details...
After suffering for 90 minutes cutting the jackshaft plate bolt off, I was able to adjust a slight twist in the jackshaft causing the driven to be out of alignment. Once fixed, I started on mounting the engine. I'd been saving this piece for the right project--@CarPlayLB shipped me a billet chain tensioner in exchange for fabbing the parcel rack for his Panama Taxi. Nice to only have two bolts and nuts to mess with. Click on the pics for proper orientation.

The engine was mounted and the belt tensioned. Then on to feeding the primary wires and battery cables. Making a rat's nest neat is a real trick!
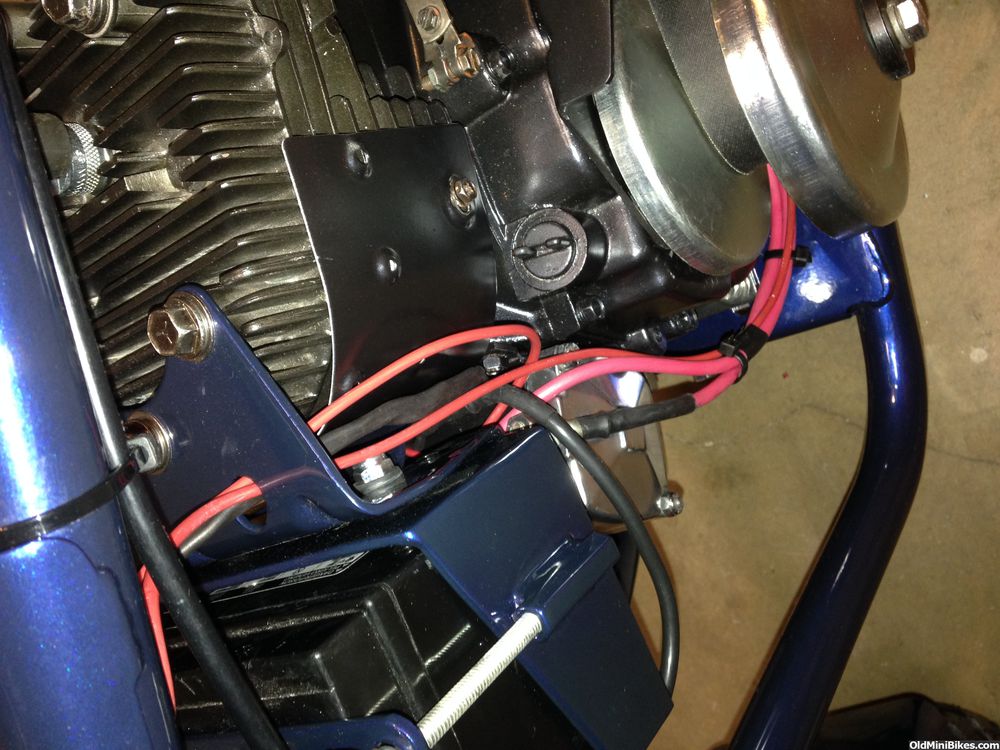
Positive side of the battery.

Underside of the control plate.

Solenoid.

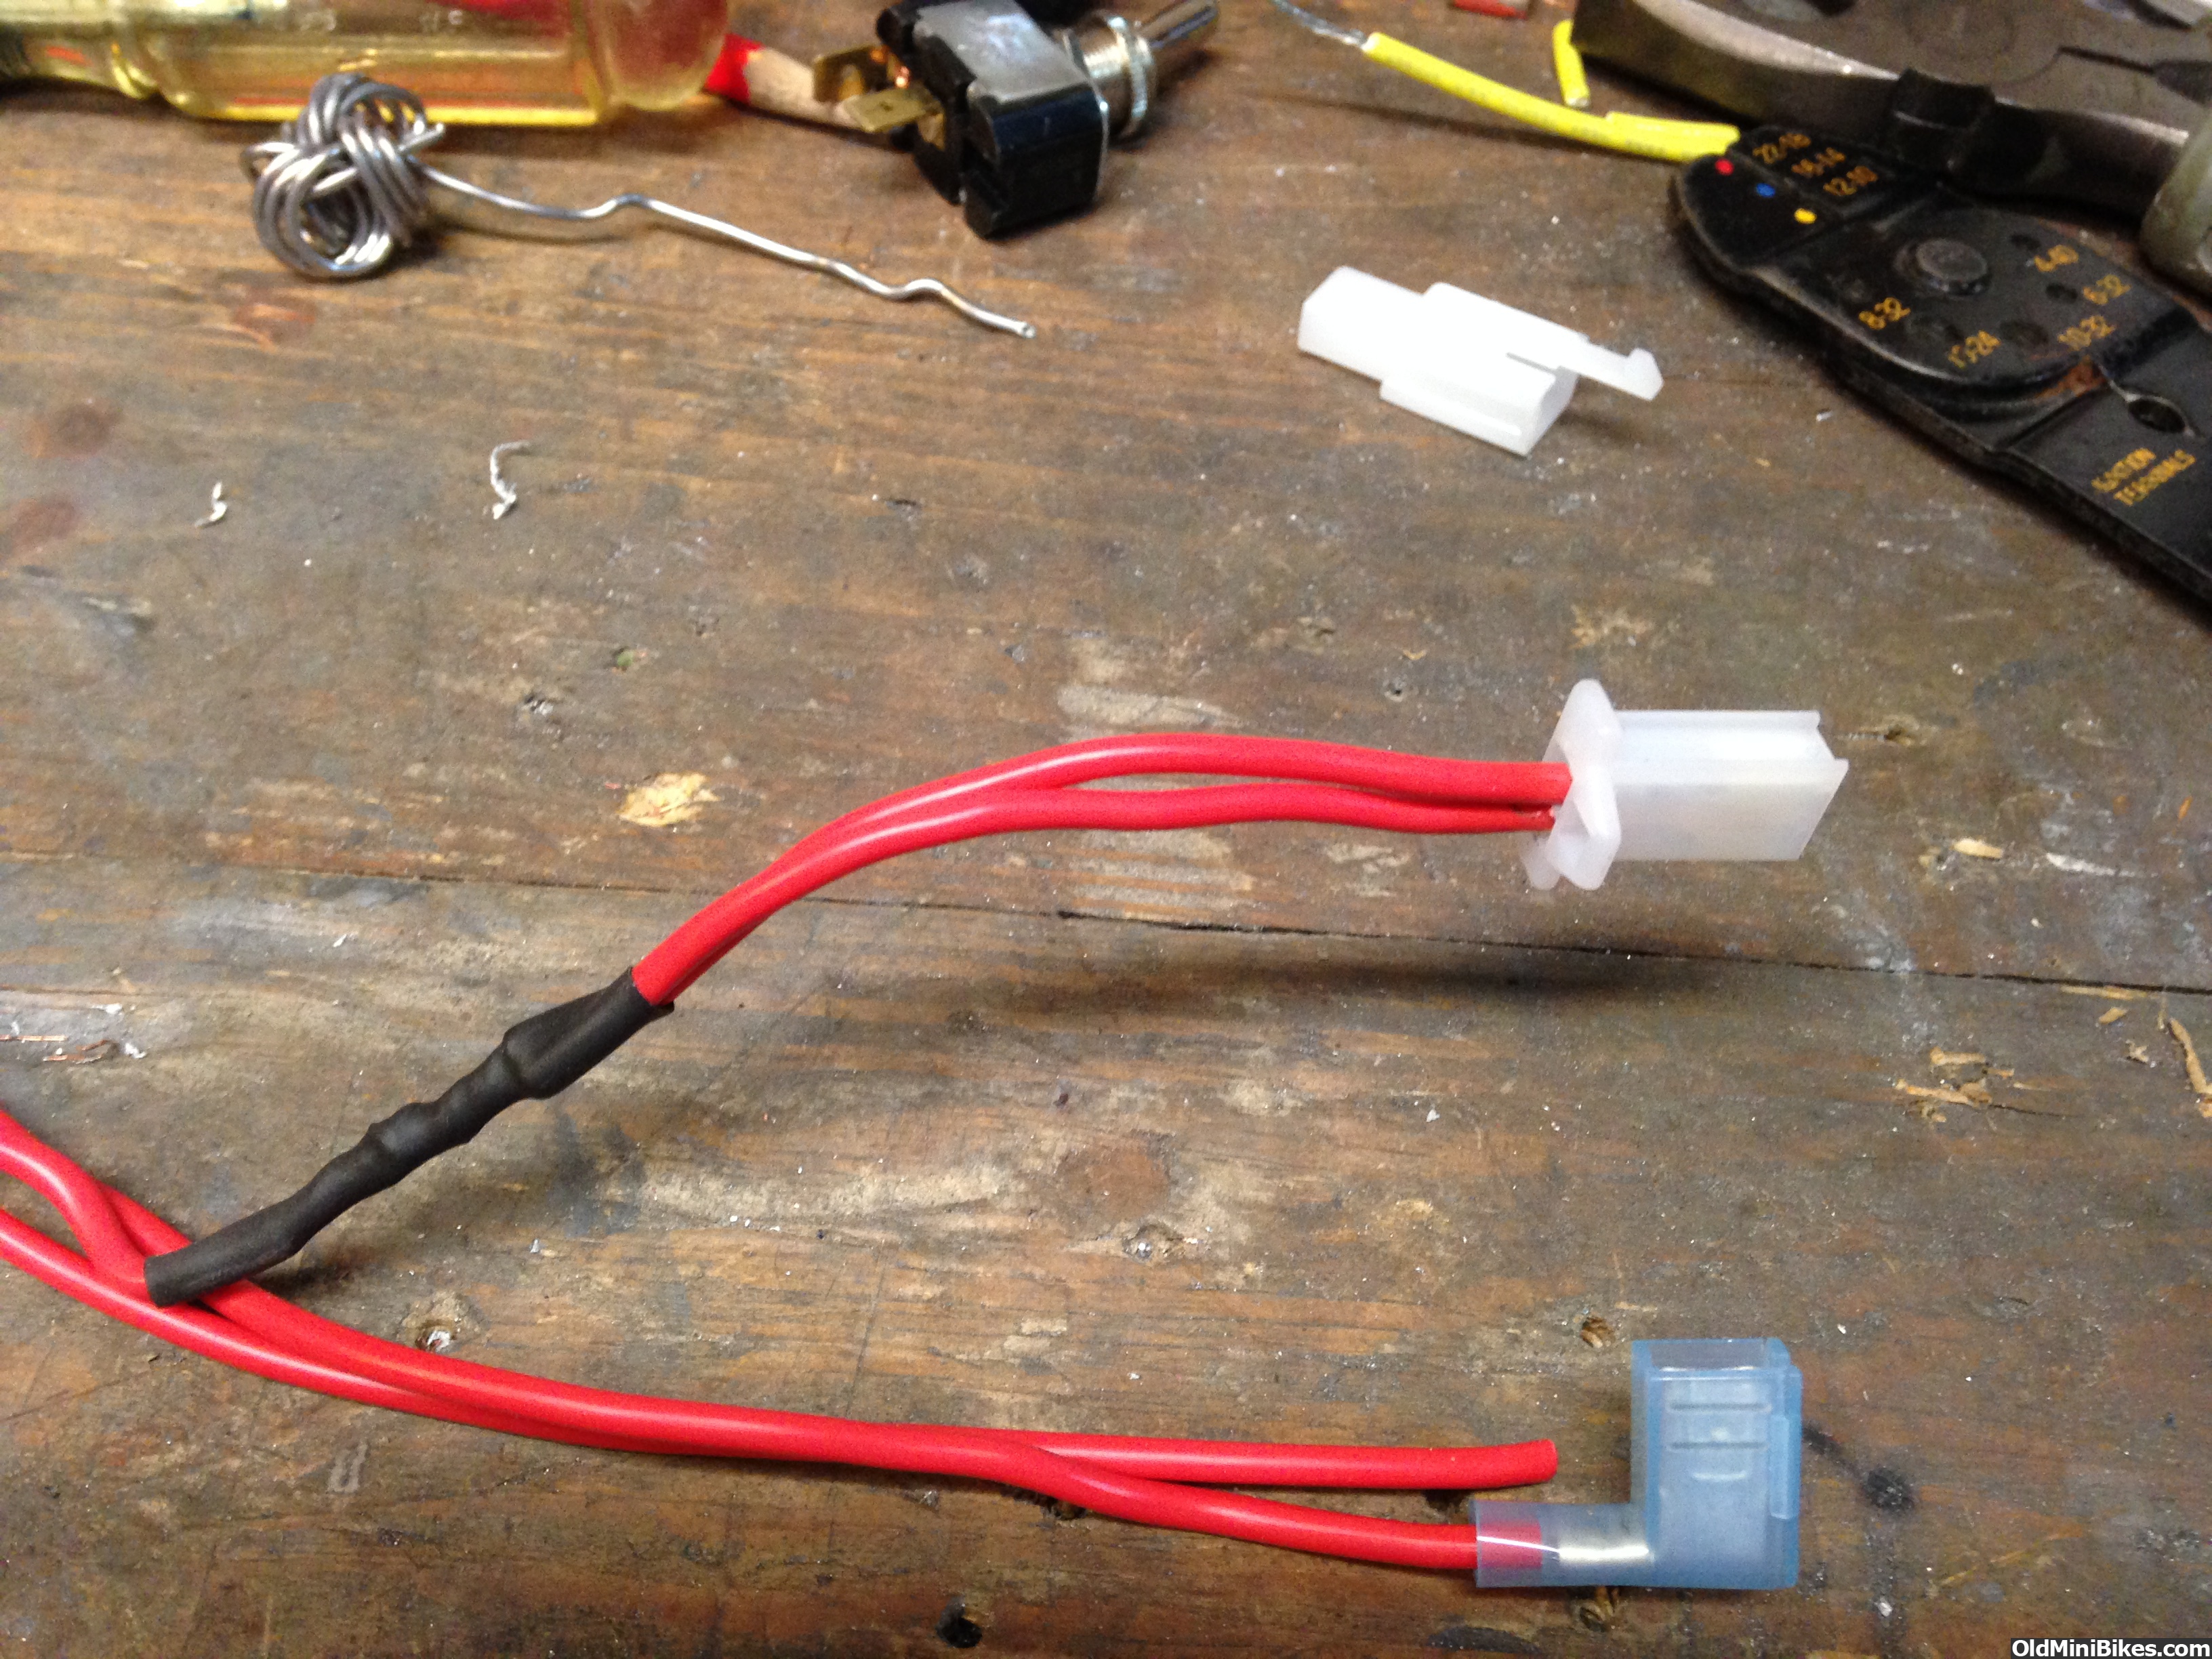
Connectors to the voltage regulator, brake light, tail light and headlight:


And lastly, I didn't want the breather tube dumping directly over the solenoid. I had an old Briggs 3hp breather tube that I polished, made a small bracket and shifted the tube to the recoil side of the engine.

Installed.

Should have the wiring finished tomorrow and the tank installed. This is coming down to the wire (no pun intended)!
After suffering for 90 minutes cutting the jackshaft plate bolt off, I was able to adjust a slight twist in the jackshaft causing the driven to be out of alignment. Once fixed, I started on mounting the engine. I'd been saving this piece for the right project--@CarPlayLB shipped me a billet chain tensioner in exchange for fabbing the parcel rack for his Panama Taxi. Nice to only have two bolts and nuts to mess with. Click on the pics for proper orientation.

The engine was mounted and the belt tensioned. Then on to feeding the primary wires and battery cables. Making a rat's nest neat is a real trick!

Positive side of the battery.

Underside of the control plate.

Solenoid.

Connectors to the voltage regulator, brake light, tail light and headlight:

And lastly, I didn't want the breather tube dumping directly over the solenoid. I had an old Briggs 3hp breather tube that I polished, made a small bracket and shifted the tube to the recoil side of the engine.

Installed.

Should have the wiring finished tomorrow and the tank installed. This is coming down to the wire (no pun intended)!
Last edited: