Dr. Shop Teacher's JFF Gilson Knight Rider
- Thread starter Dr. Shop Teacher
- Start date

I got to ask, do those motors stay on you fireplace all the time? My wife would have none of that lol.
To all: I had posts on progress but my membership has not reverted to Supporting Member yet (used to be automatic for me).
Front Suspension--Plan B
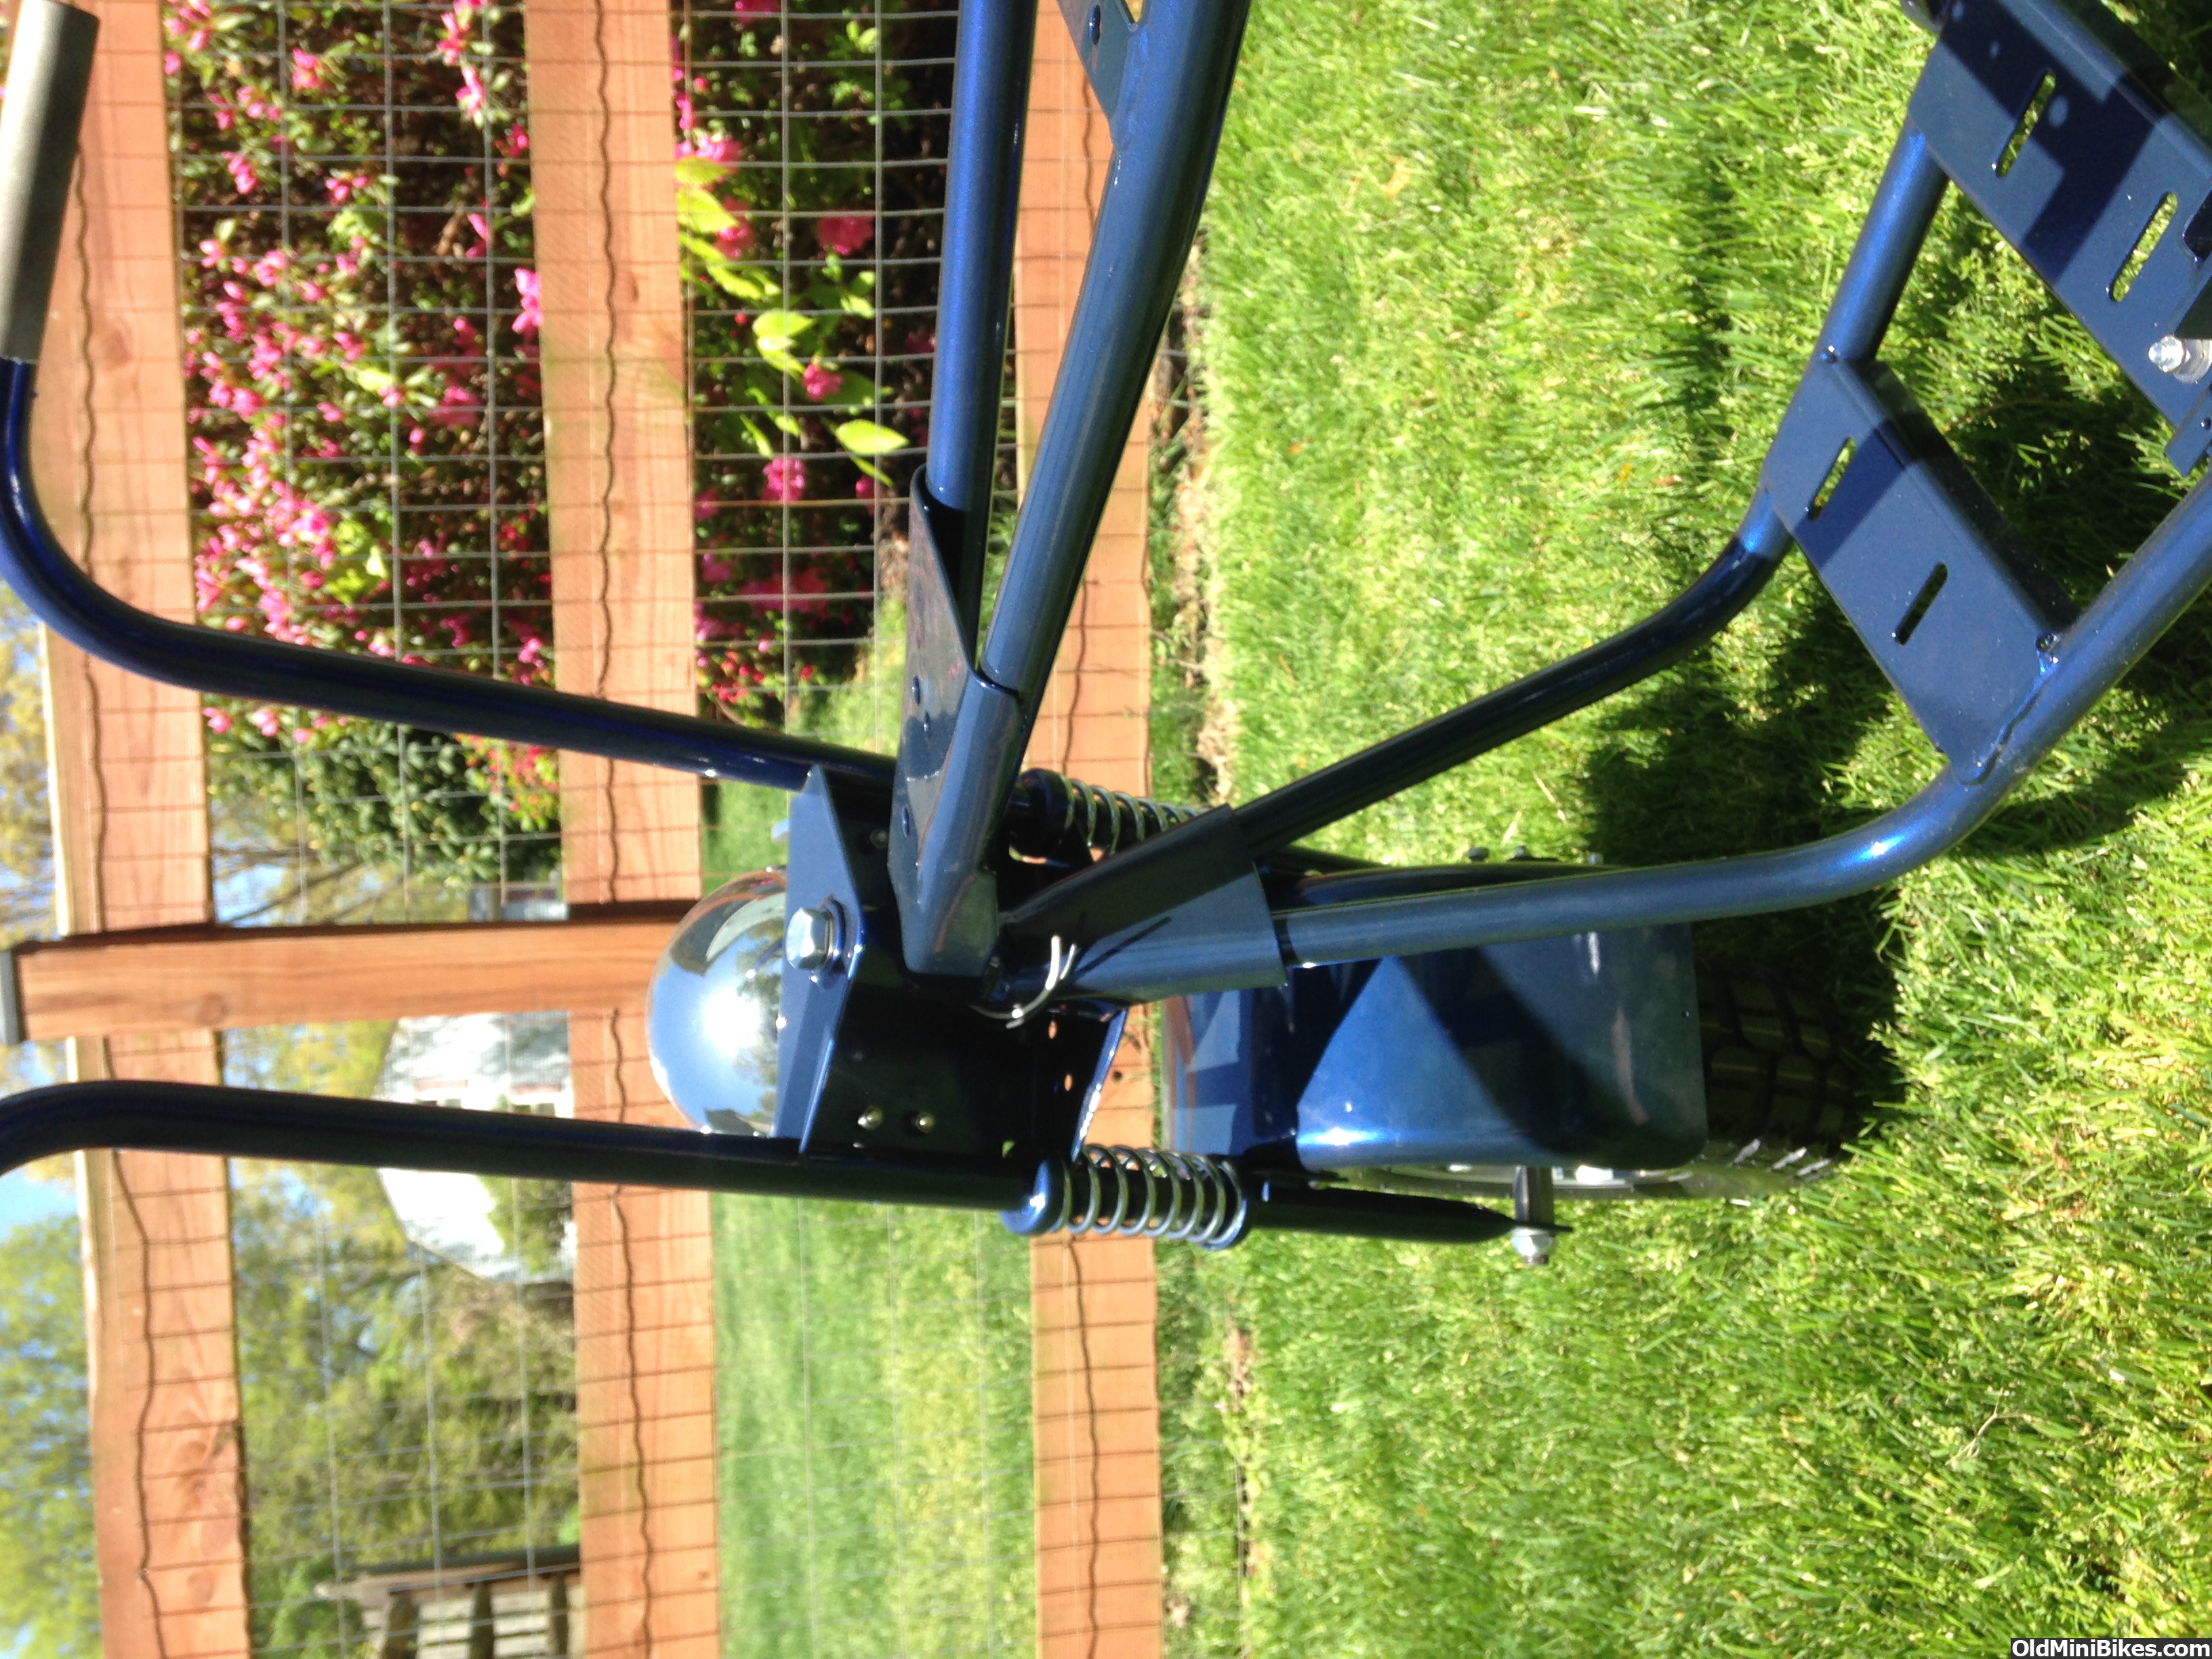
Those of you with Gilsons know the biggest complaint is vibration in the front forks. The reason for this is the fork lower tube which fits into the fork upper (handlebar) is 0.790." The 1" upper tube is thick wall and is 0.835." Most people attempt to fix this by packing grease in the tube. Because I made the fork lower and couldn't find 0.790" tube (it is available from race car shops), I went with 0.625" thick wall tubing, sleeved the fork lower with 5/8" ID black pipe and welded it all together.
My idea was to use Delrin tubing to close the two diameters up, so I ordered 0.750 OD/0.625 ID tubing, thinking that a 1/16" gap (1/8" total) would work just fine. Nope. Gave me too much deflection in the fork lowers which would have destroyed a pristine fender in a heartbeat.
So on to Plan B. This time I ordered 0.875 OD/).625 ID Delrin. So what I've done is the reverse of the Arctic Cat upper fork tube nylon sleeve--the sleeve is on the lower tube. To make this work, I had to have the tubes machined and the best way to make sure the machined tubes fit, was to provide the machinist with a small section of 1" tube. You honestly don't want to know what it cost to have this machining work done :doah::doah::doah::doah::doah:.
The Delrin is a compression fit on the fork lower tubes and slides easily in the upper with no deflection. They are installed with grease just to make sure everything moves freely. I also had to make a slight adjustment to the springs to make sure the front axle was level because there is now zero wiggle room.
Here's the first iteration:

The machined new sleeve:

This photo shows the fit at 0.82" and where the original diameter was turned down.
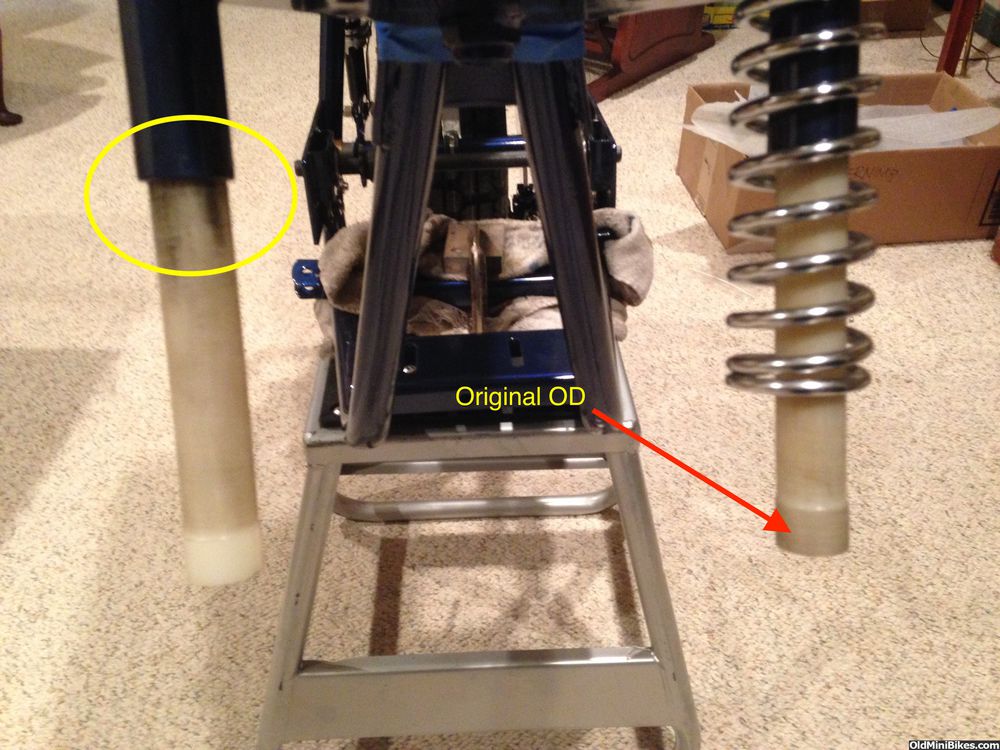
Problem solved and should address the fork vibration issues completely.
Those of you with Gilsons know the biggest complaint is vibration in the front forks. The reason for this is the fork lower tube which fits into the fork upper (handlebar) is 0.790." The 1" upper tube is thick wall and is 0.835." Most people attempt to fix this by packing grease in the tube. Because I made the fork lower and couldn't find 0.790" tube (it is available from race car shops), I went with 0.625" thick wall tubing, sleeved the fork lower with 5/8" ID black pipe and welded it all together.
My idea was to use Delrin tubing to close the two diameters up, so I ordered 0.750 OD/0.625 ID tubing, thinking that a 1/16" gap (1/8" total) would work just fine. Nope. Gave me too much deflection in the fork lowers which would have destroyed a pristine fender in a heartbeat.
So on to Plan B. This time I ordered 0.875 OD/).625 ID Delrin. So what I've done is the reverse of the Arctic Cat upper fork tube nylon sleeve--the sleeve is on the lower tube. To make this work, I had to have the tubes machined and the best way to make sure the machined tubes fit, was to provide the machinist with a small section of 1" tube. You honestly don't want to know what it cost to have this machining work done :doah::doah::doah::doah::doah:.
The Delrin is a compression fit on the fork lower tubes and slides easily in the upper with no deflection. They are installed with grease just to make sure everything moves freely. I also had to make a slight adjustment to the springs to make sure the front axle was level because there is now zero wiggle room.
Here's the first iteration:
The machined new sleeve:
This photo shows the fit at 0.82" and where the original diameter was turned down.
Problem solved and should address the fork vibration issues completely.
Using the Bandsaw for what is was intended--Patterns
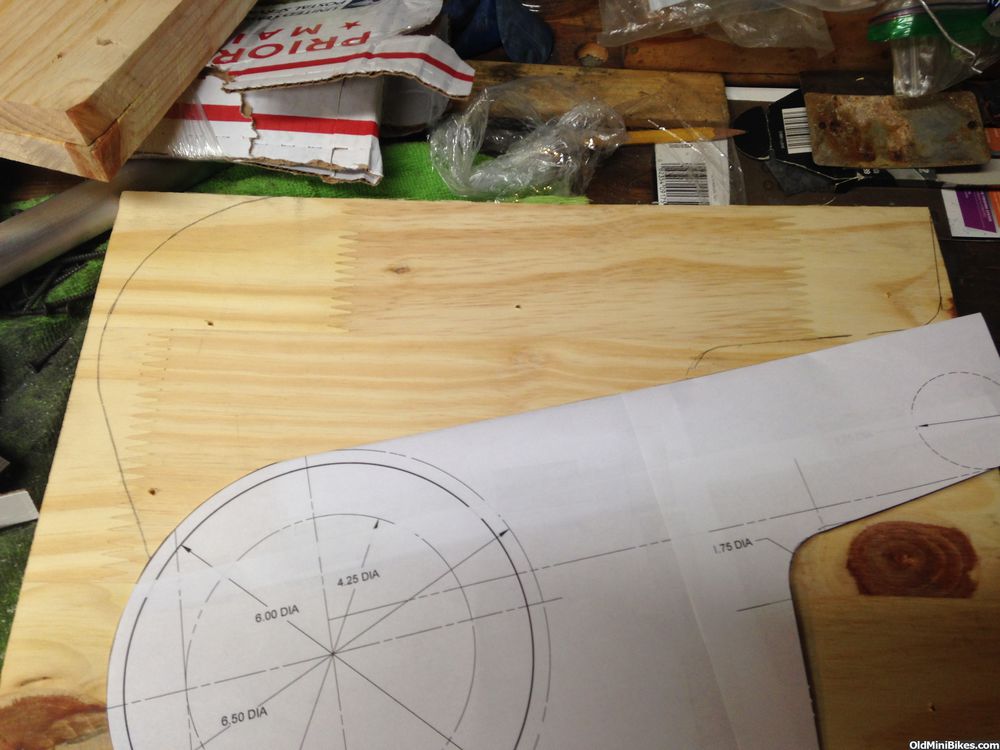
So....my welder is swamped and can't get to cutting and welding up the clutch and chain guards, so I need to take the bull by the teeth. I ordered 1/8" 12x24 aluminum rectangles which will be here in the next day or so. I wanted to have accurate patterns so I could bend the requisite curves and edges properly, so I glued up two finger jointed boards to make a 1 3/8" thick pattern. These boards were cheap and not warped at all.
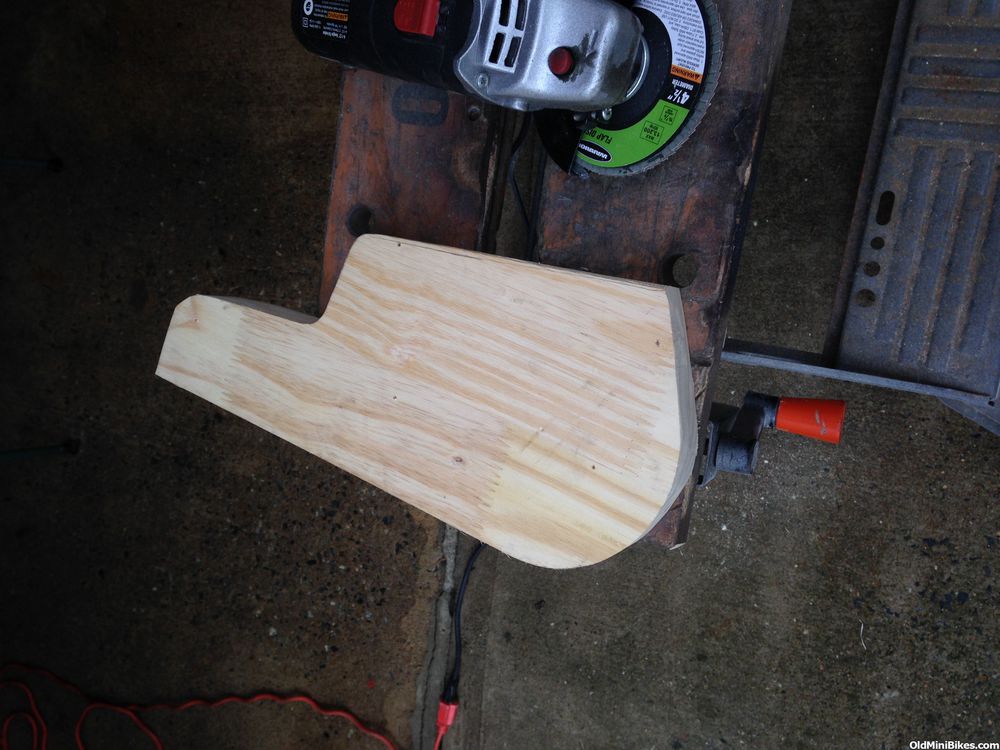
I printed out a set of drawings and traced the shape on the board and then cut with the band saw-
Then I sanded to clean up the edges-
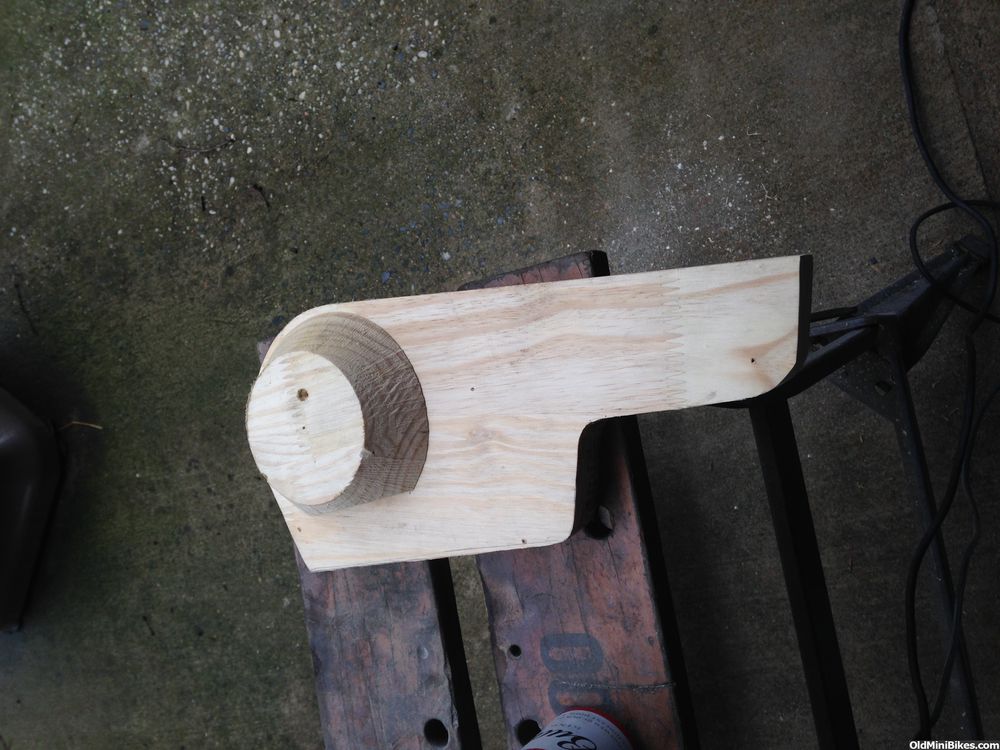
The frustum was a whole 'nother story. I made a circle cutting jig for the bandsaw and then had to tilt the bandsaw table to an insane angle, cut an angled edge, mount the circle block and slowly.....slowly rotate the block until I got the frustum cut. Sharp eyes will see I didn't get a perfect circle, but I made a filler piece that I'll epoxy on. The frustum also had to be cut down to just under an inch tall--I'll remeasure everything and draw a new template for it.
The chain guard was a much easier cut. I'm also using this as a jig to cut the opening for the jackshaft, hence the shallow cut.

These patterns can be used to support the aluminum when all the pieces are tacked together. Making progress...
So....my welder is swamped and can't get to cutting and welding up the clutch and chain guards, so I need to take the bull by the teeth. I ordered 1/8" 12x24 aluminum rectangles which will be here in the next day or so. I wanted to have accurate patterns so I could bend the requisite curves and edges properly, so I glued up two finger jointed boards to make a 1 3/8" thick pattern. These boards were cheap and not warped at all.
I printed out a set of drawings and traced the shape on the board and then cut with the band saw-
Then I sanded to clean up the edges-
The frustum was a whole 'nother story. I made a circle cutting jig for the bandsaw and then had to tilt the bandsaw table to an insane angle, cut an angled edge, mount the circle block and slowly.....slowly rotate the block until I got the frustum cut. Sharp eyes will see I didn't get a perfect circle, but I made a filler piece that I'll epoxy on. The frustum also had to be cut down to just under an inch tall--I'll remeasure everything and draw a new template for it.
The chain guard was a much easier cut. I'm also using this as a jig to cut the opening for the jackshaft, hence the shallow cut.
These patterns can be used to support the aluminum when all the pieces are tacked together. Making progress...
Most awesome.:thumbsup: Glad your back to the supporting member club.:laugh:
Again, nice work. 3003 or 5052 sheet?
Why not? Aluminum Foot Pegs
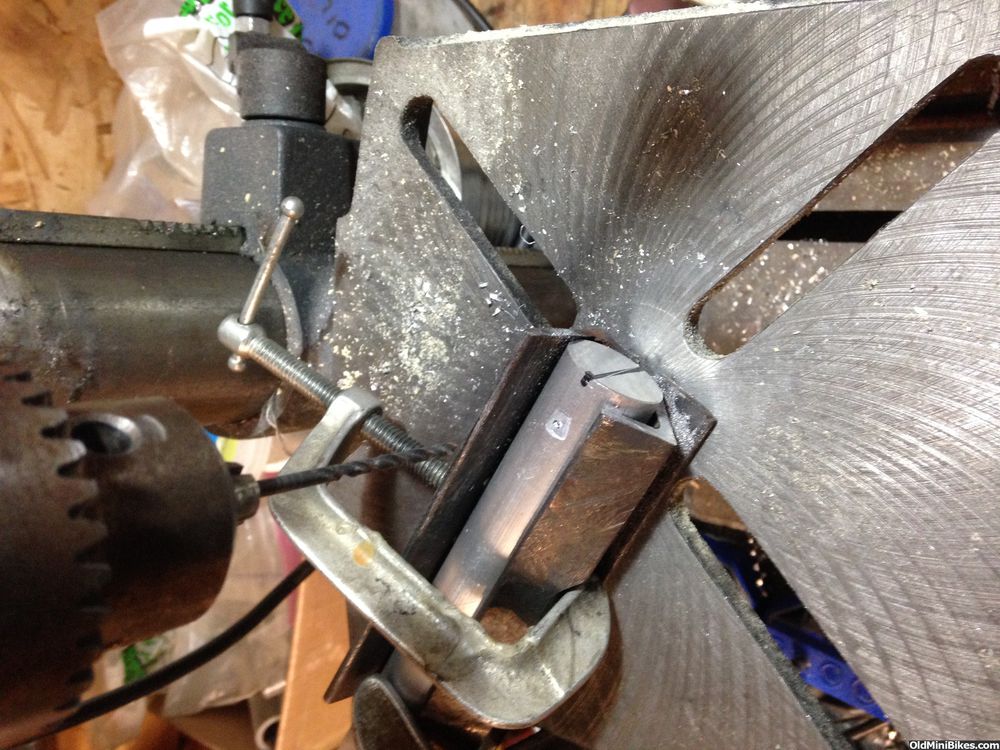
Now I've truly lost my mind. I ordered 1" aluminum rod to make the pegs. This is not as easy as it looks. Getting the proper spacing so that the peg sits flat and then folds up was a lot of trial and error (even with 3 bikes with the correct pegs). To make the pegs and drill centered holes in the rod, I made a simple centering jig out of two pieces of angle. I ground one angle down to allow clamping at 45 deg.
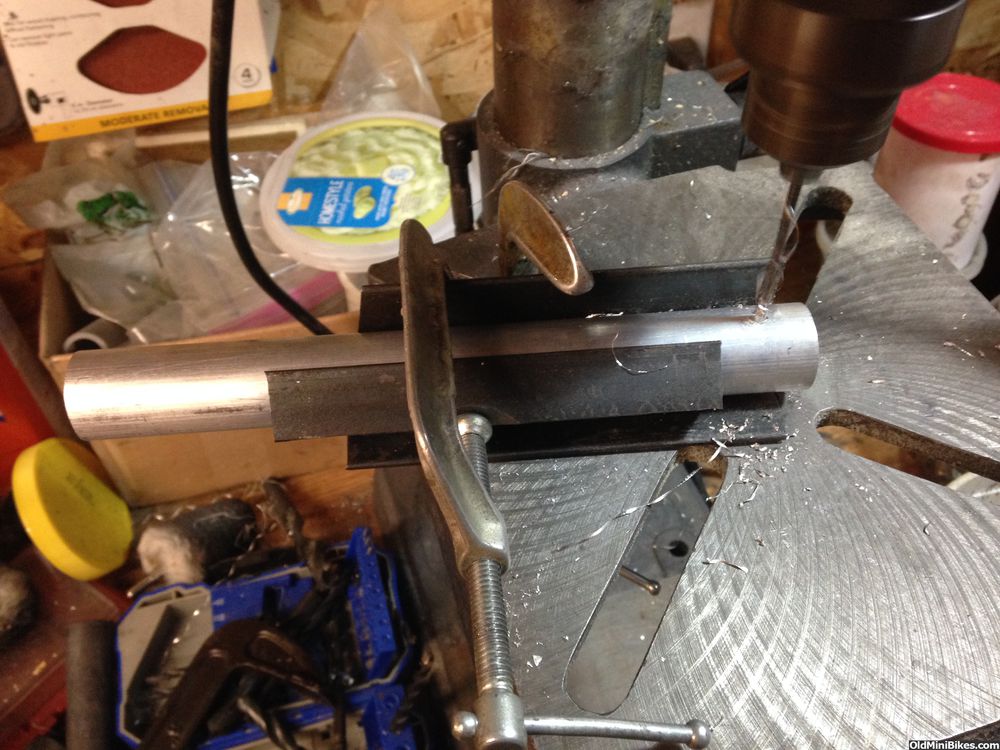
There's a flat spot filed on the rod to keep the drill from walking (even when center punched). The pilot hole is centered 11/16" from the end.
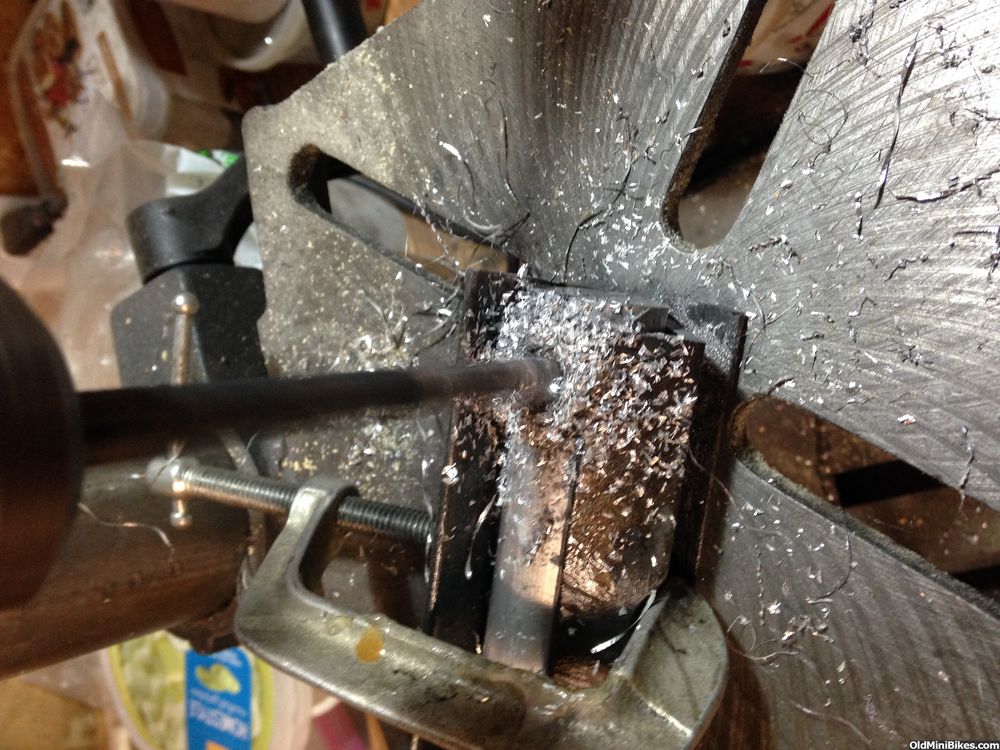
Once the pilot hole was drilled (slowly or the bit will heat up, clog and snap), a 5/16" bit with liberal amounts of WD40 finished the job.
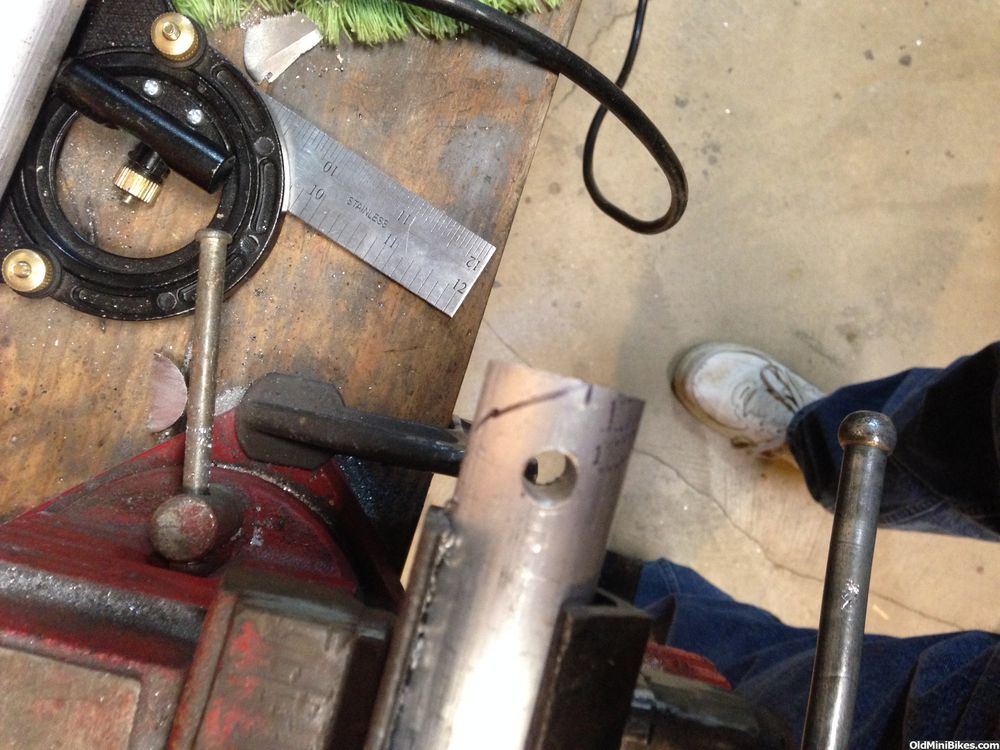
I eyeballed an angle and cut it with a hacksaw, then used the angle grinder to make adjustments until the bolt hole lined up and the peg sat square. The bolt hole is about 1/2" from the end of the rod after finish grinding.
Even though they will be covered with rubber, I'll polish the exposed surfaces. Just for Fun :laugh:
Now I've truly lost my mind. I ordered 1" aluminum rod to make the pegs. This is not as easy as it looks. Getting the proper spacing so that the peg sits flat and then folds up was a lot of trial and error (even with 3 bikes with the correct pegs). To make the pegs and drill centered holes in the rod, I made a simple centering jig out of two pieces of angle. I ground one angle down to allow clamping at 45 deg.
There's a flat spot filed on the rod to keep the drill from walking (even when center punched). The pilot hole is centered 11/16" from the end.
Once the pilot hole was drilled (slowly or the bit will heat up, clog and snap), a 5/16" bit with liberal amounts of WD40 finished the job.
I eyeballed an angle and cut it with a hacksaw, then used the angle grinder to make adjustments until the bolt hole lined up and the peg sat square. The bolt hole is about 1/2" from the end of the rod after finish grinding.
Even though they will be covered with rubber, I'll polish the exposed surfaces. Just for Fun :laugh:
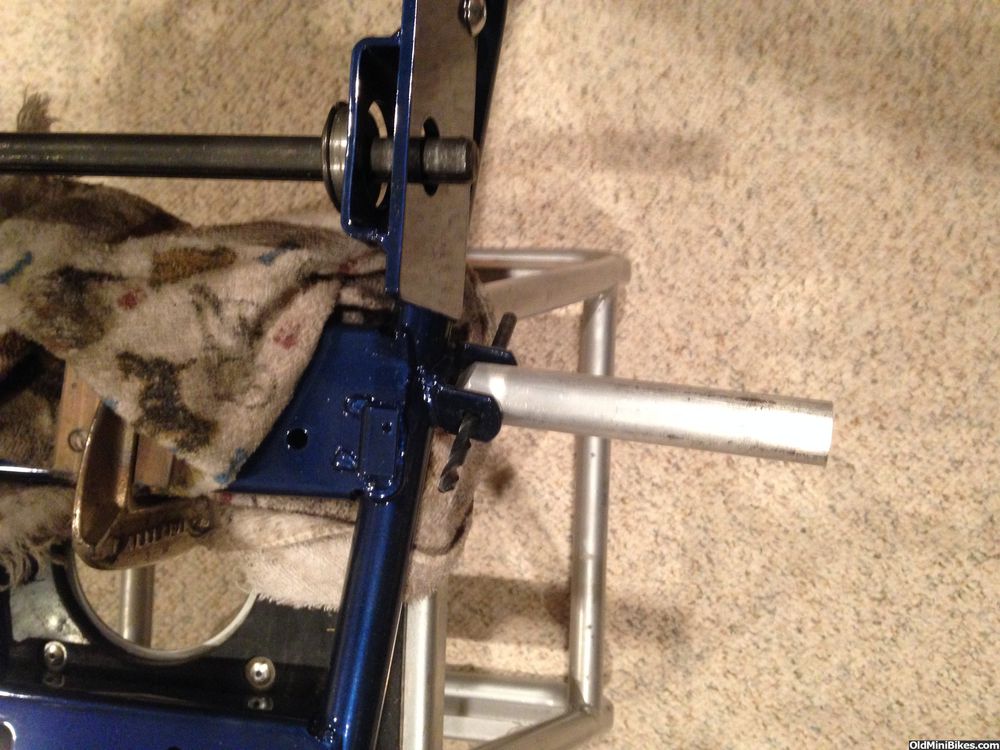
Finishing up front suspension
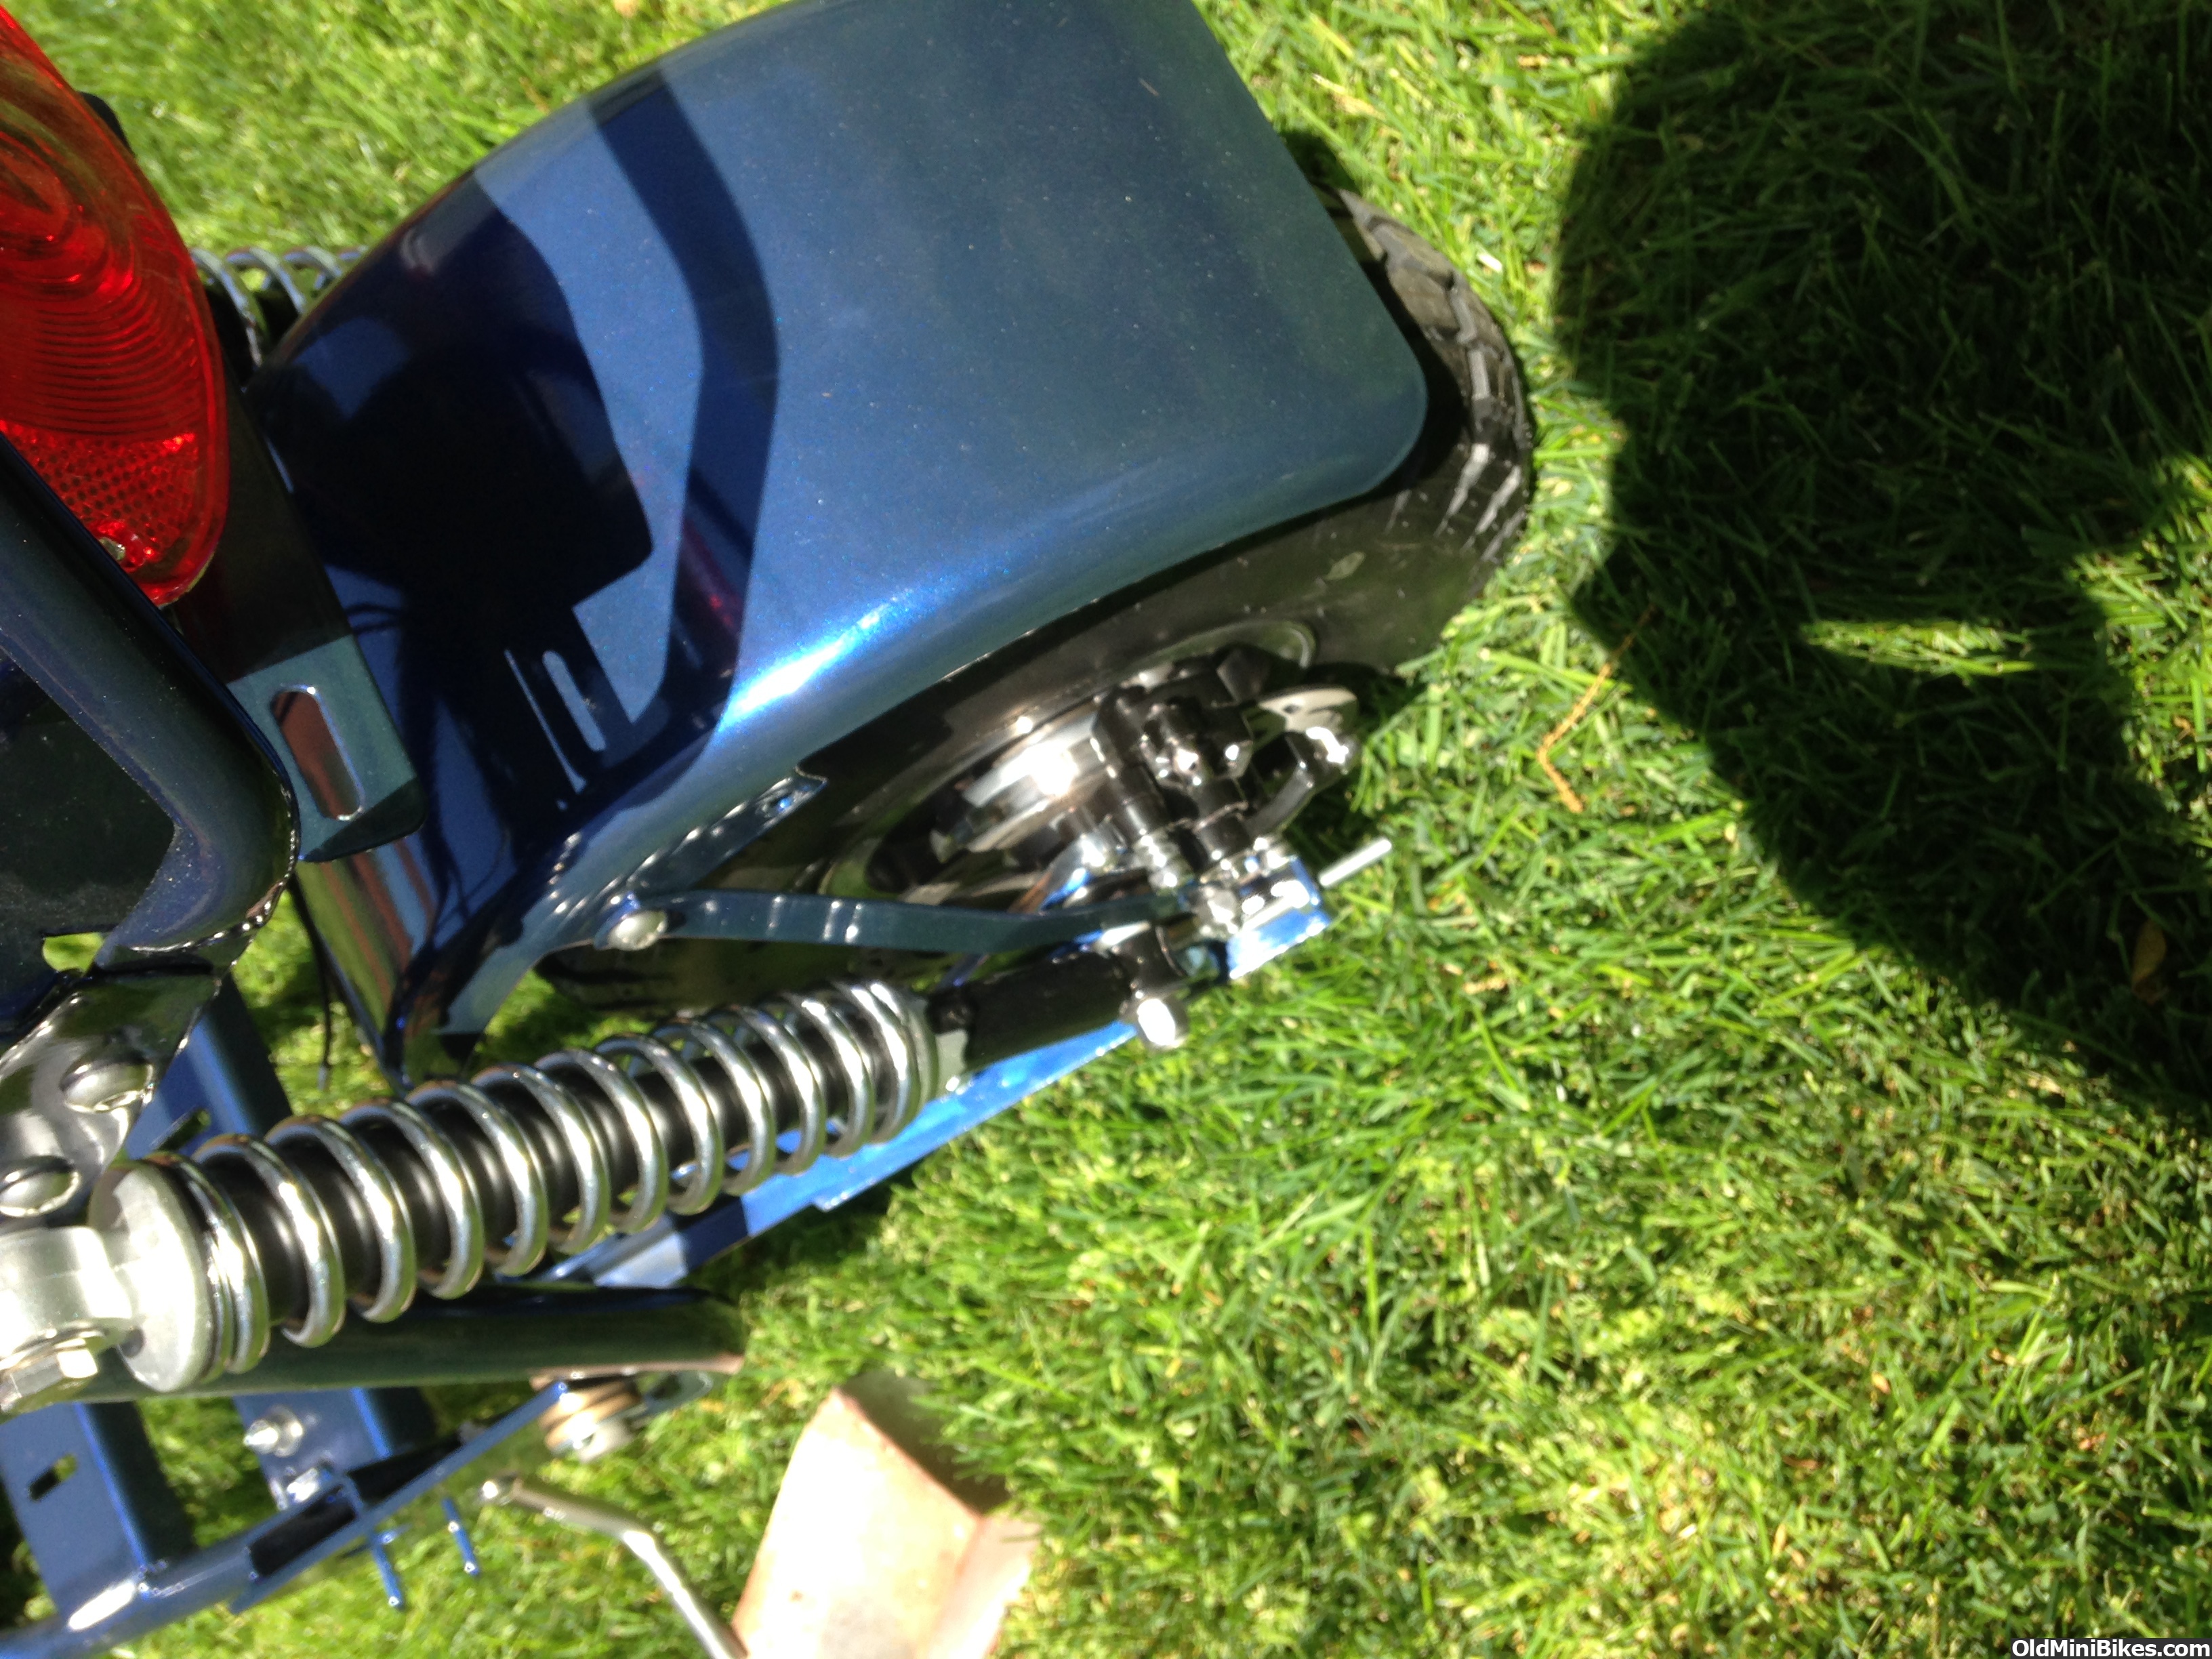
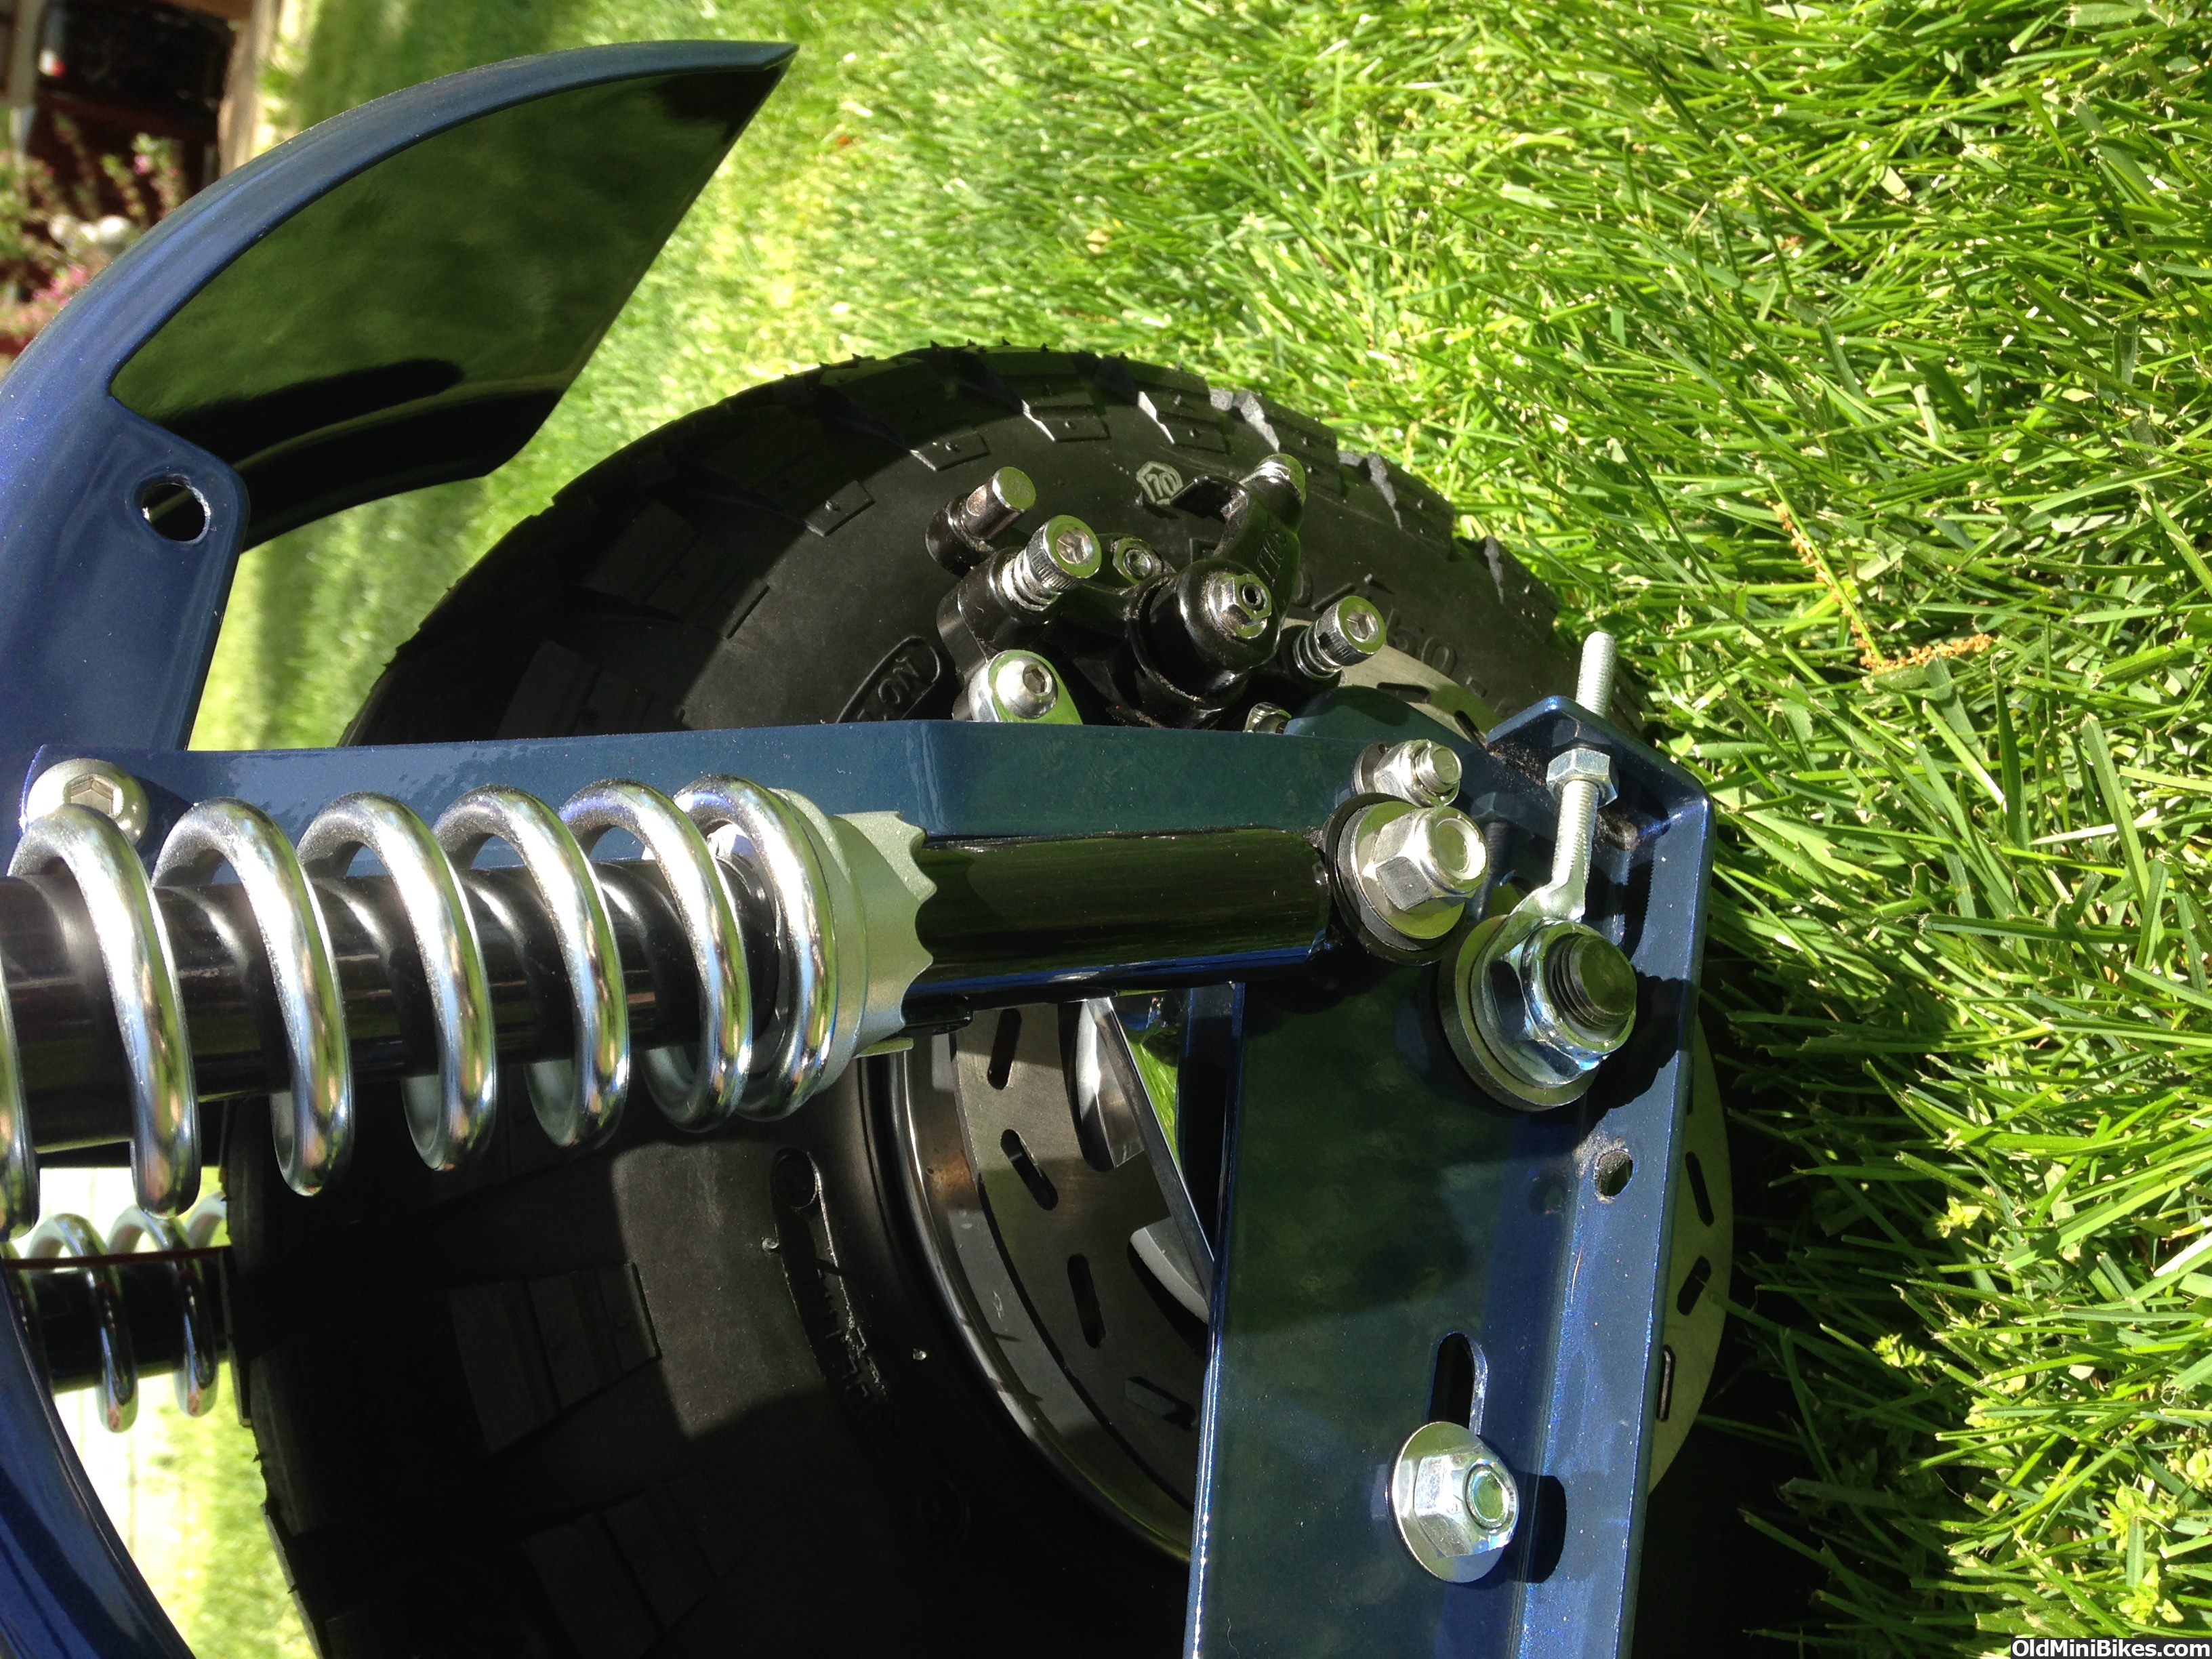
Cut the wheel spacer today. Lots of test fitting and measuring to get it square and the right distance. I used a thrust washer between the fork and the hub on the brake side. Wacky pics again....
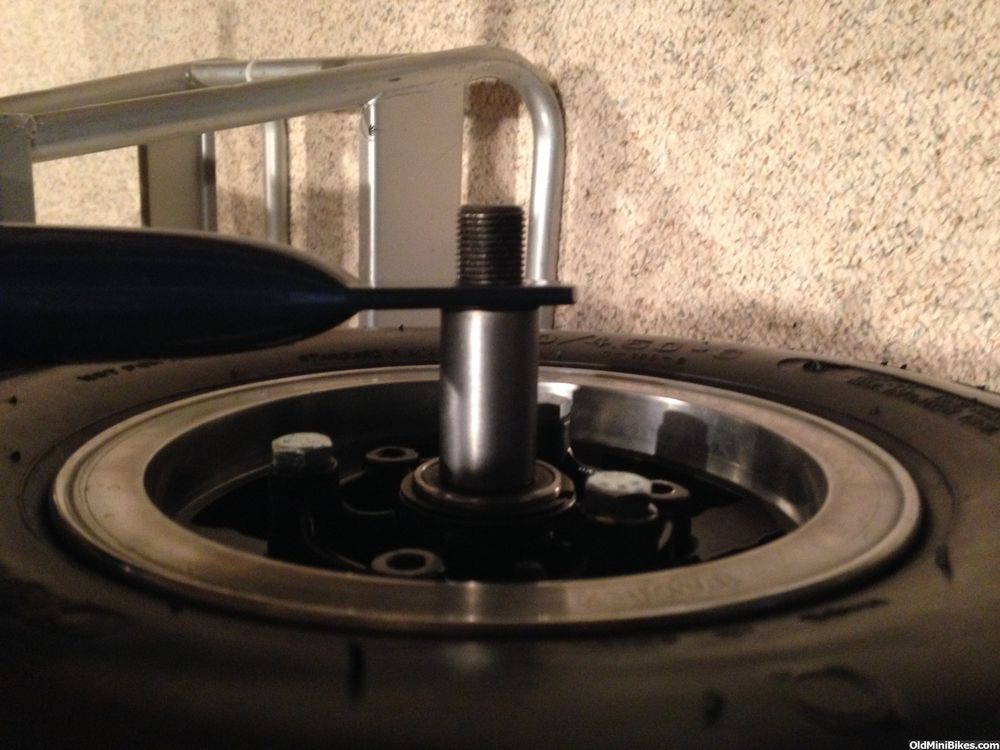
Machine bushing between the nut and the fork.
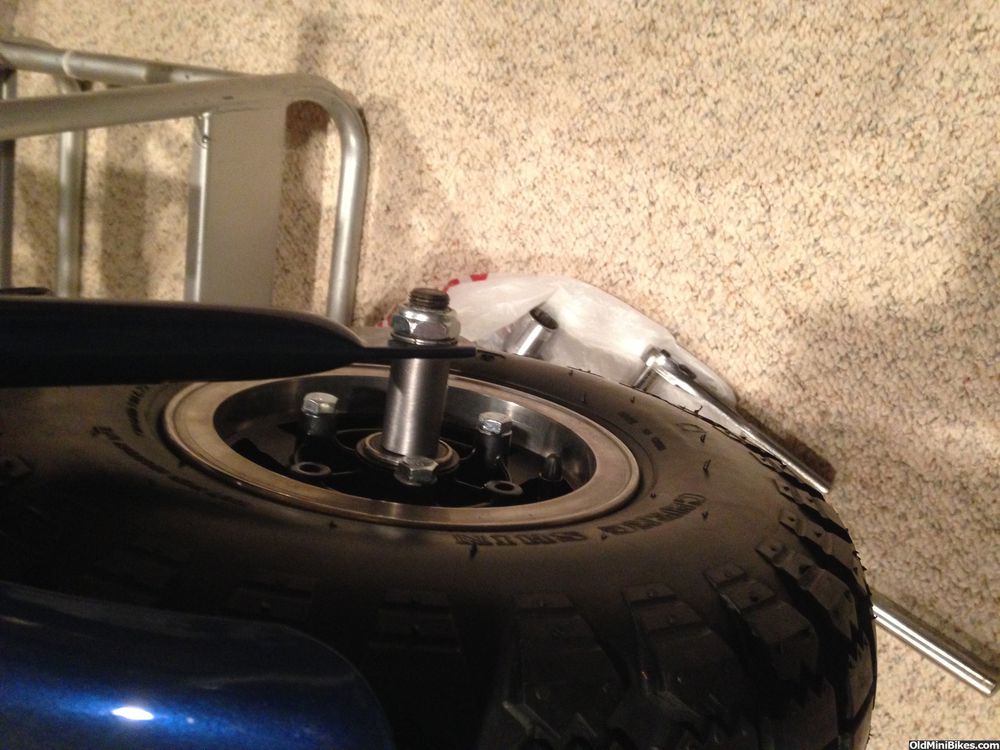
You can just see the thrust washer here at the fork.
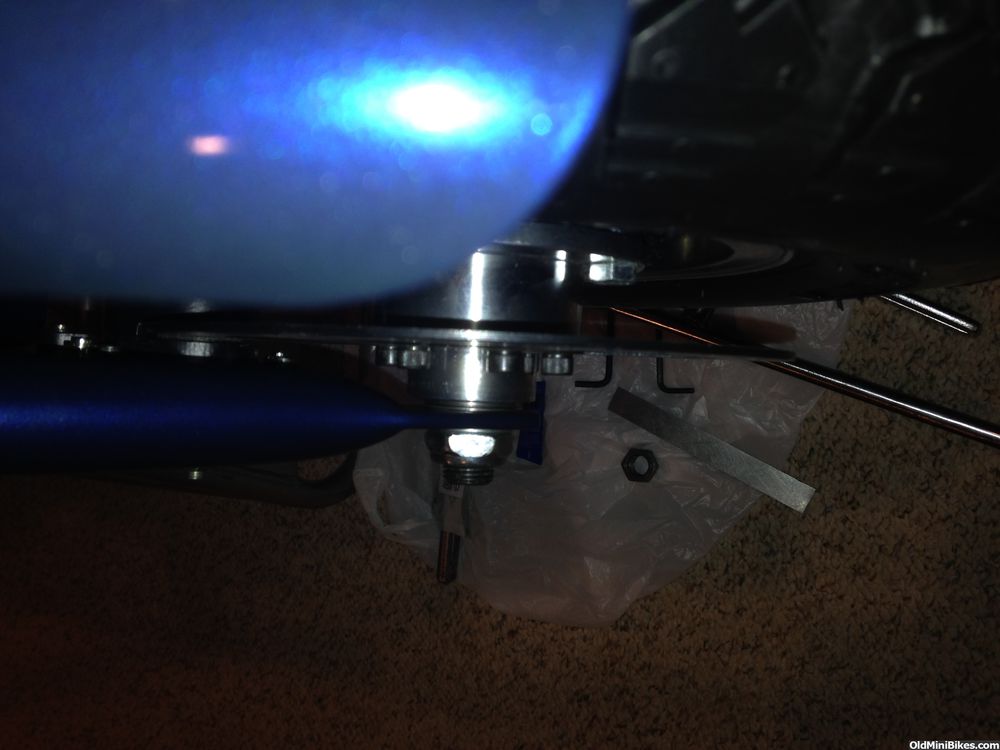
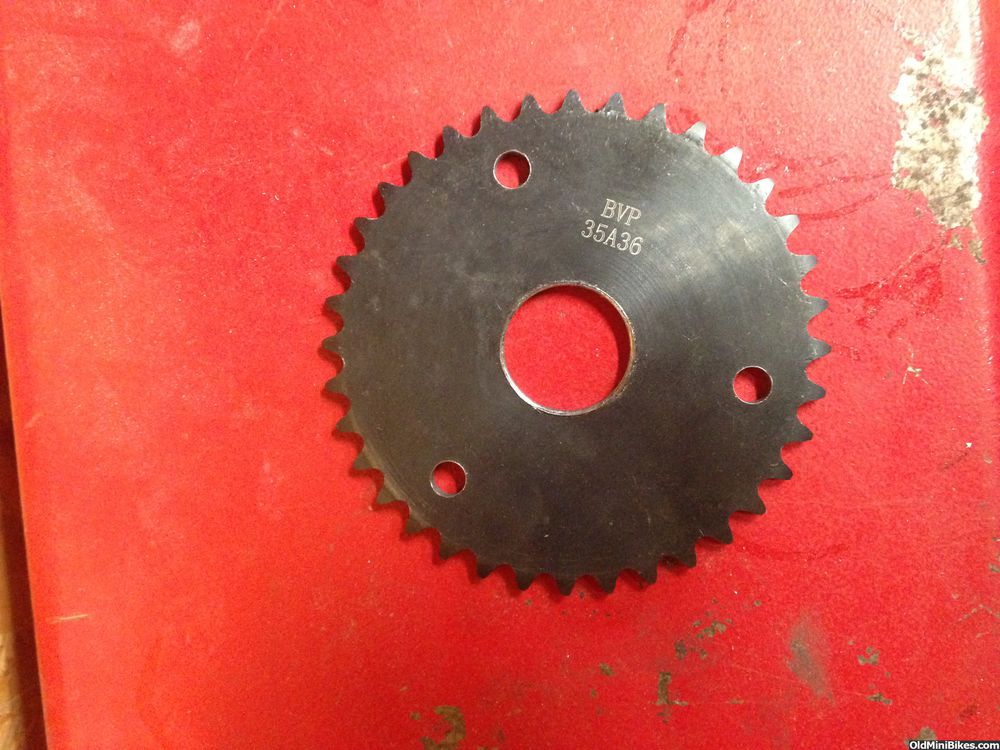
Then I opened up the bore of the driven sprocket from 5/8" to 1 1/8" My step drill was giving me fits and I need to get a new one. I'm still debating going to 1 3/8" and using a bearing on the sprocket--I'm worried about torque and twisting the bolts and coupling nuts.
Cut the wheel spacer today. Lots of test fitting and measuring to get it square and the right distance. I used a thrust washer between the fork and the hub on the brake side. Wacky pics again....
Machine bushing between the nut and the fork.
You can just see the thrust washer here at the fork.
Then I opened up the bore of the driven sprocket from 5/8" to 1 1/8" My step drill was giving me fits and I need to get a new one. I'm still debating going to 1 3/8" and using a bearing on the sprocket--I'm worried about torque and twisting the bolts and coupling nuts.
Yes, using a bearing in your sprocket would be a great idea. It will keep the sprocket centered on the axle even if the bolts holding it to the rim get twisted a bit. A solid spacer between rim and sprocket would be best but something that gives that area a lot of contact and stability would work well also.
JMO Danford1
JMO Danford1
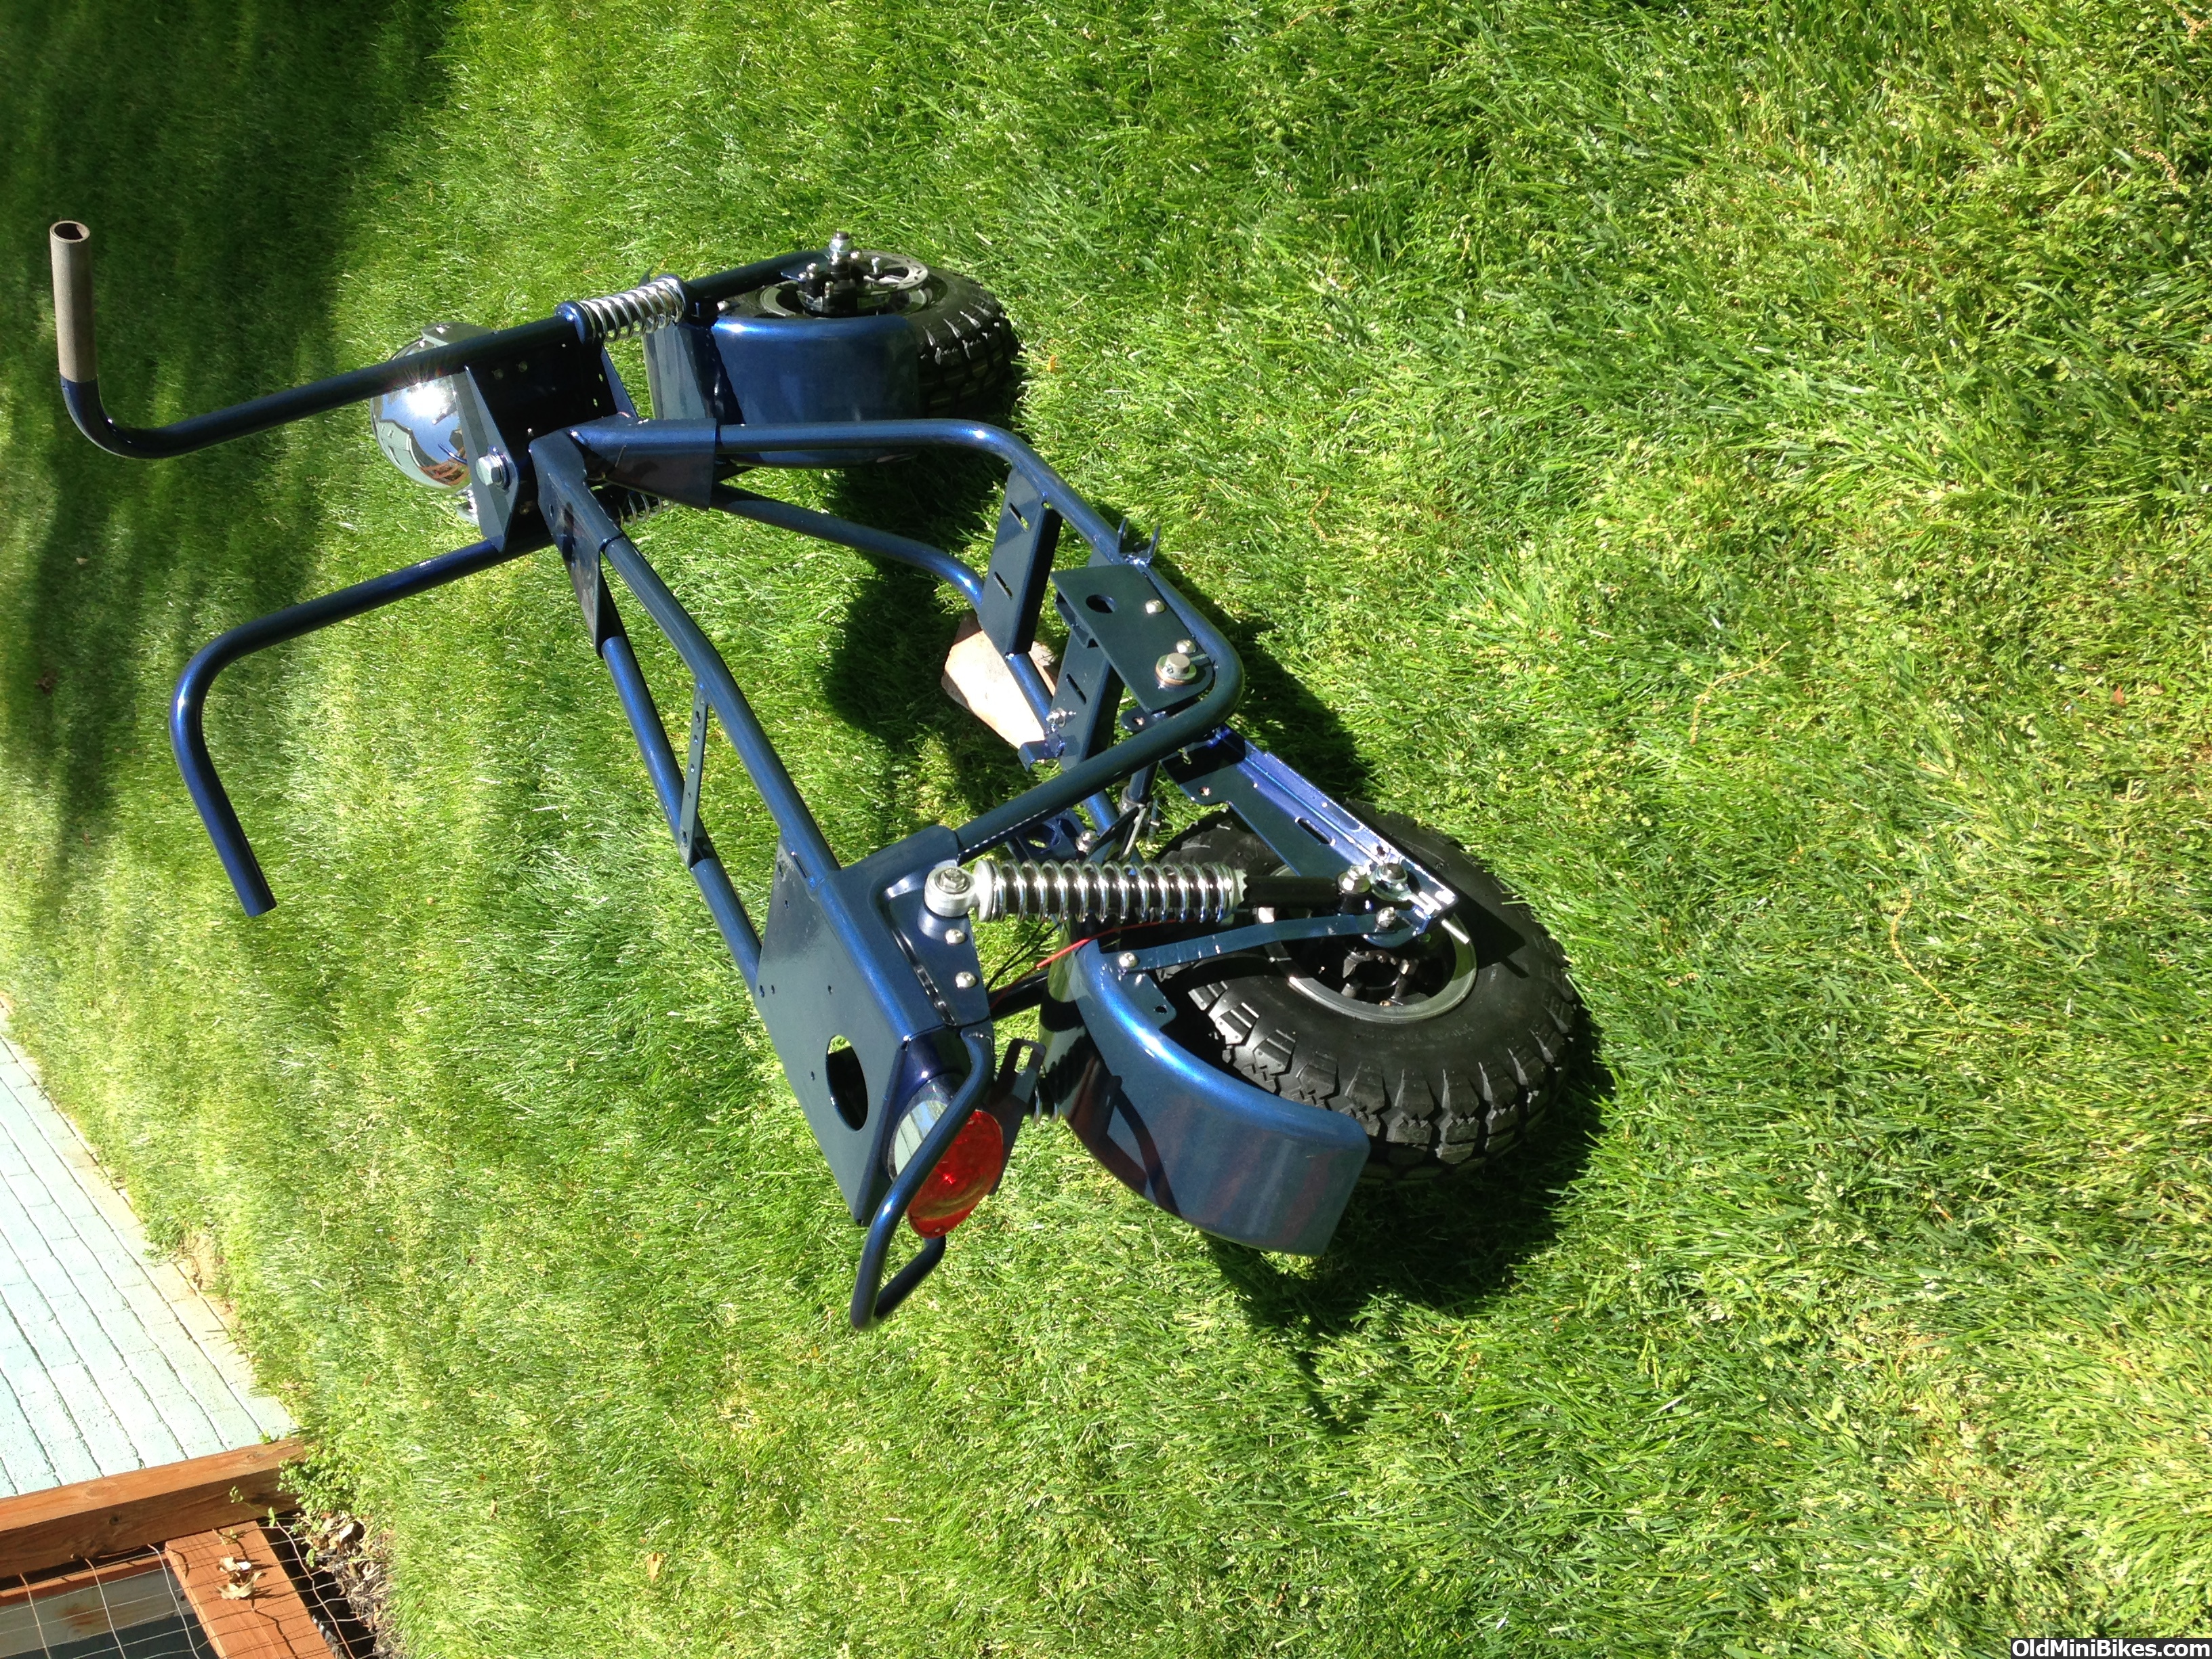
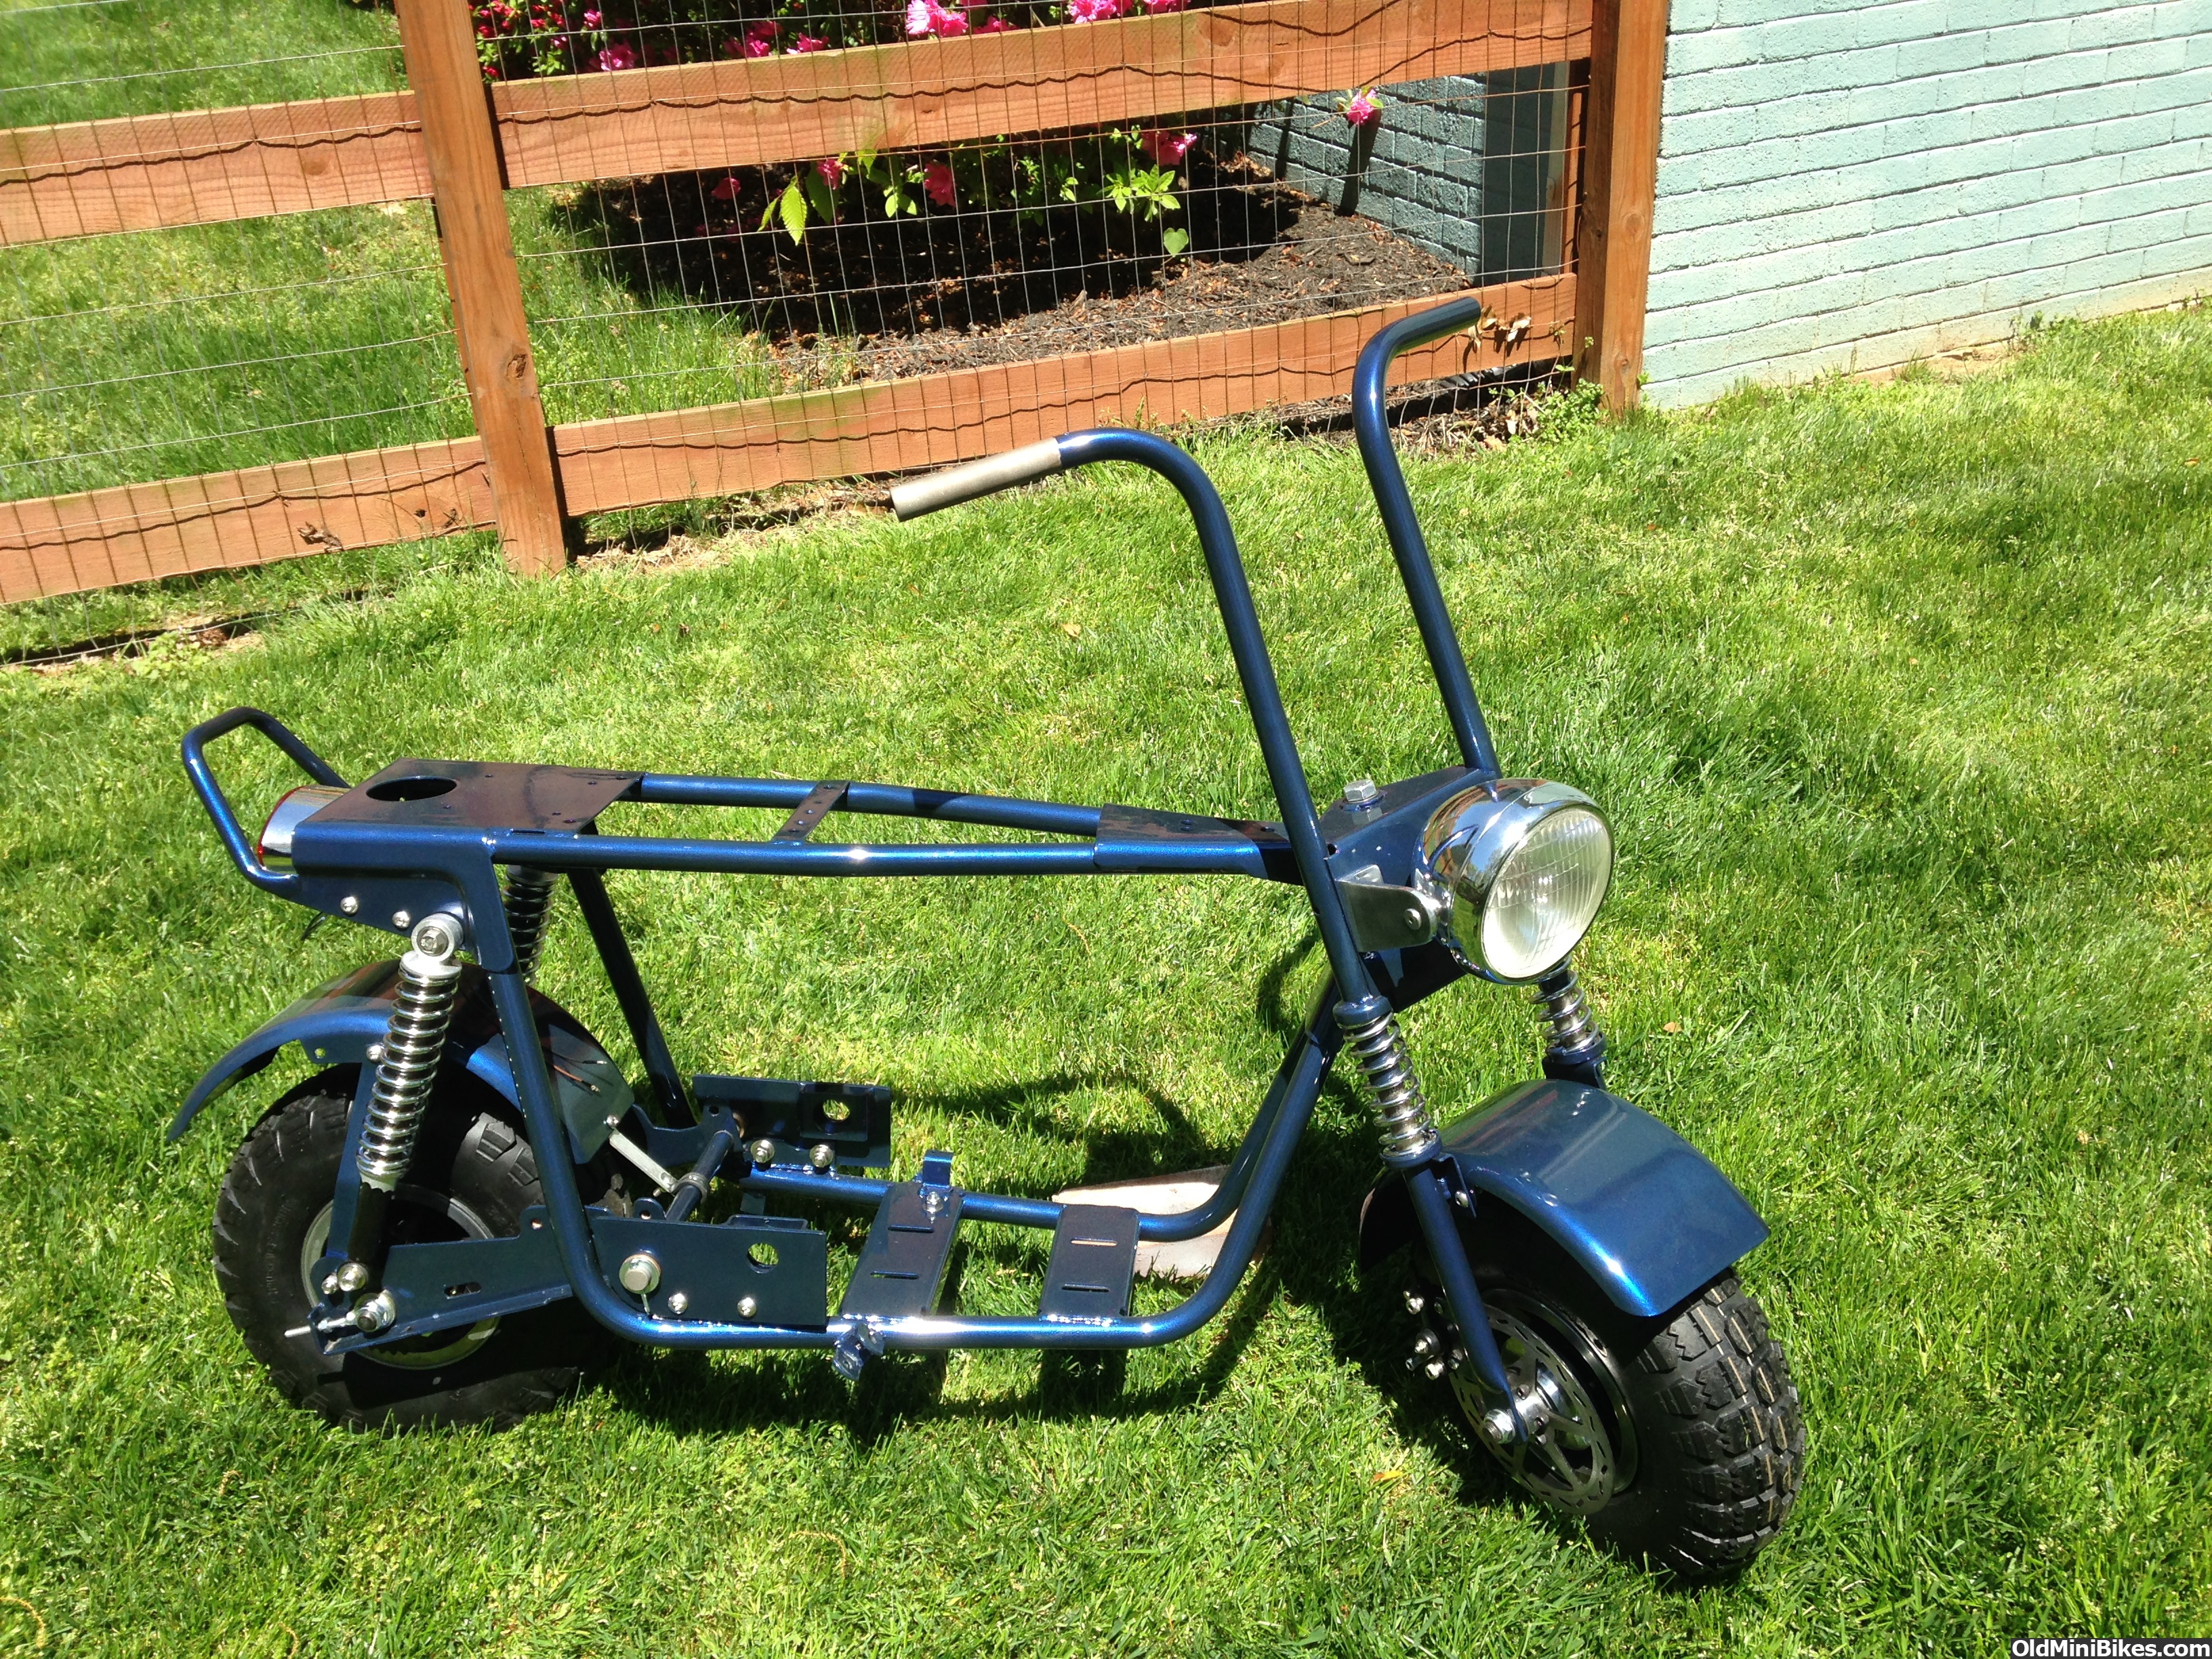
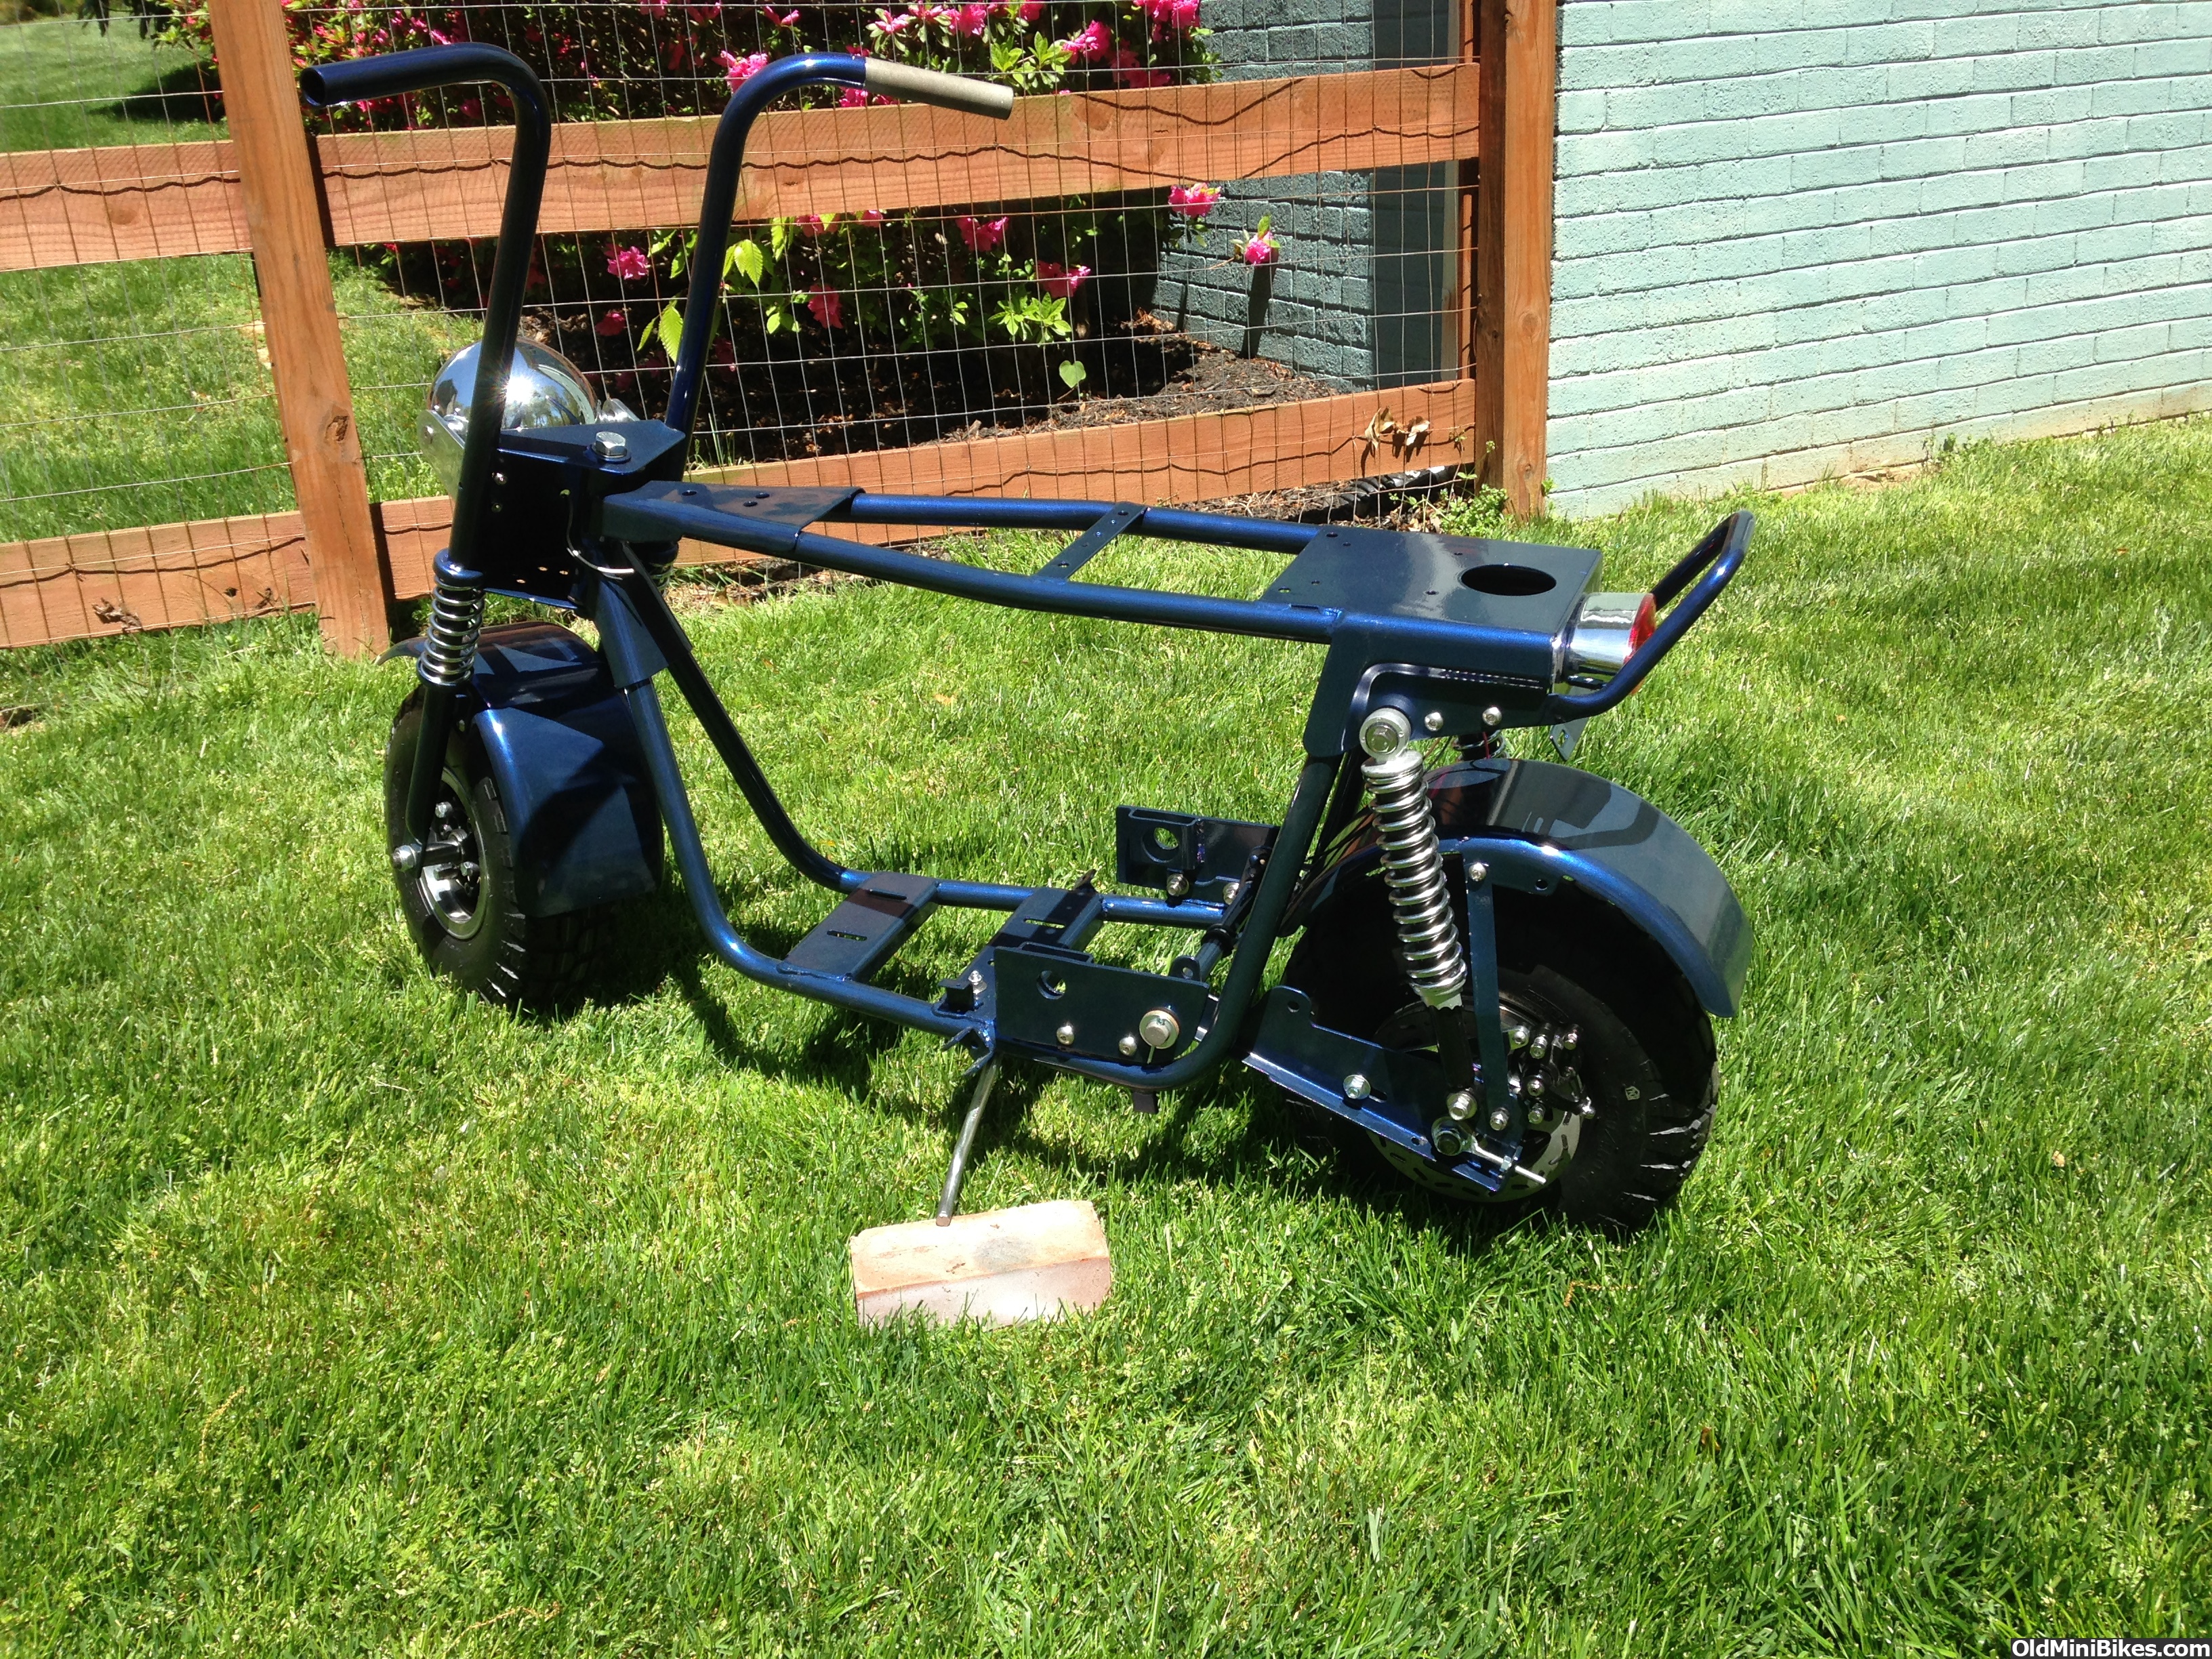
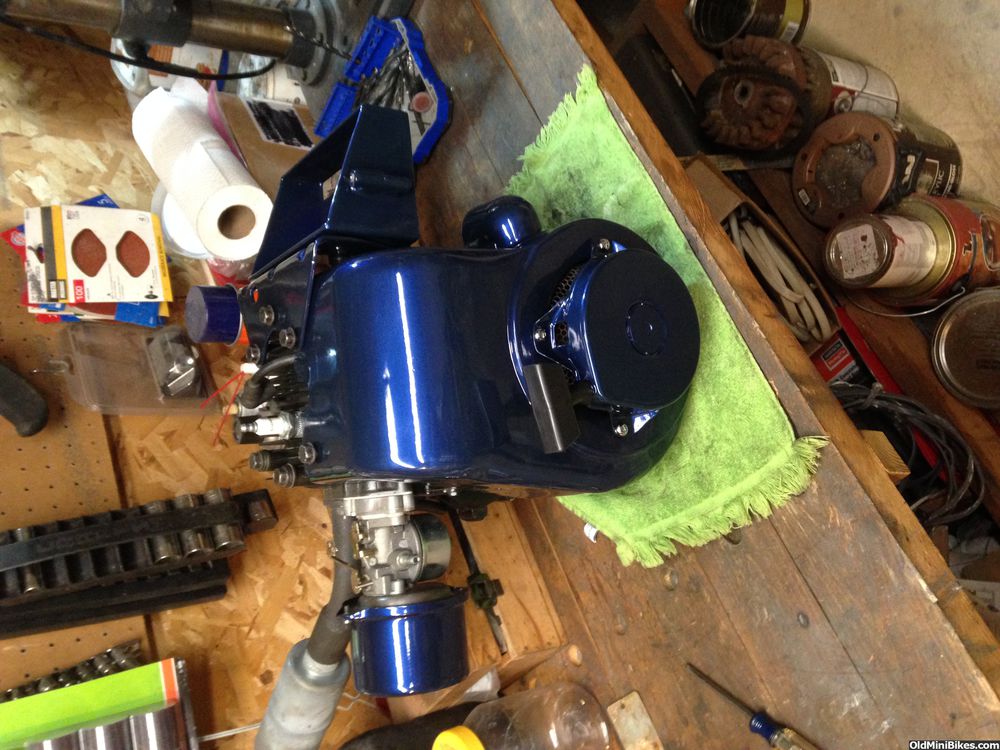
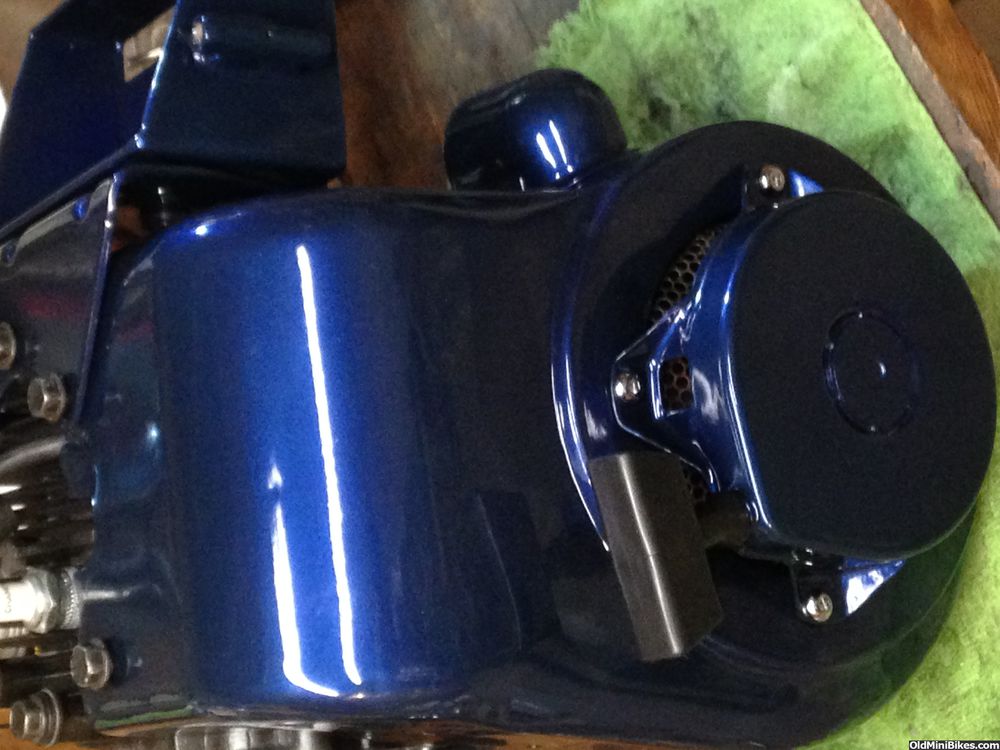
The color looks better in the shade.:laugh: I do love that color and the bike came out awesome.
Very cool! Loving that color so much, engine looks great too
Sent from my iPhone using OldMiniBikes
Sent from my iPhone using OldMiniBikes
Pete ................all I can say is ..:bowdown::bowdown::bowdown::bowdown:
Great Job My Friend !!!:thumbsup::thumbsup:
Great Job My Friend !!!:thumbsup::thumbsup:
") scared.
scared.