Danford1's - Sears Best Green Streak - (Vintage Open)

#1
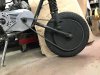
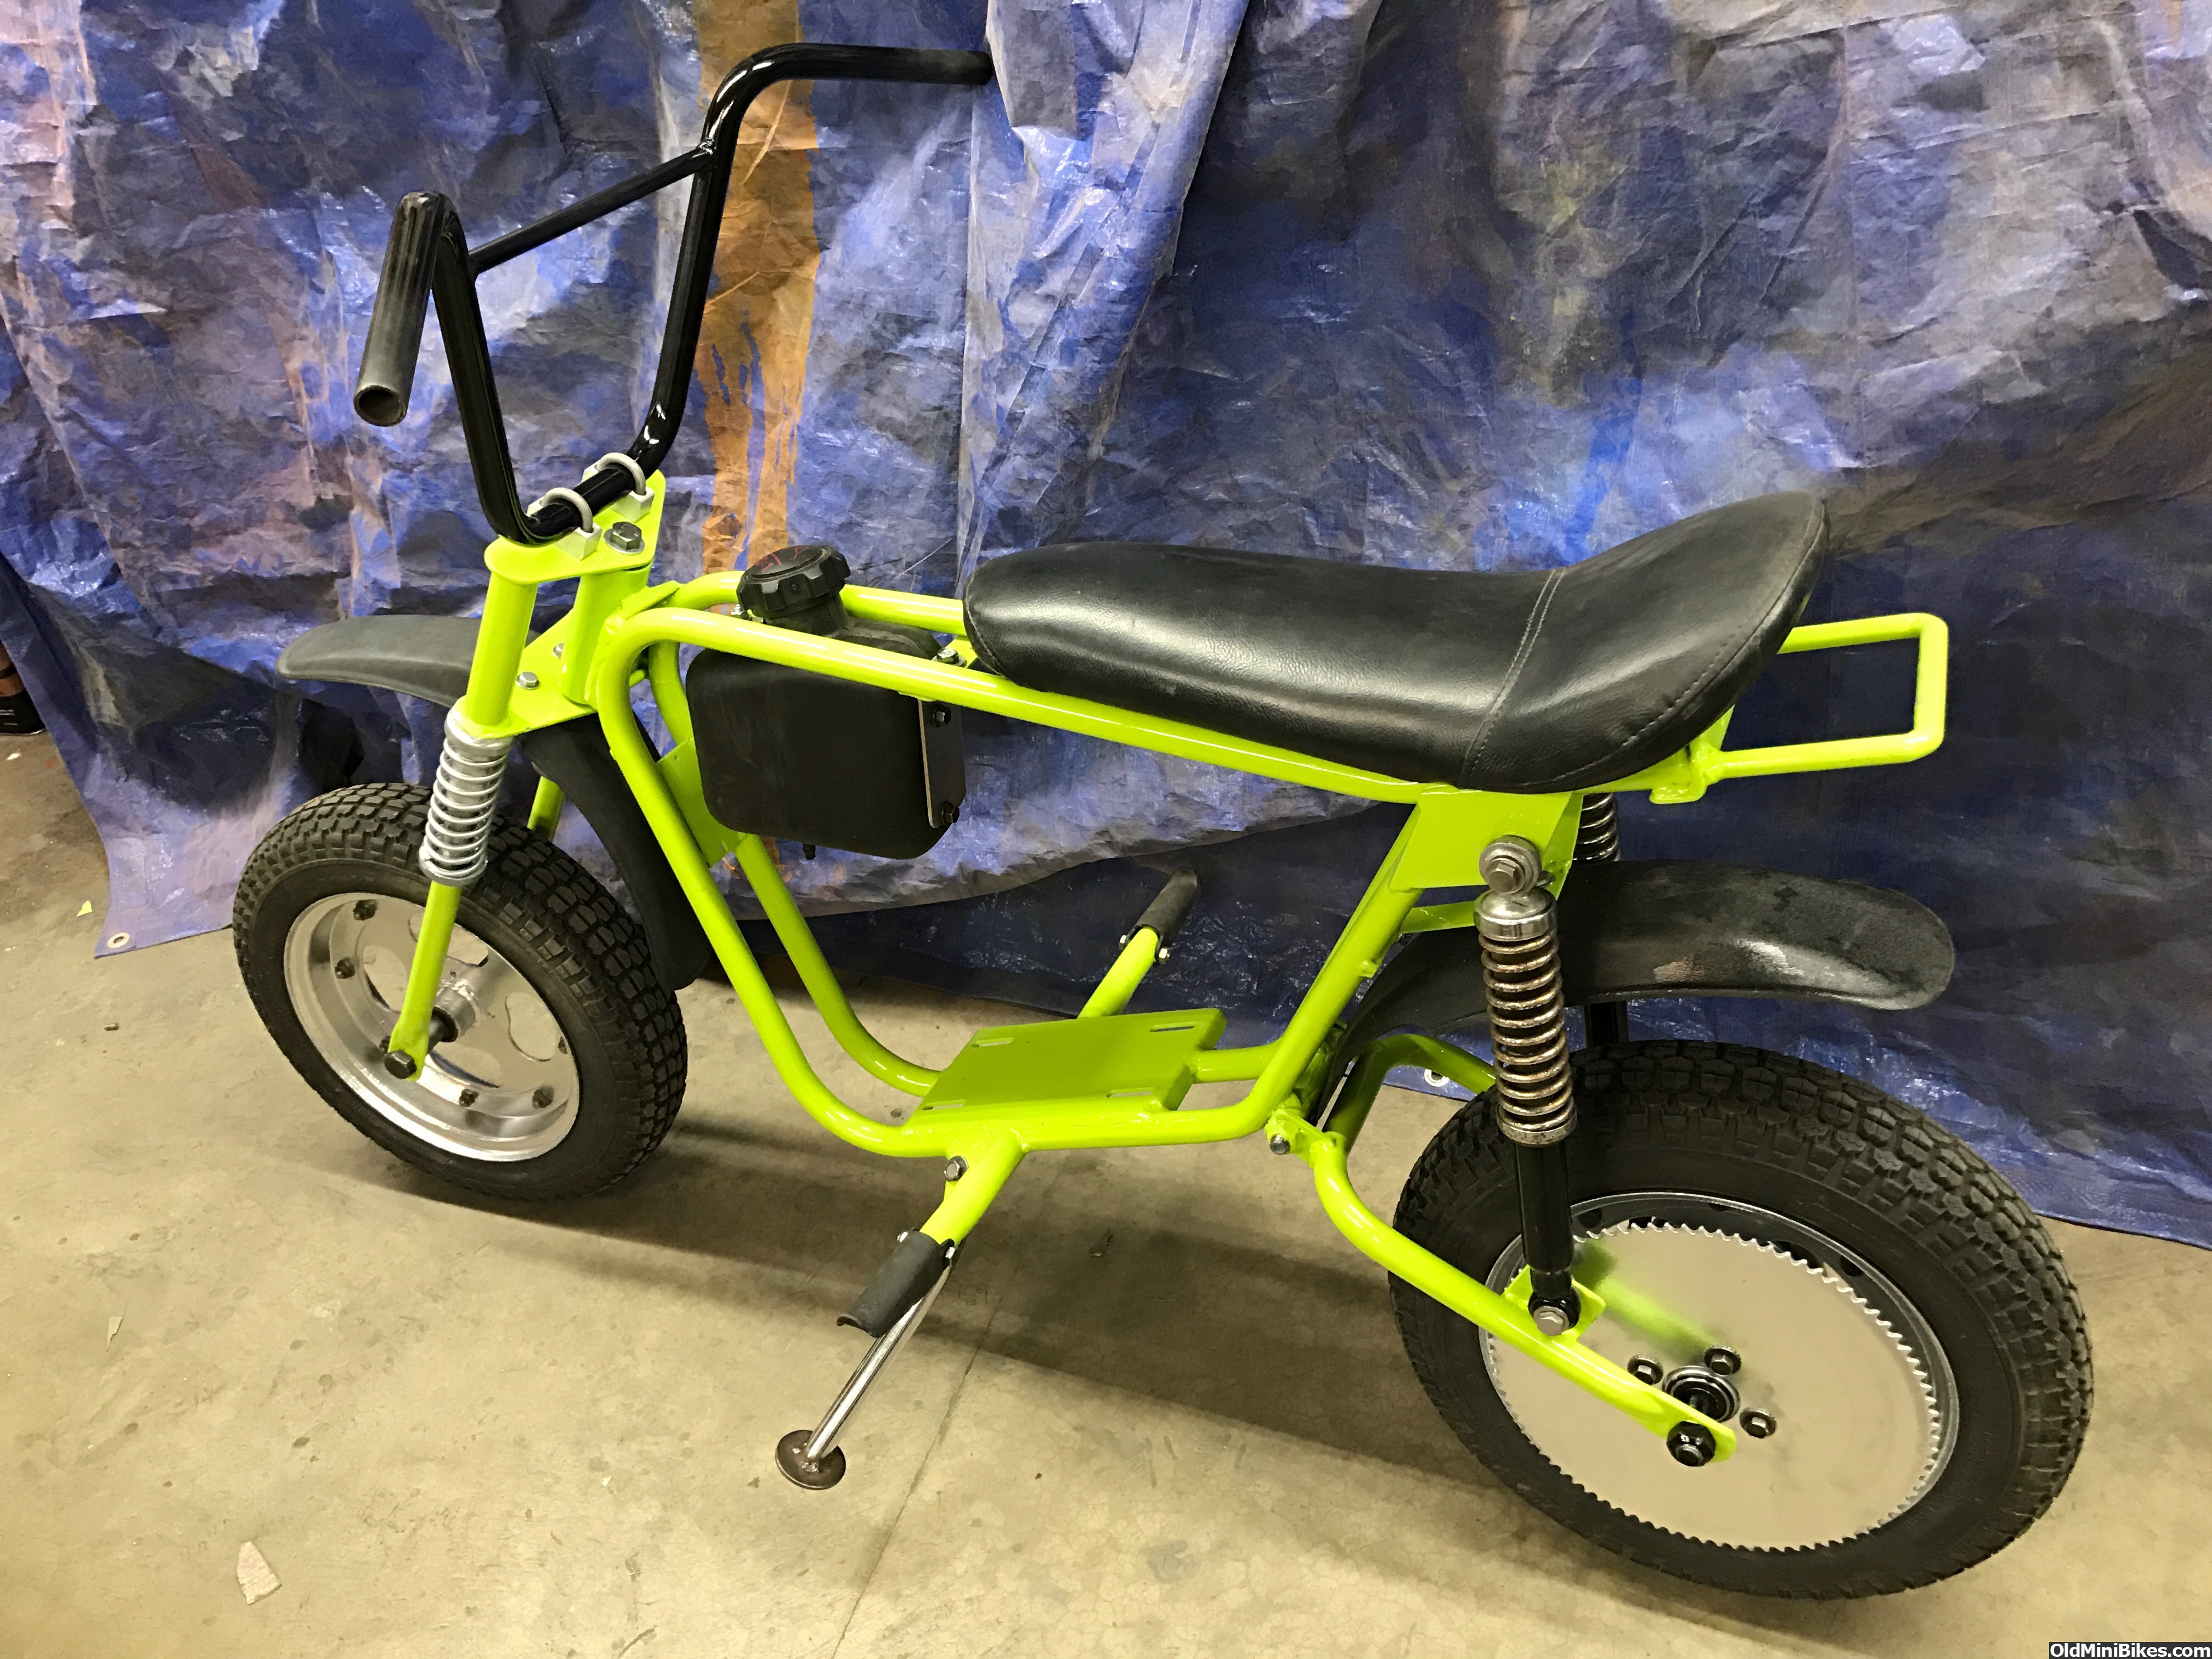
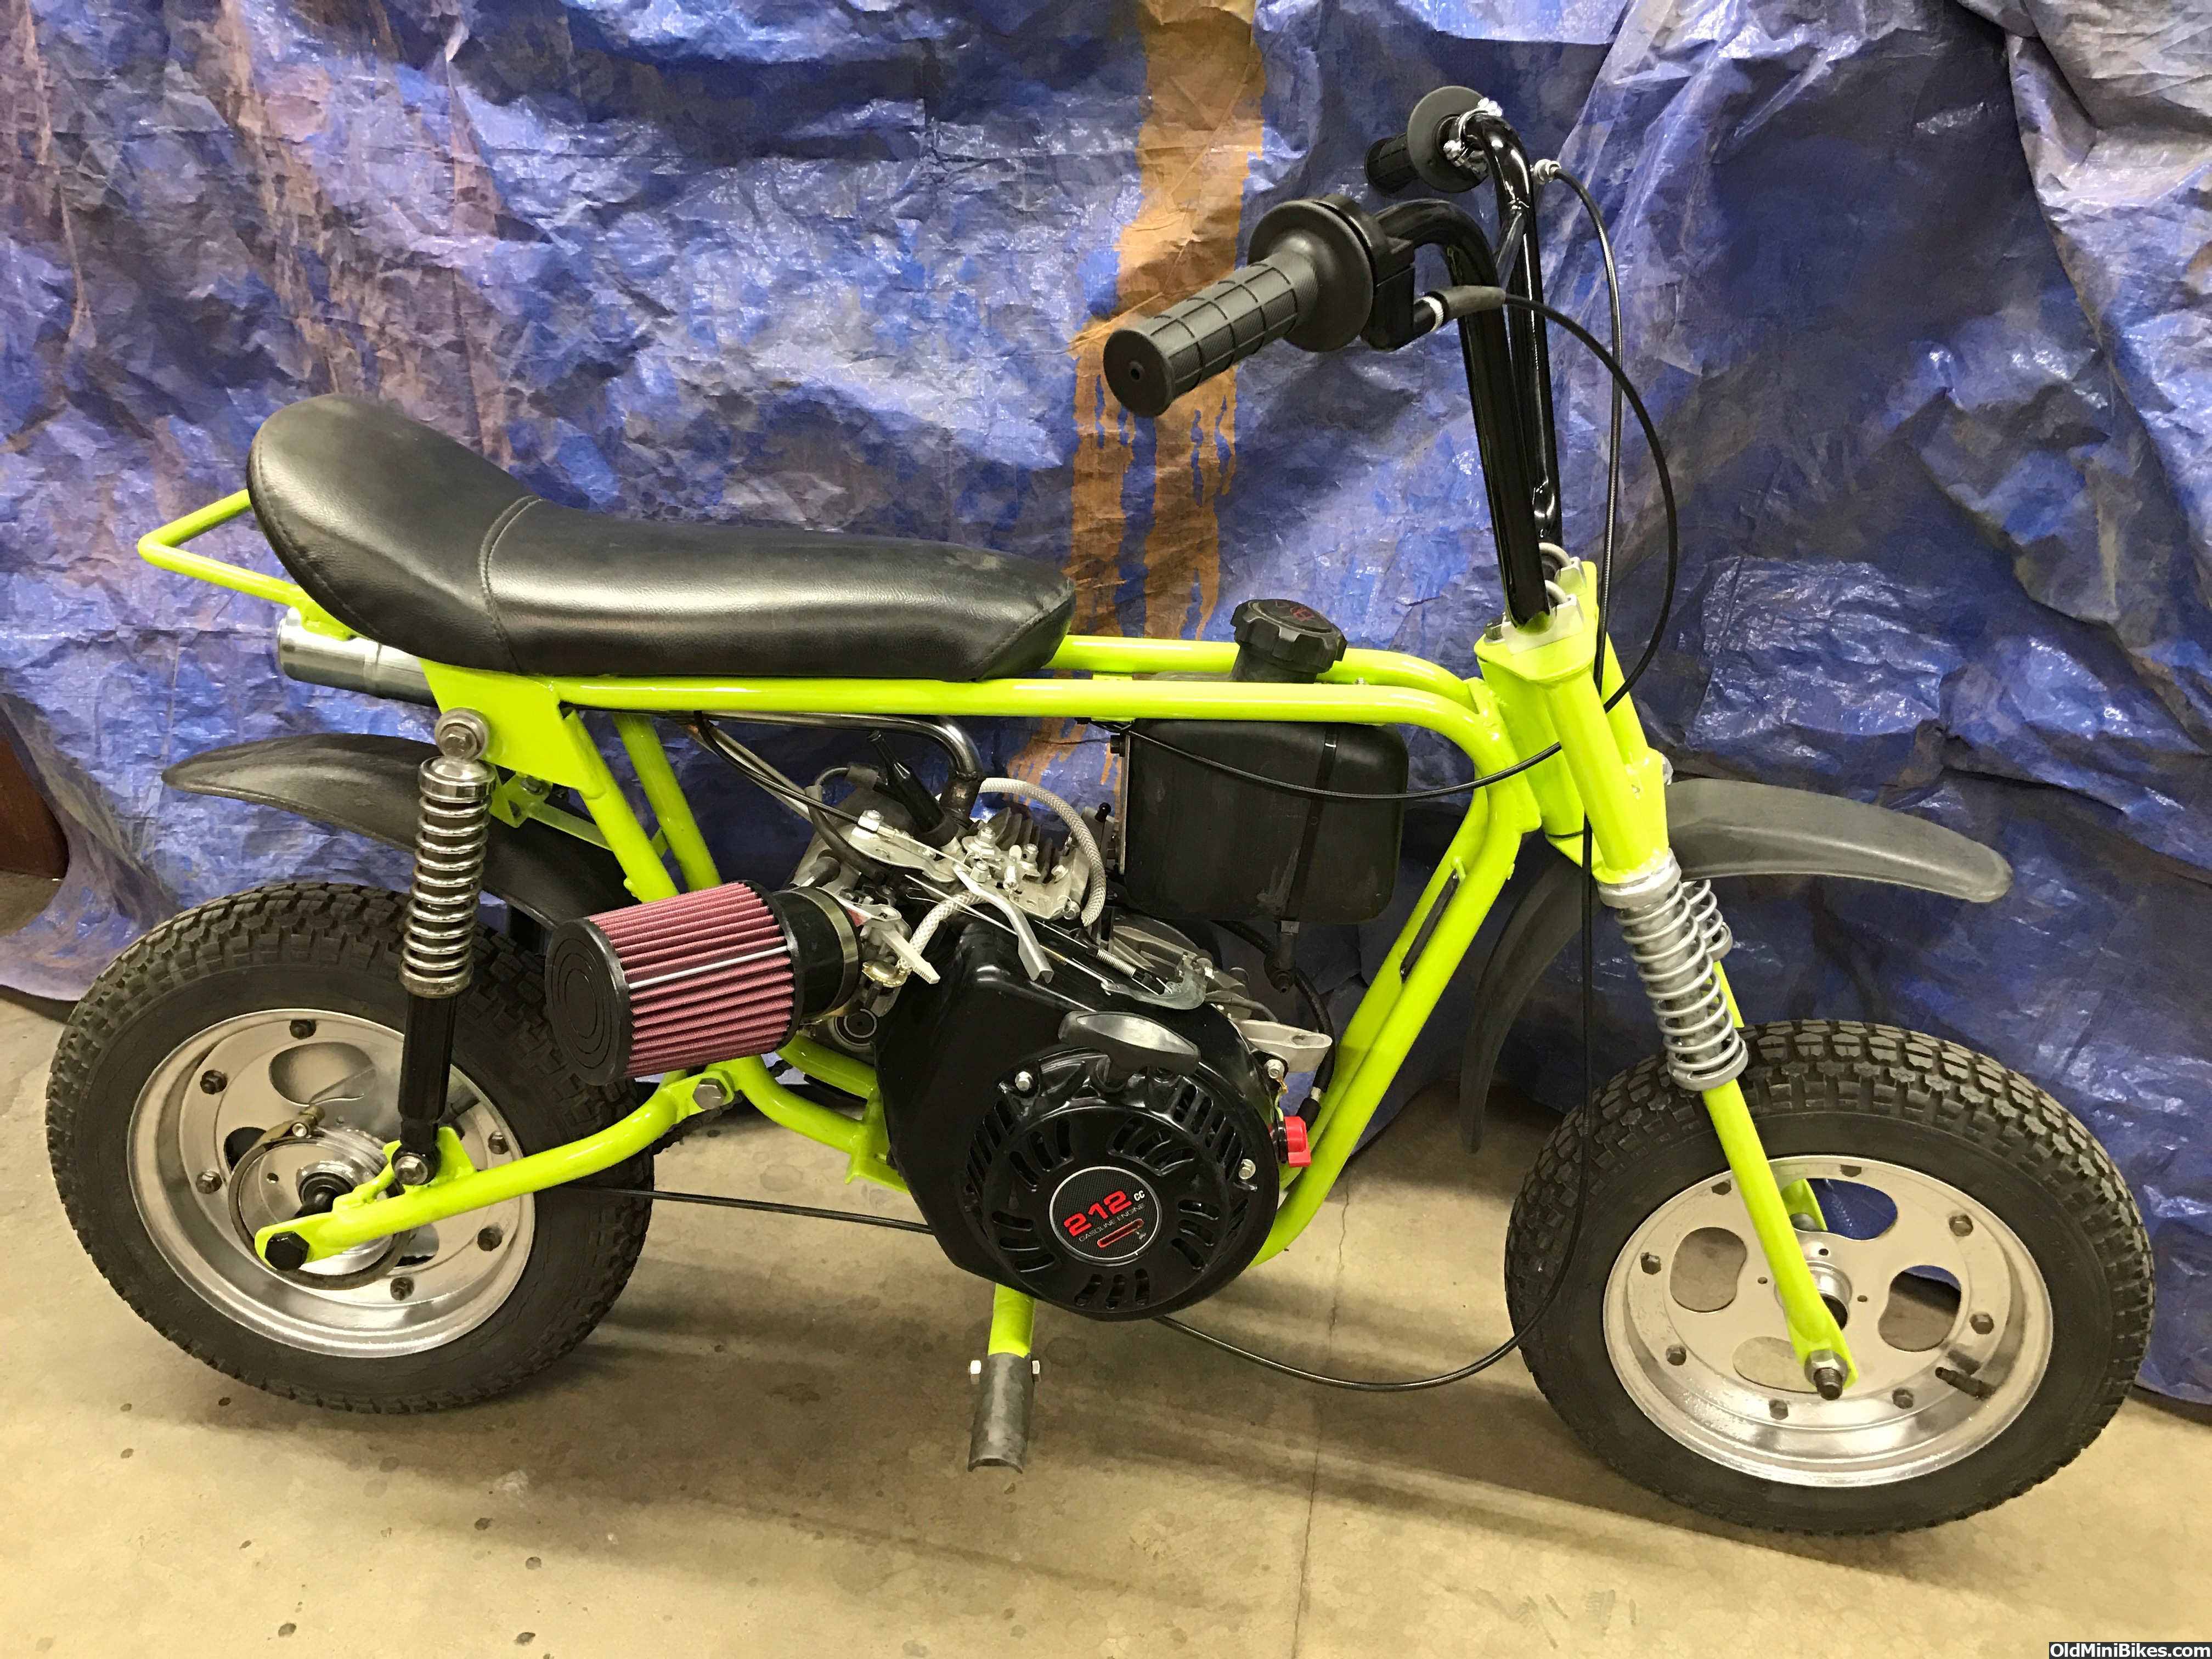
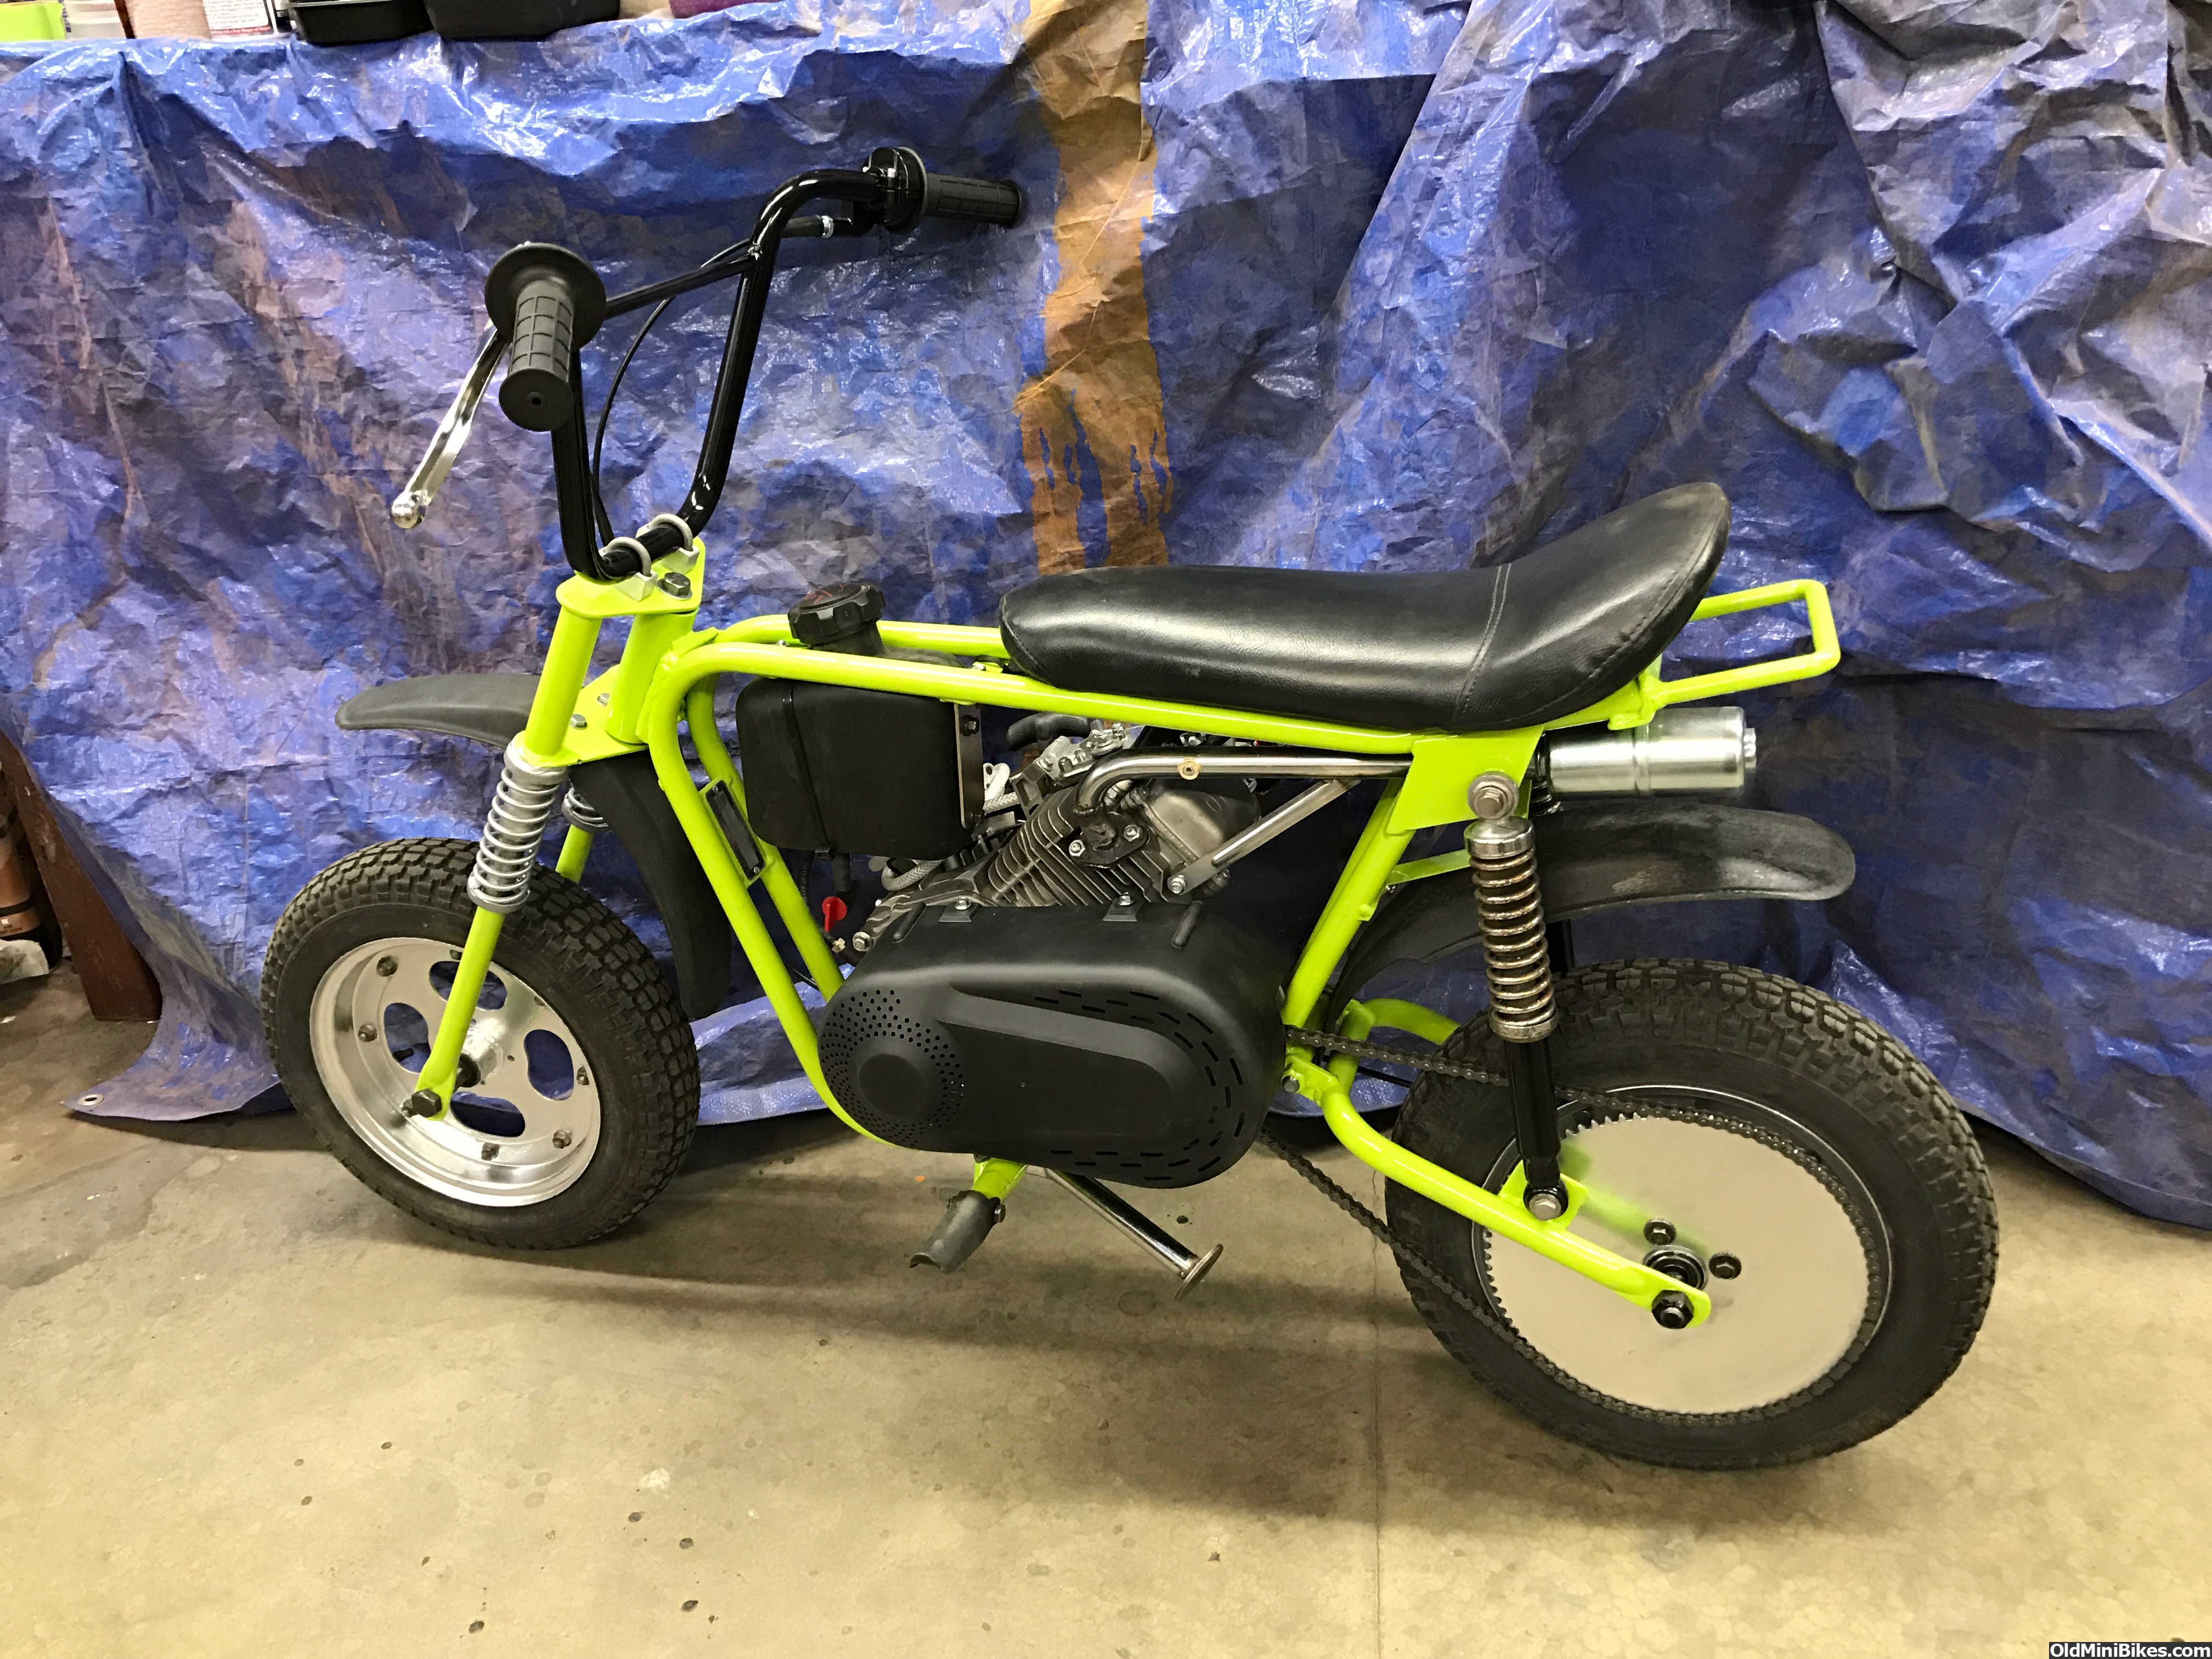
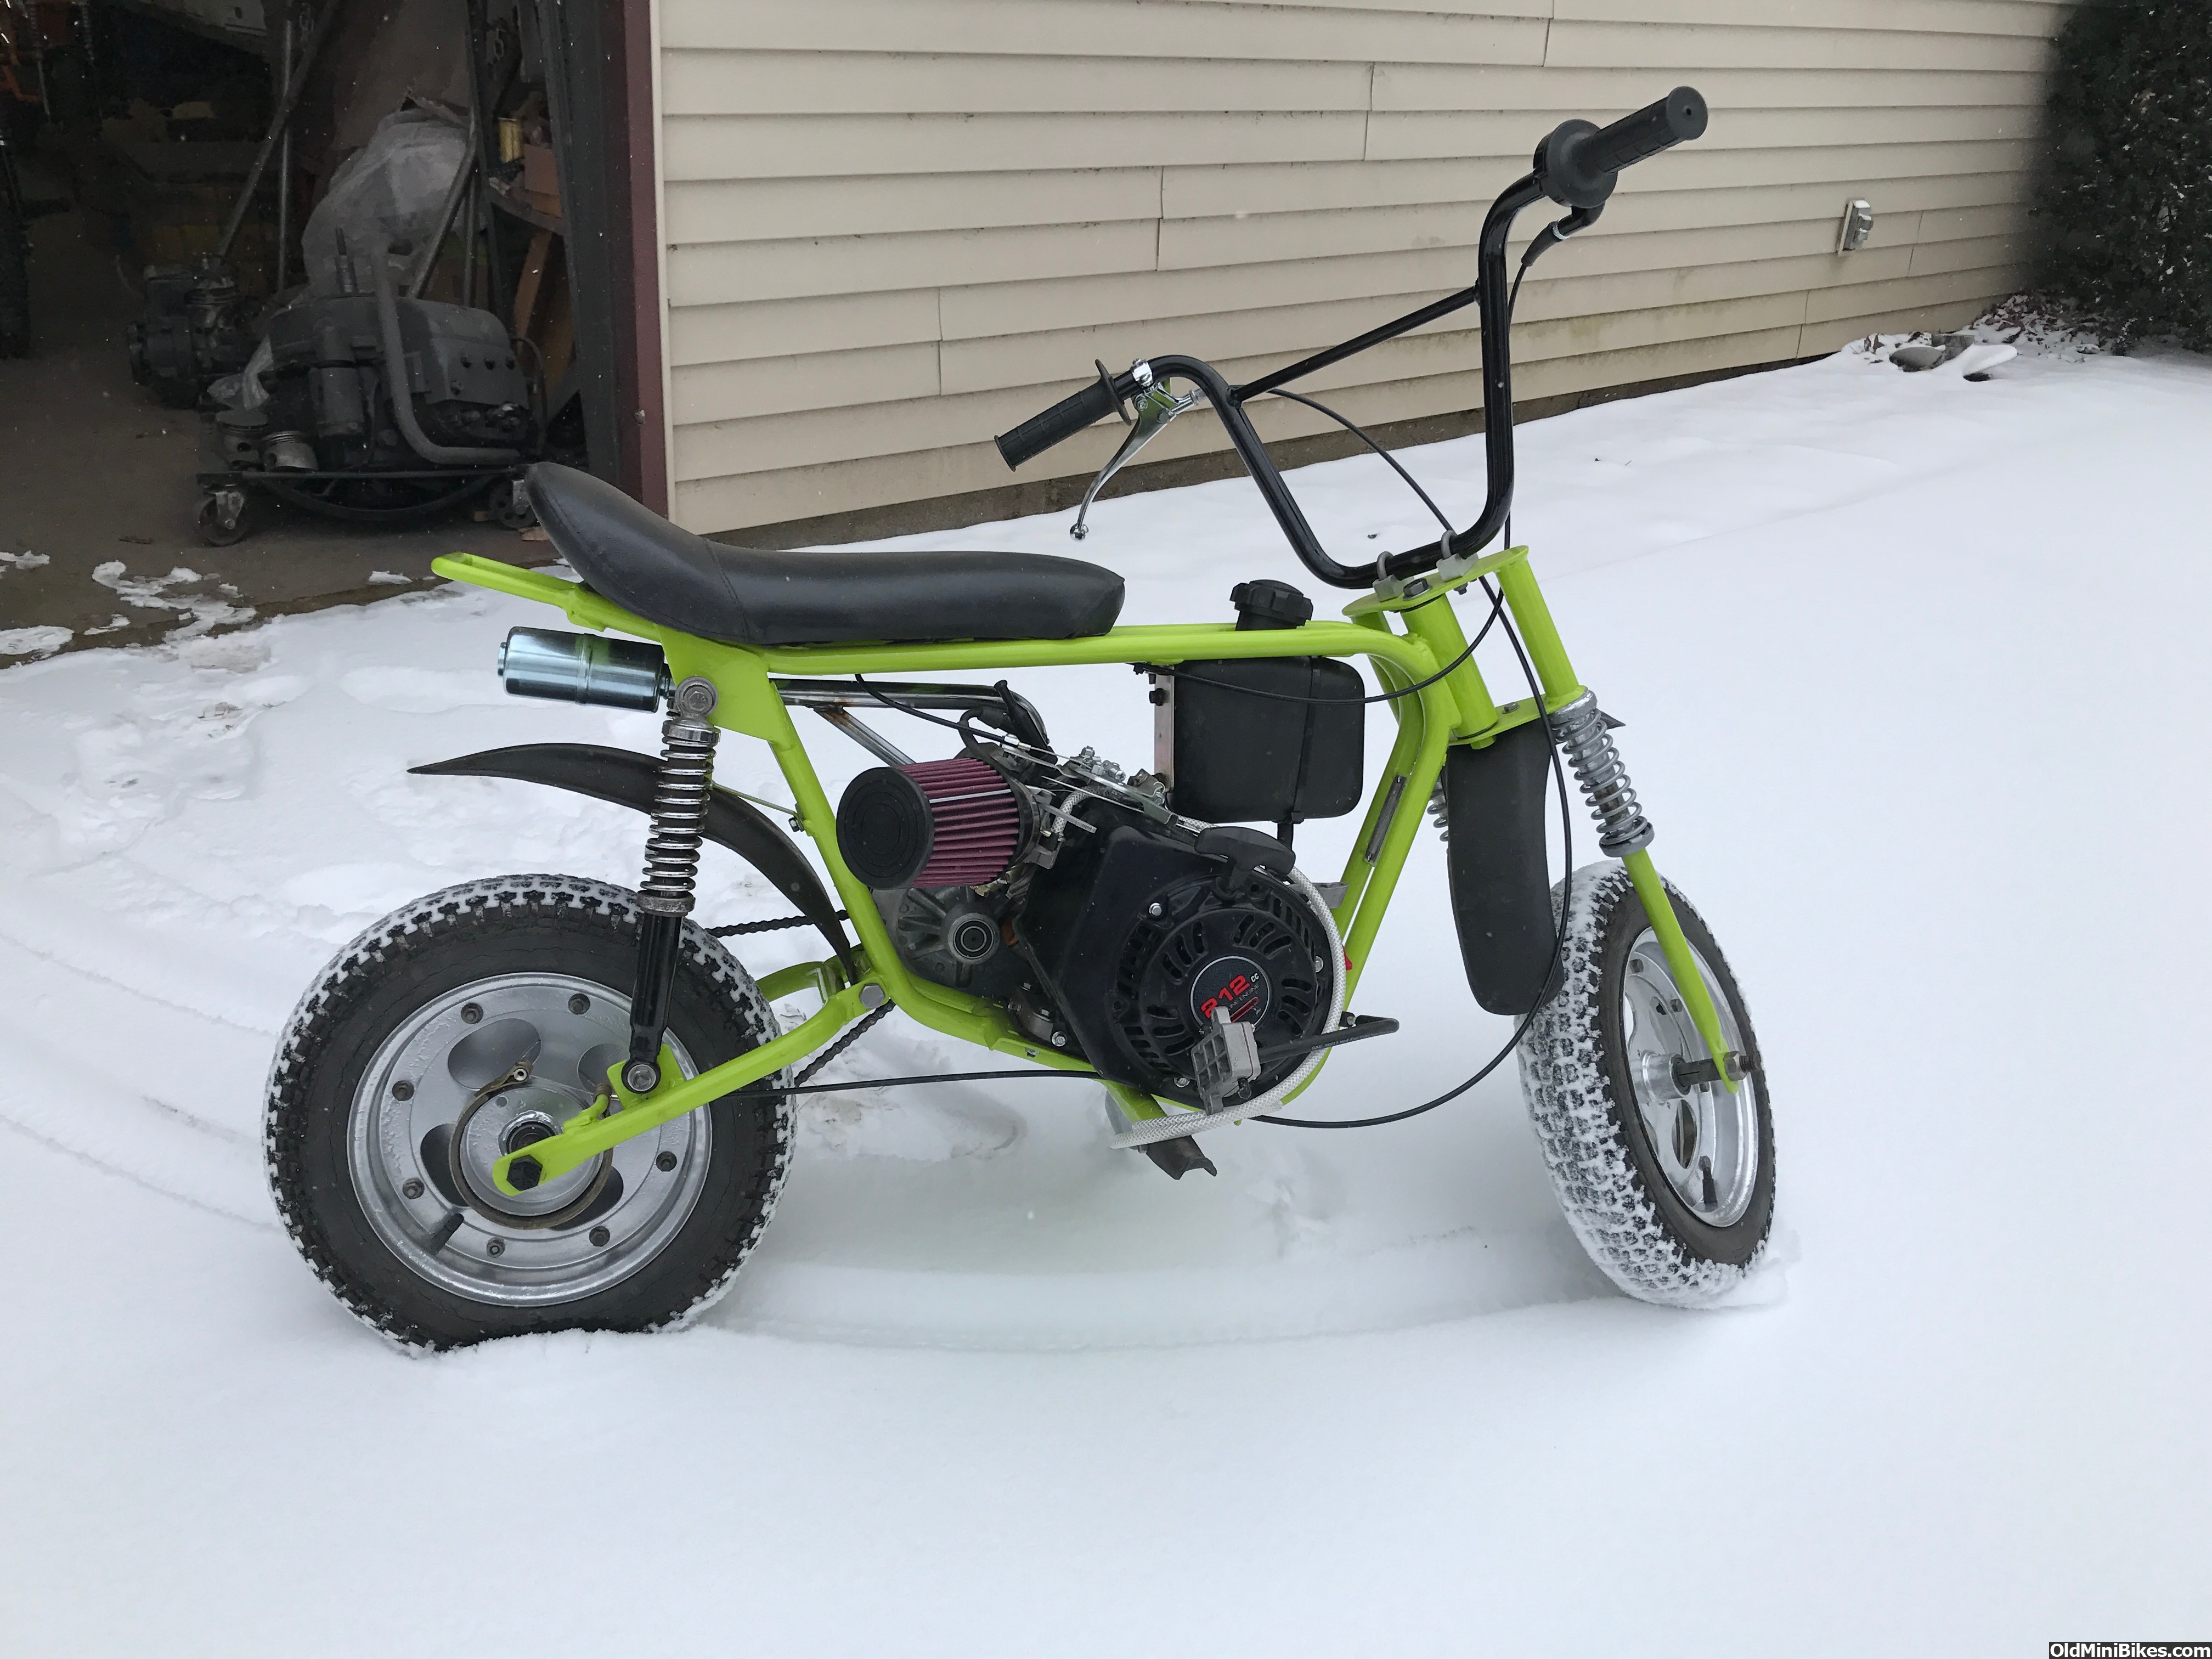
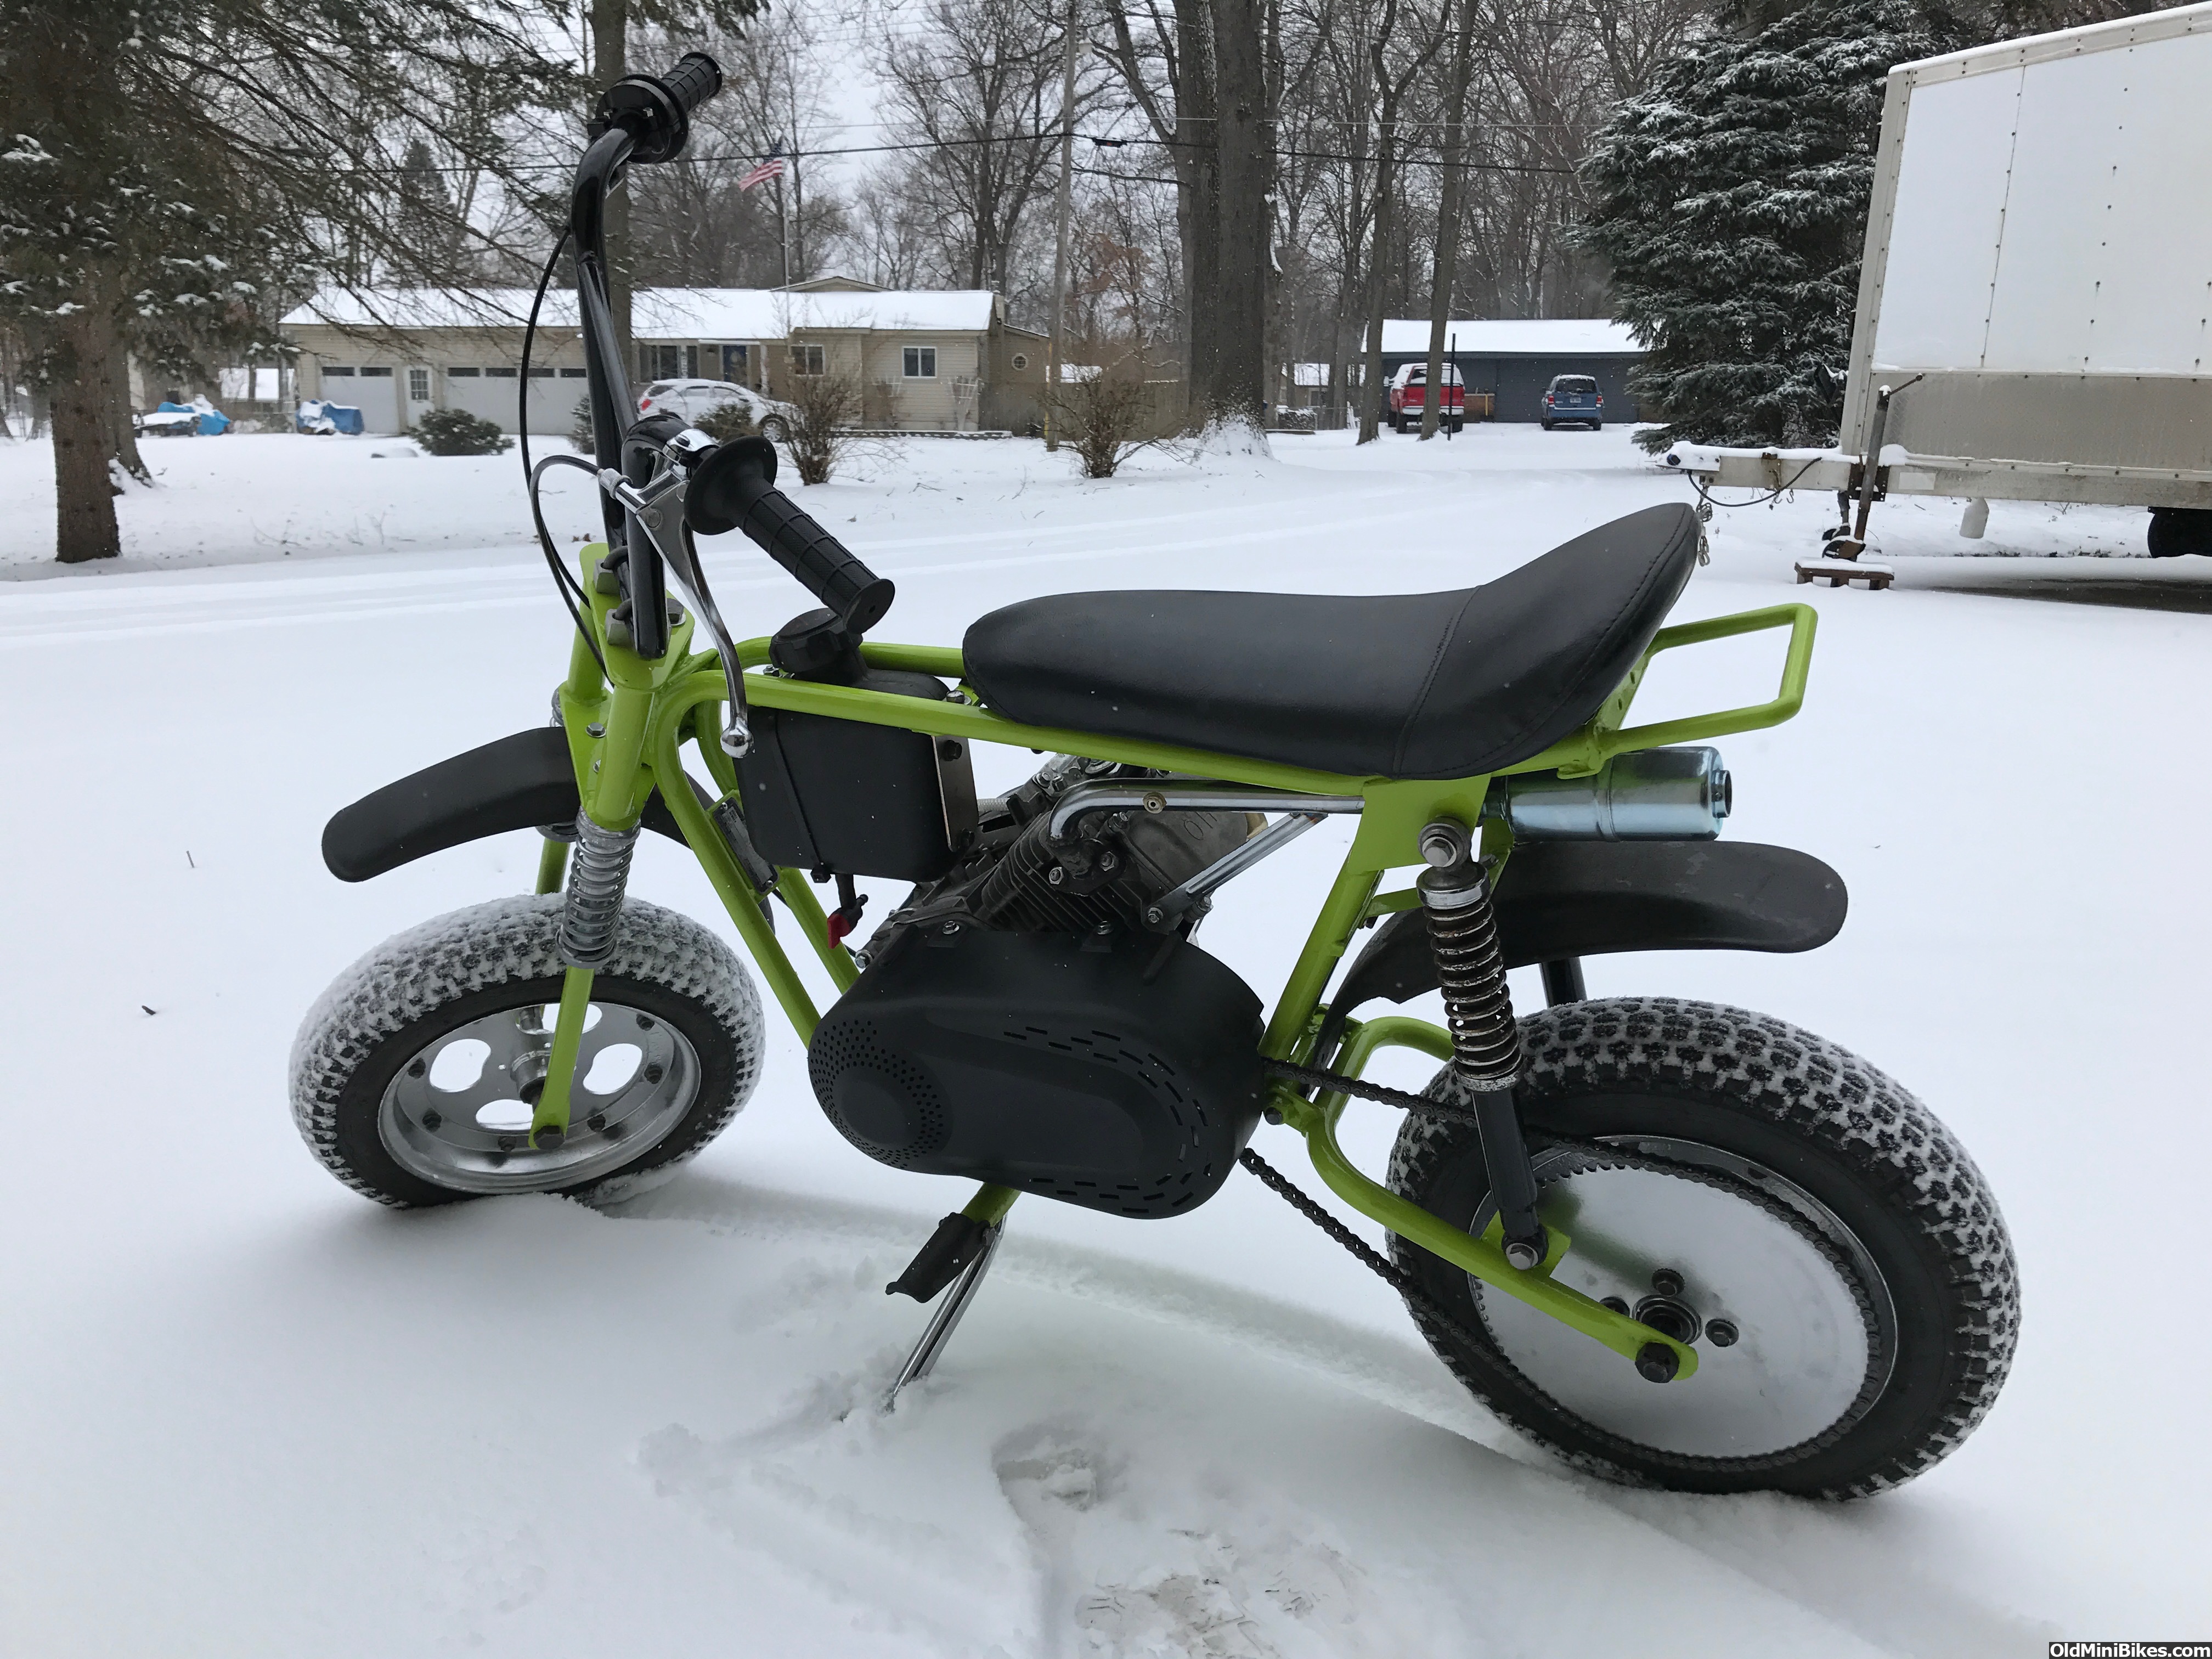
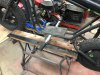
This is my Sears Best Green Streak entry for the Vintage Open Class.
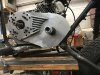
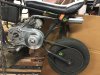
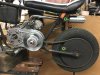
It has a Predator 212 on it that I'll modify plus I'll be adding a Torque-A-Verter on it.
I have some new brakes for it plus may be adding front brakes as well.
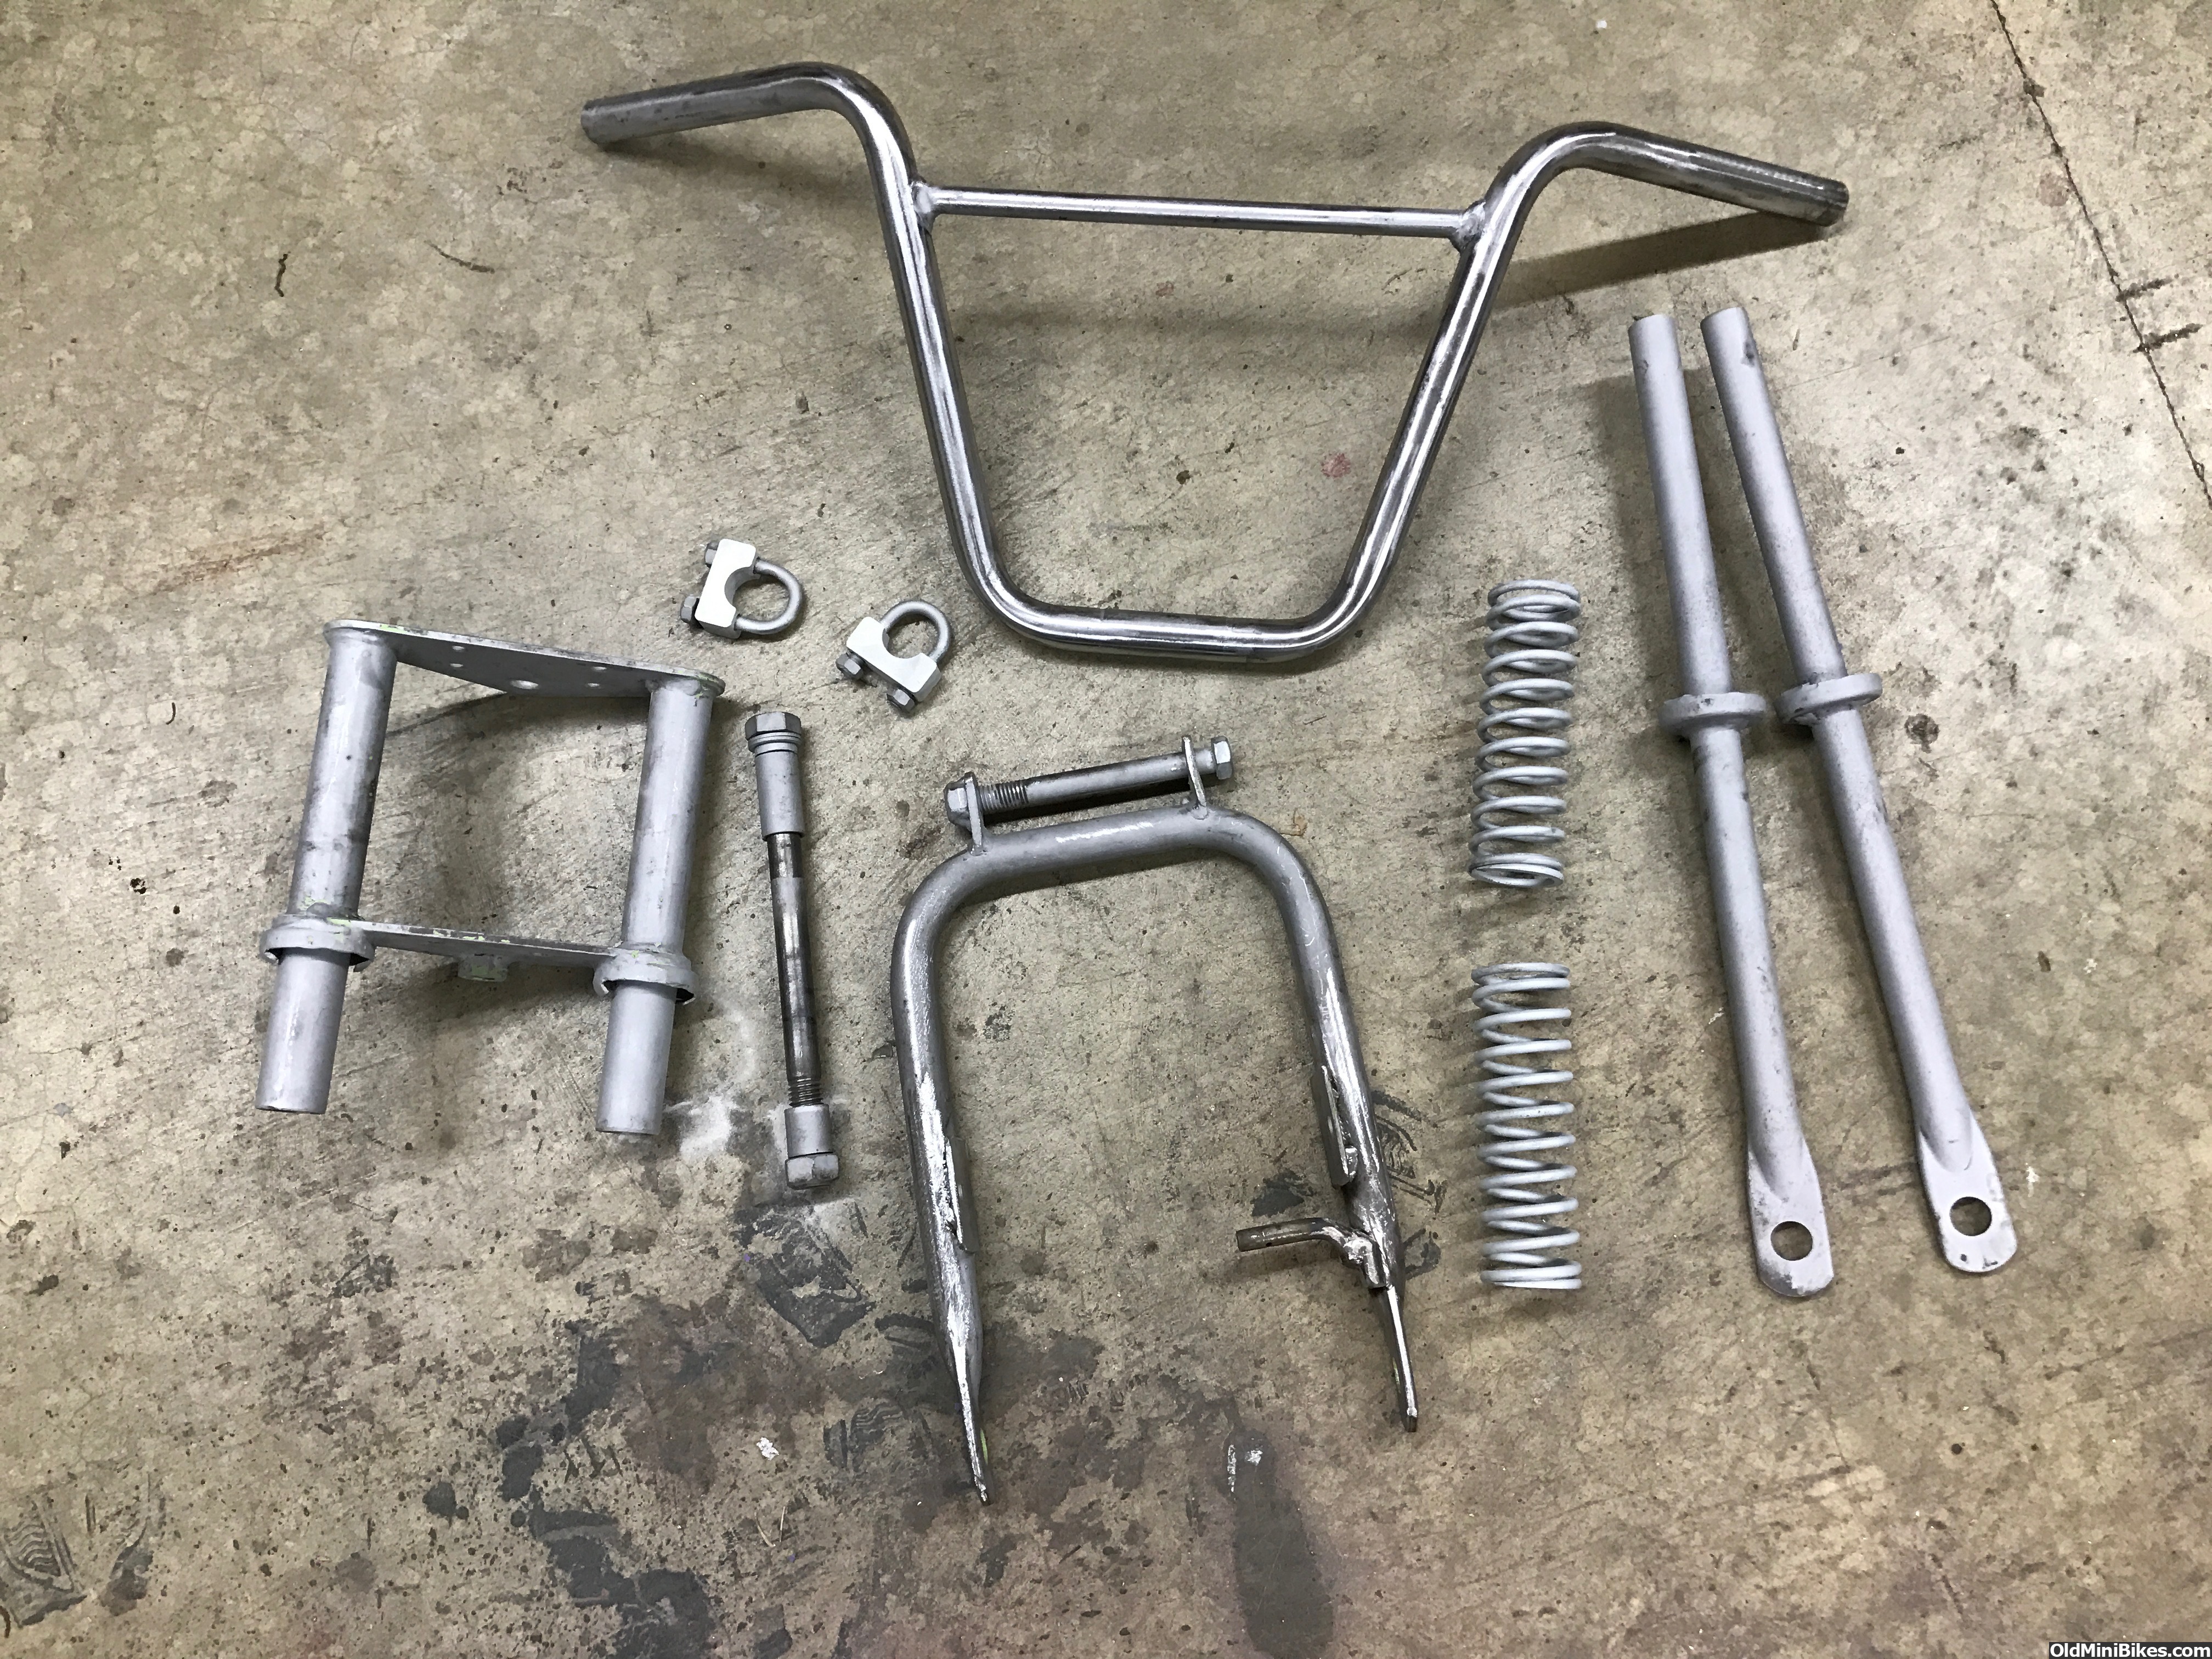
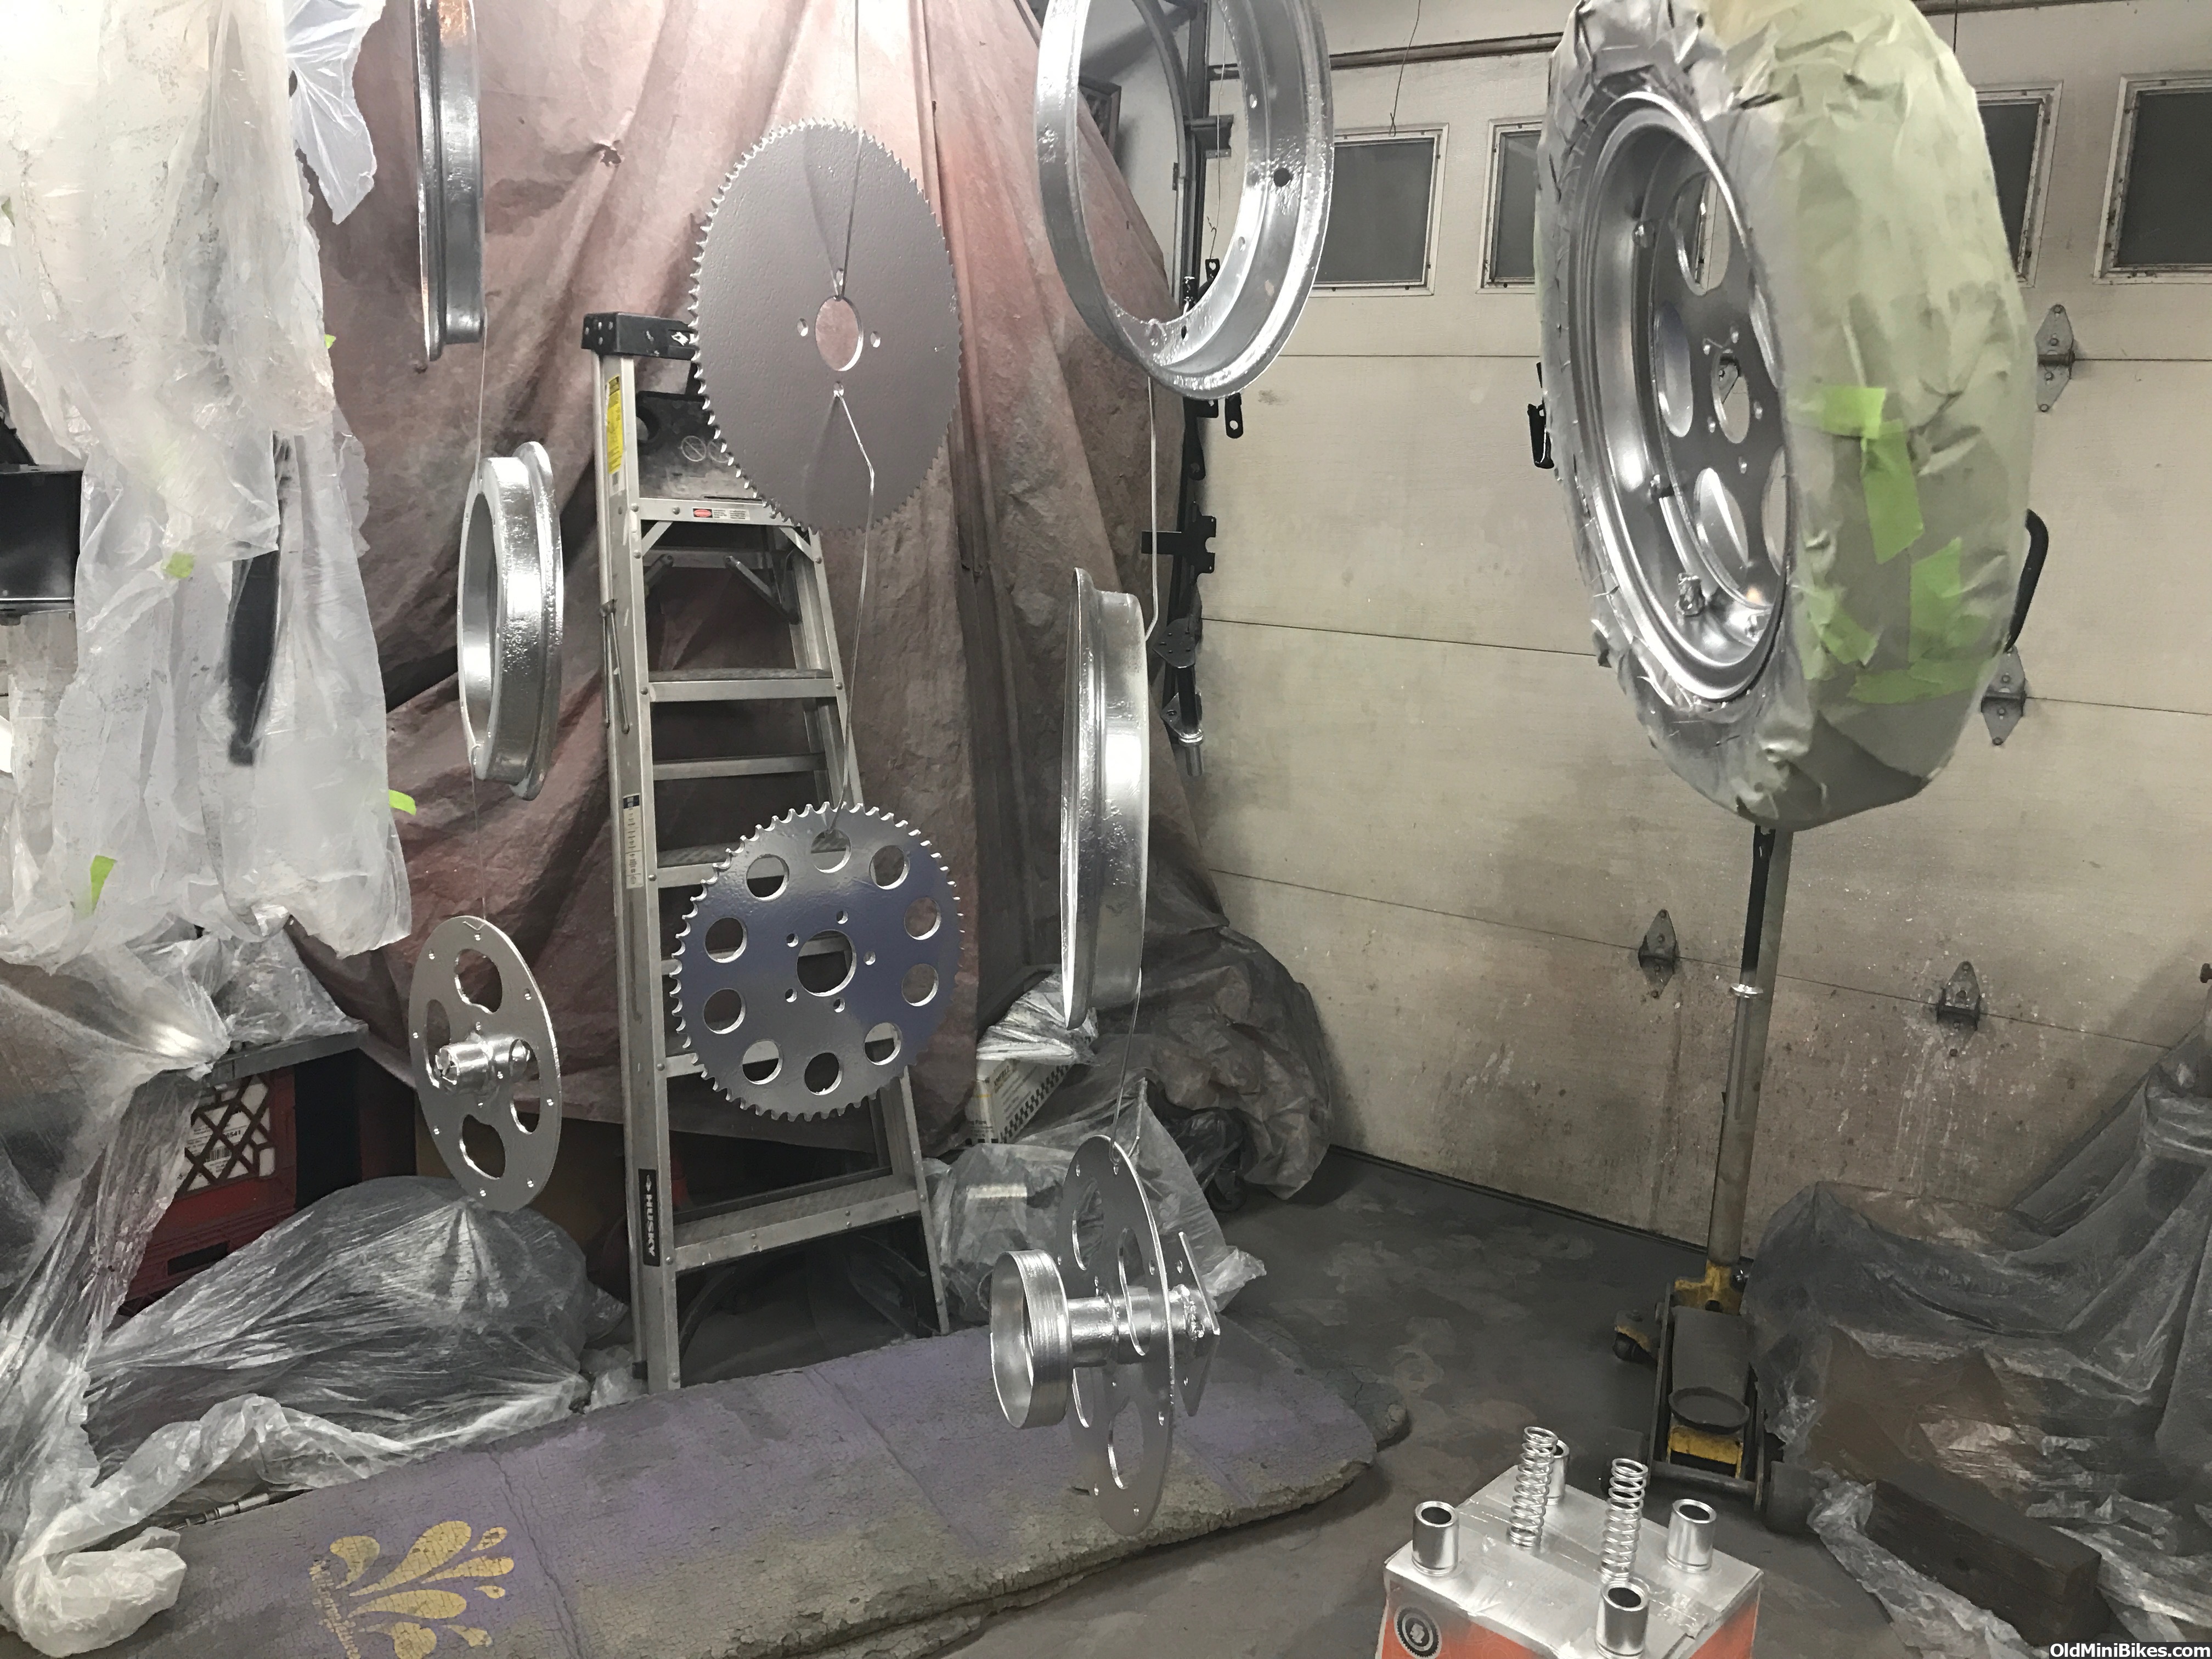
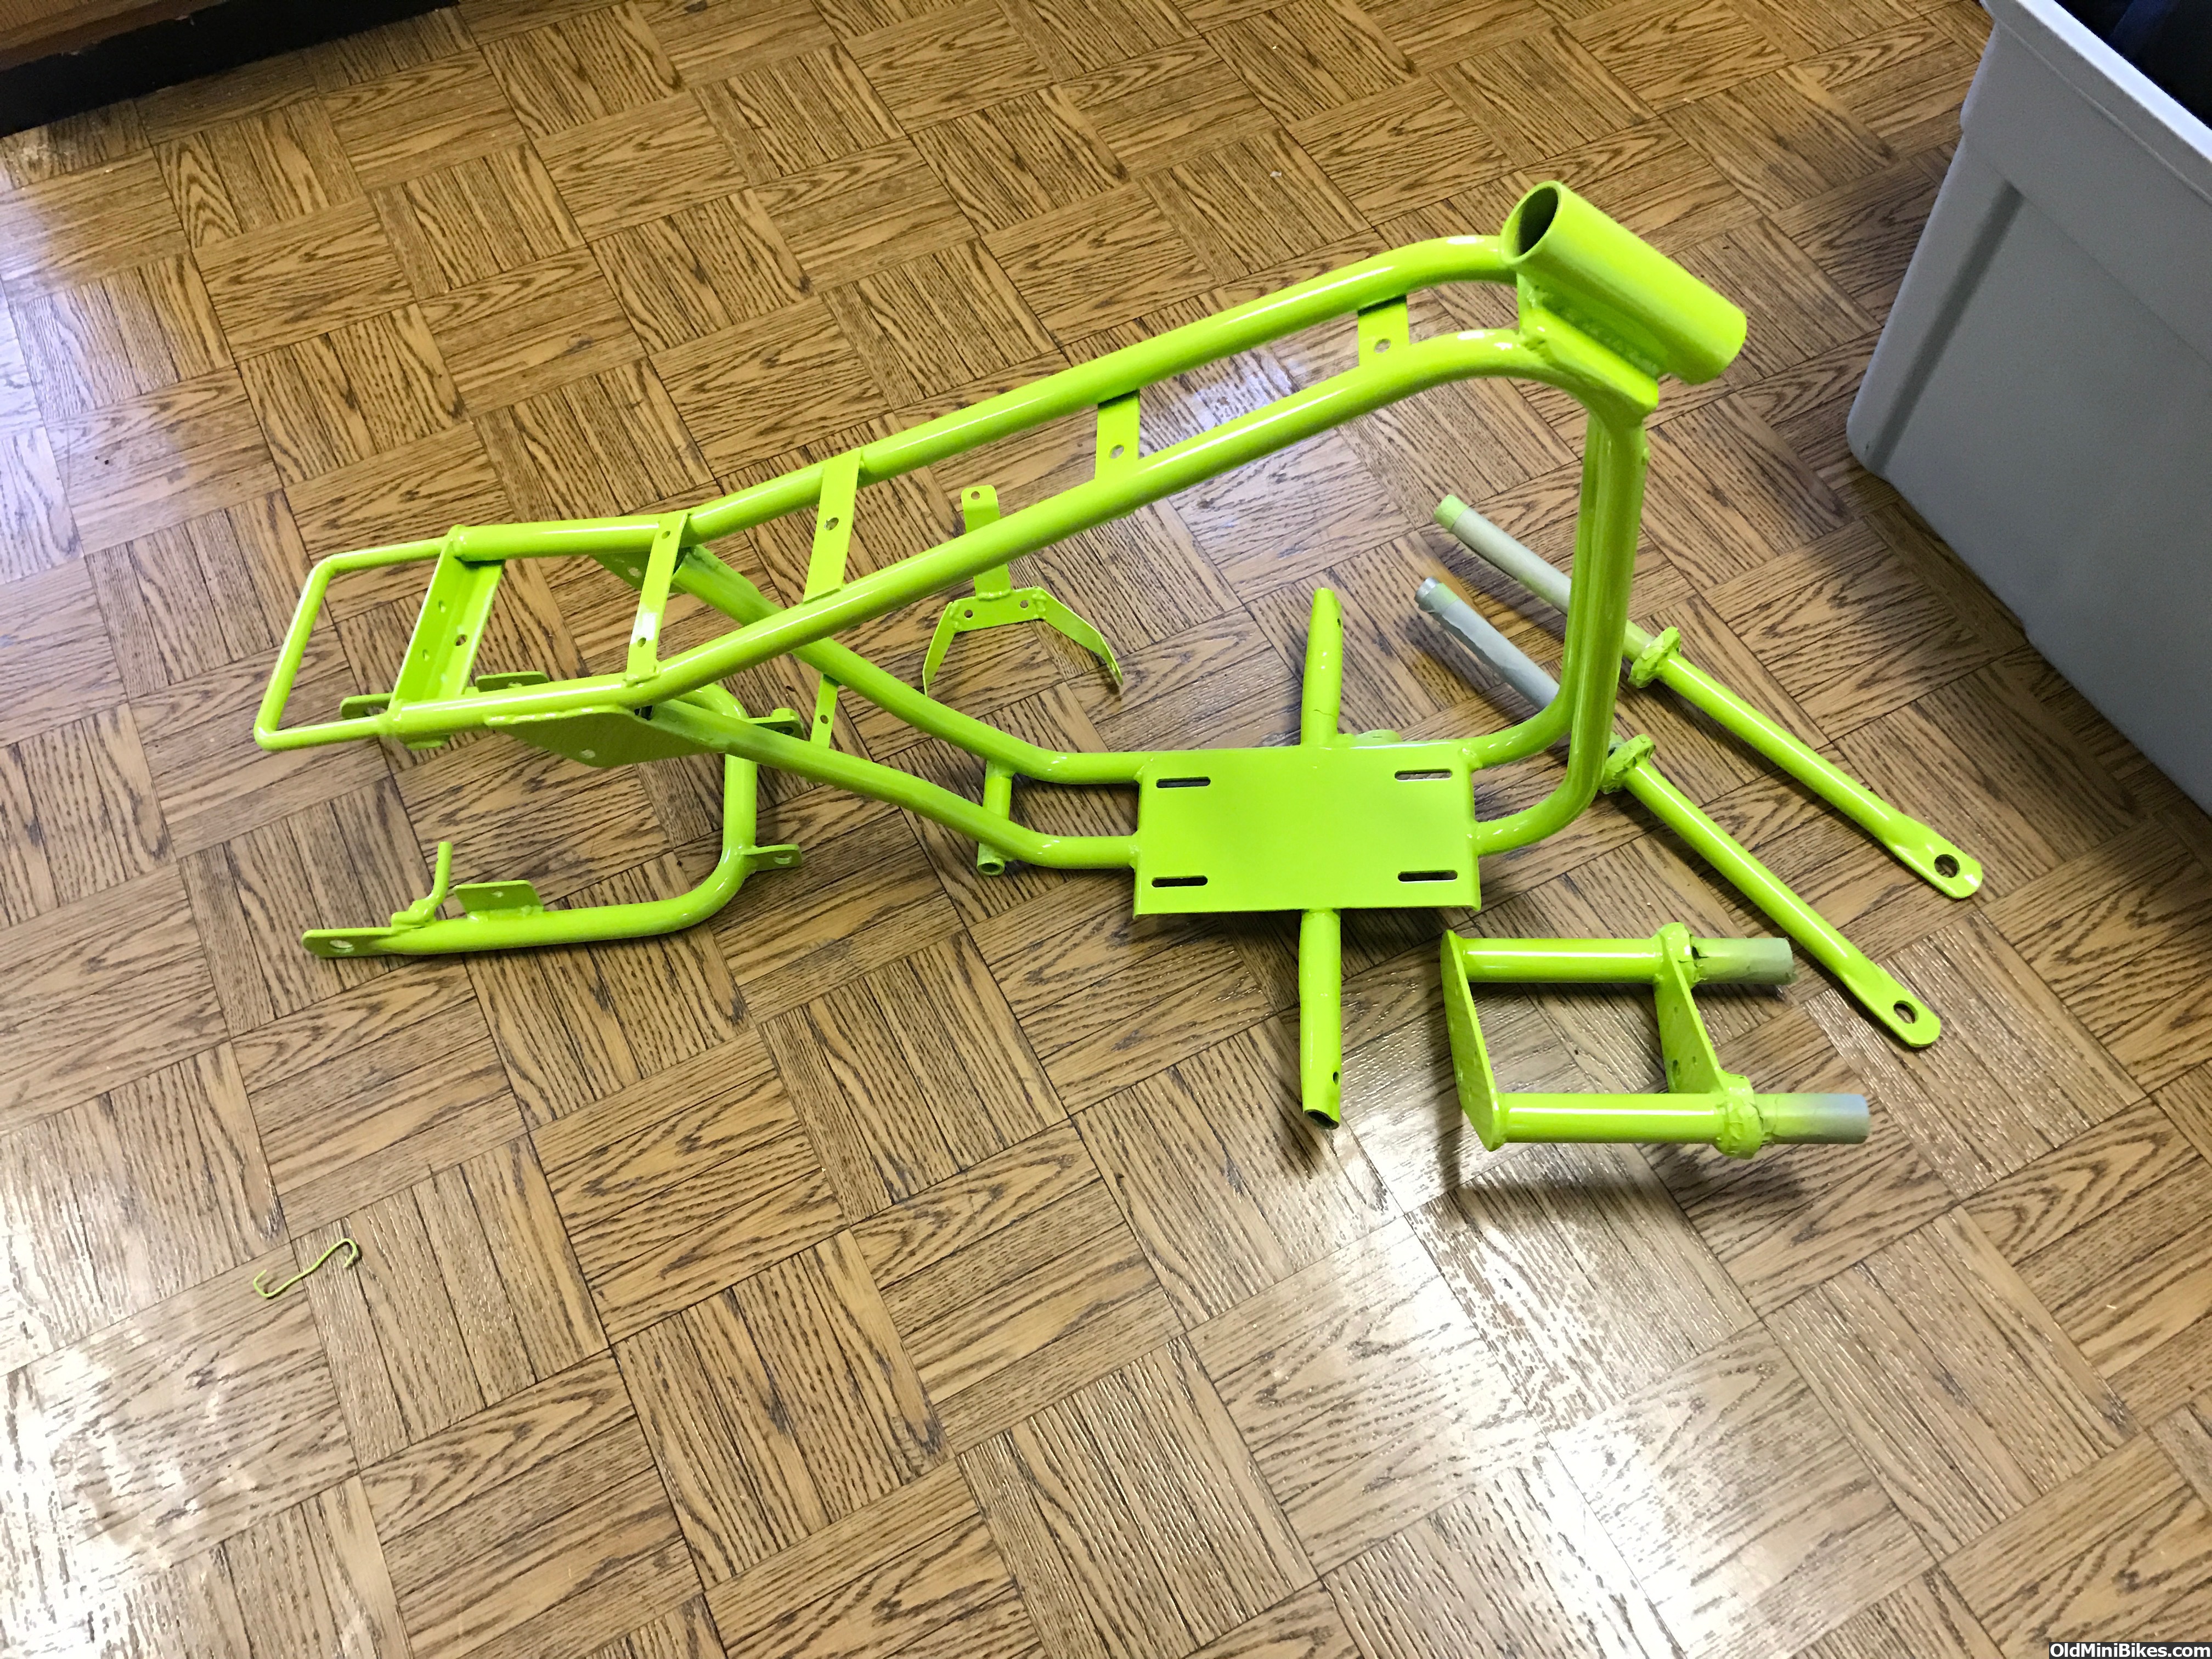
It will be blasted and painted the factory Sub Lime green color in base coat clear coat Urethane.
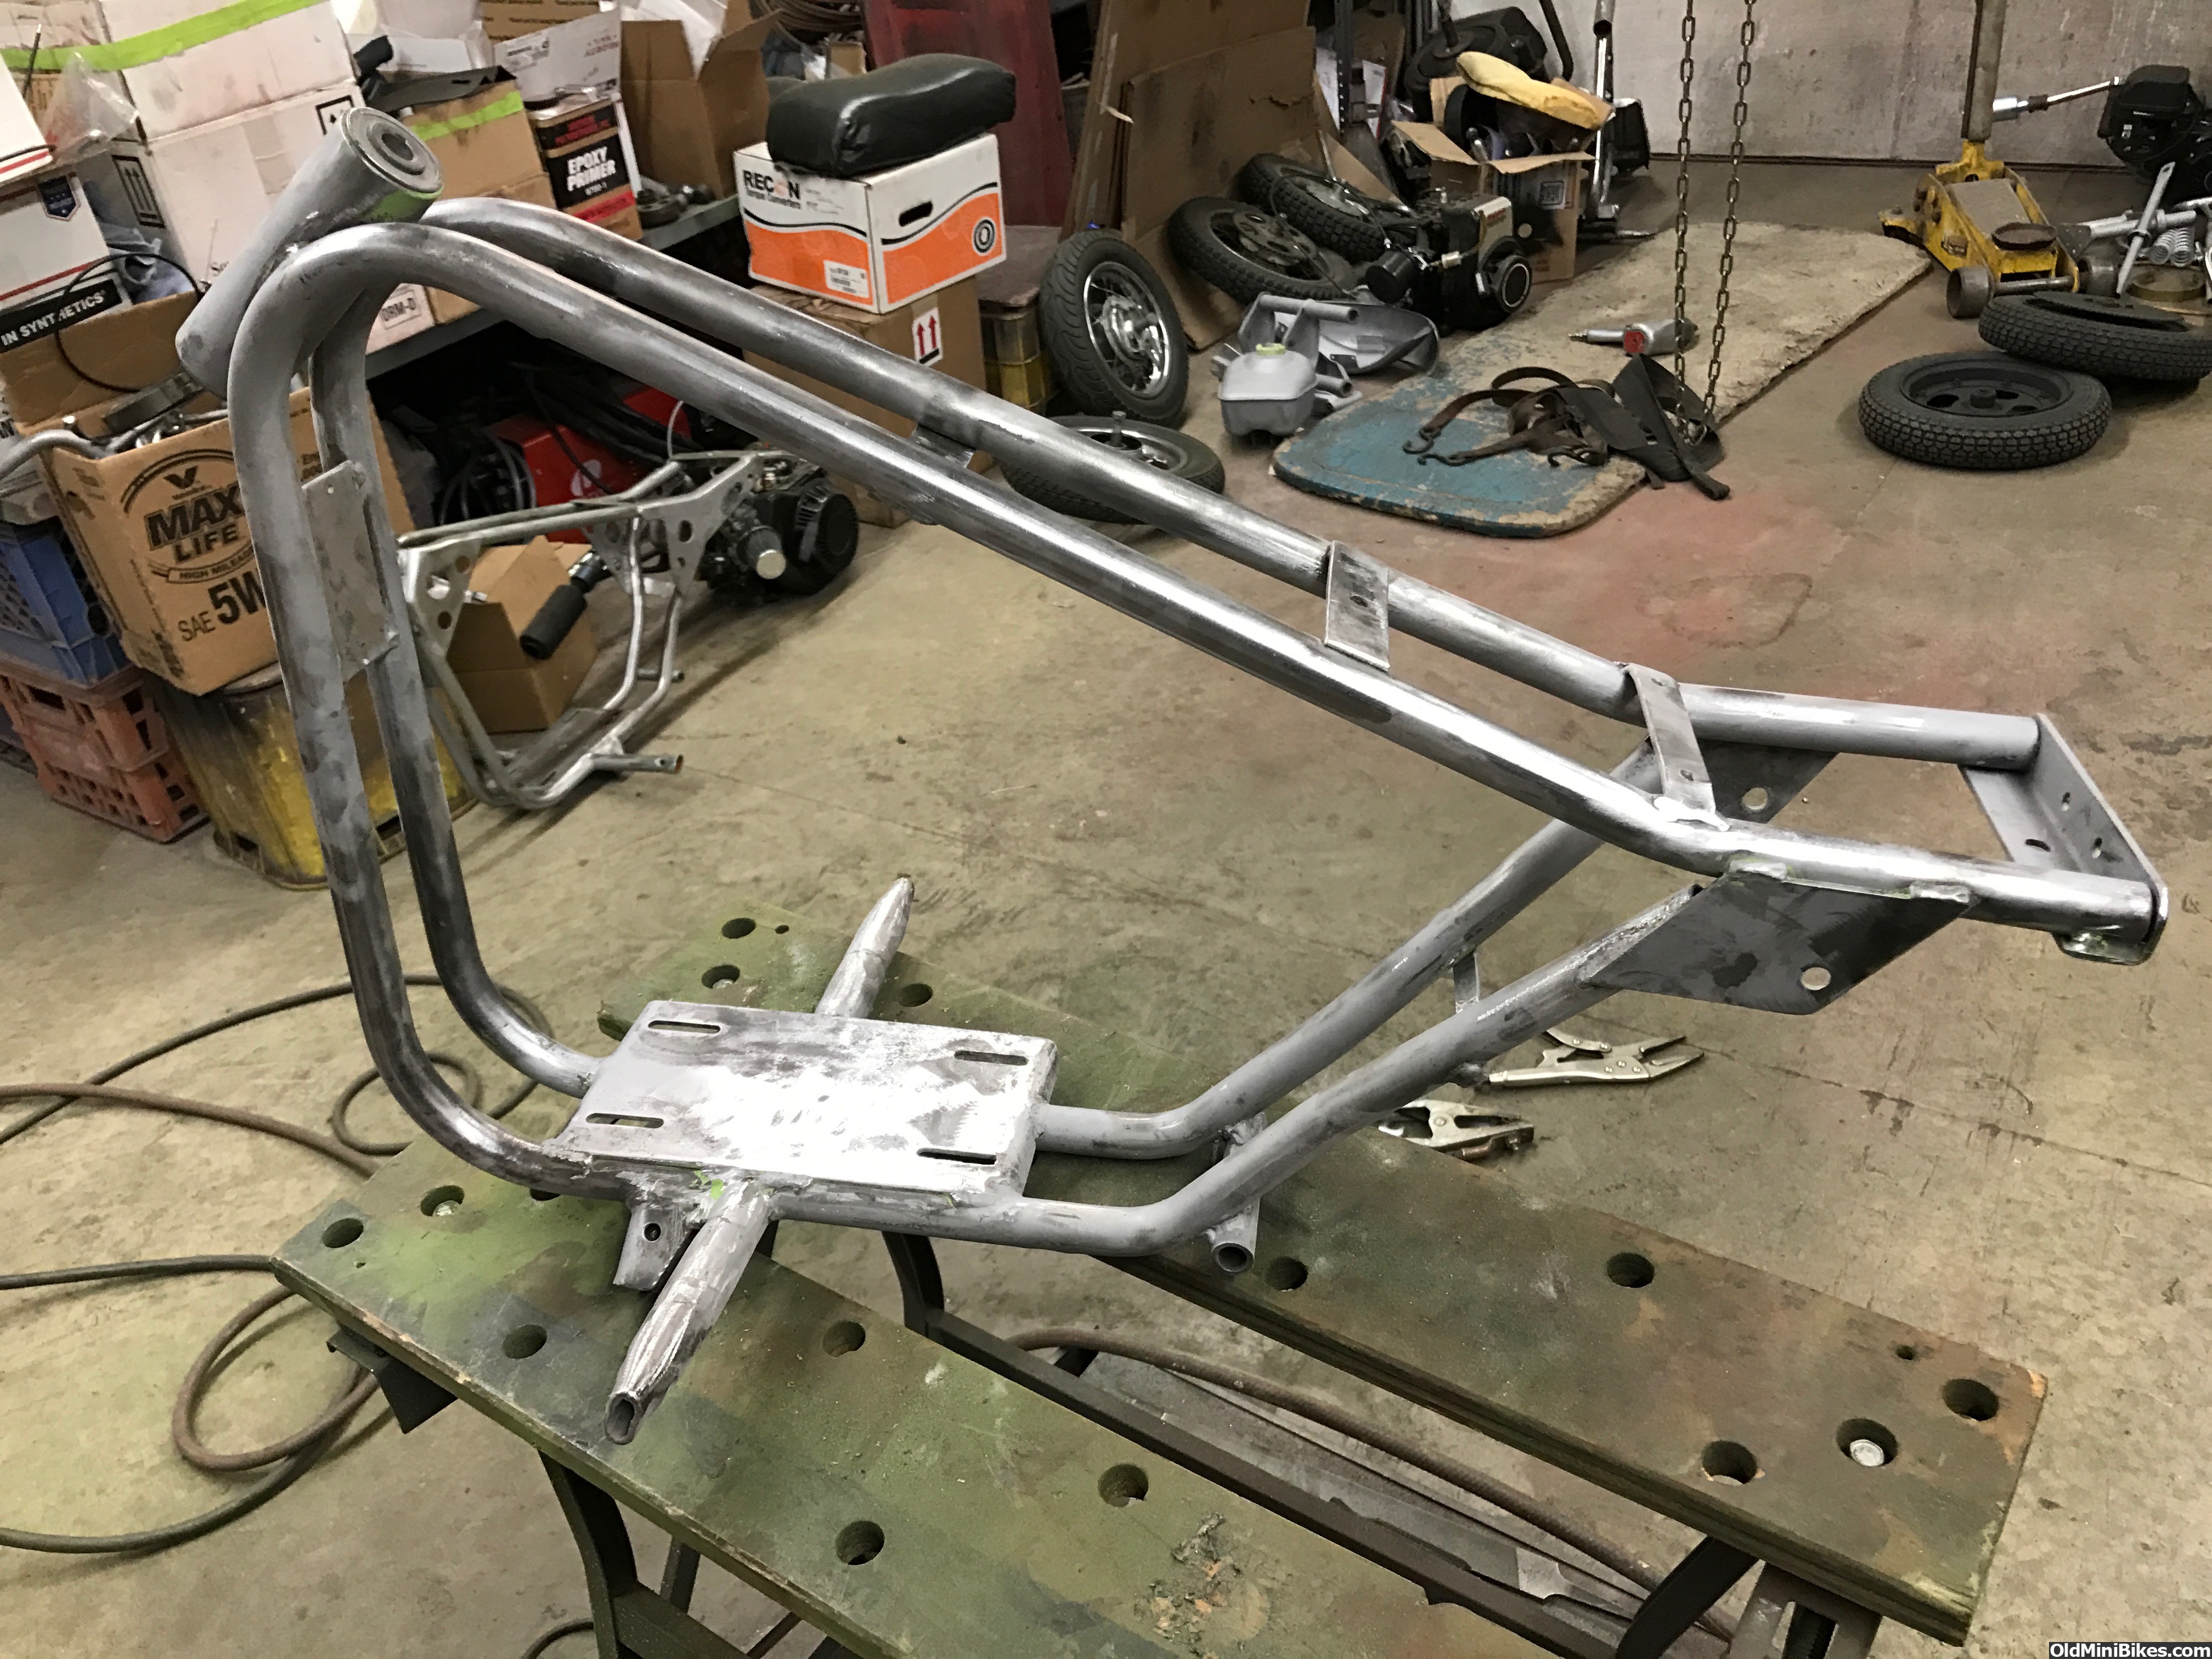
It has rear spring shocks but aren't shown in the picture.

This will be for sale after the build off is over along with other minibikes I have.

Danford1

Sears Green Streak Jan 17, 3 37 15 PM.jpg
 
Last edited:
#4
I finally got the car project done and I started working on my builds.
The first thing I did was add 2" to each foot peg. I cut the tubes, chamfered the ends 45 degrees and welded in extensions then ground the welds down.
Foot peg extensions.JPG

Next I mounted the torque-a-verter. I had to cut and modify the backing plate to get it to fit the frame.

Back plate mod.JPG

Then I installed the chain and found a big problem. With the suspension at full extension and the chain is tight, all is well. BUT When the suspension is compressed the chain gets Extremely loose. The swing arm pivot needs to move up higher.
Here are a couple pictures and a video showing the problem.

Swing arm down, chain tight.JPG Swing arm up, chain loose.JPG

Here is the link to the video on the problem.
https://vimeo.com/200768859?utm_sou...vimeo-cliptranscode-201504&utm_campaign=28749

I already cut the pivot tube off the frame and ground down all the welds. Tomorrow I'll mock things up and weld the pivot in the correct position.

Danford1
 
Last edited:
#7
I raised the rear swing arm pivot point. When you think about it, the optimum location is on the centerline of the rear axle and front sprocket when the suspension is at 1/2 it's travel. That way the chain will equally "loose" it both ends of the suspension travel.
I made a piece of bar stock that was exactly half of the shock travel. I bolted it in place then located the pivot on the centerline and tacked it in. I check the chain tension at full extension and full compression and the slack was equal. Seems just right :)
So I welded the pivot on permanently.

Here is a picture at full extension. Yes the chain looks loose in this pic but when this pic was taken, it wasn't adjusted. The engine mount bolts are just finger tight as the pic was just a mock up. When the chain is adjusted correctly, it doesn't look like it is sagging as much. Also at mid travel the chain is equal distant to the pivot point.

Danford1

File_000.jpeg
 
#9
I did a little work to it. I made a rear grab bar that goes behind the seat. I lined up the drive chain and sprockets and figured out what I'll do to make it turn sharper. He stock turning radius is gigantic.
Pictures will be posted soon.

Danford1
 
#10
I finished sand blasting, grinding and sanding the paint off the frame and front suspension parts. It was a long brutal day but I got it all down to bare metal. Now I want to alter the steering to get a tighter turning radius. The stock set up has a poor turning radius making it difficult to maneuver in tight places like turning it around in a garage ...

Danford1
 
#11
I started spraying Epoxy primer yesterday. I sprayed some parts for the Rupp Scrambler/Hustler and the Sears Green Streak. These same pictures and description will be in my other build thread.
I cleaned, taped and hung some parts and sprayed on a couple coats of SPI epoxy. I have to keep the heat on in the garage for 24 hours for it to cure. Then in another day or two I'll spray some 2K primer on them. When that cures I can start sanding it smooth for the
top coat of paint.

Danford1

 
#14
I got the roller put together. I have 4 minibikes in the build off. Once I get all of them at the roller stage, I'll start on the engines. I simply don't have room to do everything at once in my garage.

Danford1
 
#16
Not sure what it is about this bike, but out of all of your builds in this year's build off this one is probably my favorite.
Thank you. I like it too. The Orange Puddle Jumper is the same design but with bigger side plates on the frame. The Puddle Jumper may be my favorite of the bunch. It should be the fastest too with the Briggs OHV Animal engine on it. But. For some weird reason this Green Streak is special. Is it the name? Is it the color? Is it the unknown brand seat? Is it the "Sears Best" name? I don't know but I do know what you mean, there is Something about it...

I remember when I went to look at it when it was for sale. A 16ish year old owned it. It wasn't pretty with it's flat black paint. The brake were horrible. The chain wouldn't stay on. It had a thumb operated throttle lever. It had a Chinese engine on it. The muffler was broke off. etc. etc. But I Had to have it :)

I already bought a cam for it, billet flywheel, carb jet kit and made my own chrome header pipe for it. I also got a torque converter set up which caused me to re-locate the rear swing arm pivot to keep proper chain tension. It should be a really nice minibike when done.

Danford1
 
Last edited:
#18
Almost Done !
I mounted the engine and torque converter then started hooking up the throttle and brakes.
All I have left to do is mount a fuel pump and go for a ride :)
The ride part will have to wait. We got more snow yesterday and it is supposed to be cold for a few days so it won't be melting very fast.
Danford1

 
Last edited:
#20
Nice build! I bet that pivot point change will make it a whole new bike ride-wise. Is that the Mopar Sub Lime muscle car color? Either way its a great. color for a mini.
 
Top