Early 3HP Restoration/Hot-Rod

#1
Hi all,

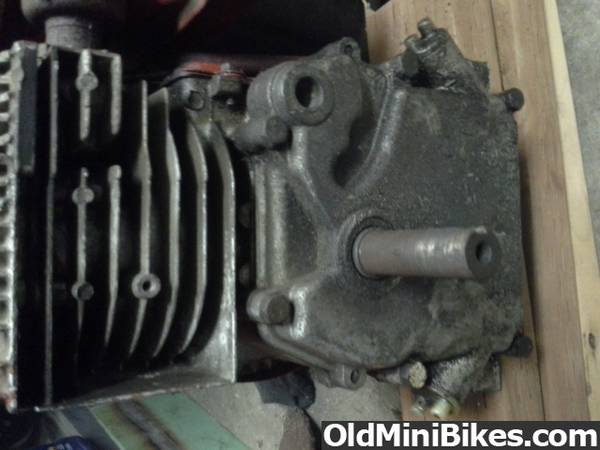
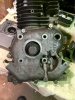
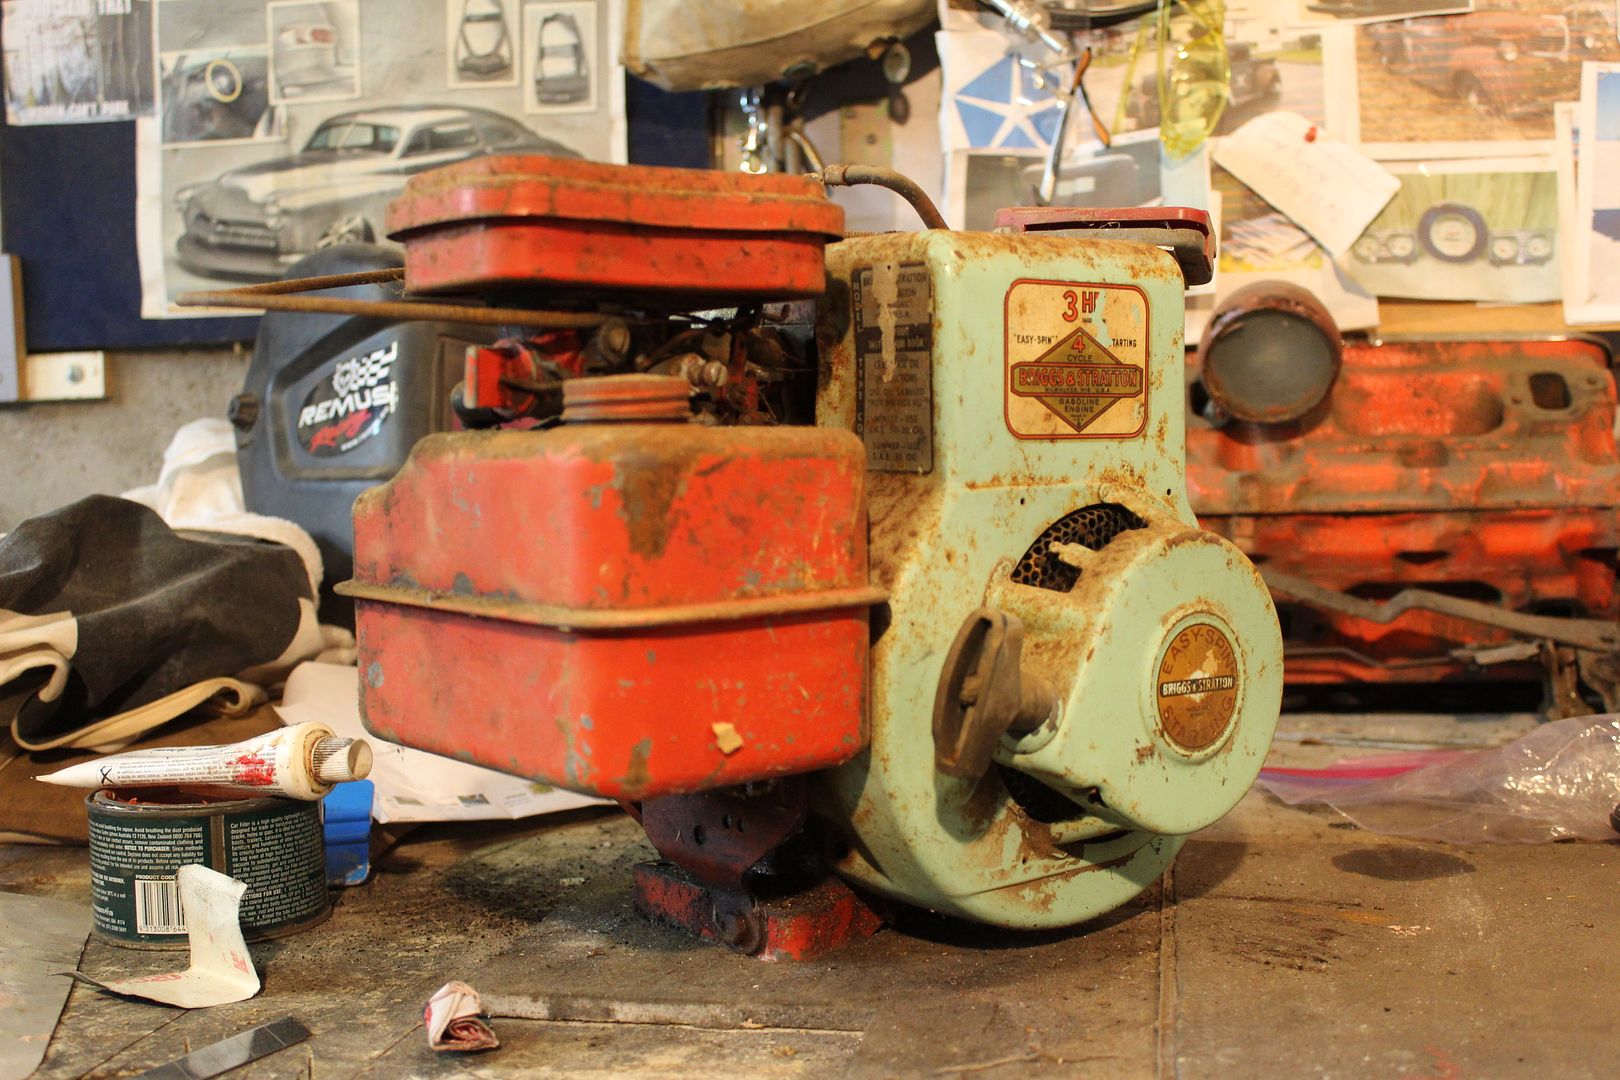
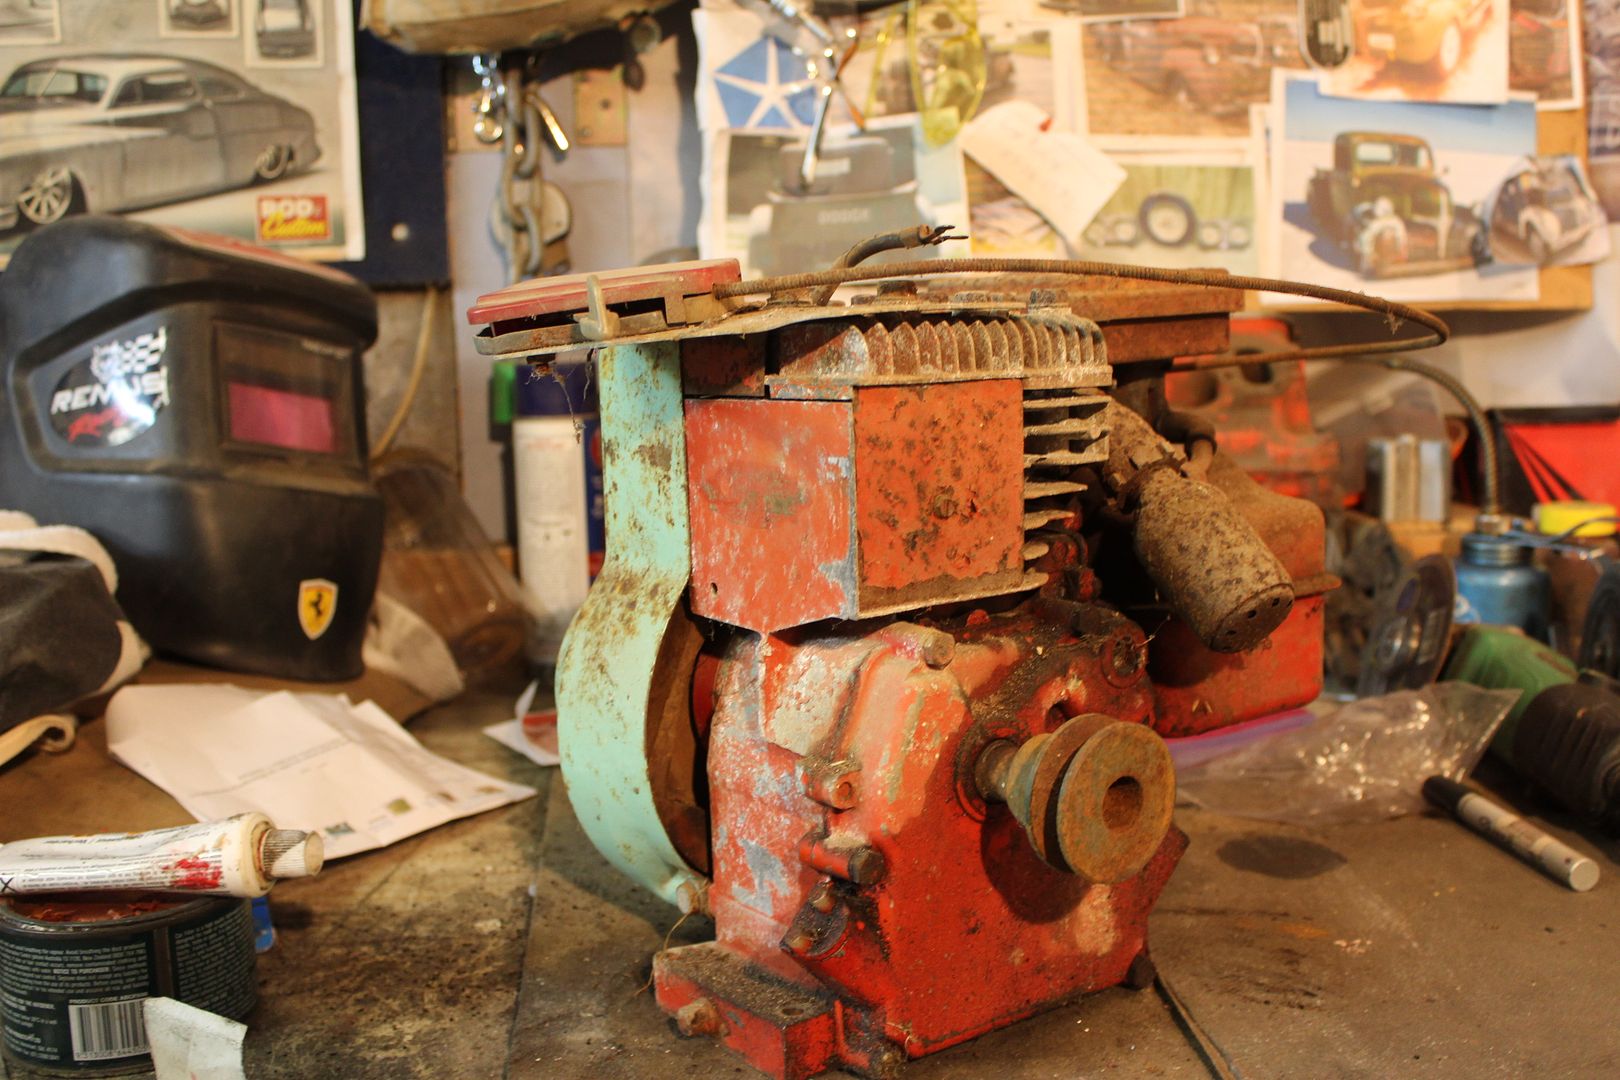
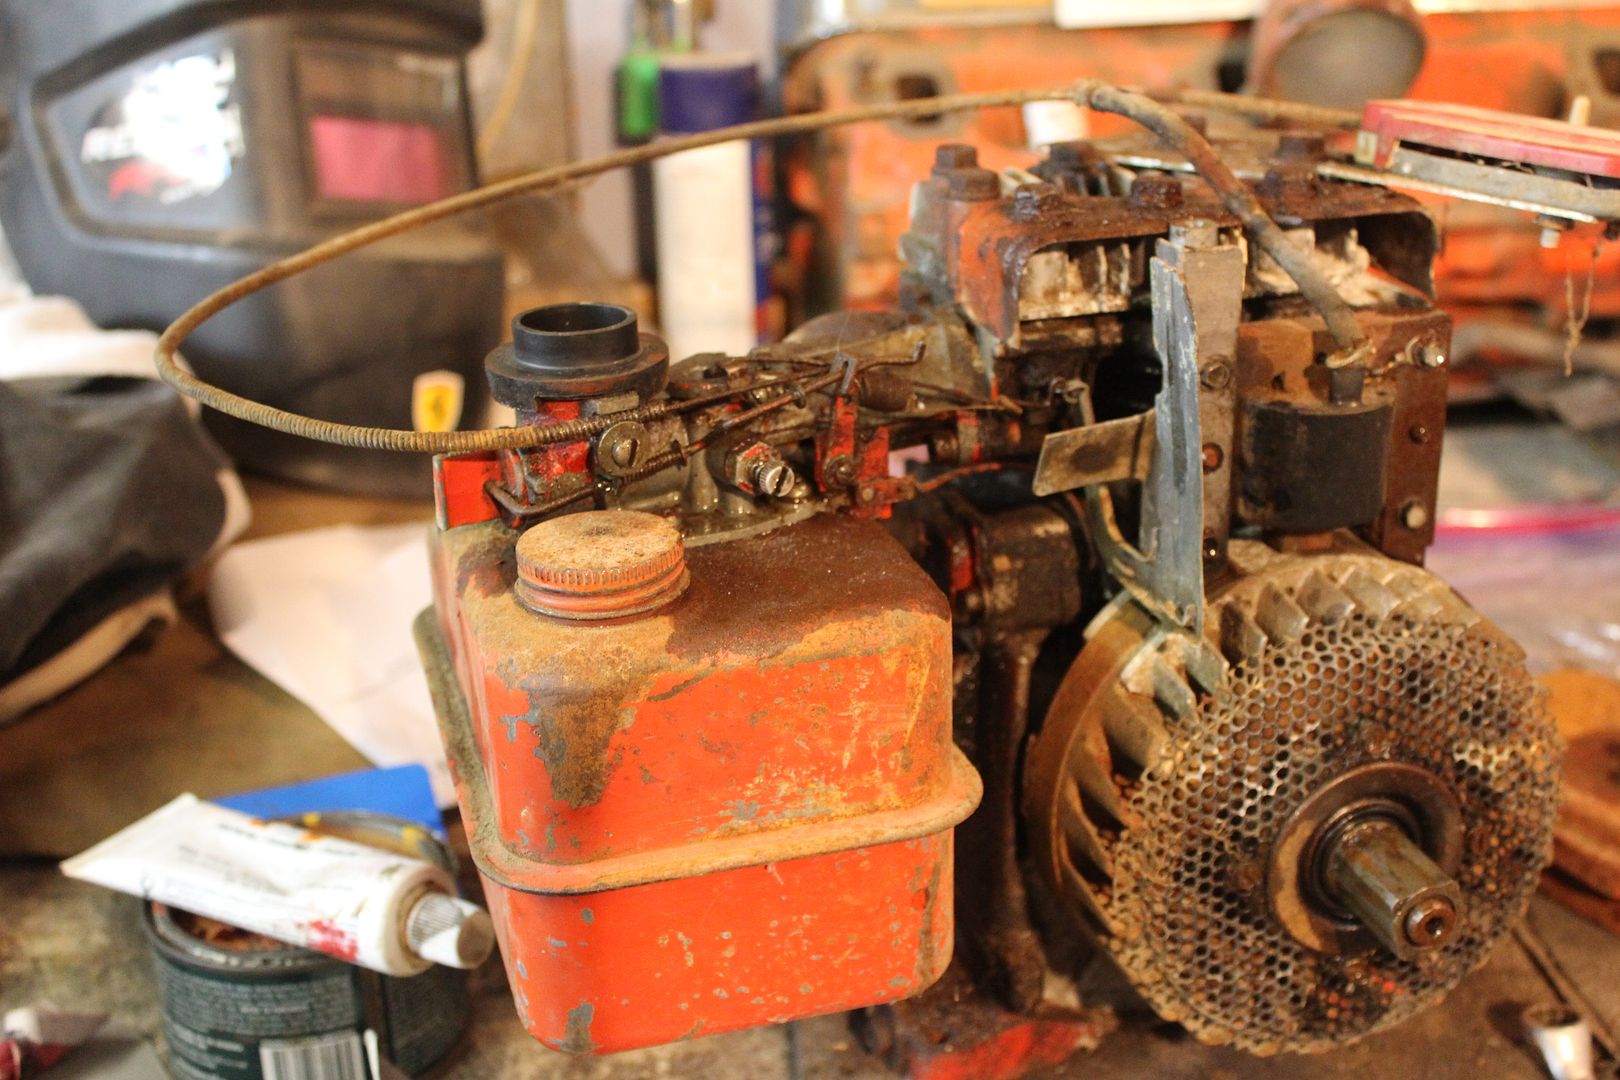
Received this old 3HP in the mail today. The engine is presumably one of the really early 3HP's in the 80000 series (kool bore) to come out. It has an aluminium bore (1958-1977), with the 3-leg coil, and decal on the side of the motor (barely). It also has a rare crankcase cover that would only release on early motors. It has an early type Pulsa Jet Carb that works surprisingly well. It is rare to see a 50-60s engine with a larger tank too. :thumbsup:

This motor has been sitting for 15-20 years in a shed, but it only took 30 minutes to fire it back up :laugh: A points clean was all it needed. Oh yeah, the shaft is too short for a clutch, so I will have to go on the lookout for another crank :no: (If anyone has one, 3/4 preferably with threads PM me).

I was planing on giving this motor the typical resto-job, but with different paint this time. I saw some of that Duplicolour Metalcast paint in red that I am really interested in using on this engine :thumbsup: It is quite metallic so it will sort of be a hod-rod paint job (I hope).

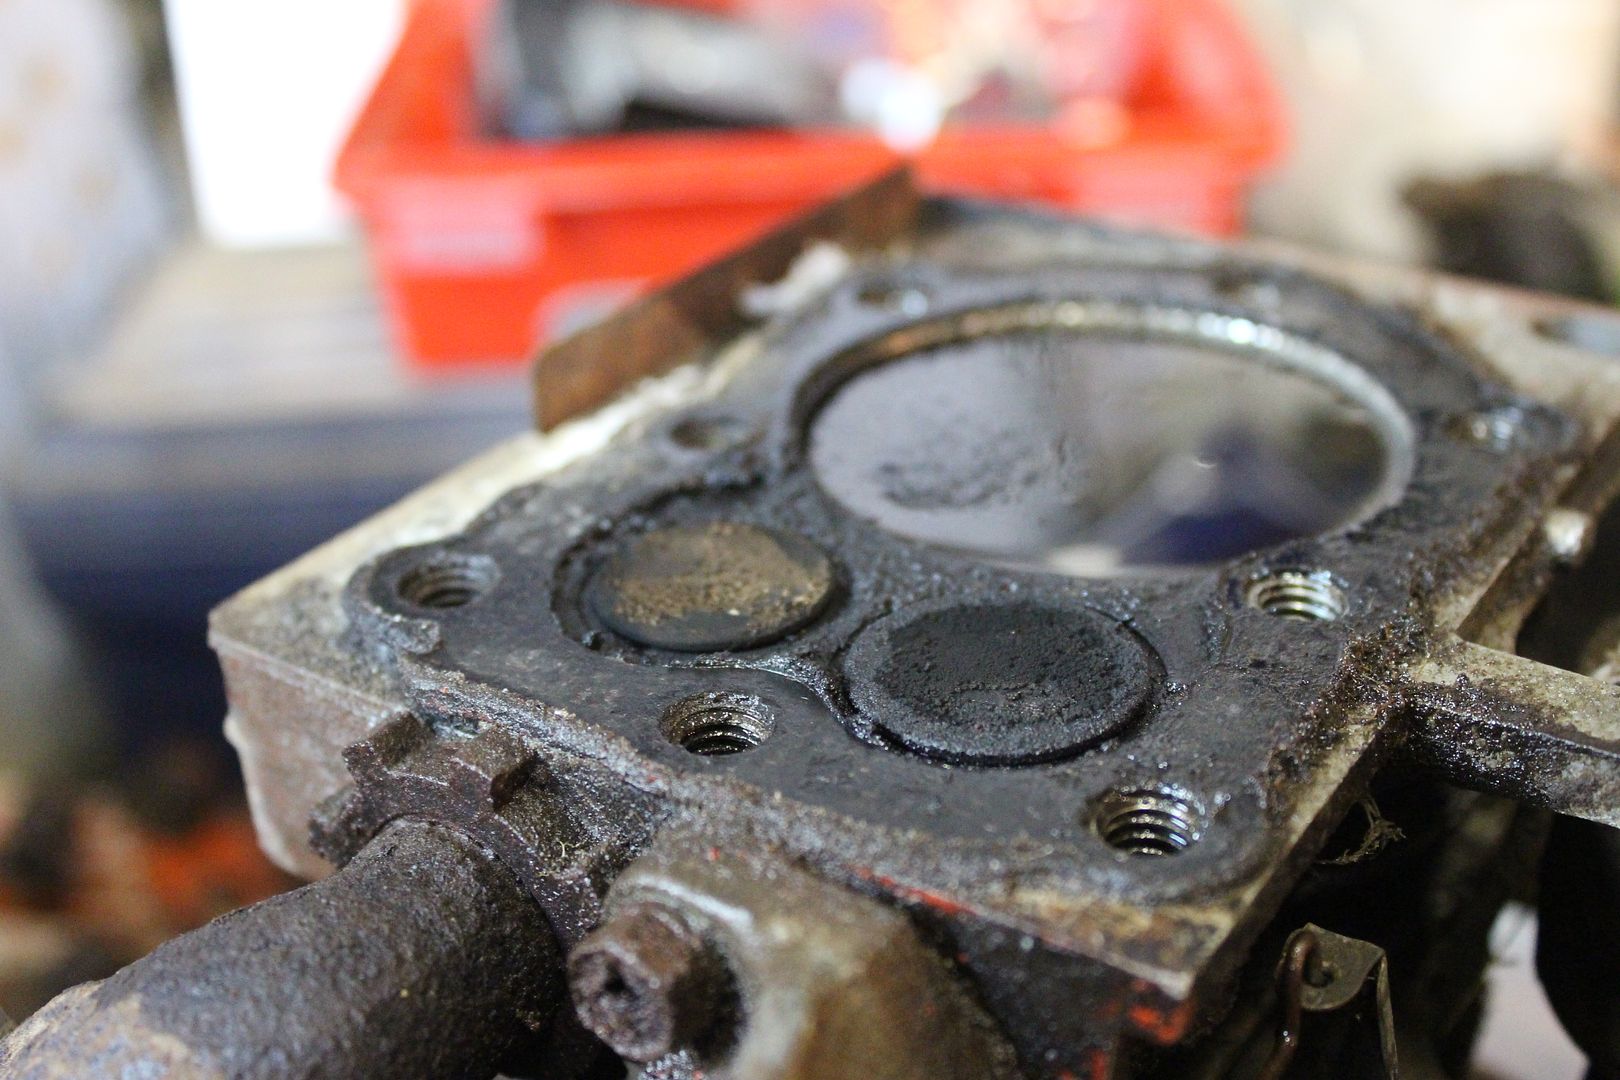
New piston rings are needed as it smokes some, and looking at the oil on top of the piston, it would be silly not to put new ones in.

I'm not sure whether to paint the block silver with red tins, or do the whole thing in metalcast...:hammer: The metalcast is good up to 500f so I'm not too afraid to do the whole engine. I'm wanting to retain the red colour, so whatever paint I go with would have to be red.

Let me know what you think.
-Jack


Last edited:

zeeman

Active Member
#2
That's gonna take some buffing out! I like the engine. Seems like they were put on edgers and other power equipment back then. I remember working on one as a youngster. The flat, square fin cover was cool.
 
#3
Same as the one I am rebuilding. Mine had a crankshaft that was threaded for a pump, so found another on Ebay, and it will go together soon.

At least you have the right throttle to hook it up.

Whats special about the crankcase cover?
 
#5
I managed to snap the exhaust off inside the engine (typical), but in a way that there was nothing sticking out of the exhaust port to grab onto...

... so after some thread destruction via a hammer and a screwdriver, I was able to pry the rusty remains of the 1/2 elbow out. :thumbsup: Luckily the thread still works good. I still want to use the classic little muffler on this engine, it's nice and quiet. I believe I have spotted a few on Tecumsehs.

I cleaned out the tank, which is still in very good nic for its age. The carb shows age but the pickups are clean. I am going to store this motor for a few weeks until I can afford a rebuild. Looking for a really cheap crank at the moment, but no luck on eBay :hammer:

Hopefully get more pics up sooner than later.

-Jack
 
Last edited:
#7
Did some inspecting today and found that it does not have an easy spin cam. This will hopefully bump compression amongst other things.

Also read on the forum that using dual exhaust valve springs will prevent valve float, true? Is it worth installing one?

I wanted to use original decals for this, but I just ordered typical 70s decals. Any decals make a Briggs look better, or else they just look plain.

I'm hoping to rebuild this soon :thumbsup:
 
#8
I tore it down today.

So far, I am very happy with this motor. The insides are very clean for it's age, and all of the tins are in great, dent free condition. I already have piston rings, so the next step is to clean everything off, bead blast it, paint it and re-assemble, that is, when I get a crank.

I plan to buy metalcast ground coat, then the red top coat. anyone have experience with this paint? How metallic is it? How deep is the red? Do I still require primer? :thumbsup:

Oh, and I'm also faced with the joyous task of replacing the recoil starter rope.

Stay tuned!

-Jack.....eo21


#9
I plan to buy metalcast ground coat, then the red top coat. anyone have experience with this paint? How metallic is it? How deep is the red? Do I still require primer? :thumbsup:
Several members here have used it, and in my opinion, it looks fabulous. How metallic it looks depends on your point of view. It looks more like a candy coat with a silver base coat. Preferable in my opinion. Yes, the base silver requires a primer. Go with a light gray, as it's easier to cover with the silver base. The depth of the red is directly related to how many coats you apply. If painting multiple pieces, keep track of the number of coats you use, so it looks the same when you assemble the engine.

Oh, and I'm also faced with the joyous task of replacing the recoil starter rope.
Once you do a few, it's not so bad. :laugh: Use two hand clamps to hold it in the "wound" position while you thread the starter cord and tie the knots. Be careful if the paint is soft, as you will damage it with the clamps. I use a rag, or paint it once it's together.

I am one of several who appreciates your posts and enjoys the updates. Keep it up, you're doing great.
 
#10
Thanks for that info, Havasu Dave, helpful stuff. I bought my paint today, and sprung for a dark grey VHT primer, that accepted 3 different paint types. Last question, do I need to leave the paint for 7 days for it to harden? An hour after I painted the gas tank I could handle it, but if you use your nail to scratch the paint it comes right off. Did I do something wrong here? Or do I wait the 7 days?

I found painting multiple pieces at once was a great way to get the same tone to each piece.

I also sandblasted a few parts, tidied up the block, and polished up the valves. Most likely no improvements there but they look better.

Tomorrow I will paint the shroud, head, block and air filter. I managed to get the rope replaced, and that was great fun! I had such a good time watching the spring keep popping out of place, and when it was nearly together, it just burst open and you have to start all over. Yeah, once you do a few you learn some tricks and find what works best.

Also, what is the best way to make my bolts shiny?

Here are pictures, enjoy them.

-Jack.....eo21

The Parts on their 2nd coat.


The carb and tank, just sitting together.
 
Last edited:
#11
Definitely give it full cure time. You need to get some two part urethane for that gas tank. It's clear paint. Remove carb and paint it. Otherwise the fuel will quickly eat the paint off, especially at the carb gasket area.
 
#12
Definitely give it full cure time. You need to get some two part urethane for that gas tank. It's clear paint. Remove carb and paint it. Otherwise the fuel will quickly eat the paint off, especially at the carb gasket area.
Dave is right--you need urethane on the tank and probably the shroud. If you look for "Son of Fur Ball" in project logs, you'll see how the candy red turns out with clear. You can get the Urethane from Eastwood.com. Eastwood 2K Urethane. It's $25 US and you'll need to invest in a mask/eye protection to spray it--about $35 US. DO NOT, UNDER ANY CIRCUMSTANCES, GET URETHANE AND SPRAY WITHOUT THE CORRECT MASK. Sorry for the caps, but that stuff is highly toxic.
 
#13
Dave is right--you need urethane on the tank and probably the shroud. If you look for "Son of Fur Ball" in project logs, you'll see how the candy red turns out with clear. You can get the Urethane from Eastwood.com. Eastwood 2K Urethane. It's $25 US and you'll need to invest in a mask/eye protection to spray it--about $35 US. DO NOT, UNDER ANY CIRCUMSTANCES, GET URETHANE AND SPRAY WITHOUT THE CORRECT MASK. Sorry for the caps, but that stuff is highly toxic.
Thanks a lot for the heads up, I would like to find some urethane locally to me. I will look out for some. I find that the carb to tank gasket always leaks. A thin bead of gasket sealer worked for the taco 3hp, but it isn't very tidy.

I threw the main painted bits on and put the engine in the corner with a towel over it for 7 days. The whole thing is cleared with Rustoleum gloss clear. That seems to work fine, but I will still find some urethane.

I forgot to make a hole in the shroud for a kill-switch, so I fabricated a stainless bracket for the side of the engine.

Here it is so far.


#16
You just made up my mind to do my next OHV Tecumseh in Metalcast red. Briggs looks great!:thumbsup: You can probably find the urethane at an auto body supply store. If you have a sprayer, you can mix it up and it has a decent pot life. Might even be cheaper to go that way and you'll be able to mix up batches when you need it.
 
Top