1970 SE WOODS BIKE (Canadian Fox Campus ?)

#1
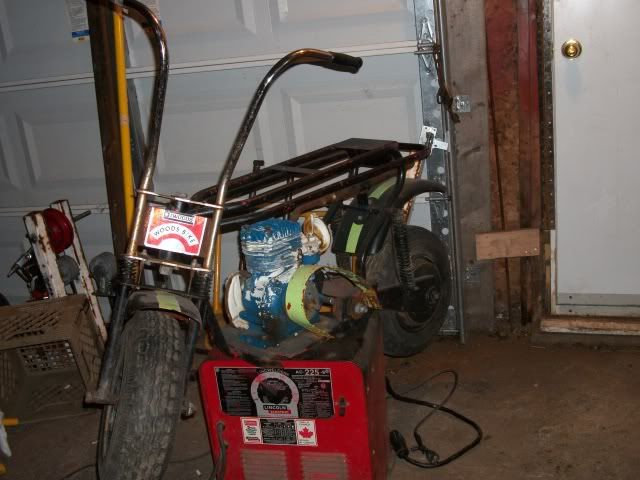
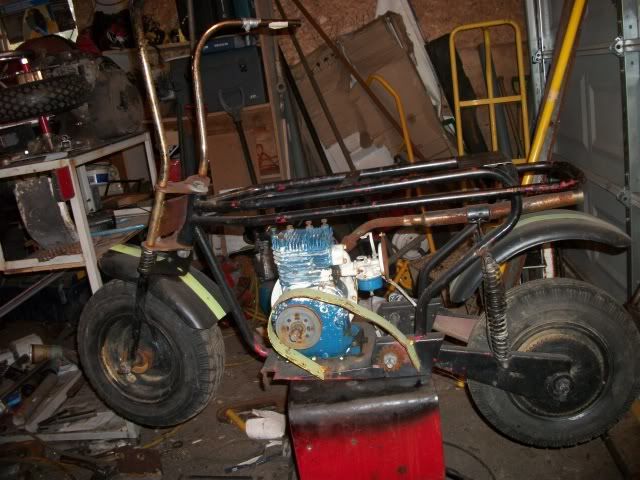
Time to start another build , this is SE Woods Bike , the frame looks very close to a fox campus bike with some subtle changes

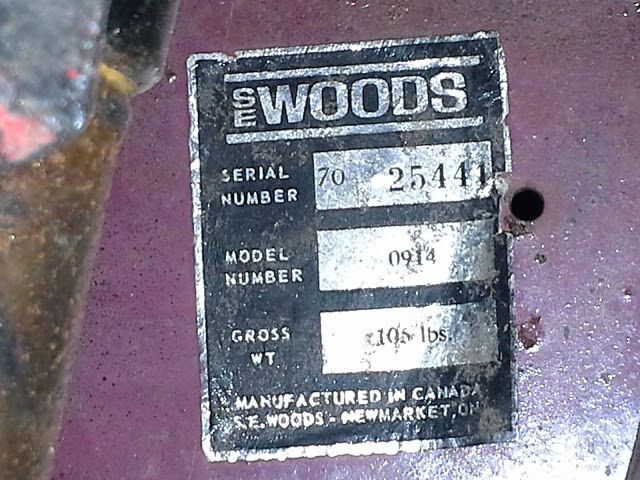
It may in fact have origins as a fox and been assembled , labled and distributed in Newmarket Ont. Canada

I have tried many searches on the web and it ends up back at OldMiniBikes and my pictures lol


As I found it a couple of years back
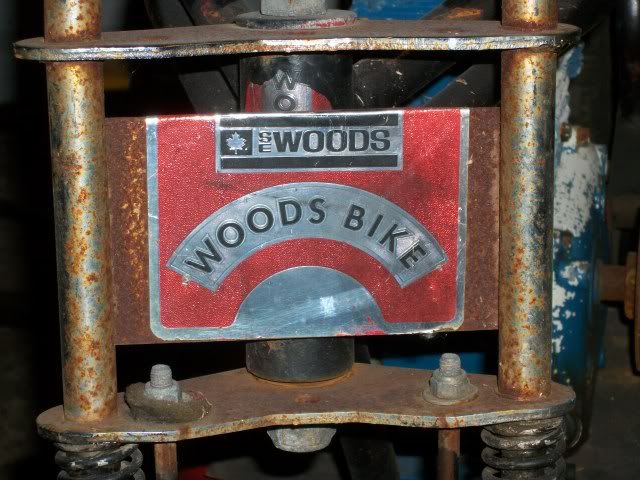


Front fork decal


Serial # tag


It has 8 inch wheels and band brakes front and rear

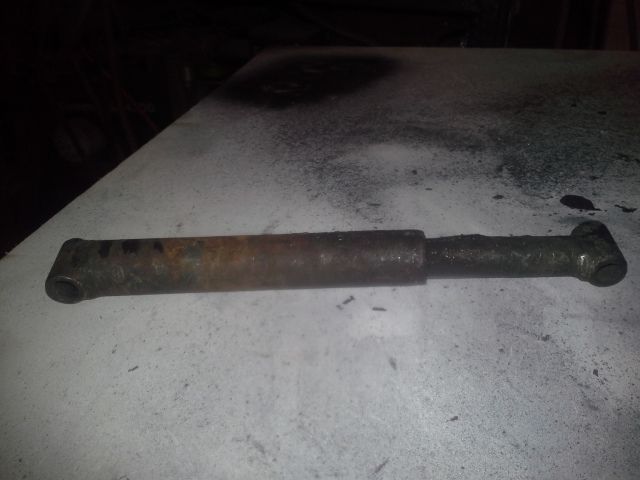
The rear suspension had some useless 9" internal spring shocks that were held together with coat hanger limiting straps

So a rebuild was in order lol

Originals


I started with some 1" tube , some 3/4" tube and some springs from home depot

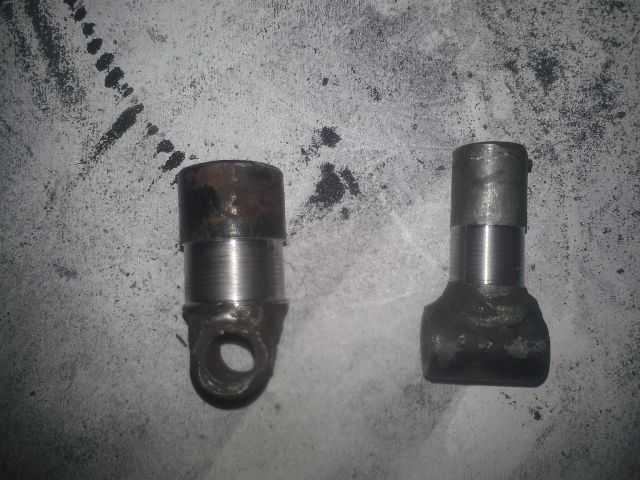
I cut the eyes of the old shocks turned them in the lathe and then cut off the stubs


The springs have one and a half coils cut off each end to be used as conectors


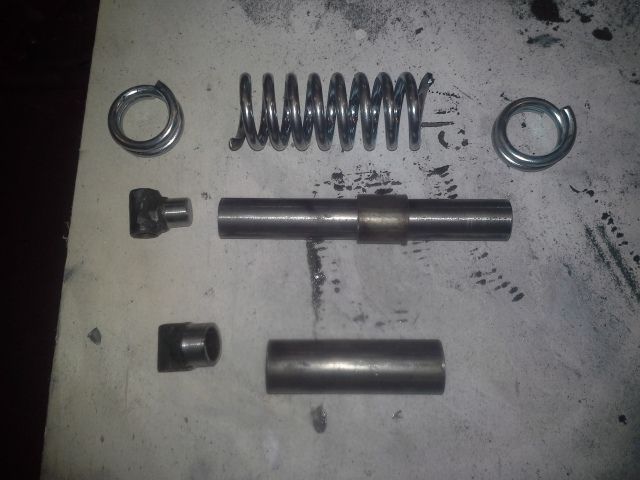
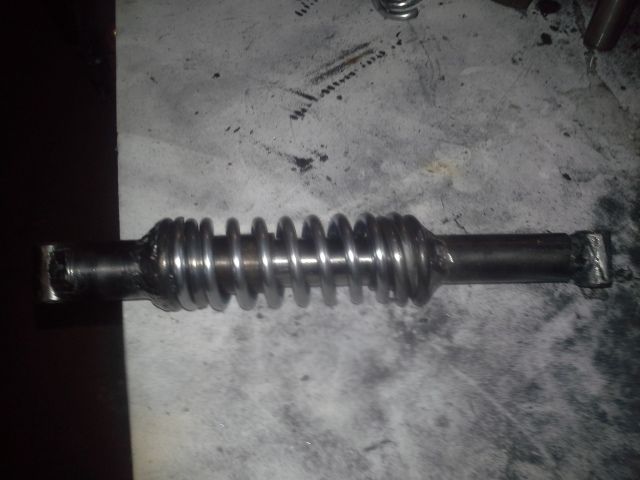
Welded the spring pieces
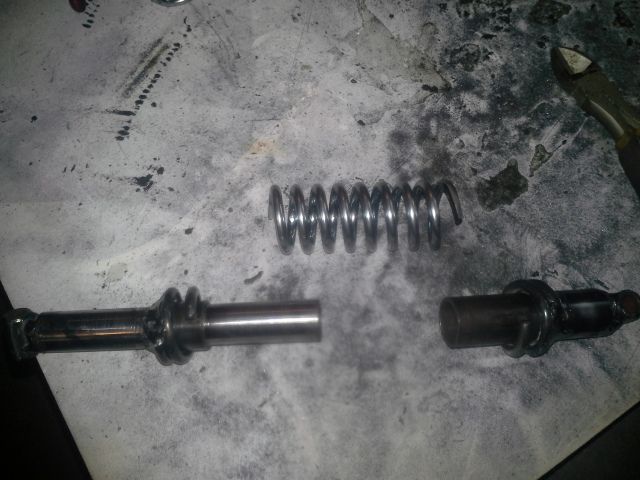

Test assembled


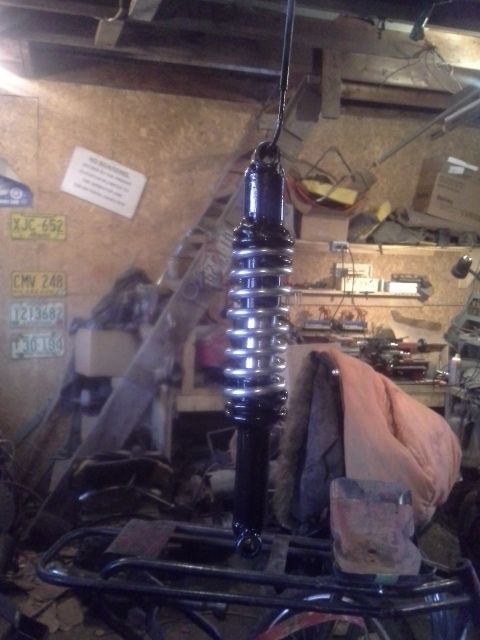
All painted just like mini 9" sebacs lol


I order a few things from OldMiniBikes , and some 2 3/4" band brakes from a model railway company that Marcus knew off

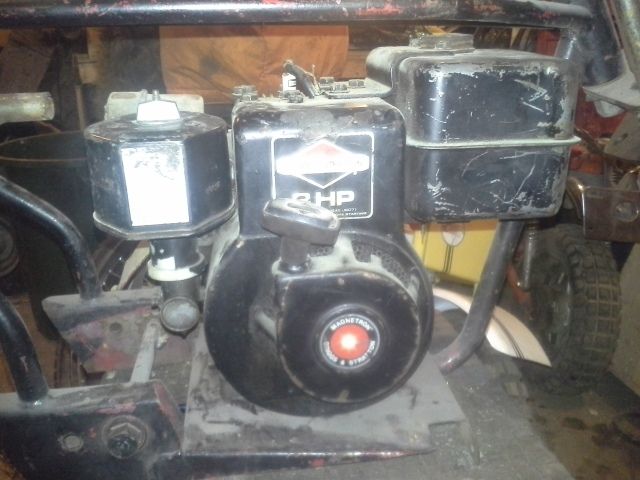
I have an older briggs 3hp that I plan to use on it , not sure of the year but it has the funky carb and air filter

 
#3
Interesting I'd forgotten what that one looked like. Have you decide on a color yet, or can you tell what it might have been? The way its going you could have all real mini bikes for Windber this year if you wanted. :thumbsup:
 

delray

Well-Known Member
#4
wow rob, bike is kind of crazy looking with the extra tubing. i wonder if that small 70 number in the serial is the year? thinking maybe yes...
 
#6
That's a cool bike Rob !

I saw my first of these SE Woods bikes on here recently, and had never heard of them.

I love it how some of the smaller manufacturers used frames from some of the bigger companies, built complete mini-bikes out of them, then re-branded them as their own :thumbsup:

Speaking of re-branded, someone came up with a re-branded Sensation MB-6 on here the other day, called a "Crestline"

Anyway Rob, I know you'll make this one nice again, and I look forward to seeing the transformation !
 
Last edited:
#7
Thanks guys

Today I sanded the front and rear fenders primed painted


Base color for stripe


Masking off stripes


Finish color


Masking removed


I will set them aside and clear coat them when I get a bit more ready
 
#9
Today I sanded the front and rear fenders primed painted
Man those look nice !

I am going to ask a newb question....yeah I know I've been on here a while, but I've not tried my hands at body work much...did a little wire brushing on my Mike Bike...very slow...wish I had a bead blaster. (I'd like to progress on mine, but have no clue...and always seem to have a different use for the $100 it would take to have it blasted and primed.)

My question Rob, when you say you sanded your fenders....
did you literally use sand paper, or wire brush, or what :shrug: ?

My second question, do you blast your frames, or do you 'sand' them also ?

Thank you Rob !
 
Last edited:
#10
Thanks

RobC re sanding/blasting

I do have a cabinet style sandblaster but it is to small and dificult to do frames in
I use it for rims etc.

For frames I degrease and preasure wash followed by scrapers wire brushes and then sand paper
If the old paint is still good I feather it back on the bad spots and leave the good( if it has lasted 40 years it will last another 40)

For fenders and other tins I use a random orbital sander with 120 grit discs

The easiest way I have found is to sit on a bucket , place an old towel across your knees and start sanding
Think the frame is next
 
Last edited:
#11
For frames I degrease and preasure wash followed by scrapers wire brushes and then sand paper
If the old paint is still good I feather it back on the bad spots and leave the good( if it has lasted 40 years it will last another 40)

For fenders and other tins I use a random orbital sander with 120 grit discs

The easiest way I have found is to sit on a bucket , place an old towel across your knees and start sanding
Think the frame is next
:thumbsup: I use paint stripper then do like you do. Except the bucket. I use my roller chair, so I can ensure all of the sanding dust ends up in my open container of adult beverage, Ipod, and electronics parts drawer.

That is a seriously good job at tape-out. Did you use an interim coat, or just get a good cure on the red base first? All those edges and not one lift. Heck yeah. :thumbsup:
 
#12
Thanks Dave , its not perfect but I was rushing lol
I used to work a lot with lacquer paints they were much easier


Got the frame stripped and found a few cracks that need to be welded


Fork lowers done

 
#14
I still have plenty more projects up in the loft lol

The trailer is plenty big ,17' long by 6' 3" high inside I could put in a platform and stack them twice as high lol

 
#15
Thats a sweet Canadian built mini and I like the 3hp B&S engine you plan on using.

I have a lead on a gold painted 1970 3hp Briggs but the seller wants way to much I think.

Does anyone know how many different colors Briggs and Stratton used to pain their engines back in the day?
 
#18
Hey Rob, nice looking bike. I was given one a few years back, that I was going to try putting closer to stock but I couldn't find out anything about these bikes and I just ended up making some changes with the Forks/Front Suspension, Handlebars and Pegs and beefing up some of the weaker points that I found on the bike (rear shock mounts were on a 45 degree angle when I got it and there were stress cracks on some of the welds). I finished it and then we rode them around on the trails near my place for the next couple of years. It was a really nice ride, The suspension seemed to do its job after I figured out the shocks, But even on mild dirt trails and open fields I noticed the engine mount was constantly cracking on me and I kept having to reinforce it with tube and such. the other thing was the gearing, even with a 5.5 Honda it always seemed to be geared wrong and was never able to find a small enough sprocket for the clutch to jackshaft.
 
#19
Did a bunch on repair work on the frame , fabbed up new footpegs and primed and painted


The tires and rims were in great shape so I didn't bother to break them down just sand blasted masked and painted just need a little scrubing with thinner


Then a loose assembley for a look lol


The bars cleaned up good but the centre section was in bad shape so it was blasted primed and painted to match the rims

Started pulling the engine apart for cleaning and paint
 
Last edited:
Top