Hi,
Just wanted to share my madness with a group of understanding compatriots!
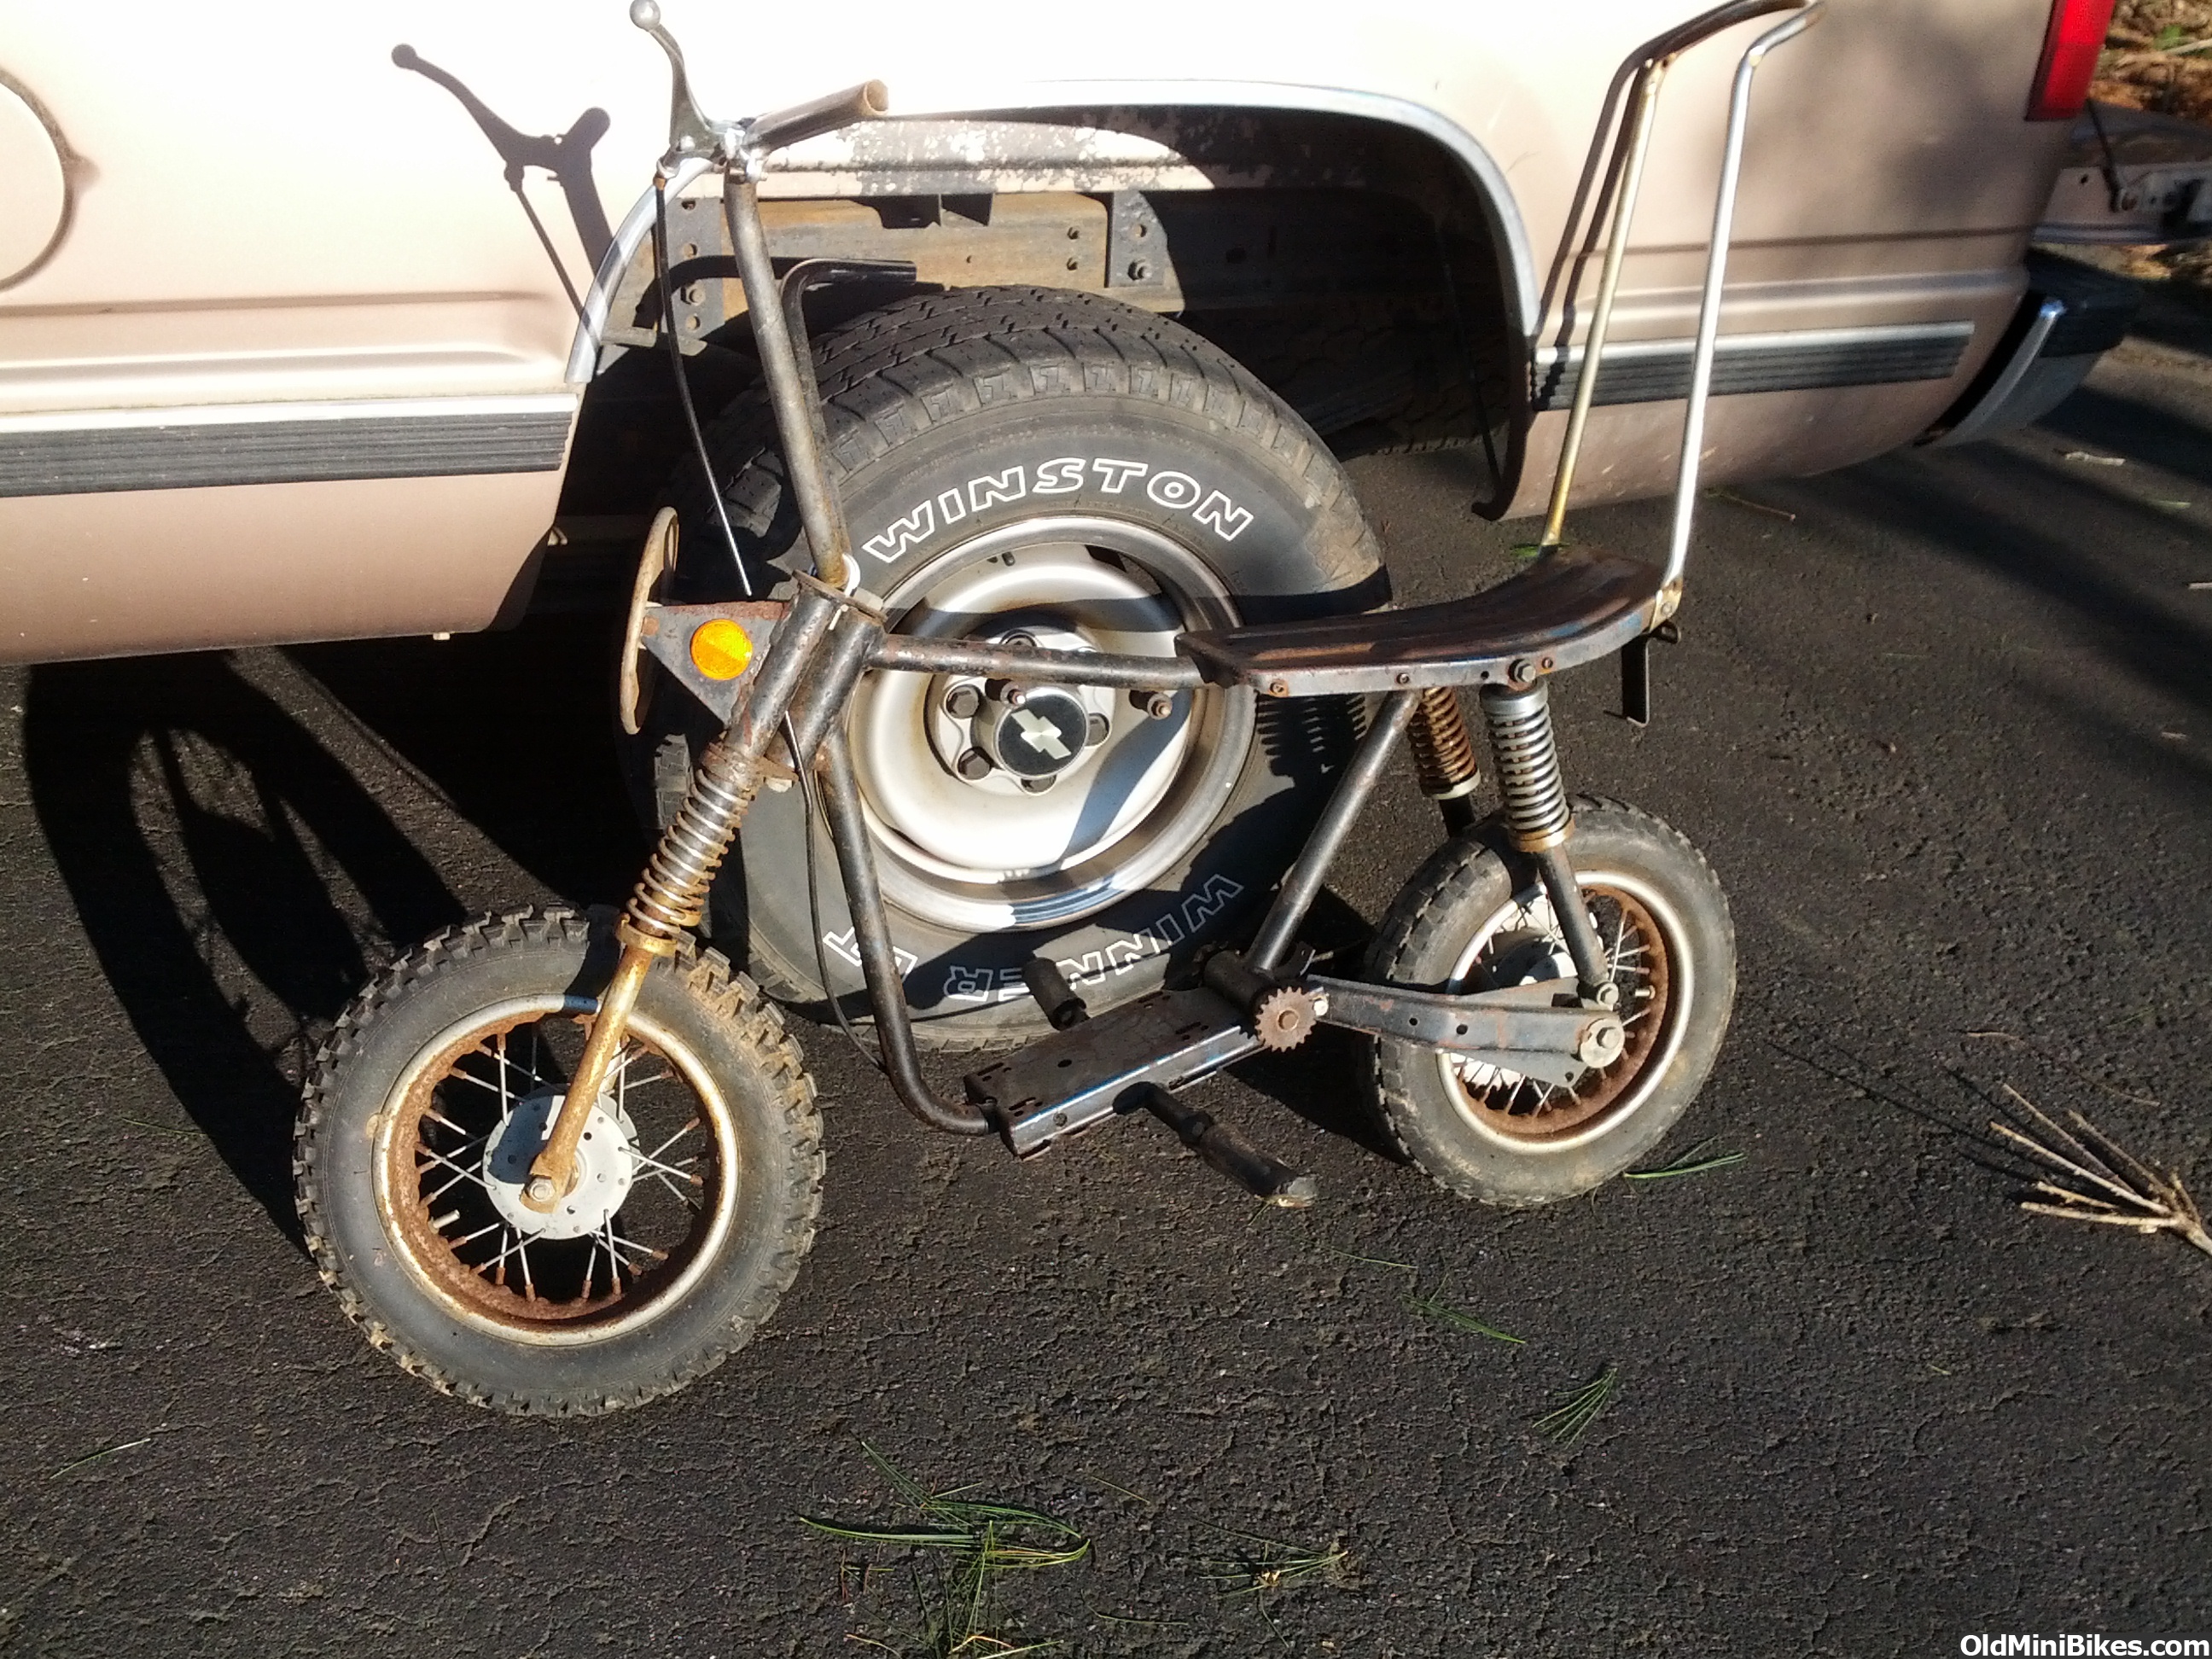
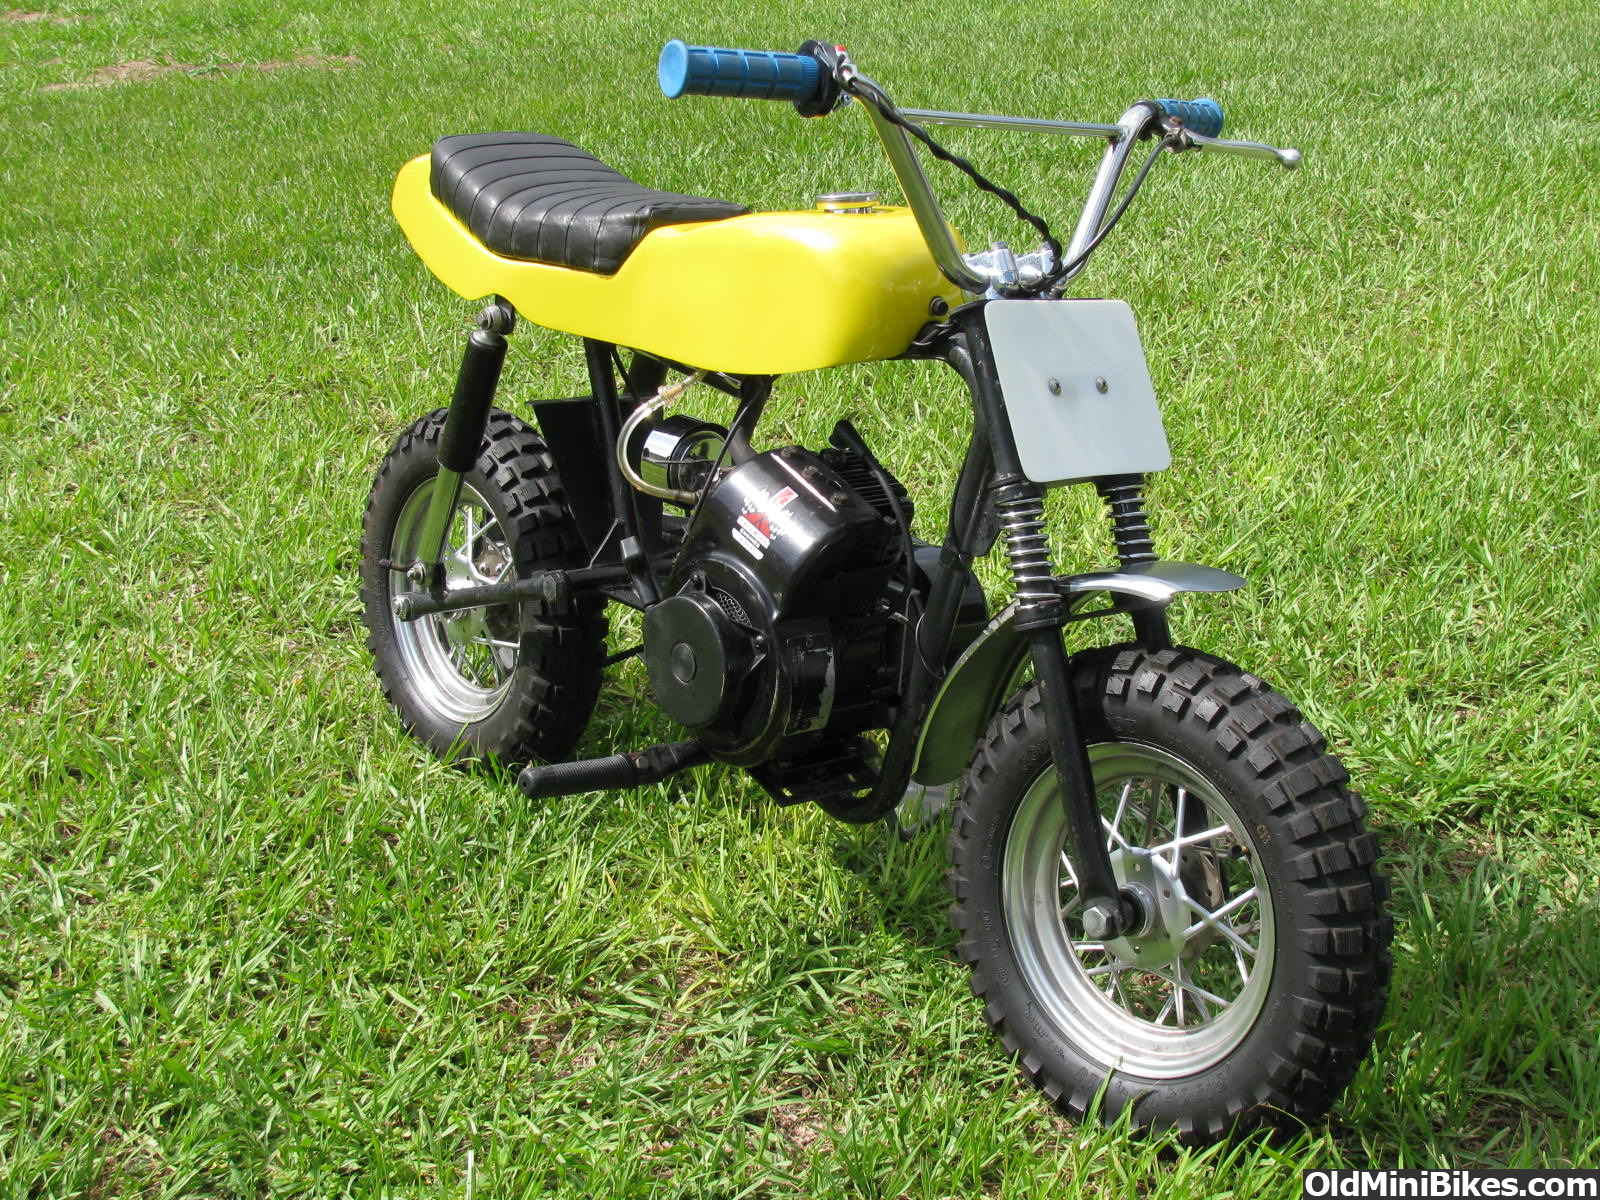
This is my second Scrambler restoration.
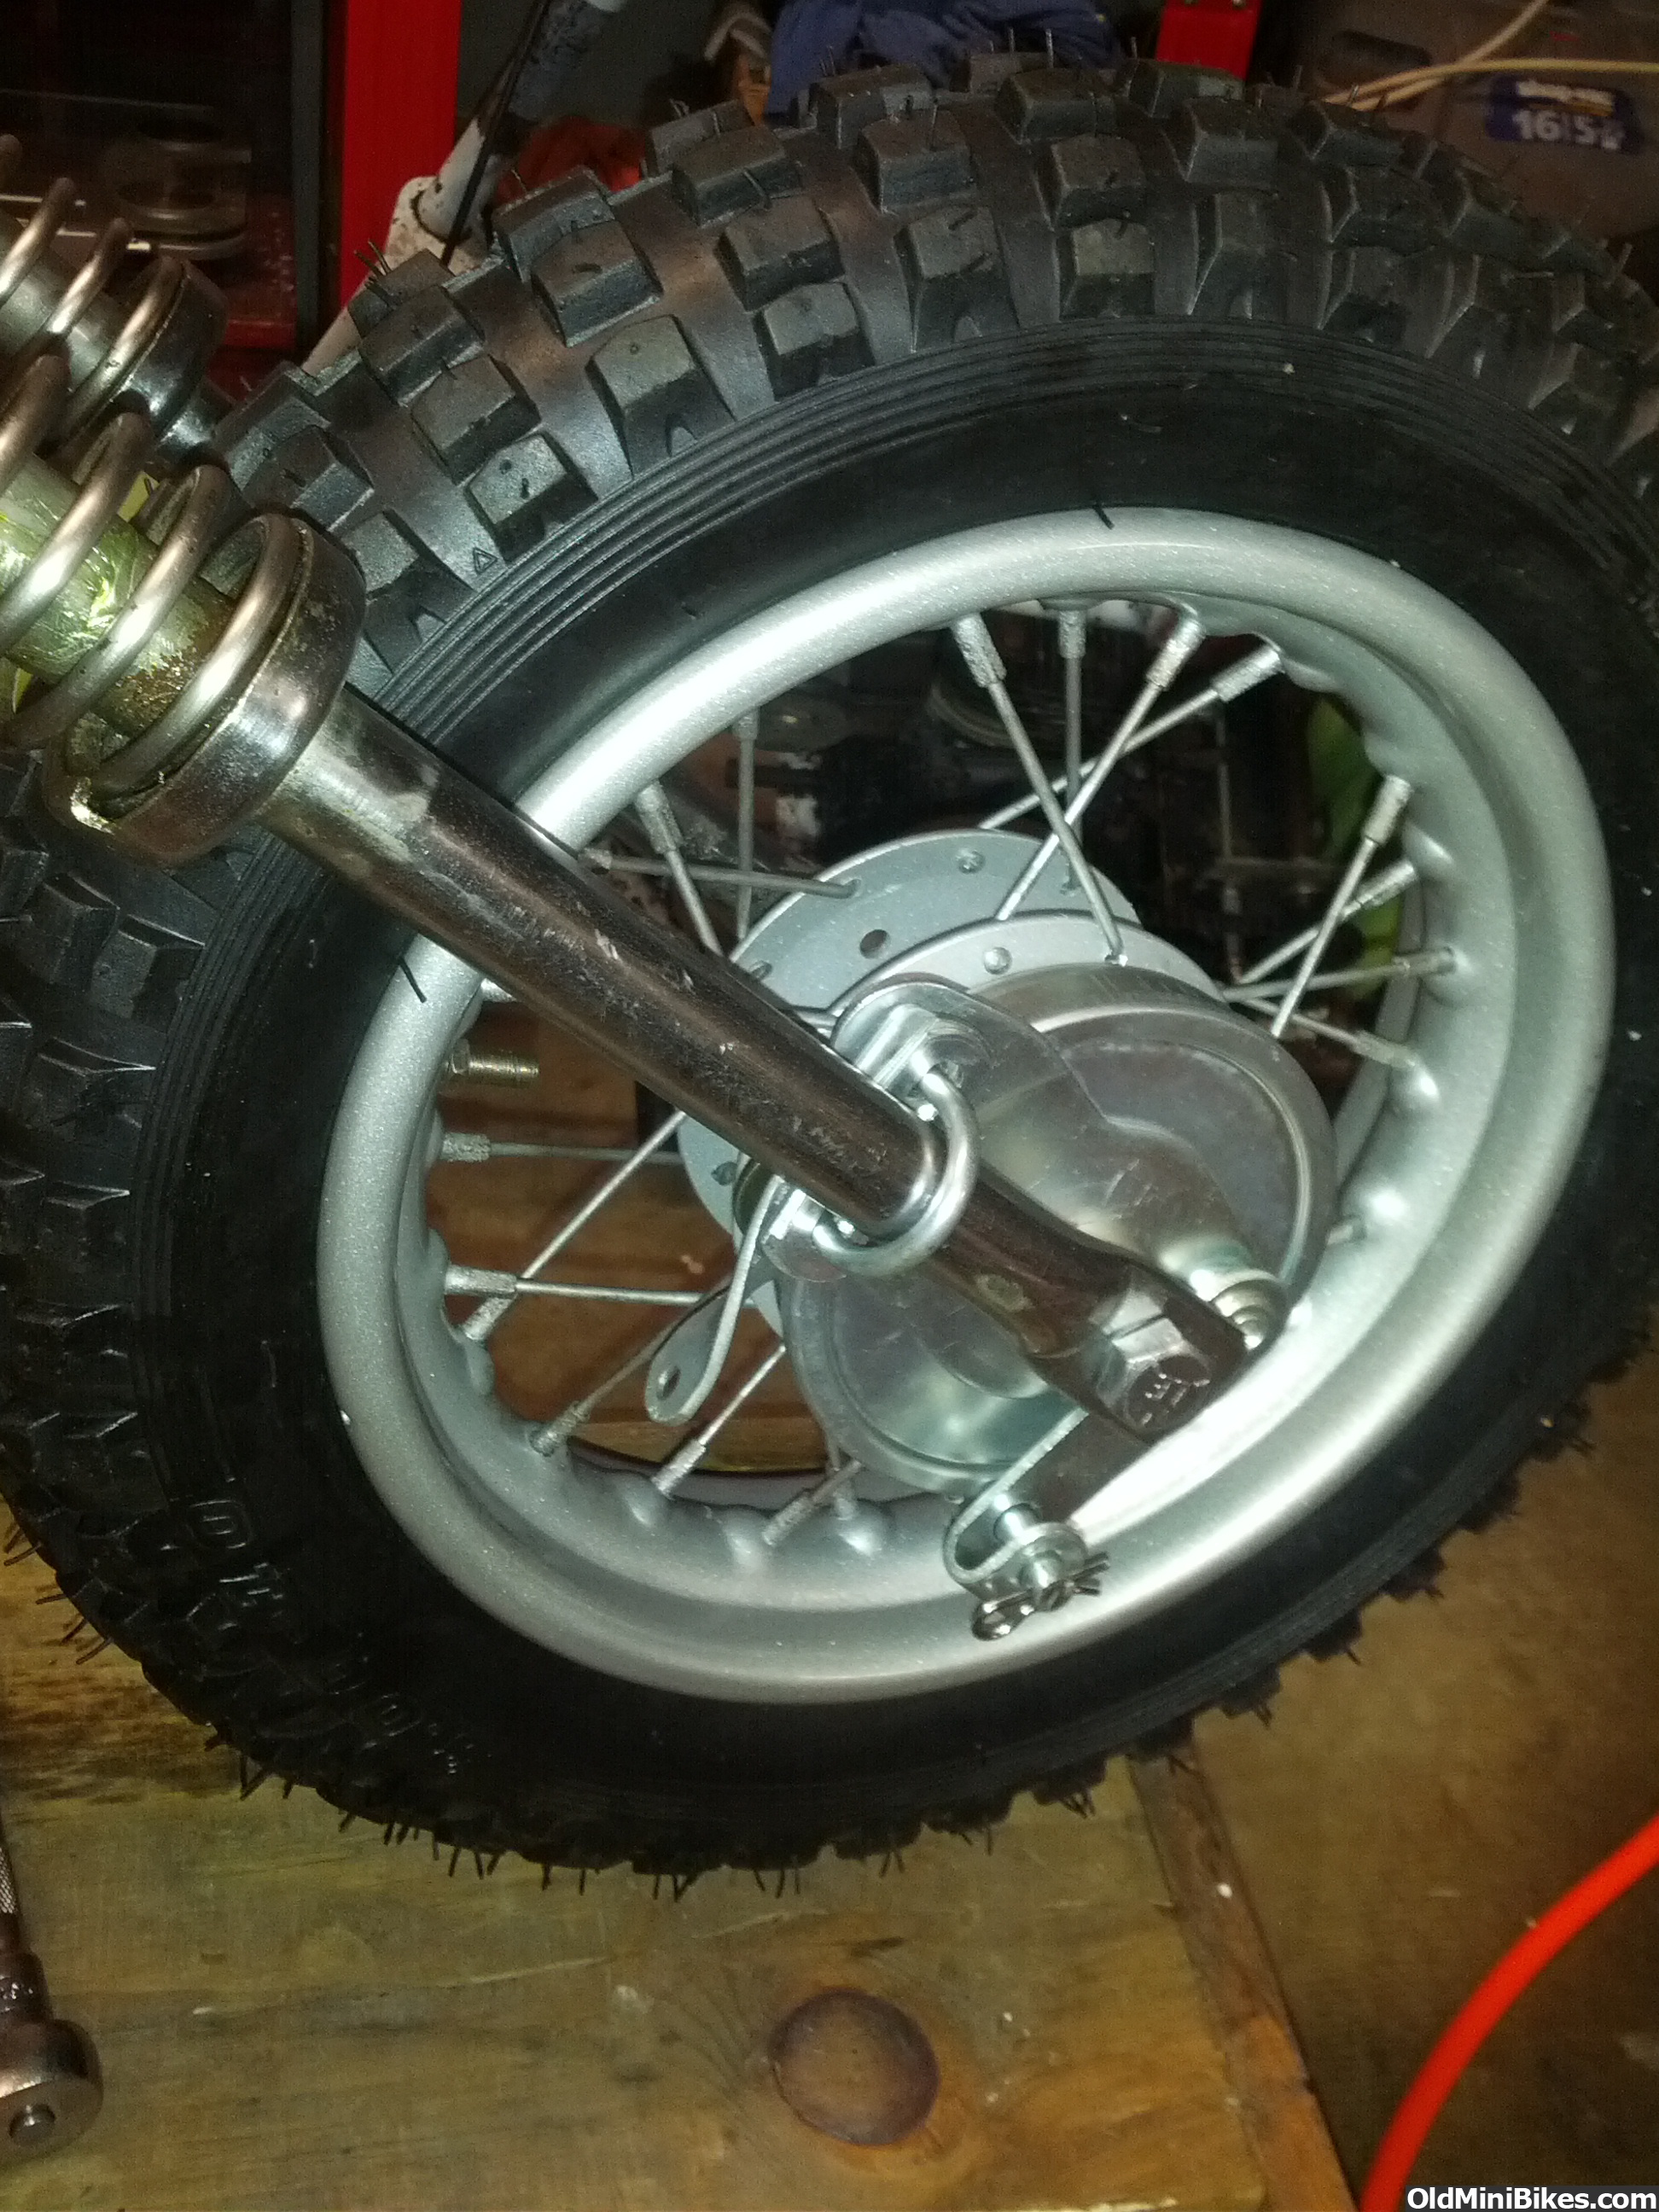
As you can see it was pretty rough. Spent several weeks de-rusting the wheels to get them to a point where I could paint them.
The rear fender had the crack (they all have it) welded. required some bodywork and paint. Front fender rusted to death, now painted.
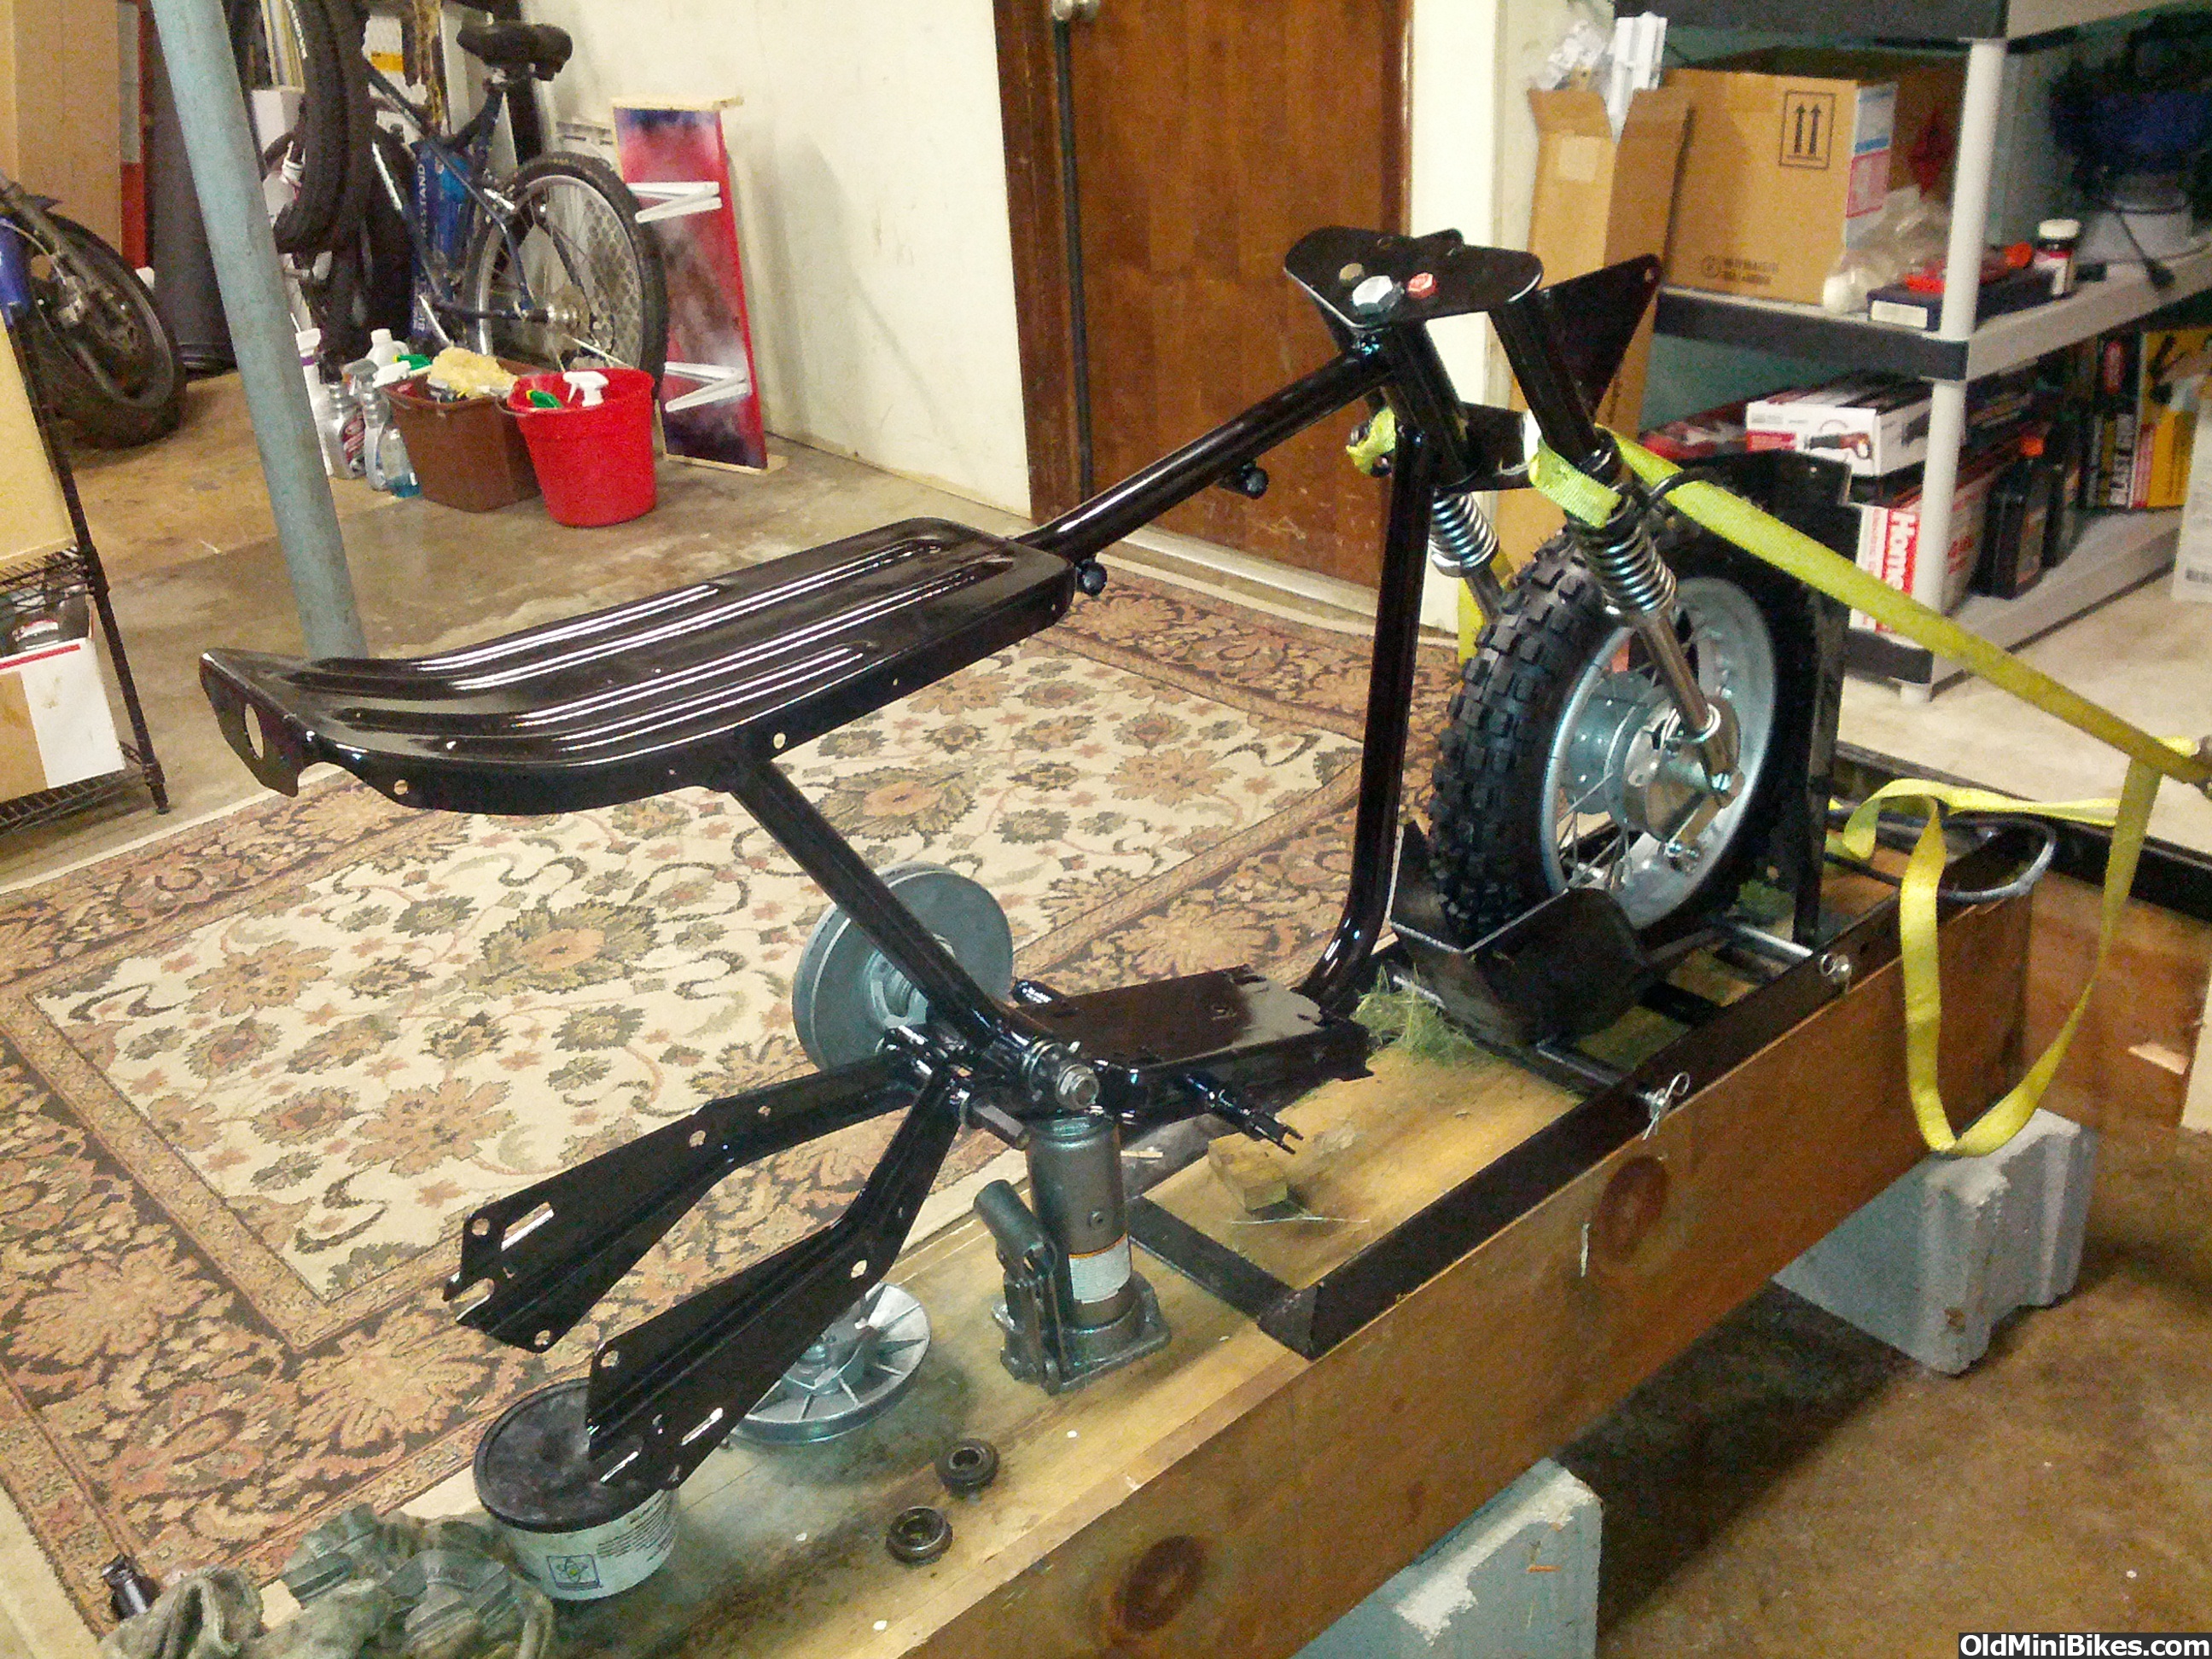
Stripped the frame to bare metal, treated with Ospho twice, primed and painted.
Added front brakes as the last one with a 3.5hp scaird me that it wouldn't stop
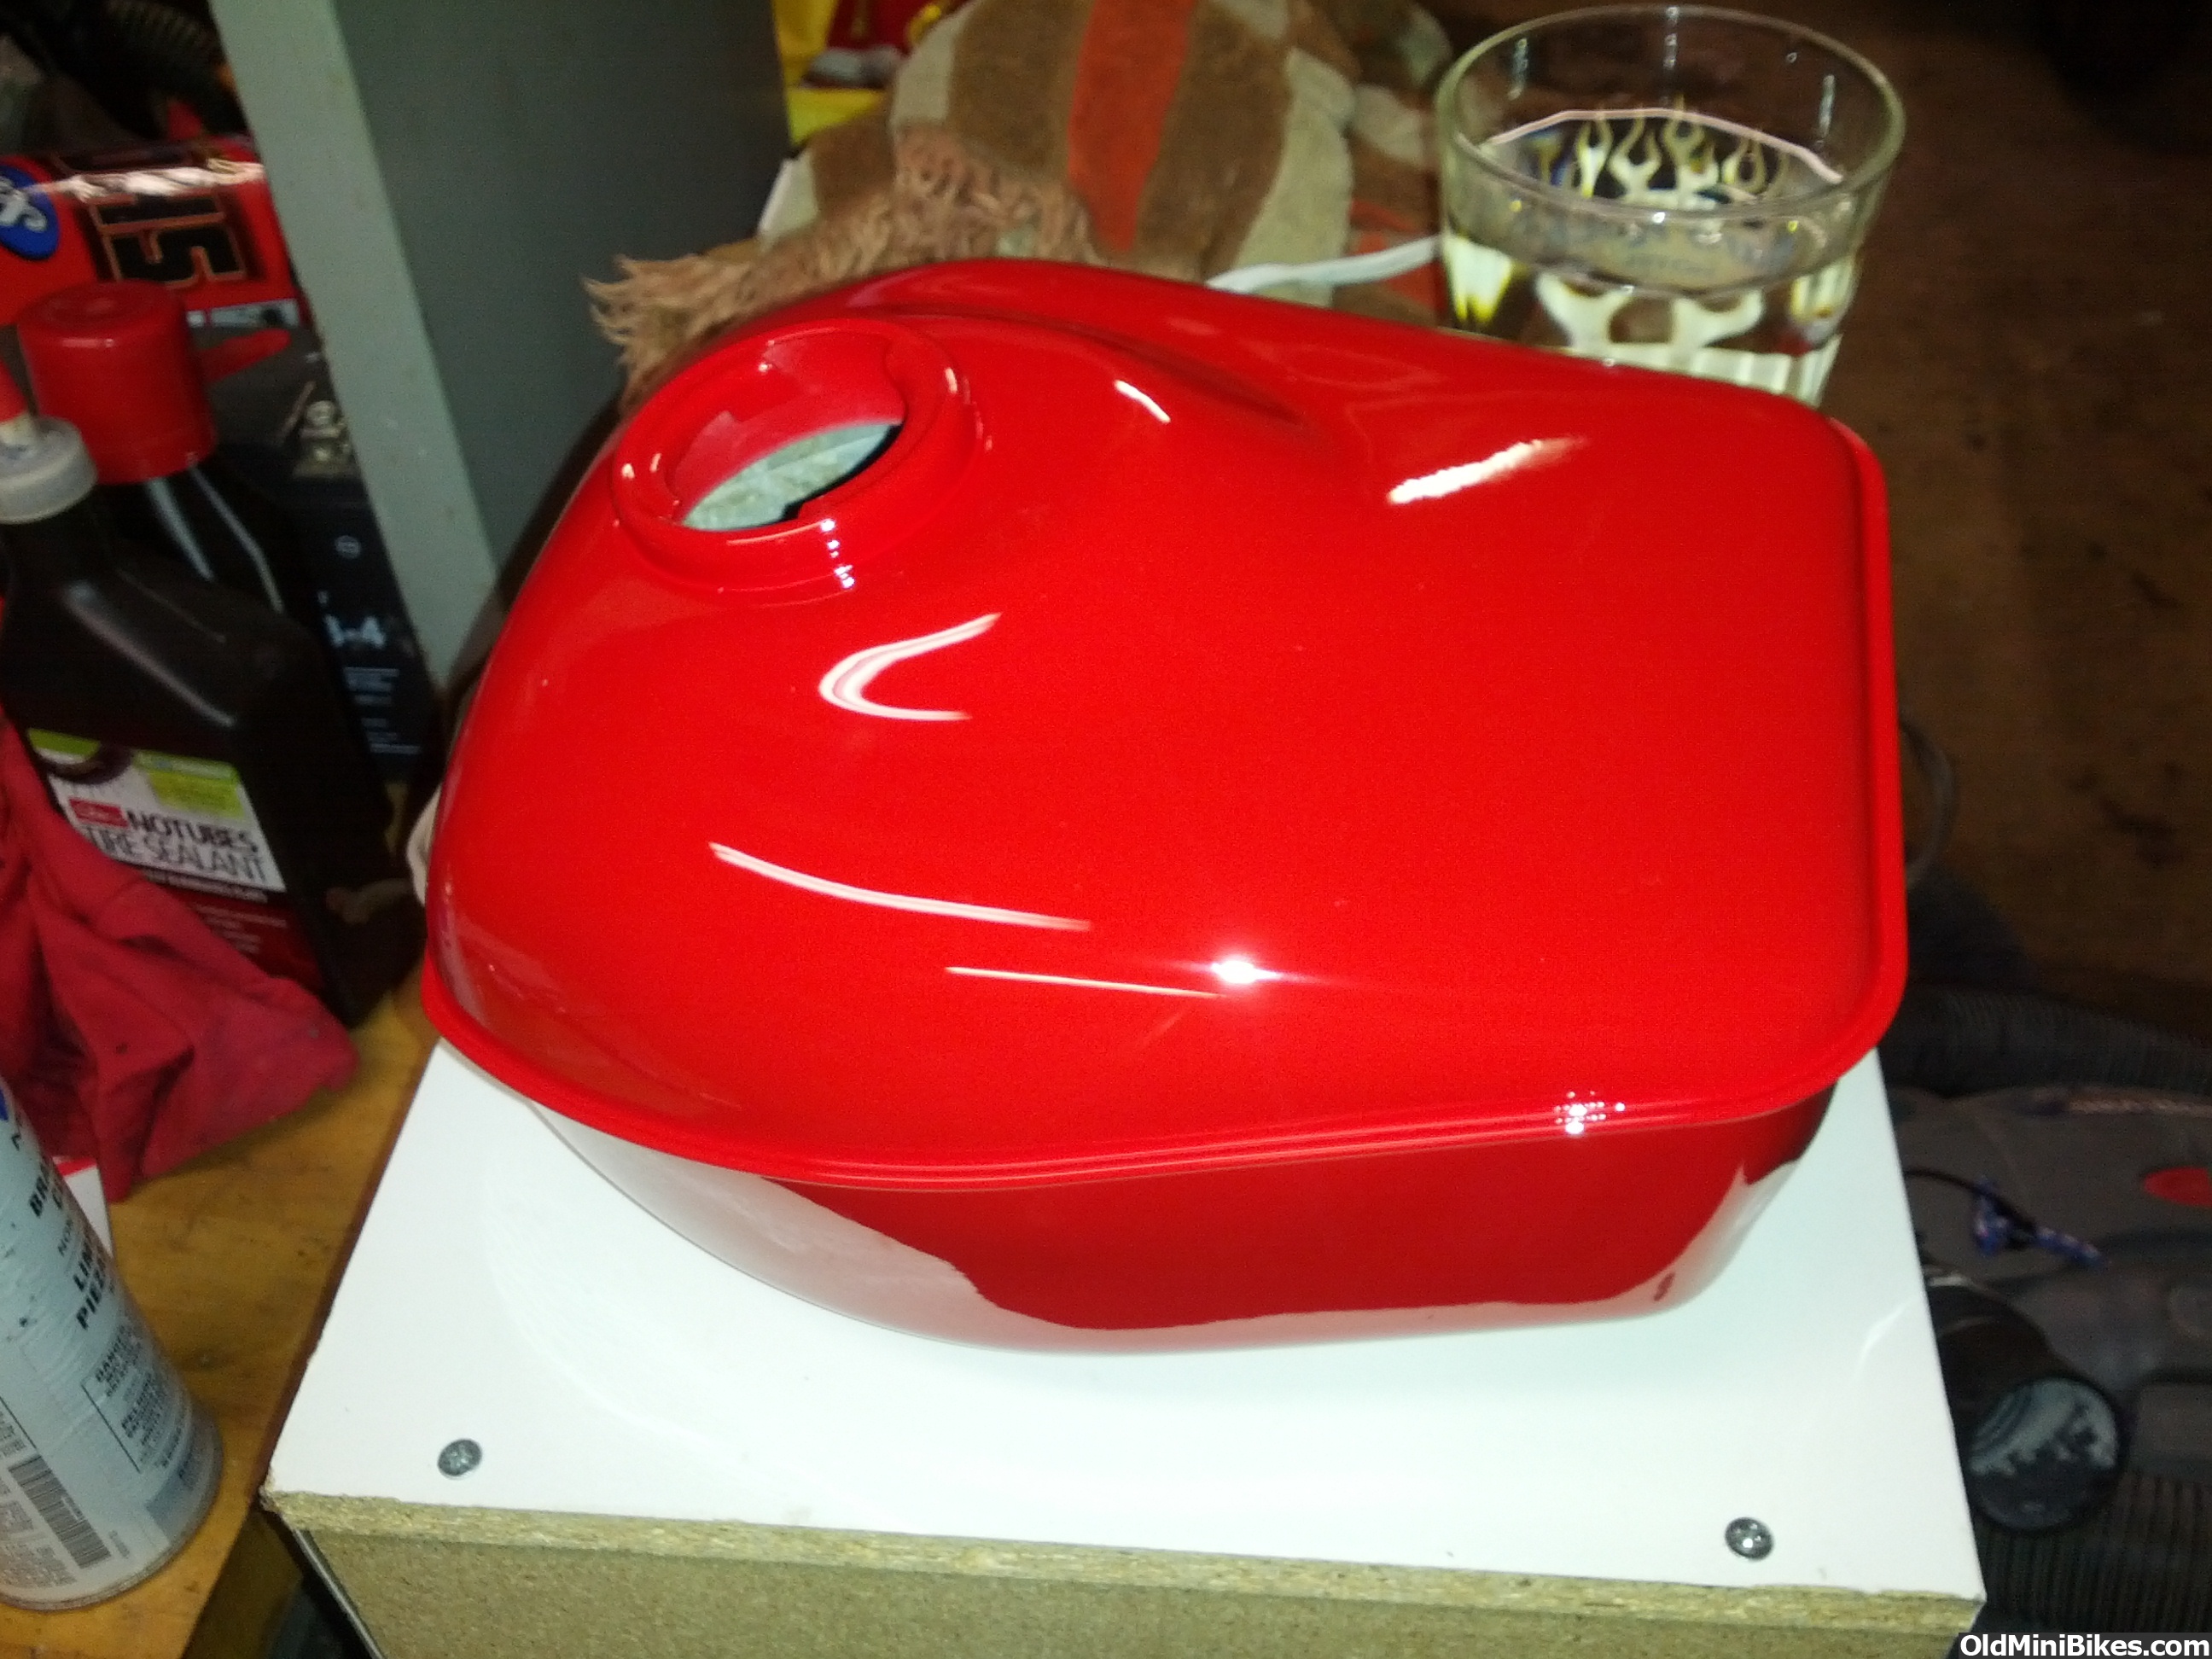
Fuel tank was from the previous bike, but a bad gas cap let fuel under the paint and it lifted. Stripped, and redone, Paint laid down very nicely.
Lucked out and found a 5hp tecumseh locally that had belonged to a fire dept.
It ran a fan for clearing smoke.
New roller bearing, billet rod, governor gone, ported, and skinny head gasket.
May take me a while to finish as funds are very tight. (unemployed)
My pics aren't showing up. I'll find them and attach.
Feel free to let me know what you think. ( I can take it. I've been married, Twice!)
Just wanted to share my madness with a group of understanding compatriots!
This is my second Scrambler restoration.
As you can see it was pretty rough. Spent several weeks de-rusting the wheels to get them to a point where I could paint them.
The rear fender had the crack (they all have it) welded. required some bodywork and paint. Front fender rusted to death, now painted.
Stripped the frame to bare metal, treated with Ospho twice, primed and painted.
Added front brakes as the last one with a 3.5hp scaird me that it wouldn't stop
Fuel tank was from the previous bike, but a bad gas cap let fuel under the paint and it lifted. Stripped, and redone, Paint laid down very nicely.
Lucked out and found a 5hp tecumseh locally that had belonged to a fire dept.
It ran a fan for clearing smoke.
New roller bearing, billet rod, governor gone, ported, and skinny head gasket.
May take me a while to finish as funds are very tight. (unemployed)
My pics aren't showing up. I'll find them and attach.
Feel free to let me know what you think. ( I can take it. I've been married, Twice!)