Ok fellas ...everyone wants pics.....I took some today!
So far I have added 2 inches to the kickstand....
Removed the fuel tank from the Predator....and cut the ears off the engine.
I added a grease fitting for the neck assembly bolt area...
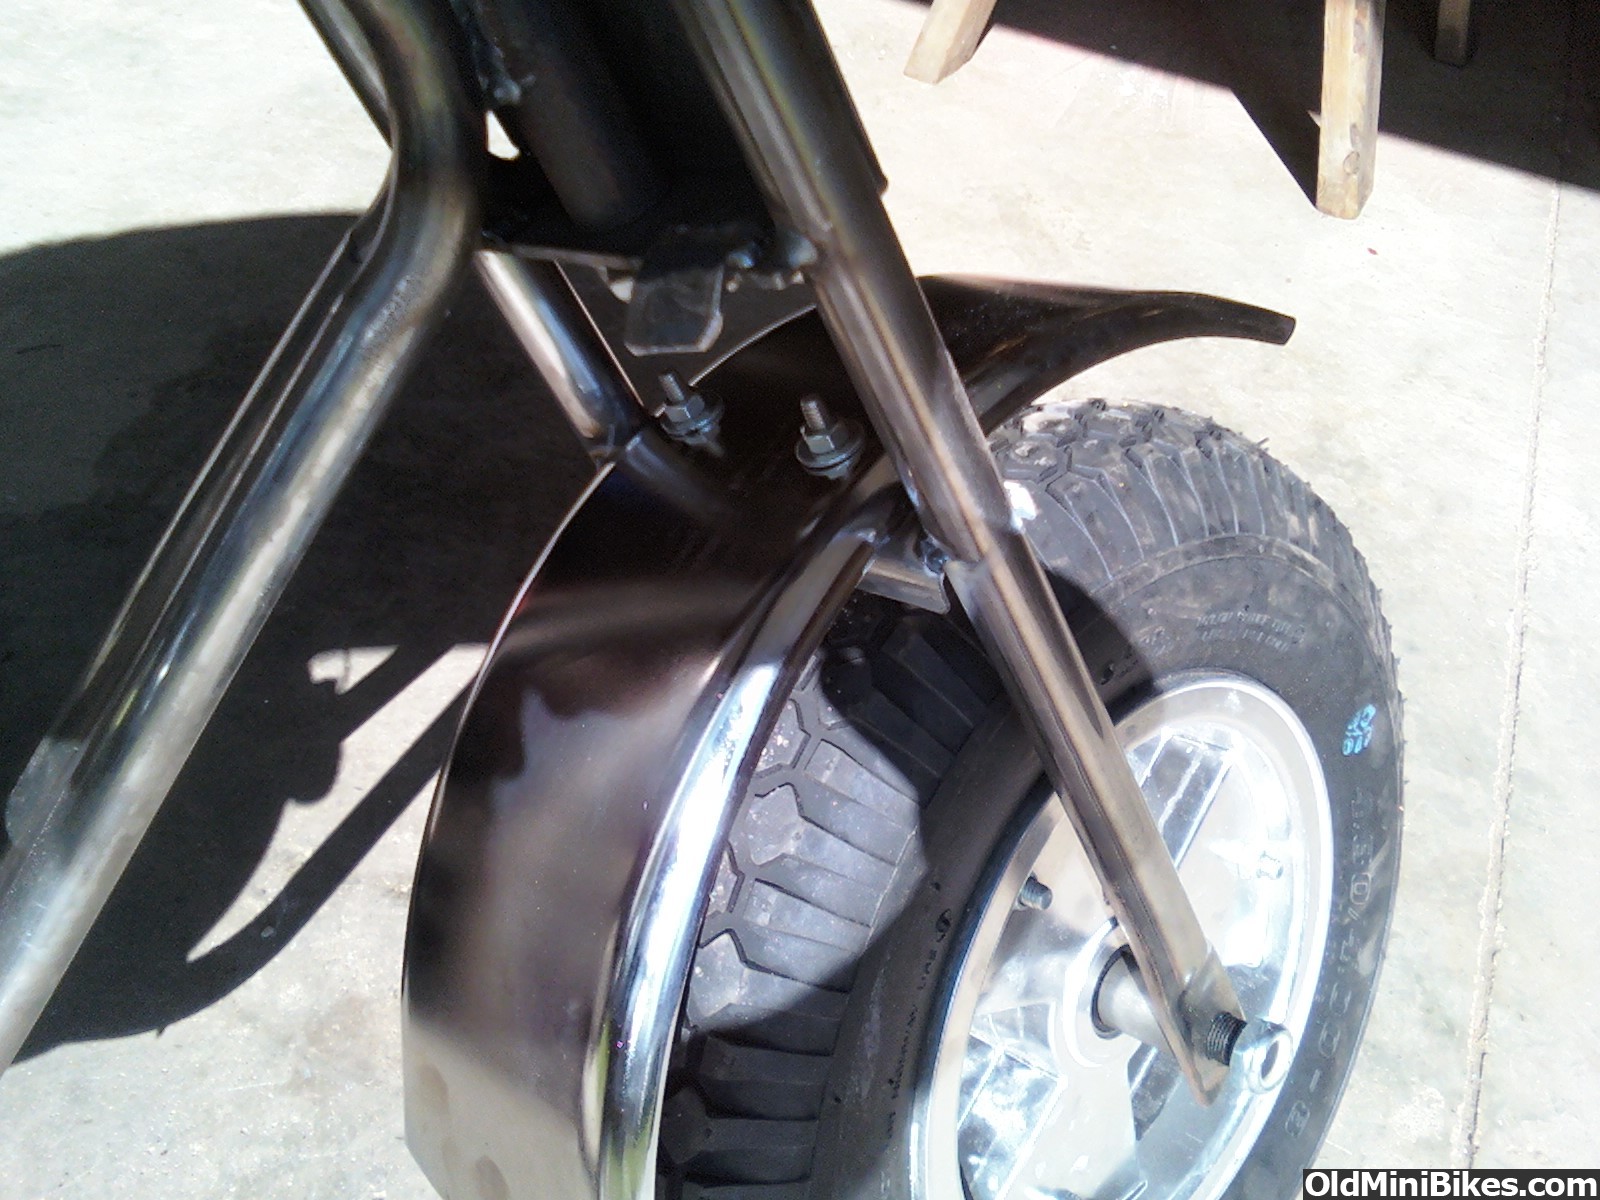
Added little tabs that hit the lower frame tubes IF you turn to sharp....because it was hitting on the upper frame tubes and would make cuts/dents...
Added a number plate to the front forks....
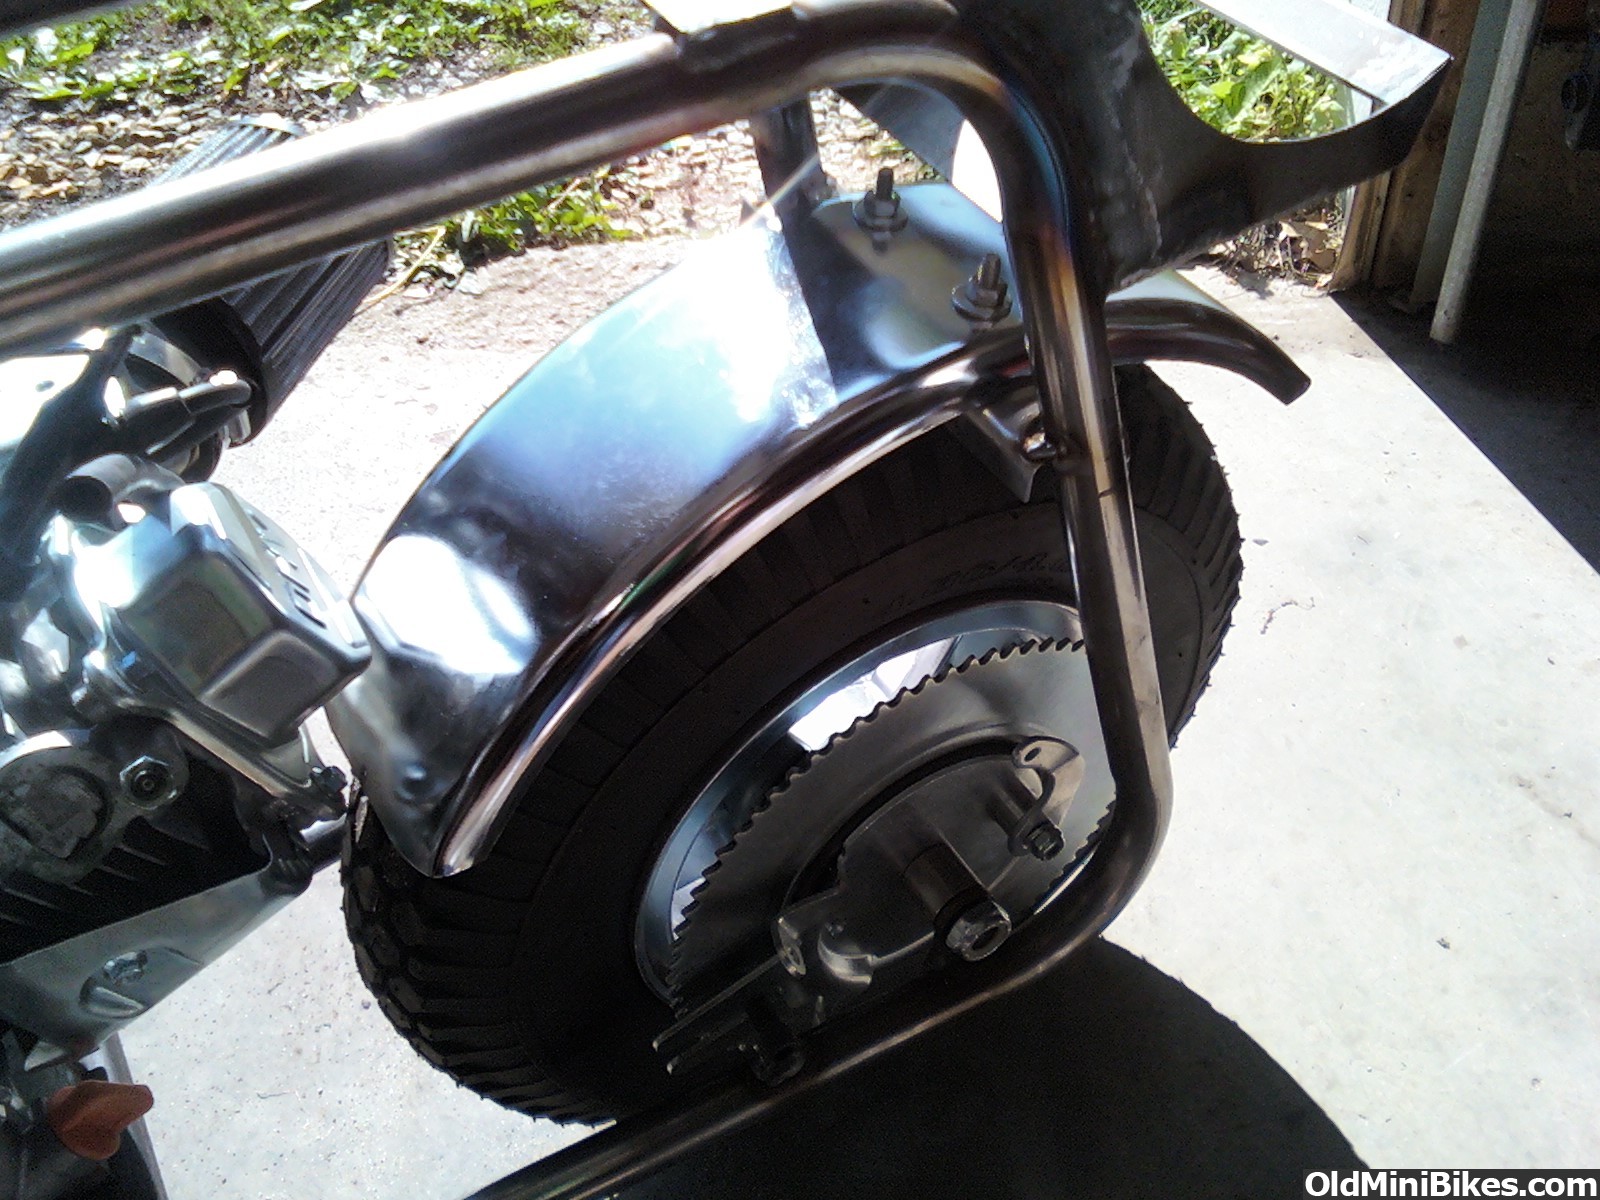
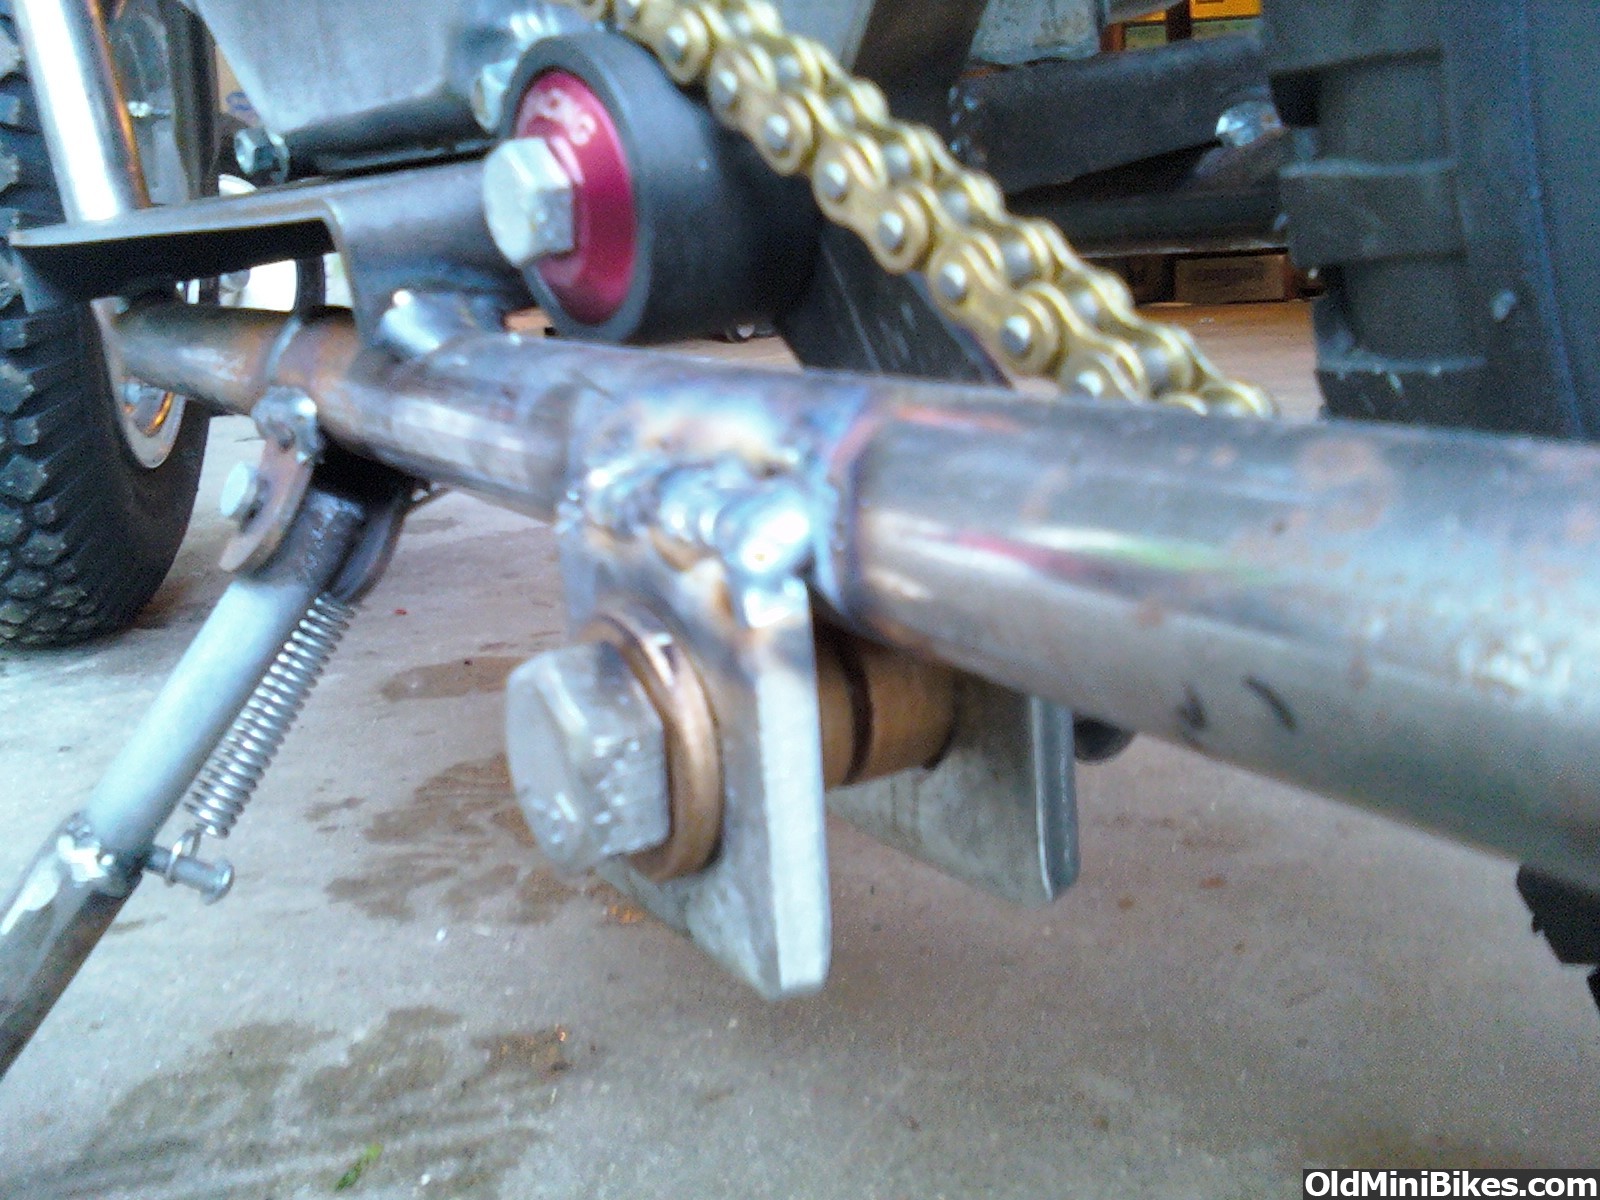
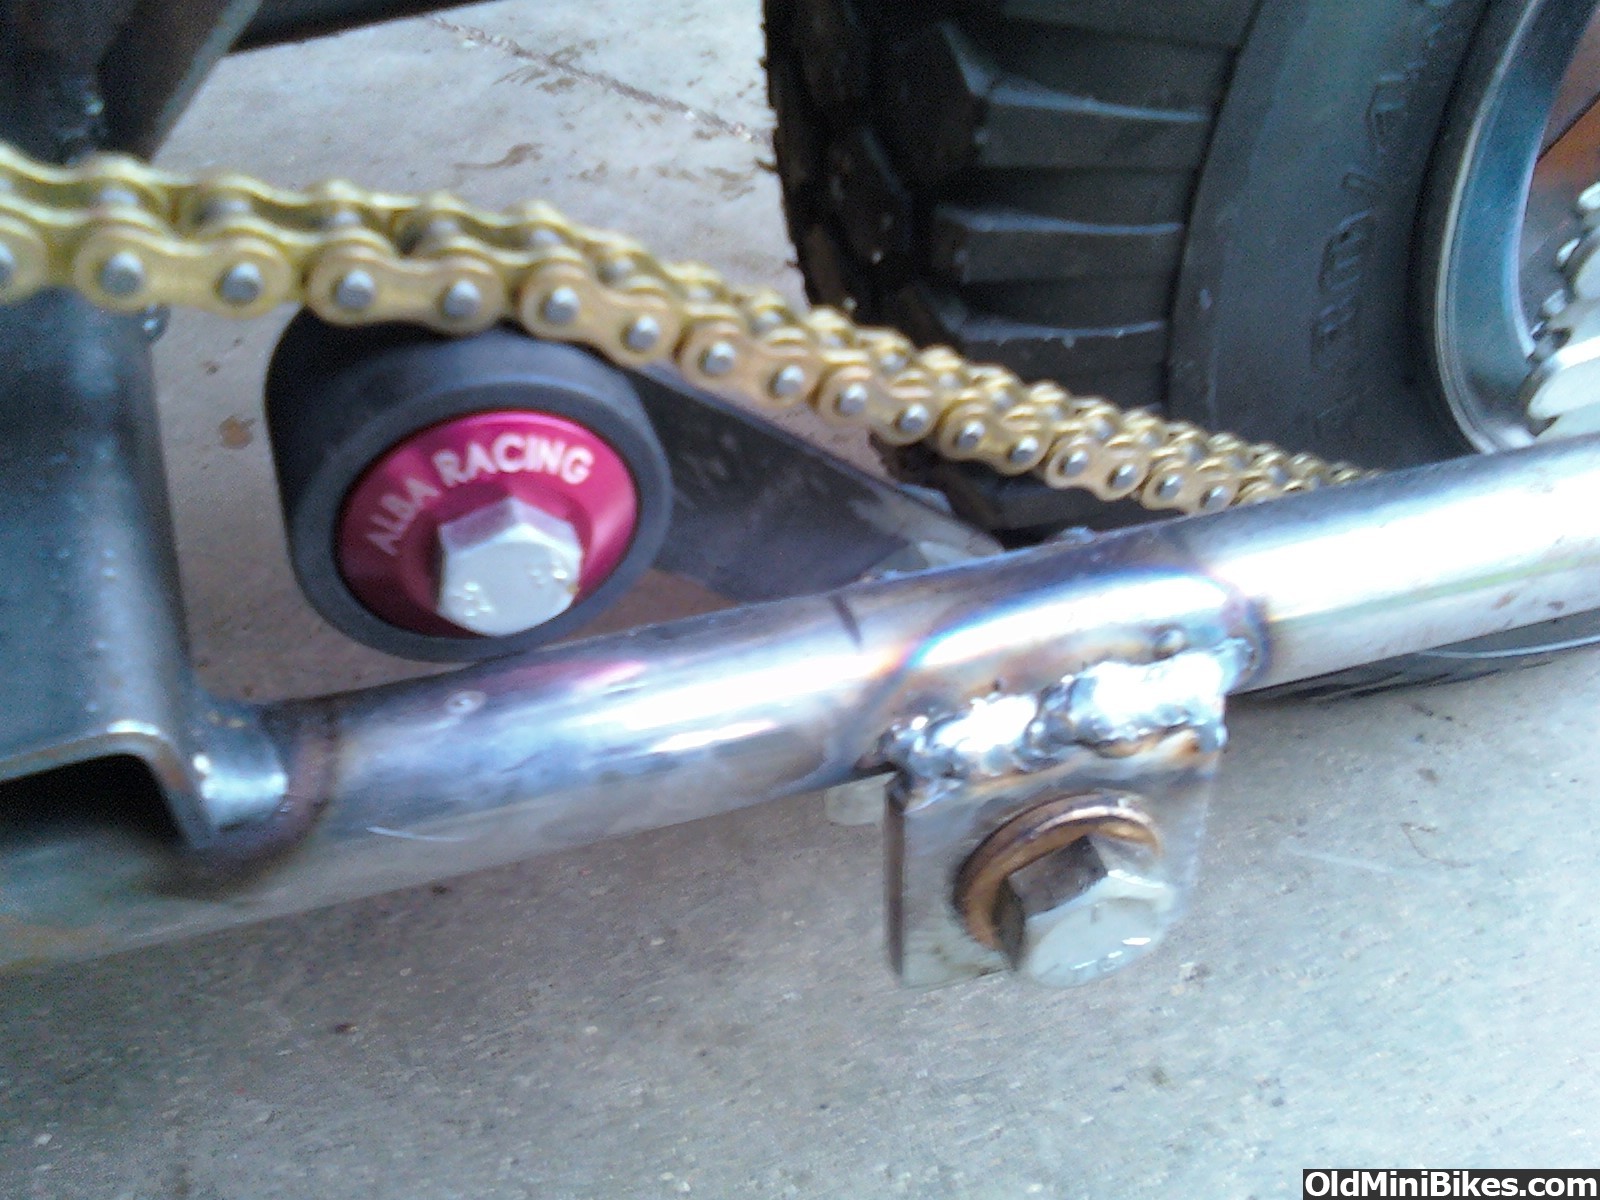
Centered the rear wheel by cutting 1/4" from one bushing and using it on the other side of the axle.
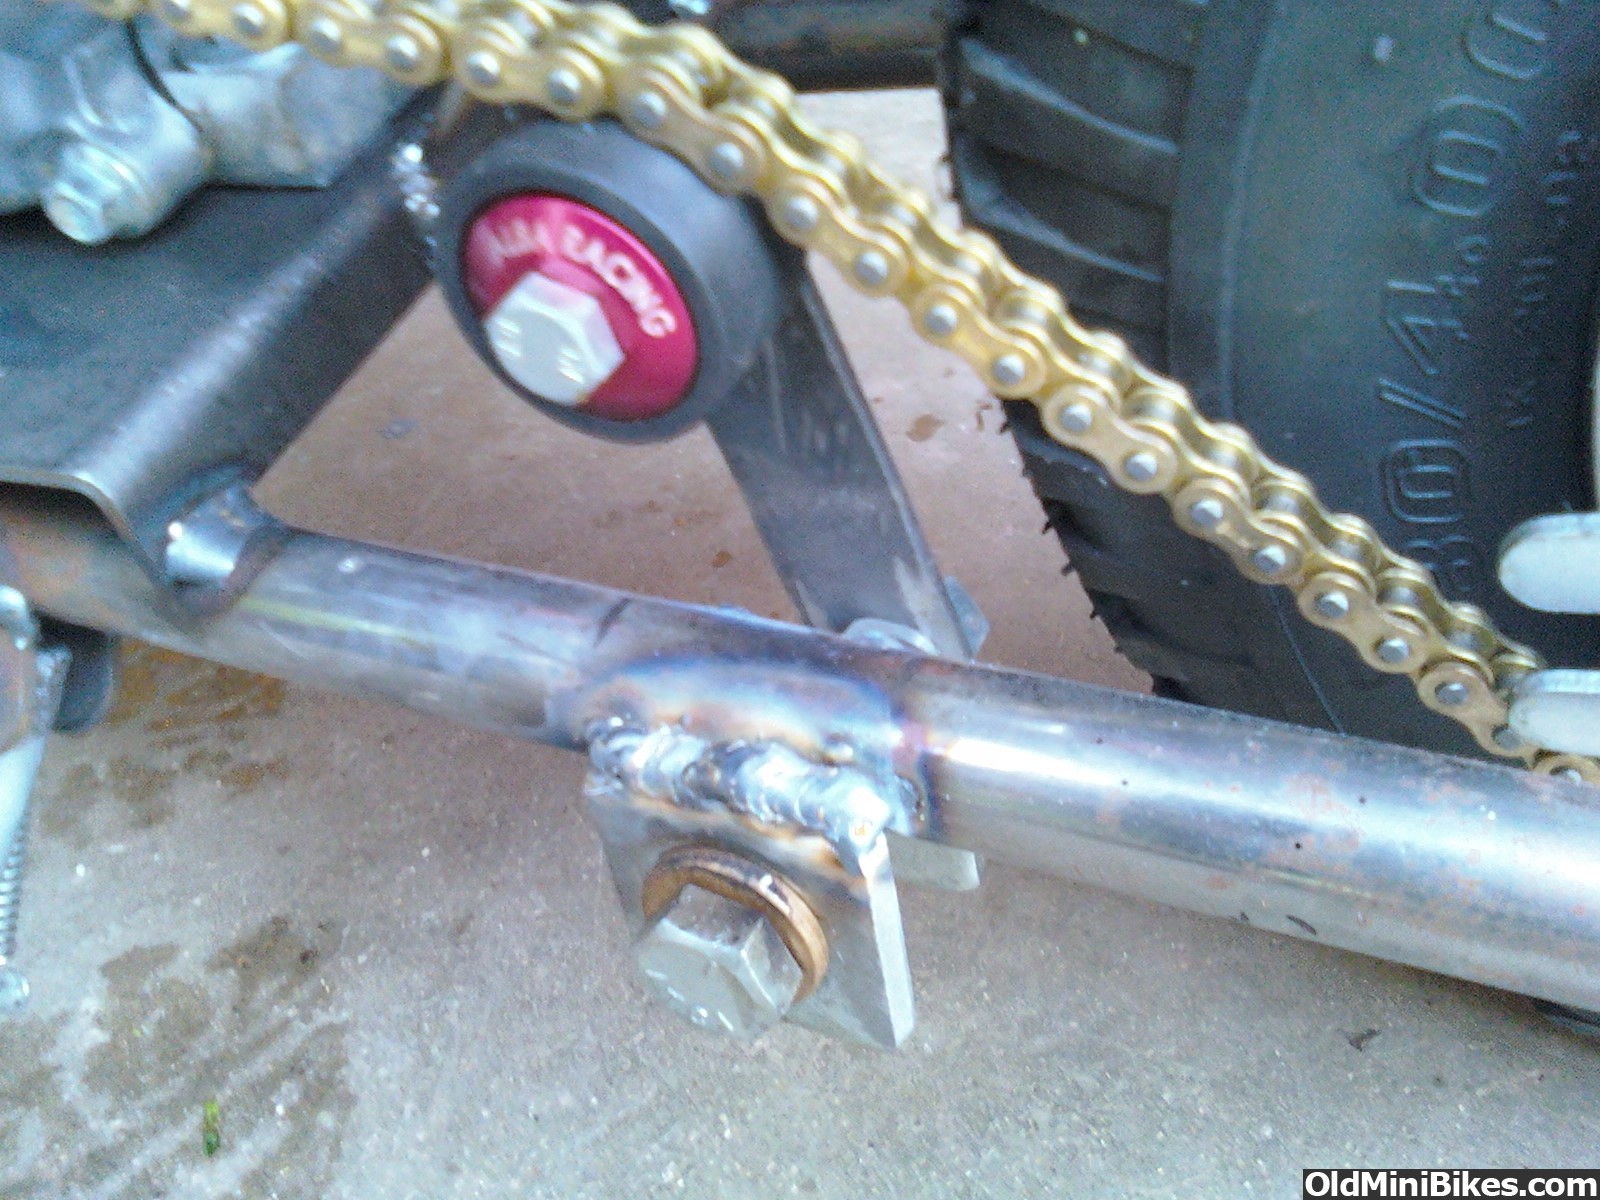
Added the modified max torque clutch and grease zerk bolt....chain guard too.
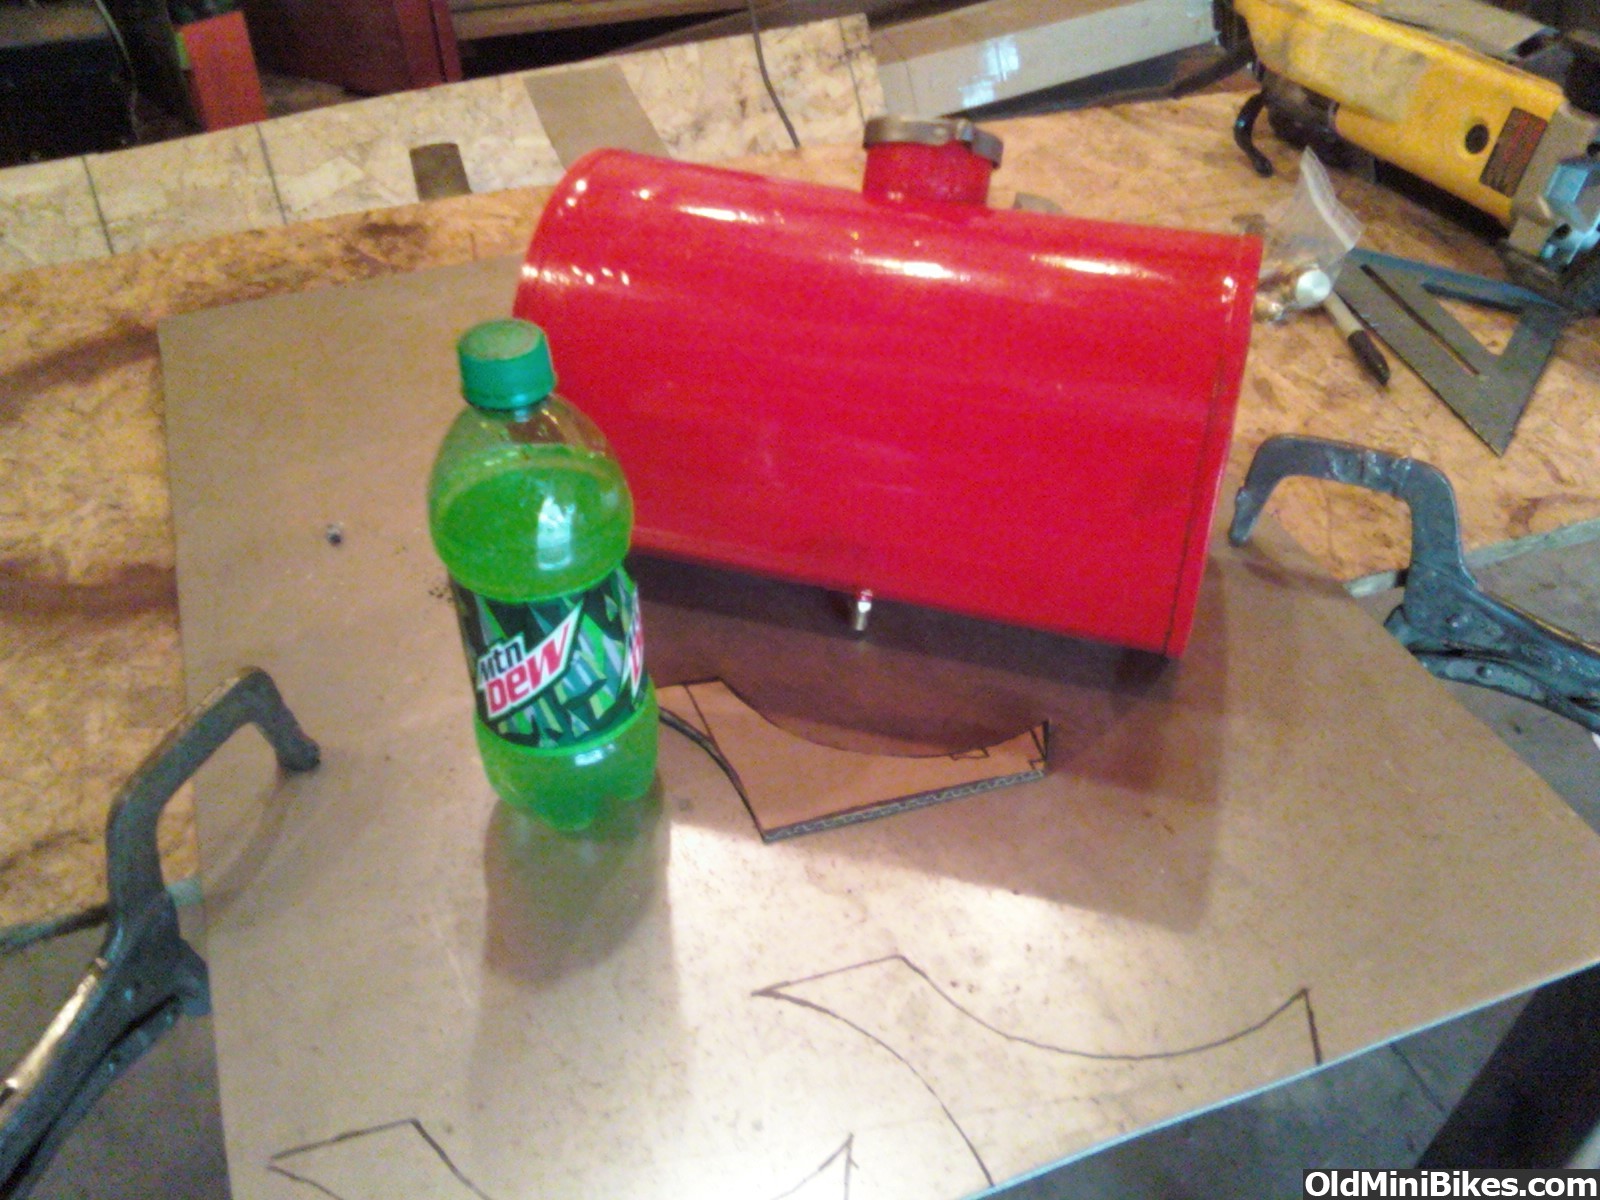
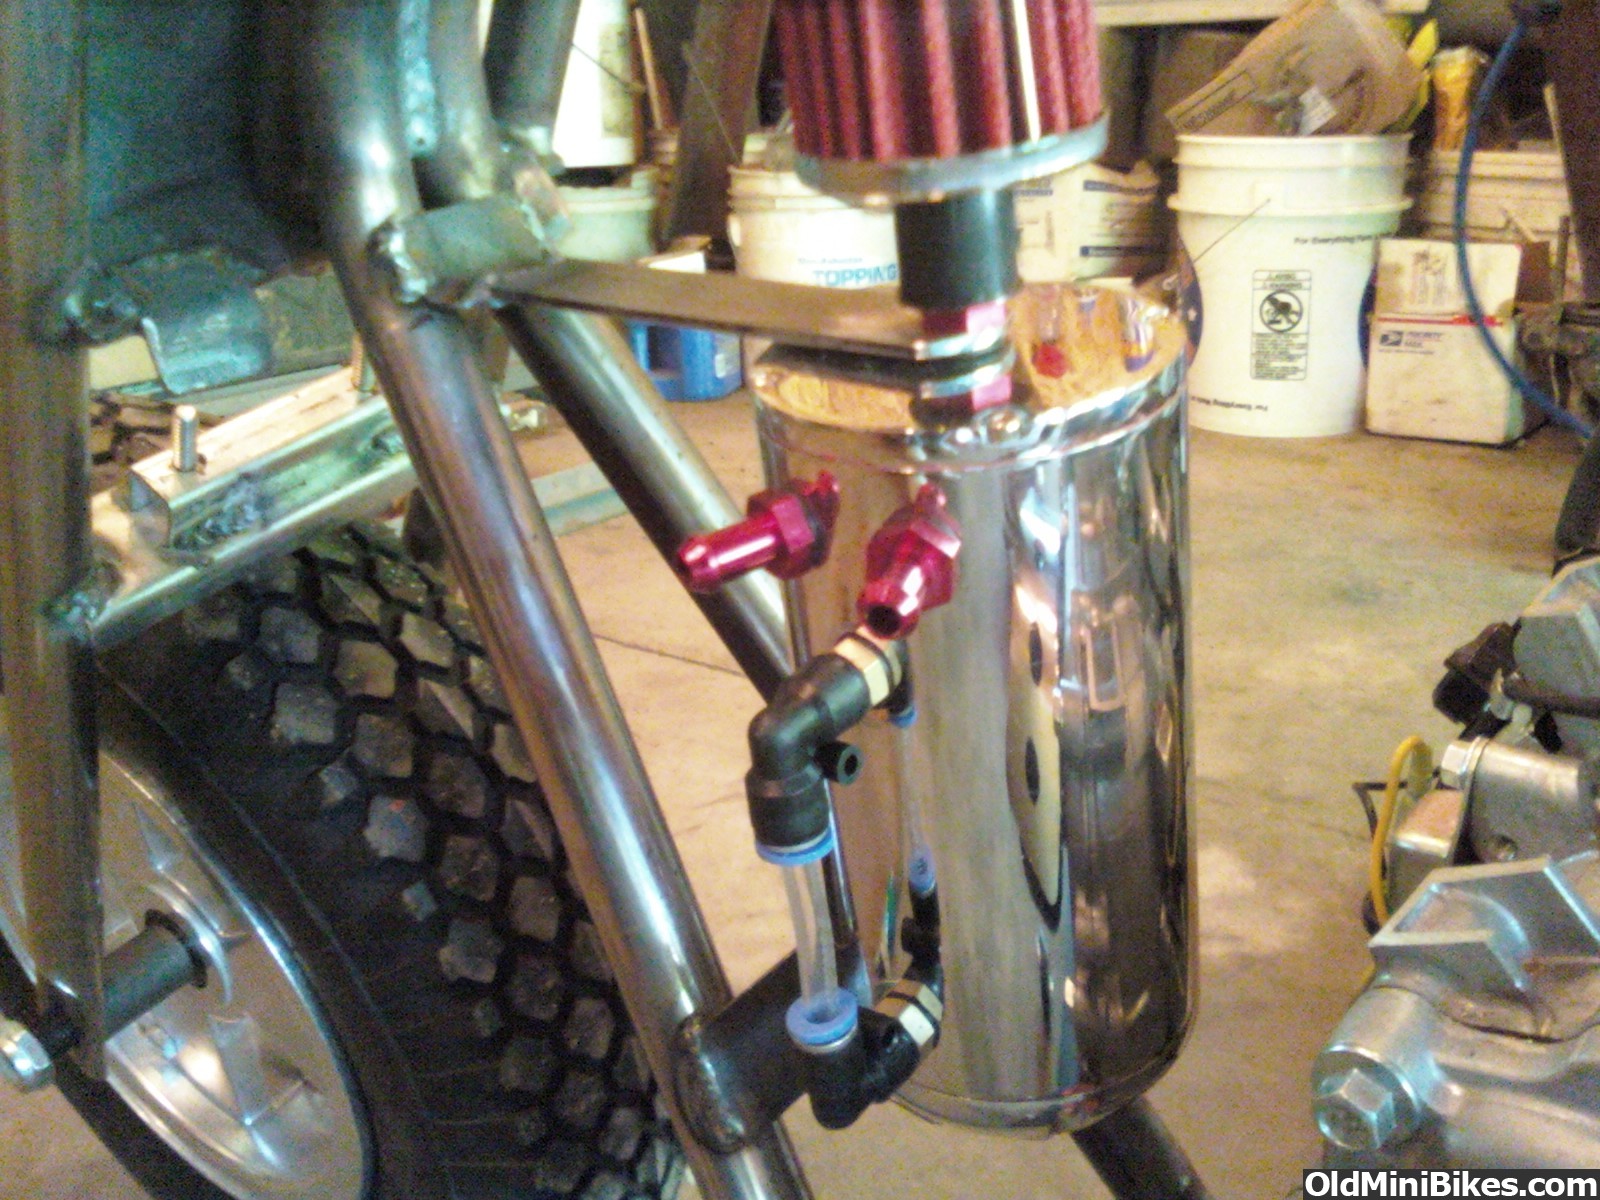
Then the tank I purchased from a member here ...tin solider3....(thanks again)....needed a place to sit....SOOOO I made a mount for it today!


I am adding rubber hose in the arches after I paint the bike ,,,,then strapping it in with screw type hose clamps (radiator hose clamps),.....
I LOVE the look with the tank.....its HUGE!....
Jim
So far I have added 2 inches to the kickstand....
Removed the fuel tank from the Predator....and cut the ears off the engine.
I added a grease fitting for the neck assembly bolt area...
Added little tabs that hit the lower frame tubes IF you turn to sharp....because it was hitting on the upper frame tubes and would make cuts/dents...
Added a number plate to the front forks....
Centered the rear wheel by cutting 1/4" from one bushing and using it on the other side of the axle.
Added the modified max torque clutch and grease zerk bolt....chain guard too.
Then the tank I purchased from a member here ...tin solider3....(thanks again)....needed a place to sit....SOOOO I made a mount for it today!


I am adding rubber hose in the arches after I paint the bike ,,,,then strapping it in with screw type hose clamps (radiator hose clamps),.....
I LOVE the look with the tank.....its HUGE!....
Jim


") ...it now resides in dads shop...handy as ever.
...it now resides in dads shop...handy as ever.
