we have heard a few times how do i change the crank in my block . well here we go .....read part one http://www.oldminibikes.com/forum/e...177-how-remove-flywheel-rope-trick-way.htmlif you still have the flywheel on the motor if not lets get going
ok well we want the crank out of this block
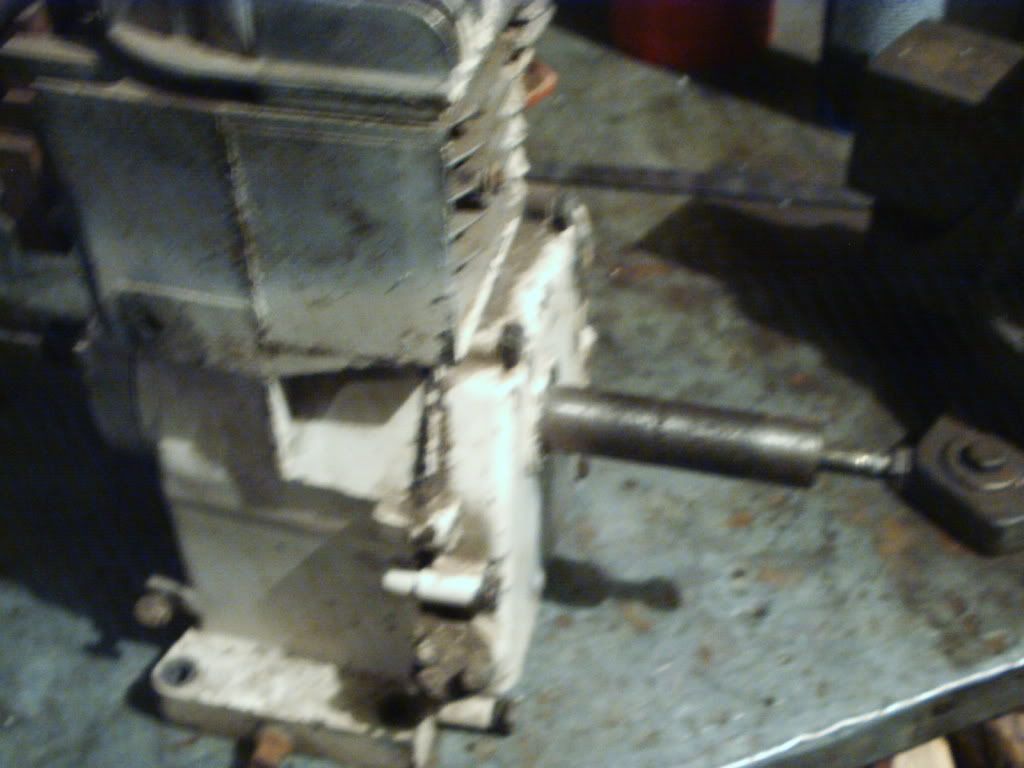
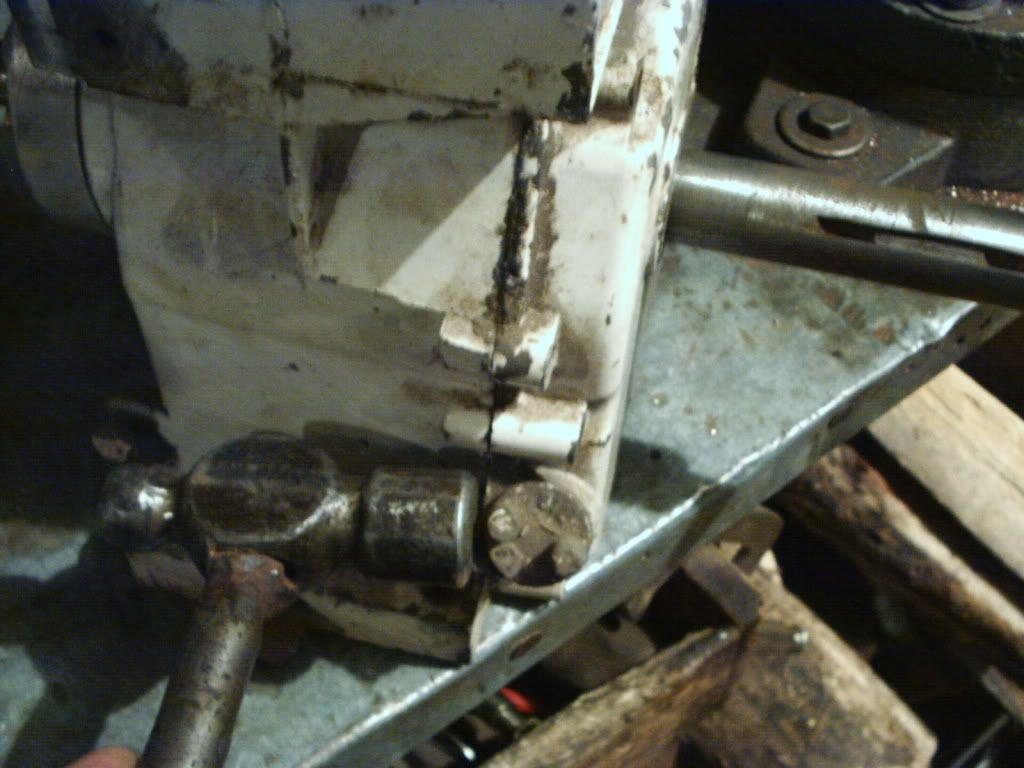
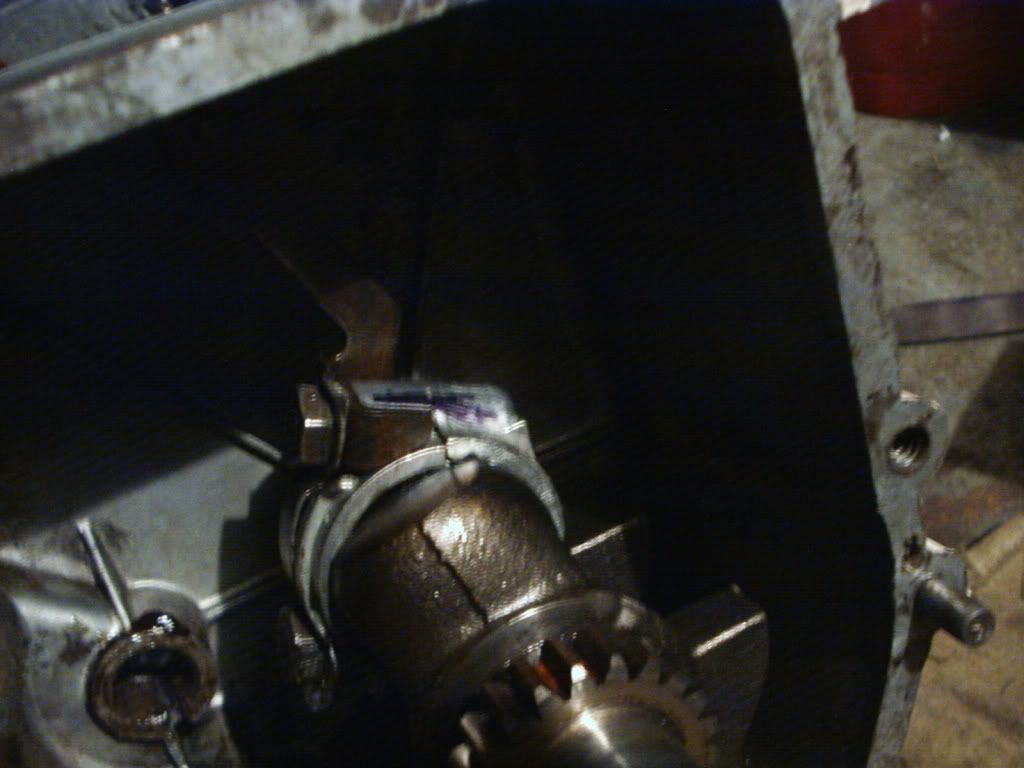
. you will need to remove all the case bolts .
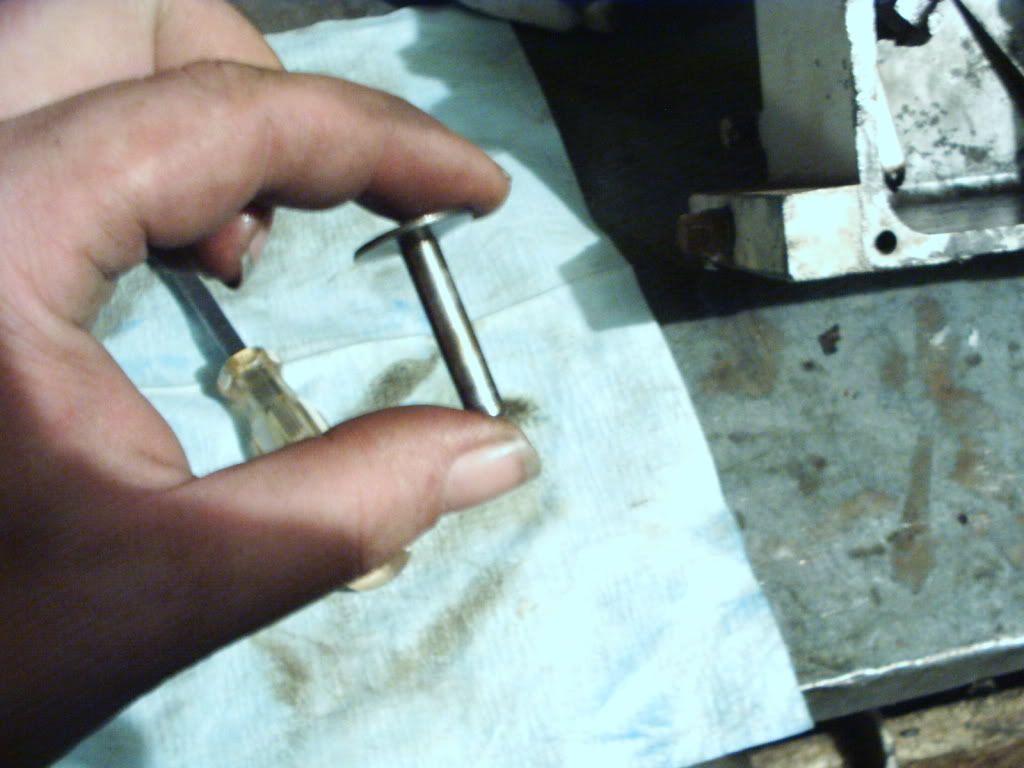
note if your crank is rusty or has any burs on it clean them off . it will help save the seal and makes removing the crank much easier .emery paper work great and is real cheap lasts a long time too
and a little playing the shoe shine boy gets us
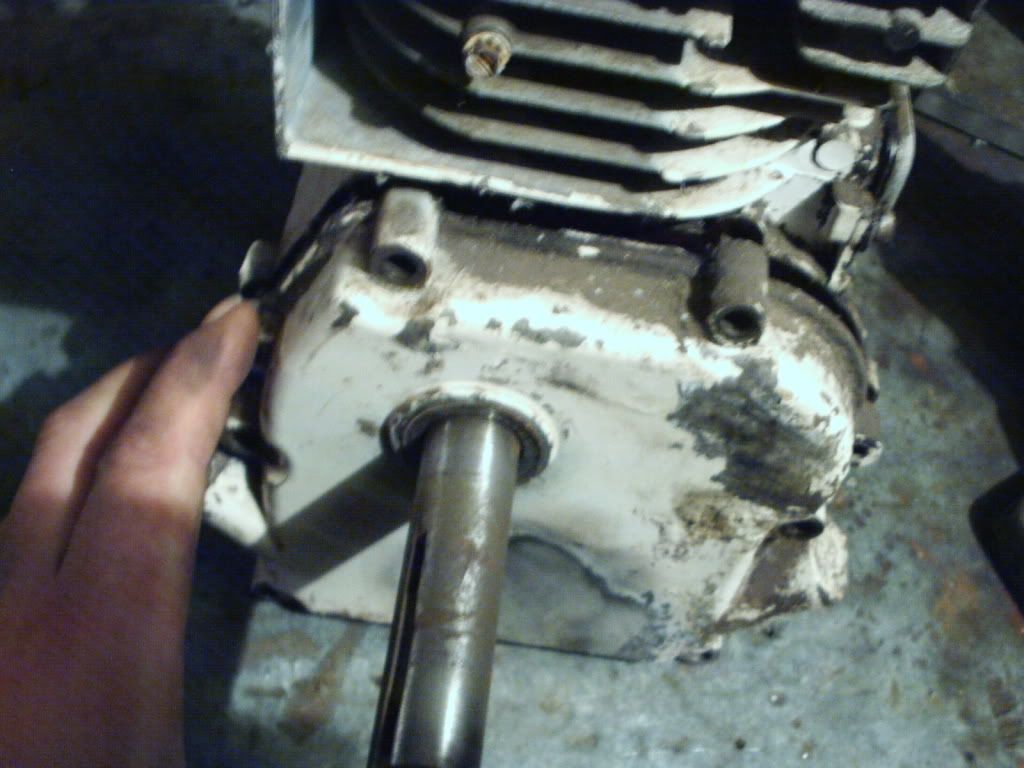
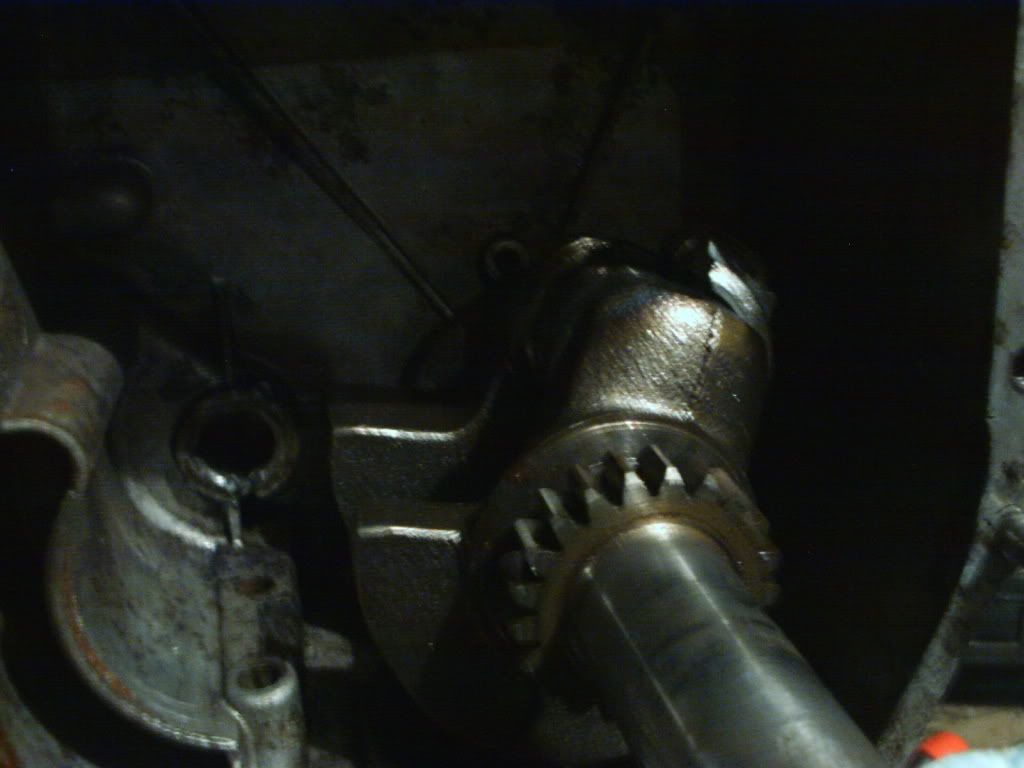
now just tap on the case with a hammer and it should pop open . you just want to tap on each side of the case till it opens .
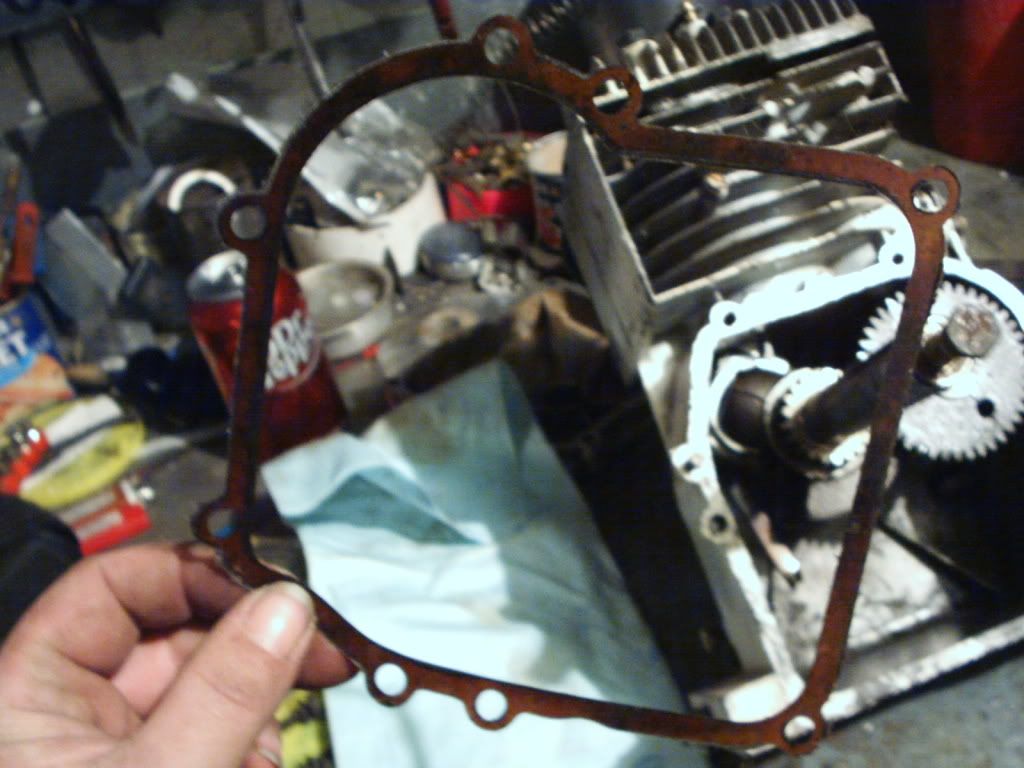
now should be able to grab the case on each side and walk it off . wiggle it a little on each side and pull it off . there is a gasket in there it may hang up or come out with no problems
it came out in one piece cool
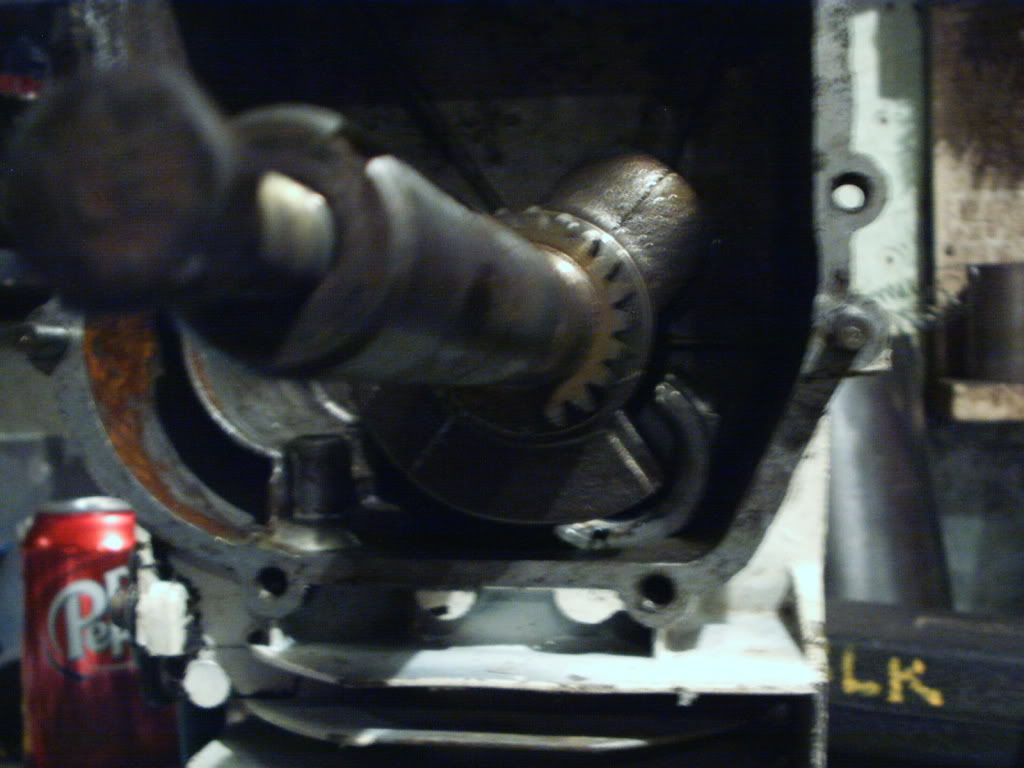
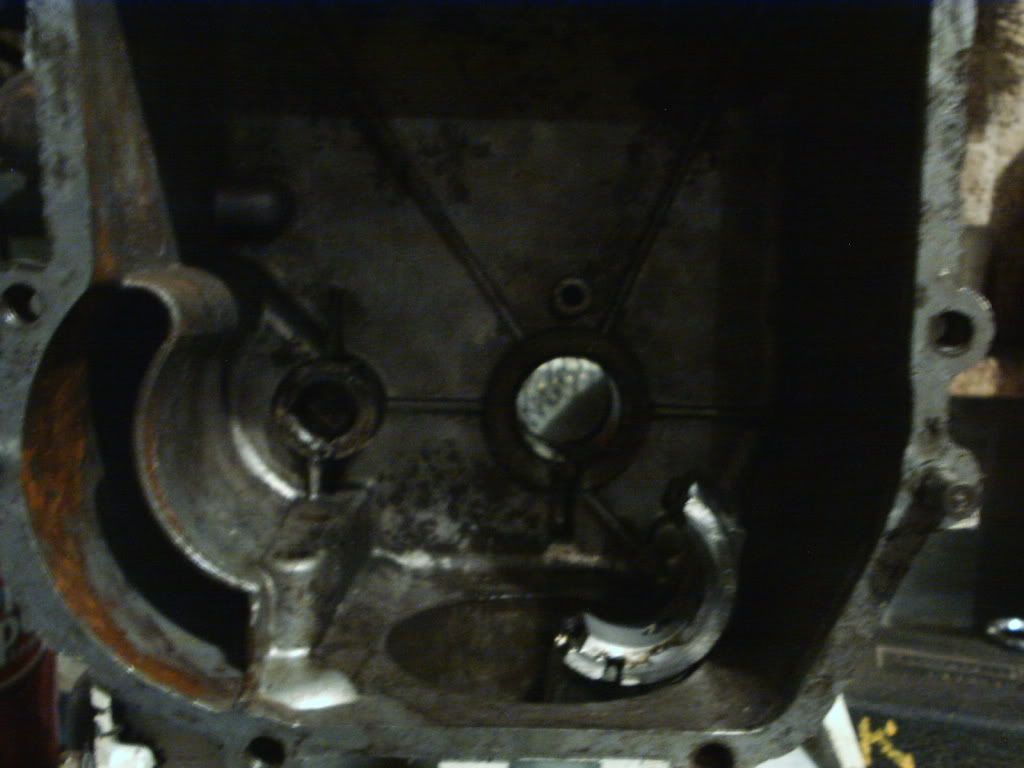
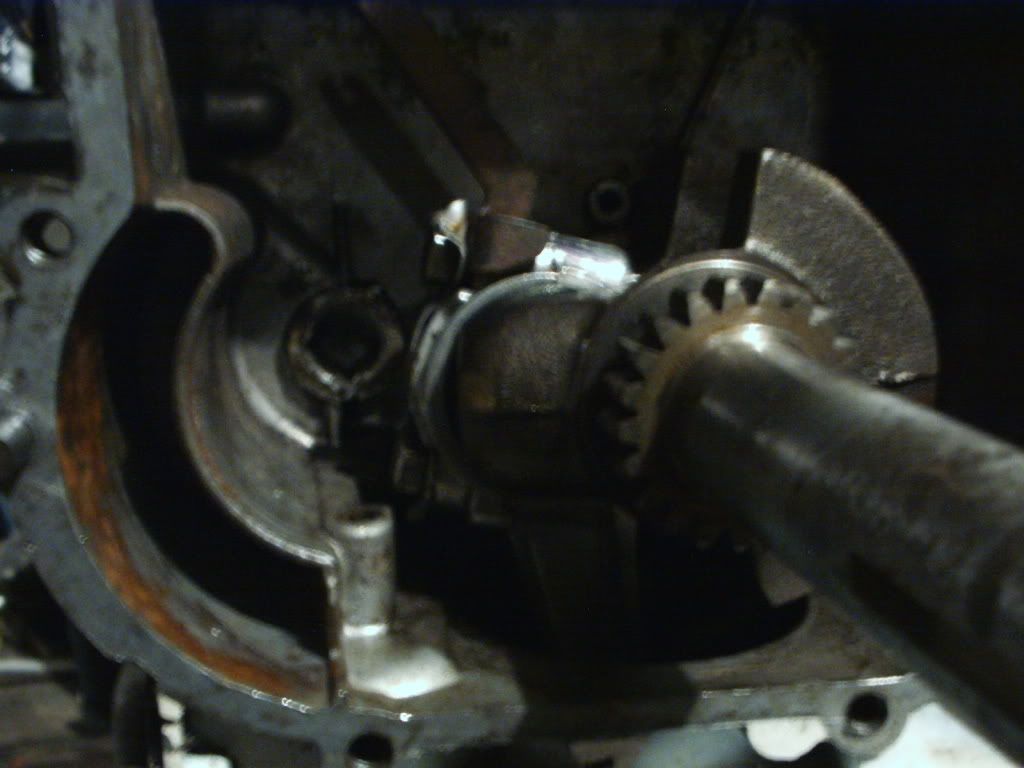
and now we are in the case
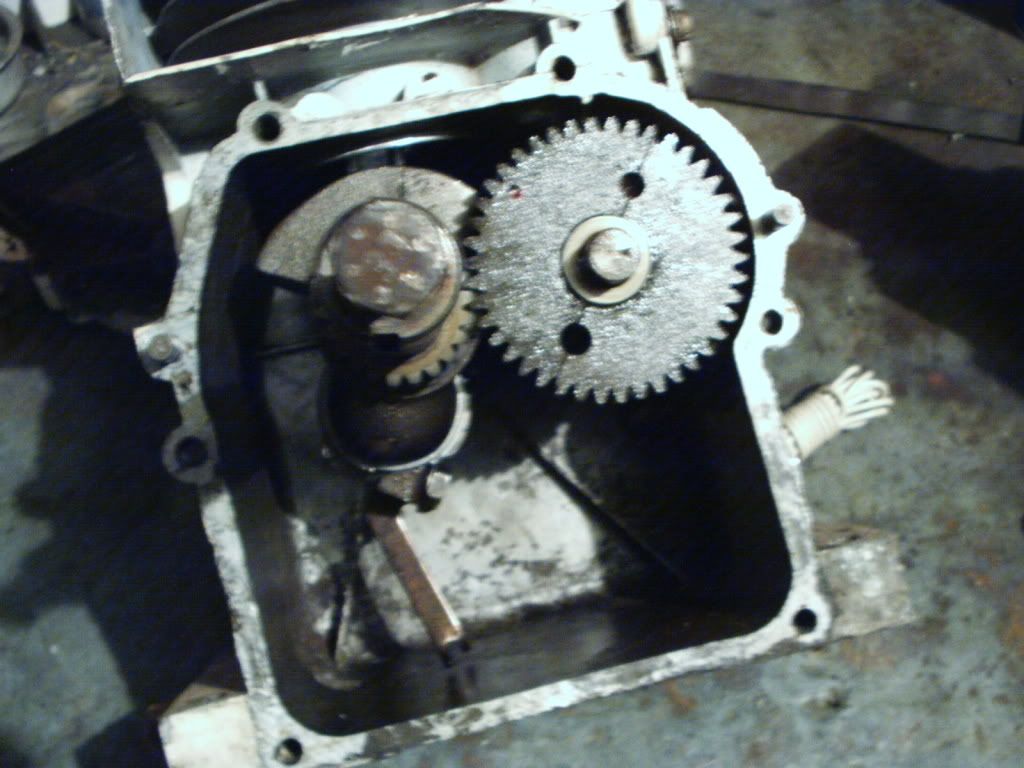
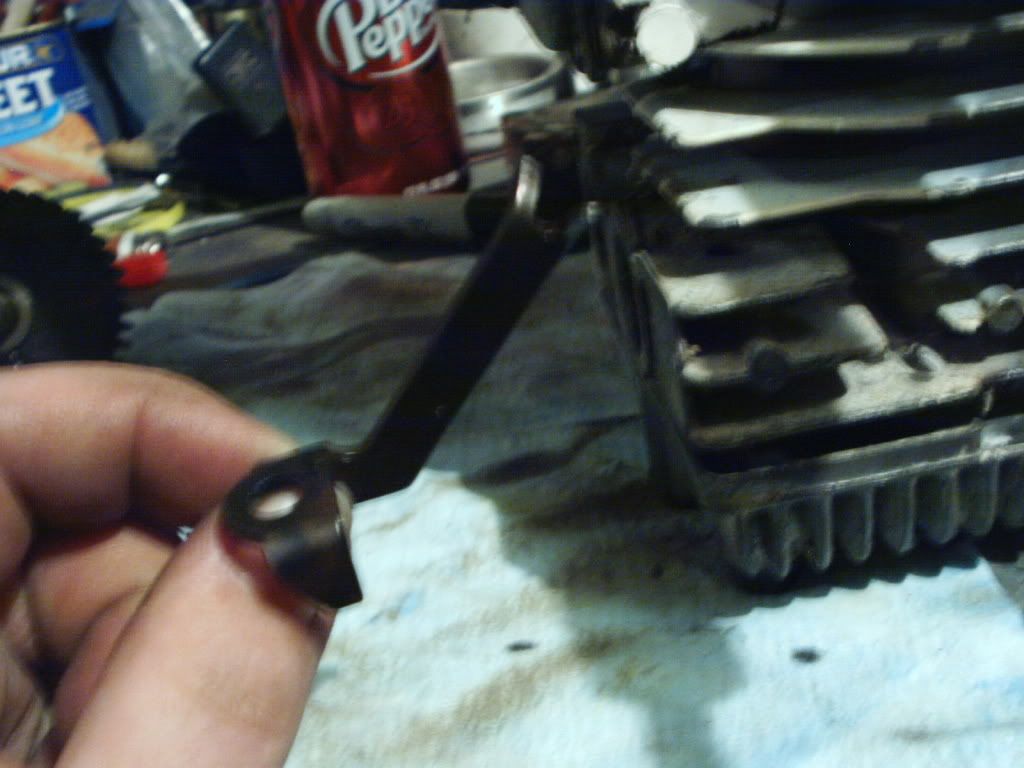
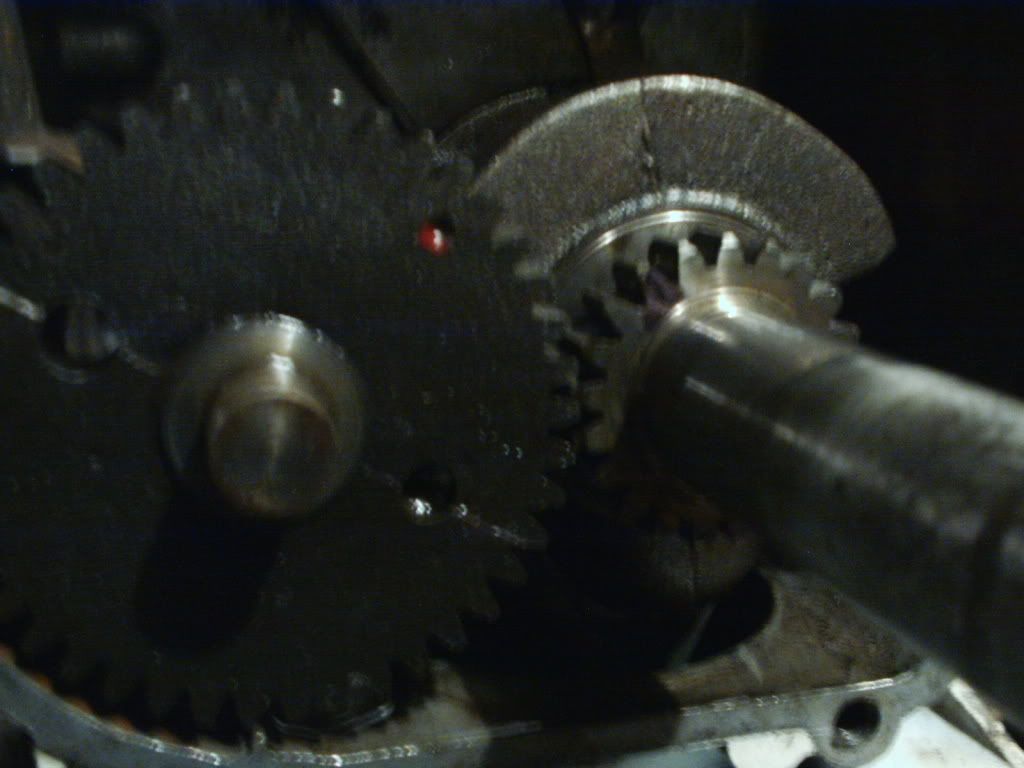
ok now pull the cam out , there is 2 lifters in there try and keep track of where they came from . mark them if you can as to where they go . marker works great , just wipe off the oil first . if you dont put them back in the same place your valve clearance will be messed up and you will be back in the case to redo them .
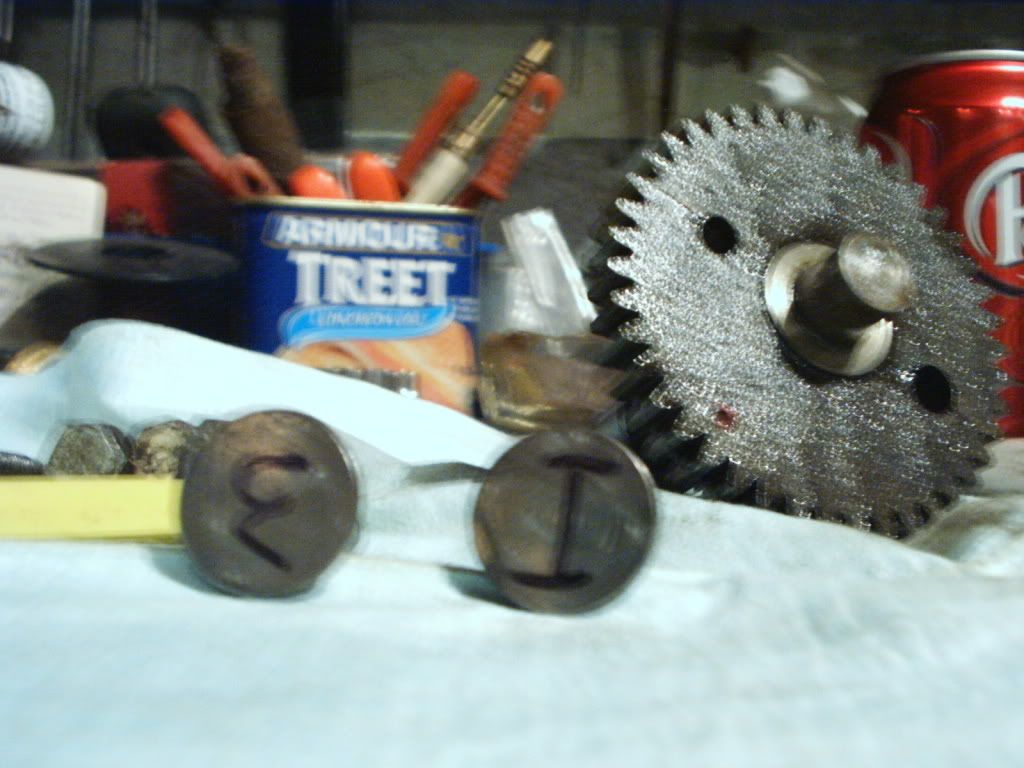
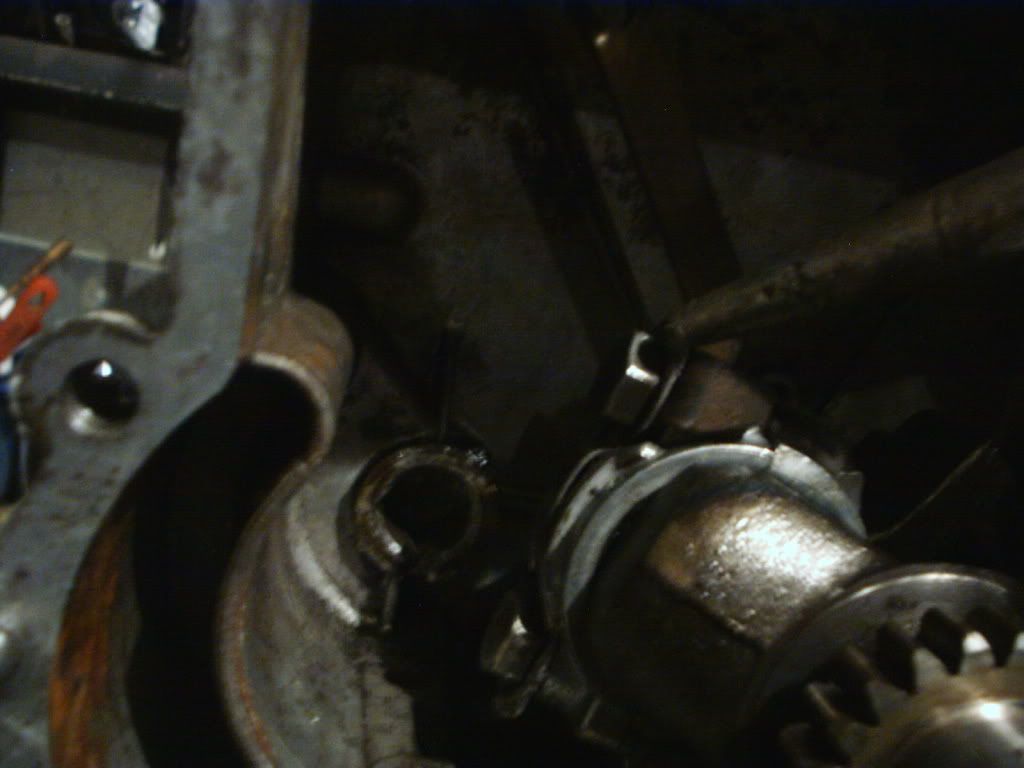
now we need to remove the rod bolts and cap . mark the rod and cap with a marker so you can put it back together the wright way . you can see the rod bolts and the locker tab . you need to flatten out the tab for the bolt to come loose . a screw driver or small punch works nice here . just tap with a hammer you dont need to go wild on it just need to get the bolt free to turn .
see marker line ?
you may find it easier to flip the block on its head to remove the bolts and tabs i have it on its head and sides to get to them .
and with the bolts out we can remove the cap
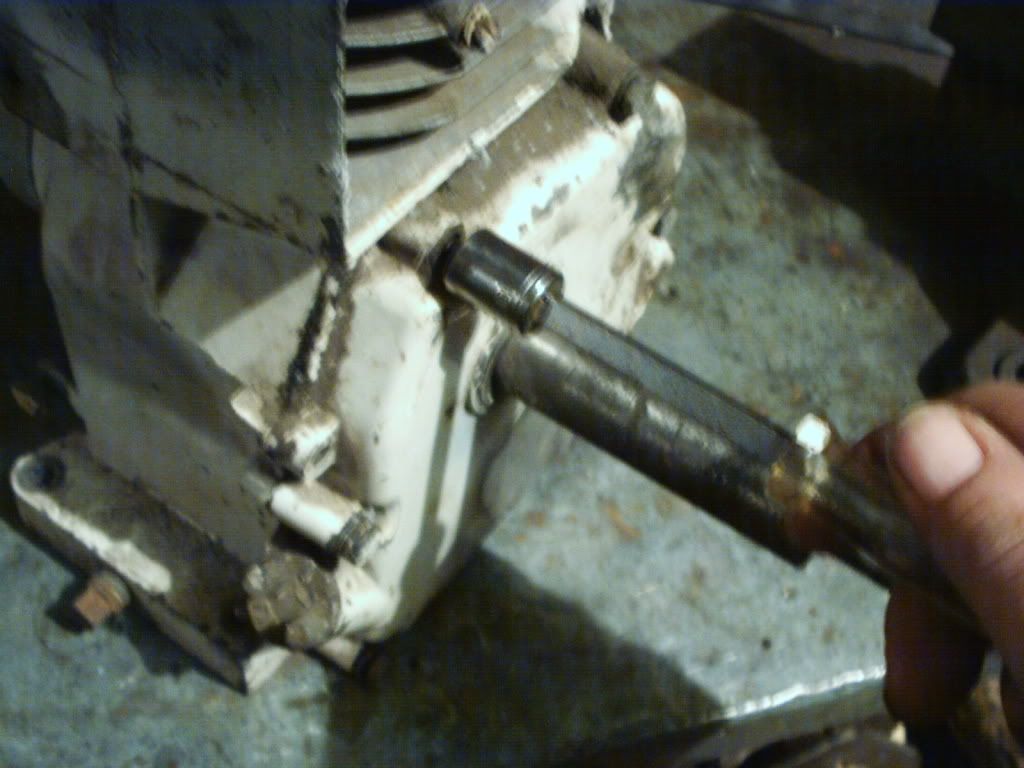
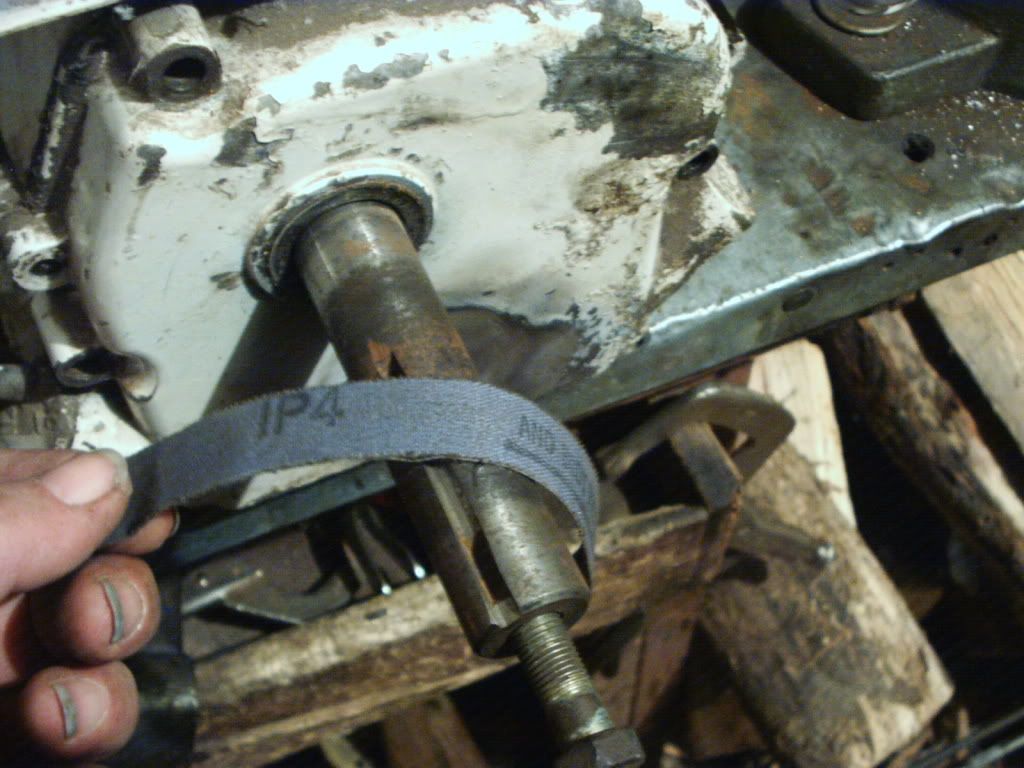
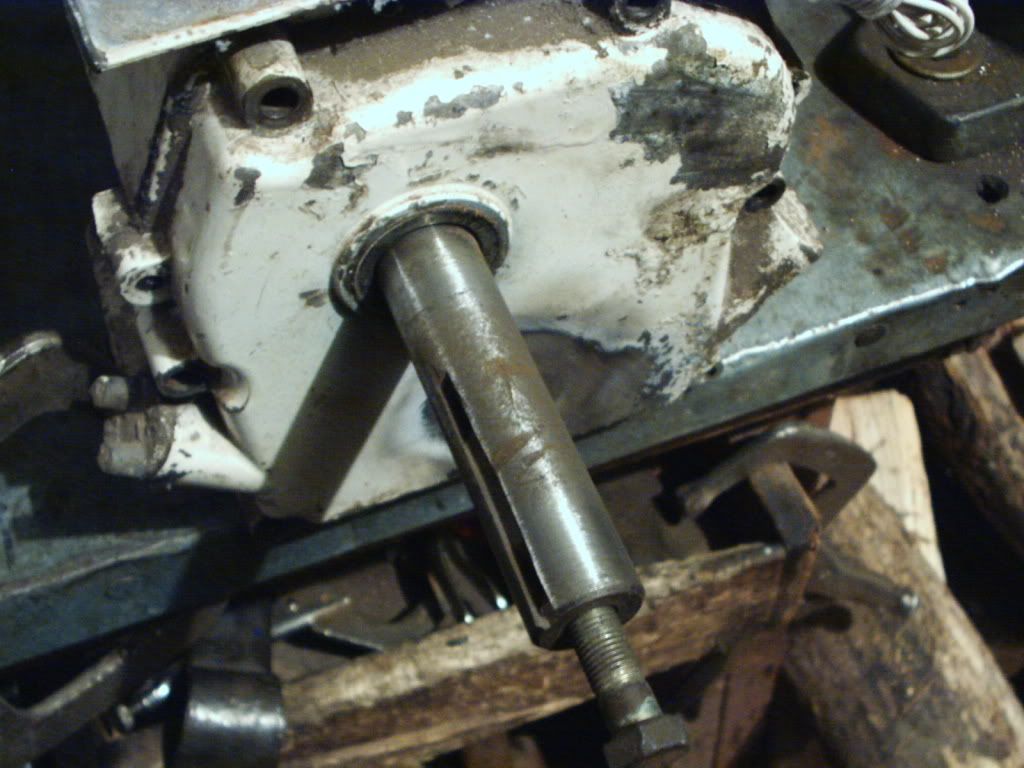
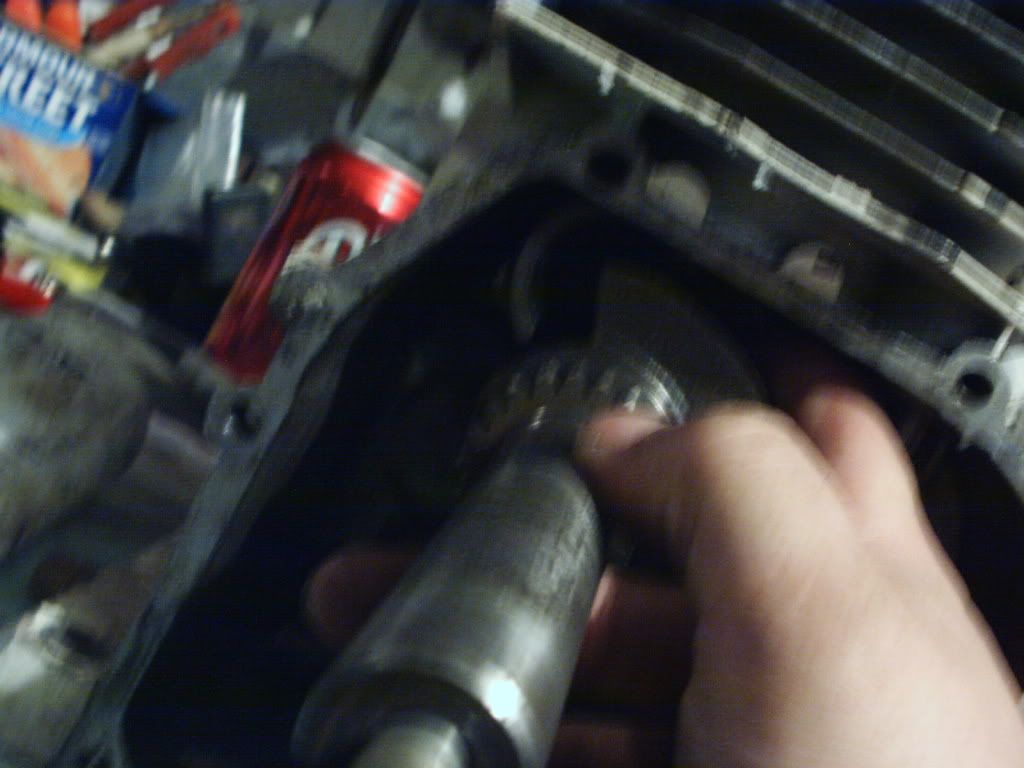
now carefully turn the crank to get the rod to the top of its stroke . removing the plug makes this much easier .
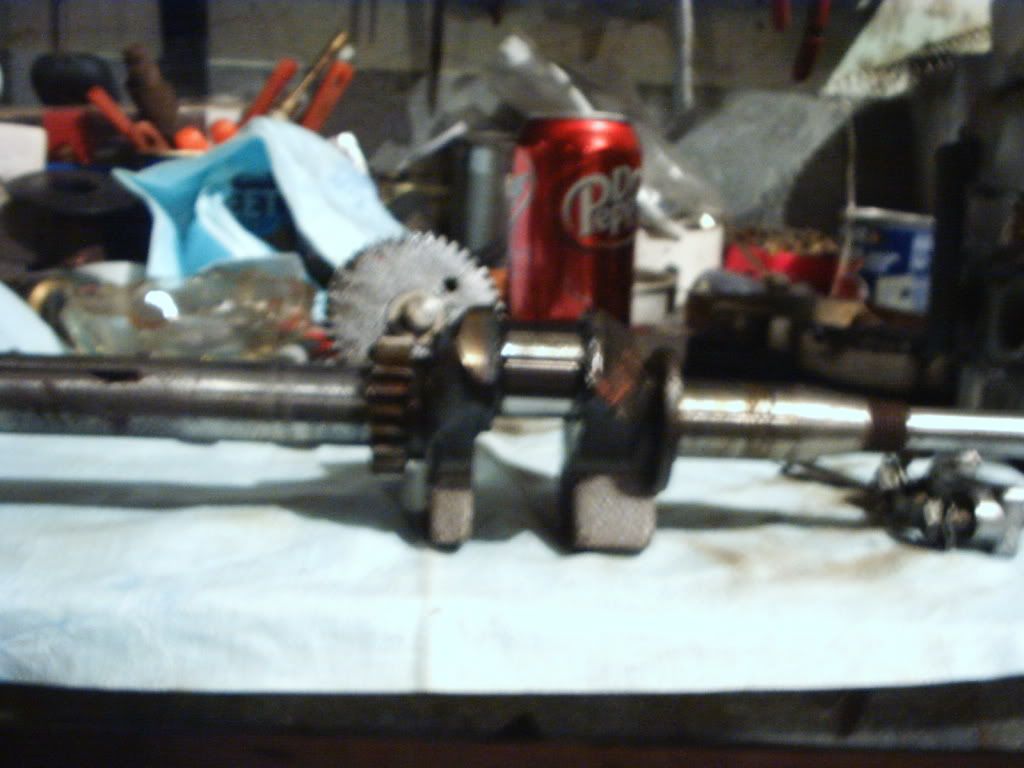
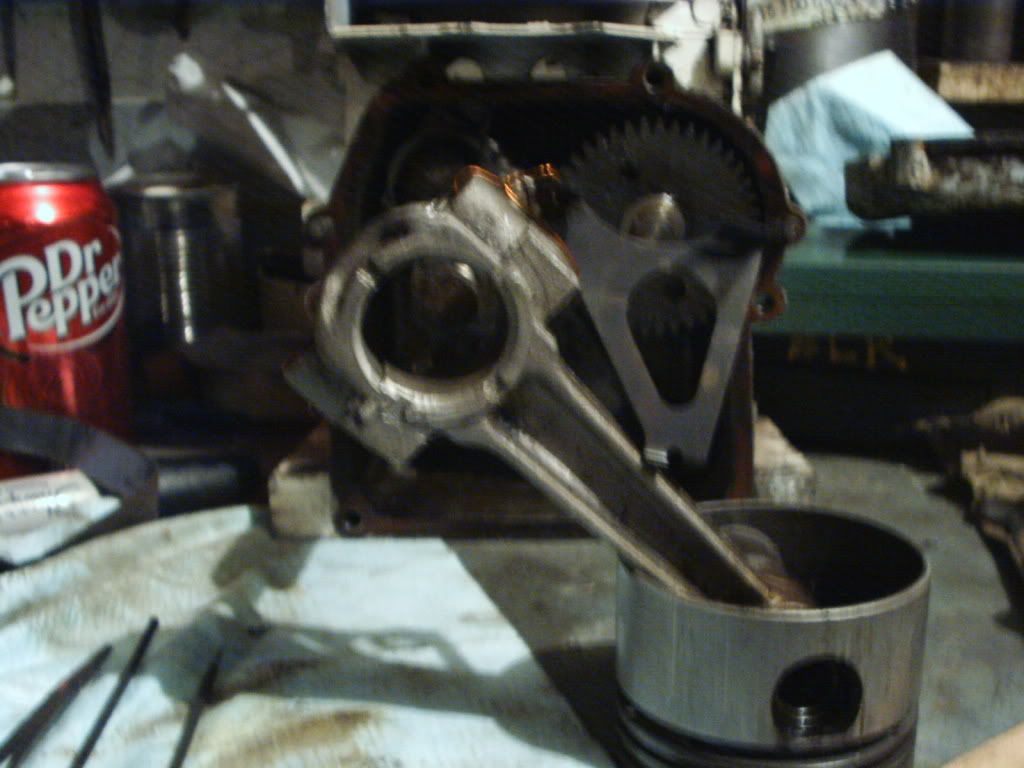
now if we turn the crank and push the rod we can slip the crank out of the block with the piston in the cylinder . and the head still on no need for a head gasket , or ring compressor . its like playing twister but it will come out . dont force it .
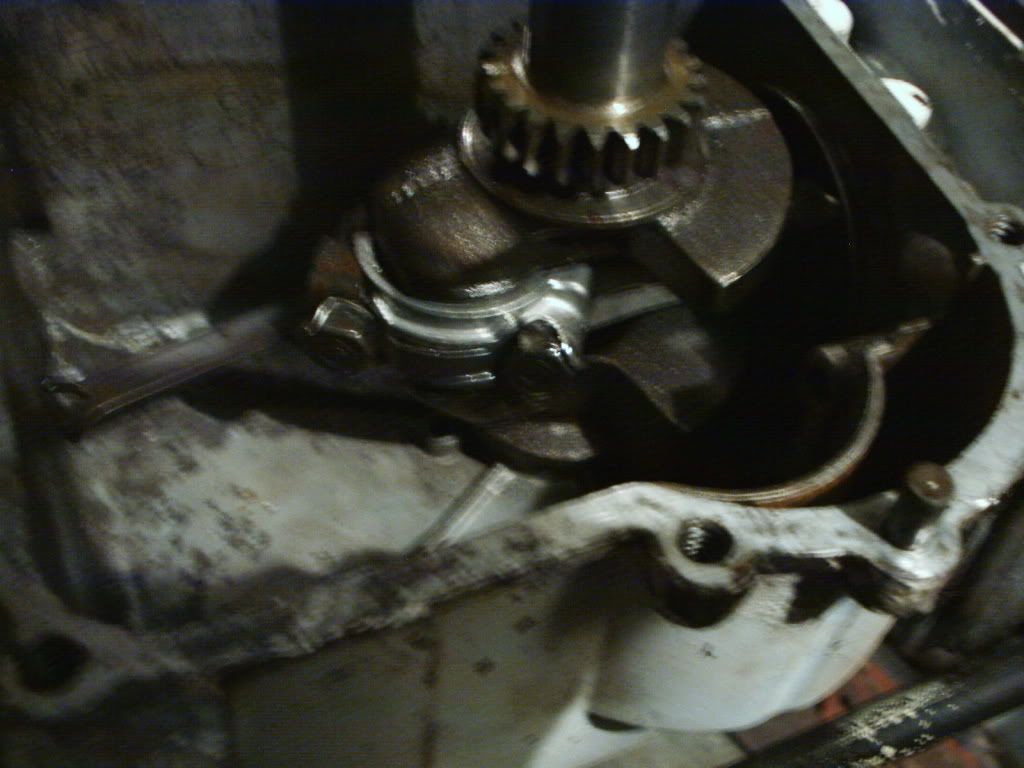
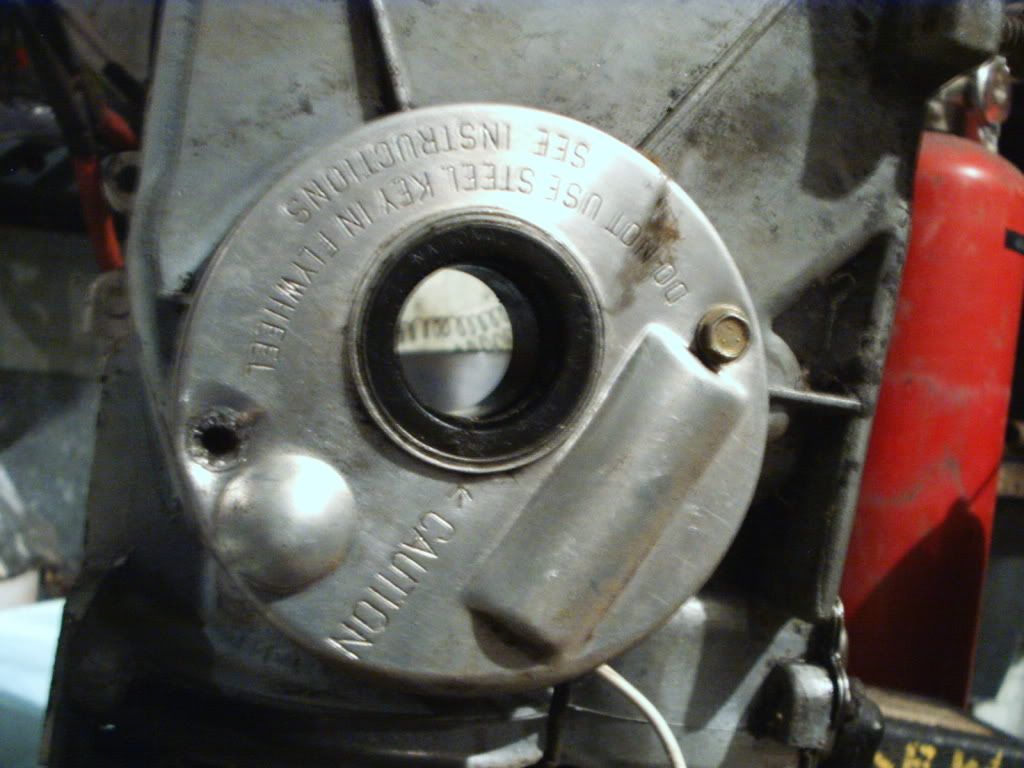
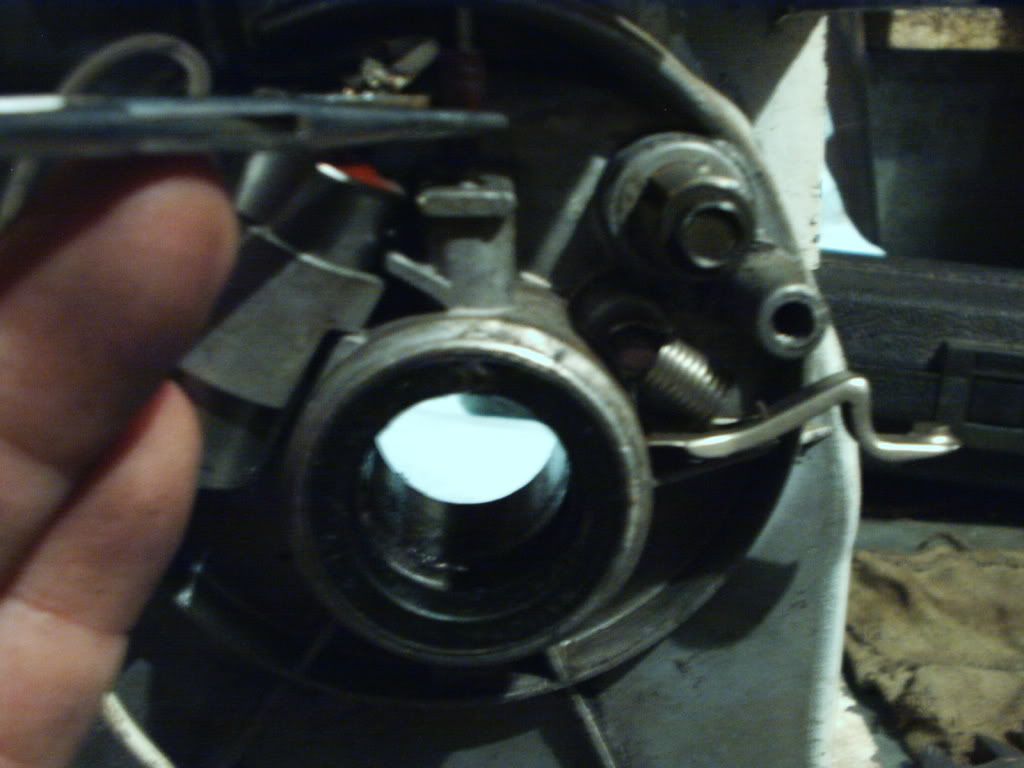
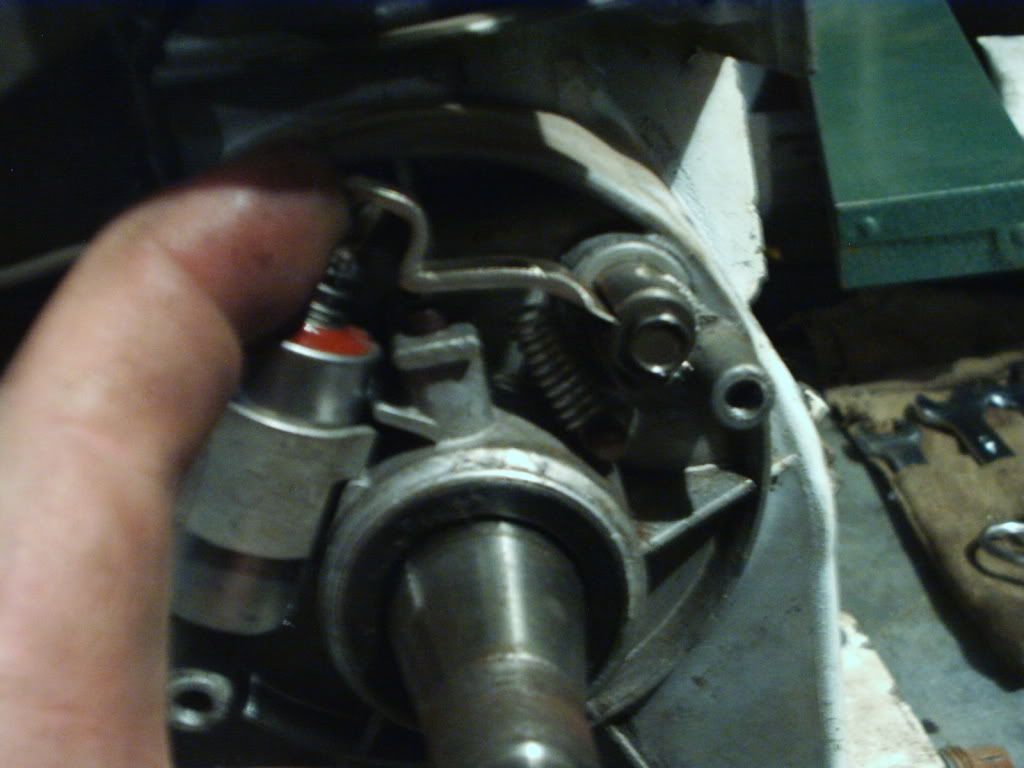
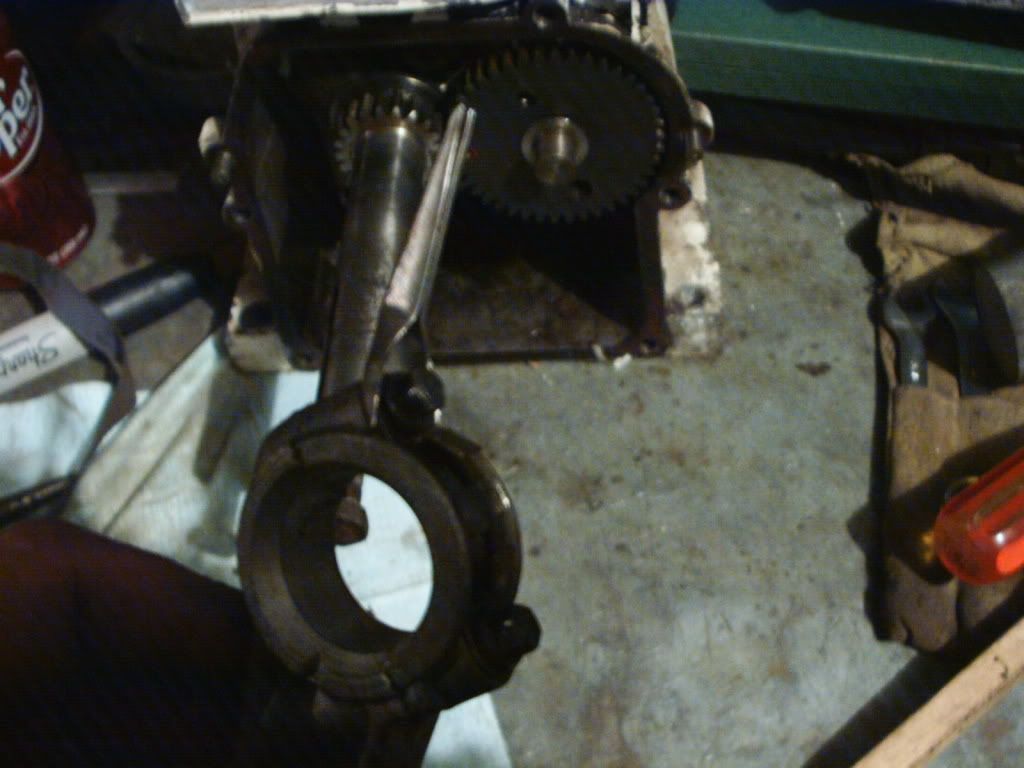
ok now if you have a older motor from like 1987 and before you will have points in your motor . under the flywheel you will find this
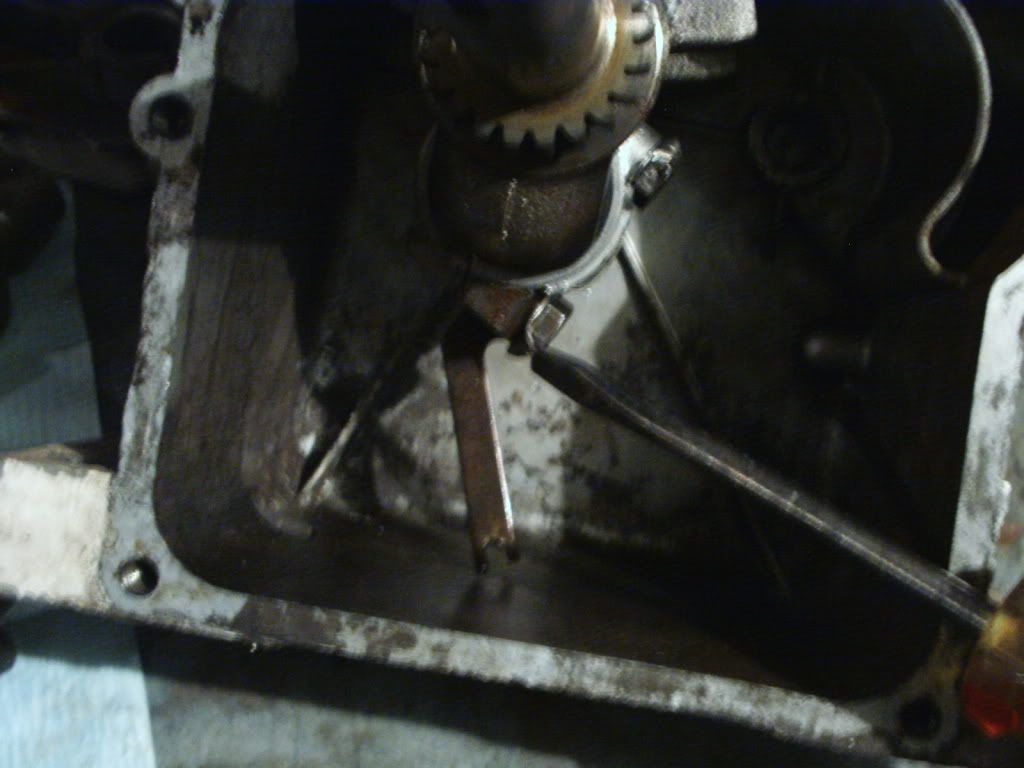
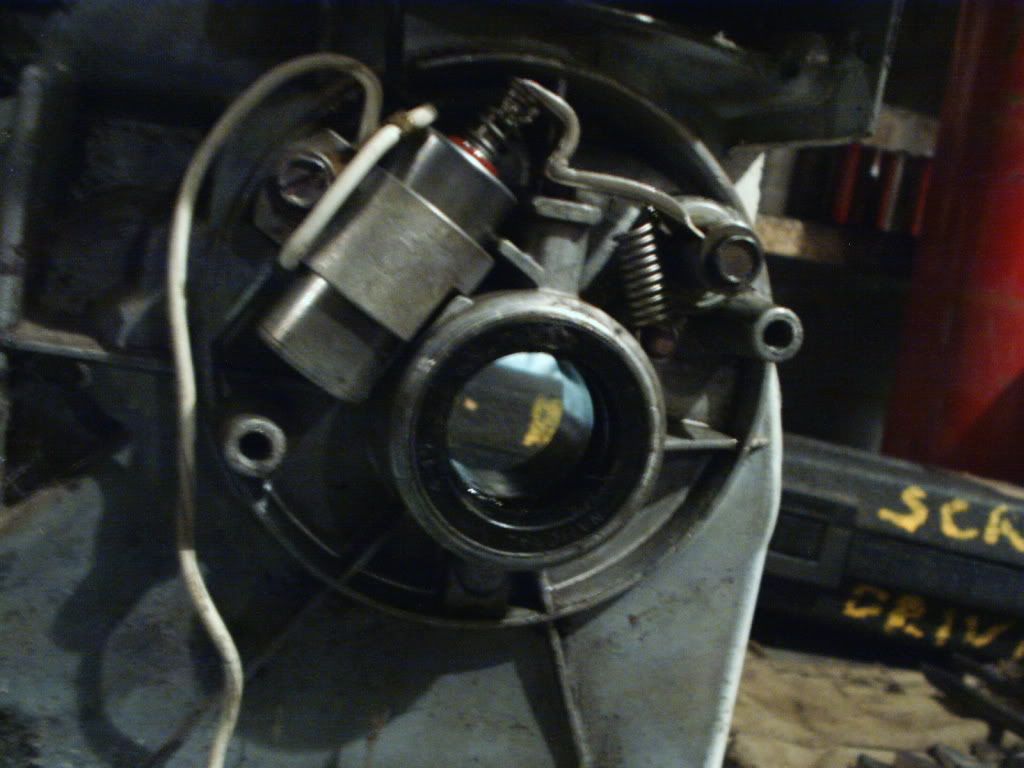
remove the cover we need to undo the plunger and moving point . so we dont wreck it .
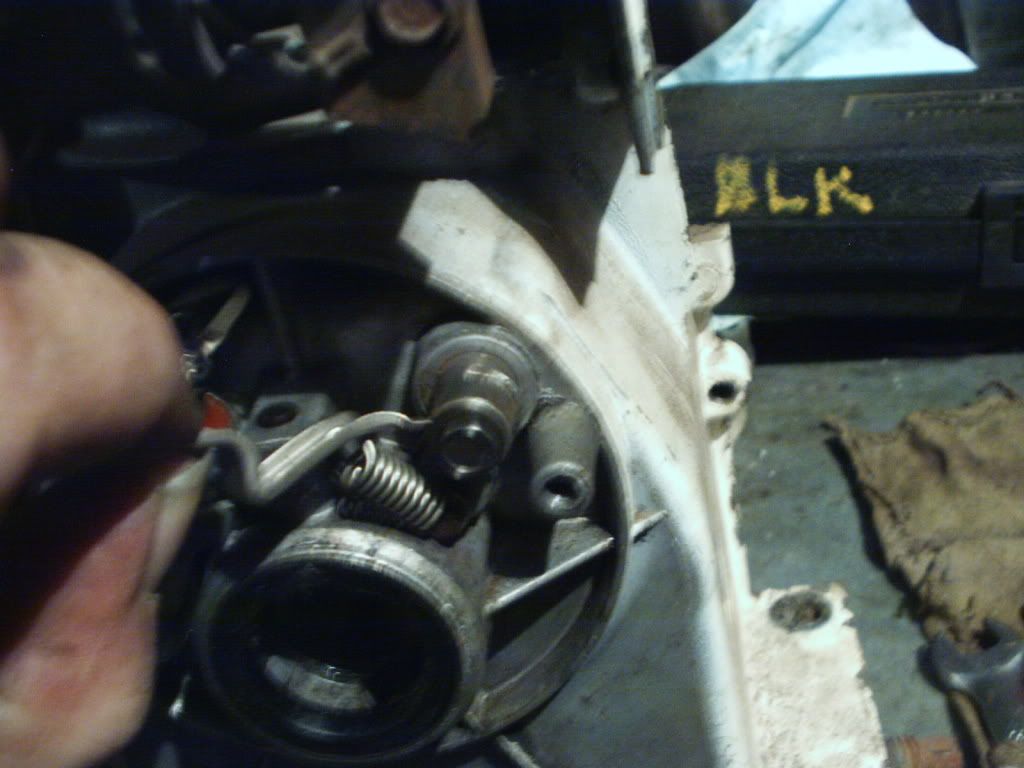
i find that lifting it up and pulling it to the side works best just watch the wire that hooks to the block . dont break it .
g
ok well we want the crank out of this block
. you will need to remove all the case bolts .
note if your crank is rusty or has any burs on it clean them off . it will help save the seal and makes removing the crank much easier .emery paper work great and is real cheap lasts a long time too
and a little playing the shoe shine boy gets us
now just tap on the case with a hammer and it should pop open . you just want to tap on each side of the case till it opens .
now should be able to grab the case on each side and walk it off . wiggle it a little on each side and pull it off . there is a gasket in there it may hang up or come out with no problems
it came out in one piece cool
and now we are in the case
ok now pull the cam out , there is 2 lifters in there try and keep track of where they came from . mark them if you can as to where they go . marker works great , just wipe off the oil first . if you dont put them back in the same place your valve clearance will be messed up and you will be back in the case to redo them .
now we need to remove the rod bolts and cap . mark the rod and cap with a marker so you can put it back together the wright way . you can see the rod bolts and the locker tab . you need to flatten out the tab for the bolt to come loose . a screw driver or small punch works nice here . just tap with a hammer you dont need to go wild on it just need to get the bolt free to turn .
see marker line ?
you may find it easier to flip the block on its head to remove the bolts and tabs i have it on its head and sides to get to them .
and with the bolts out we can remove the cap
now carefully turn the crank to get the rod to the top of its stroke . removing the plug makes this much easier .
now if we turn the crank and push the rod we can slip the crank out of the block with the piston in the cylinder . and the head still on no need for a head gasket , or ring compressor . its like playing twister but it will come out . dont force it .
ok now if you have a older motor from like 1987 and before you will have points in your motor . under the flywheel you will find this
remove the cover we need to undo the plunger and moving point . so we dont wreck it .
i find that lifting it up and pulling it to the side works best just watch the wire that hooks to the block . dont break it .
g
Last edited:

 ut:
ut: