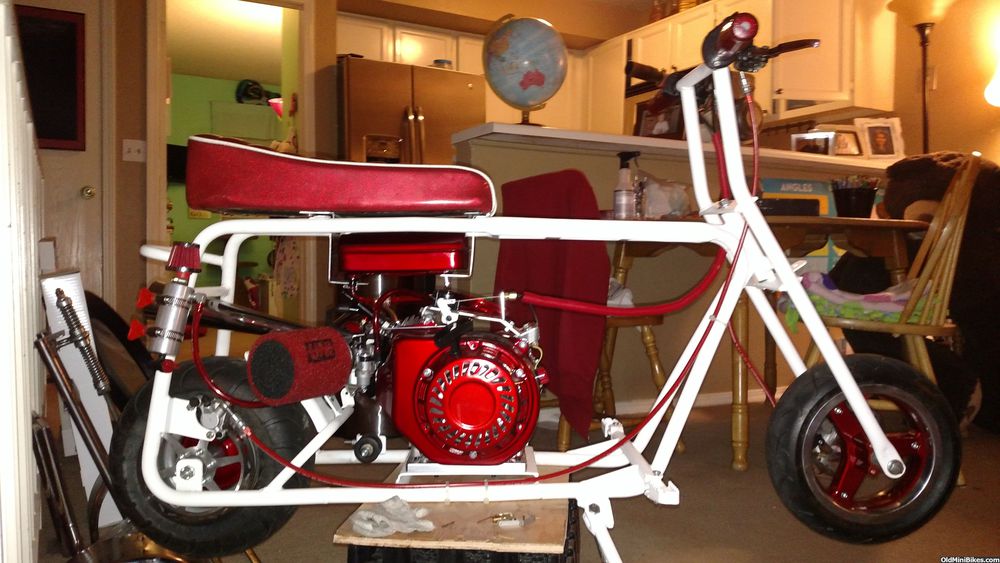
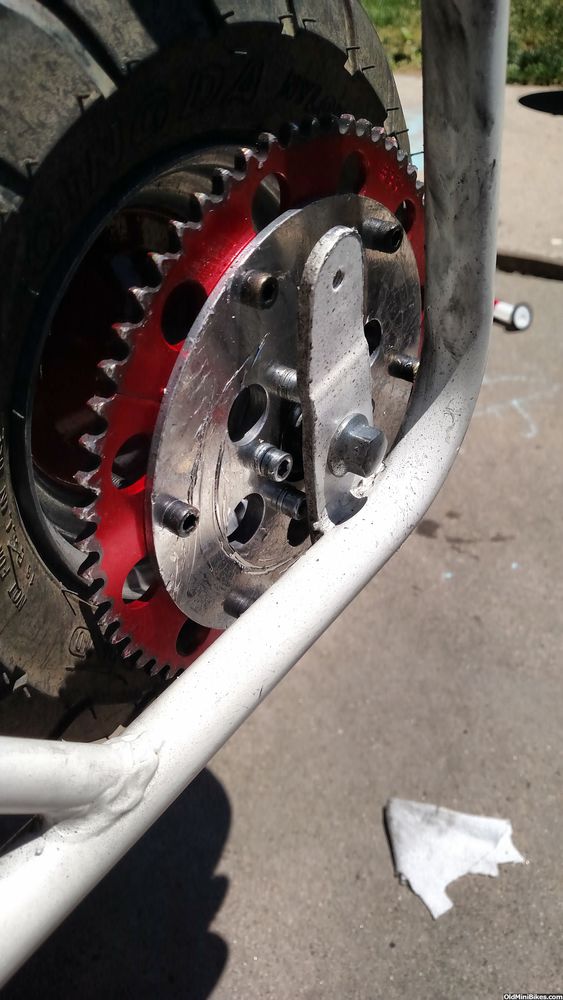
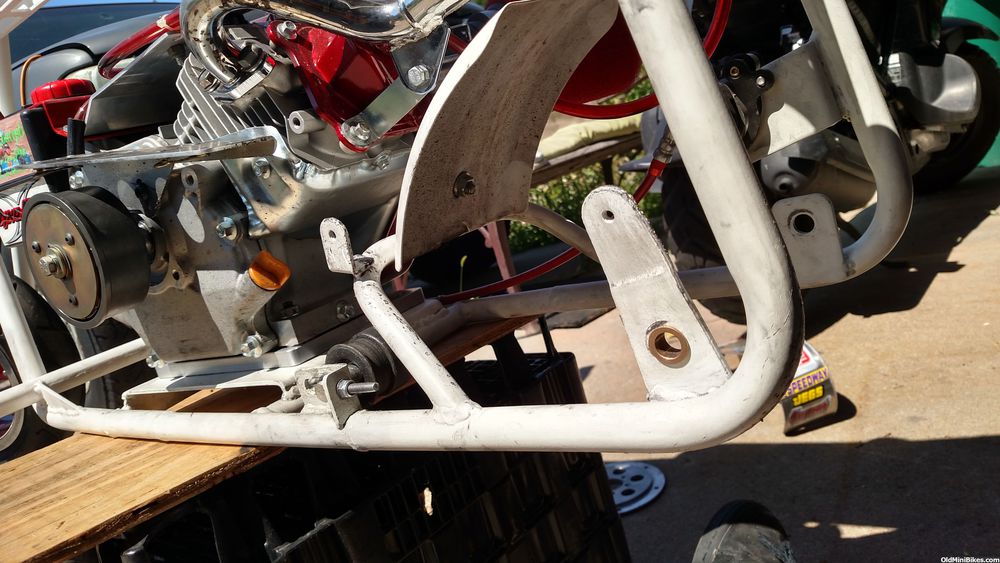
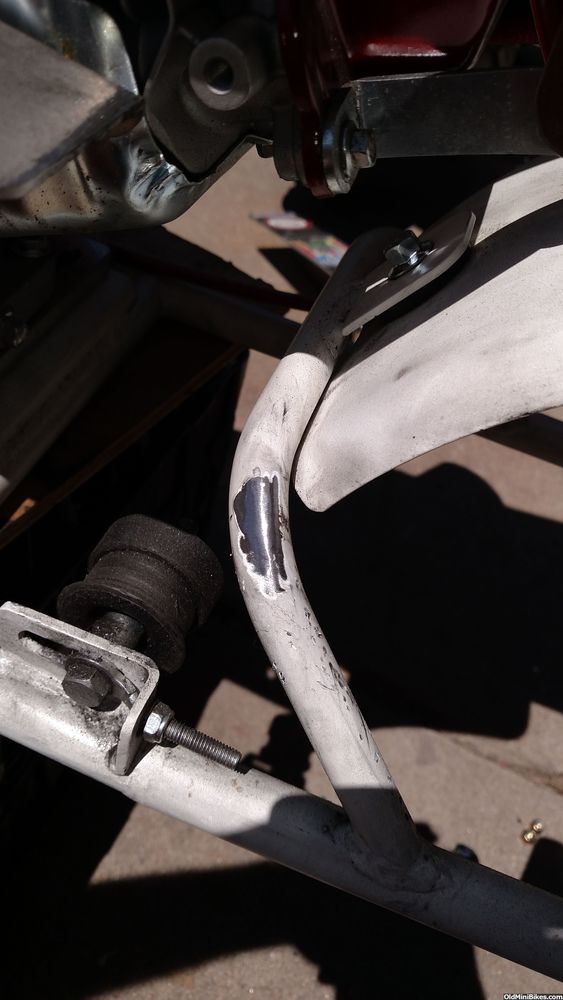
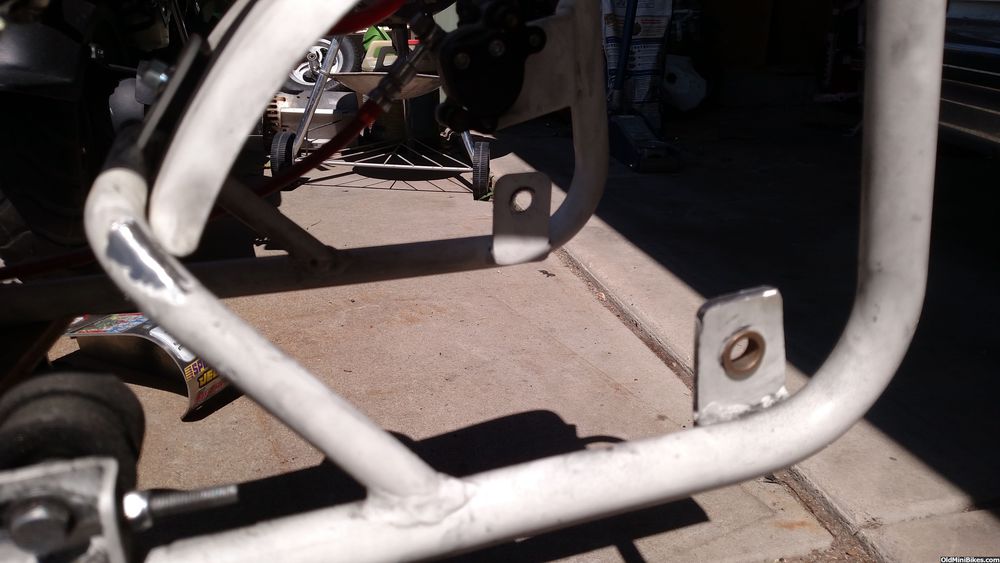
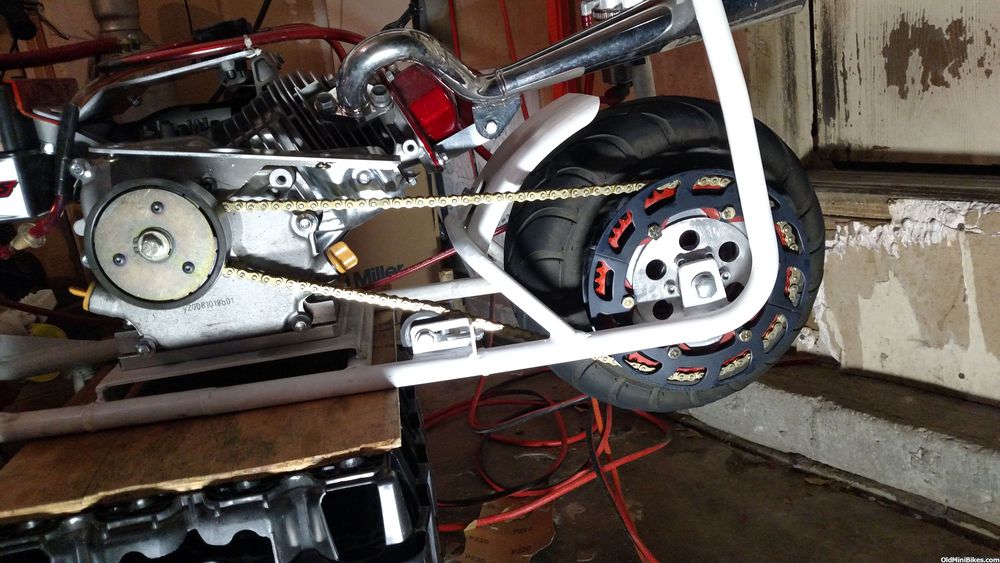
When I was looking at the pictures I was hoping I'd see a picture of an added brace from the axle tab to the rear frame. When I saw the painted pic I thought, crap, he didn't brace it.
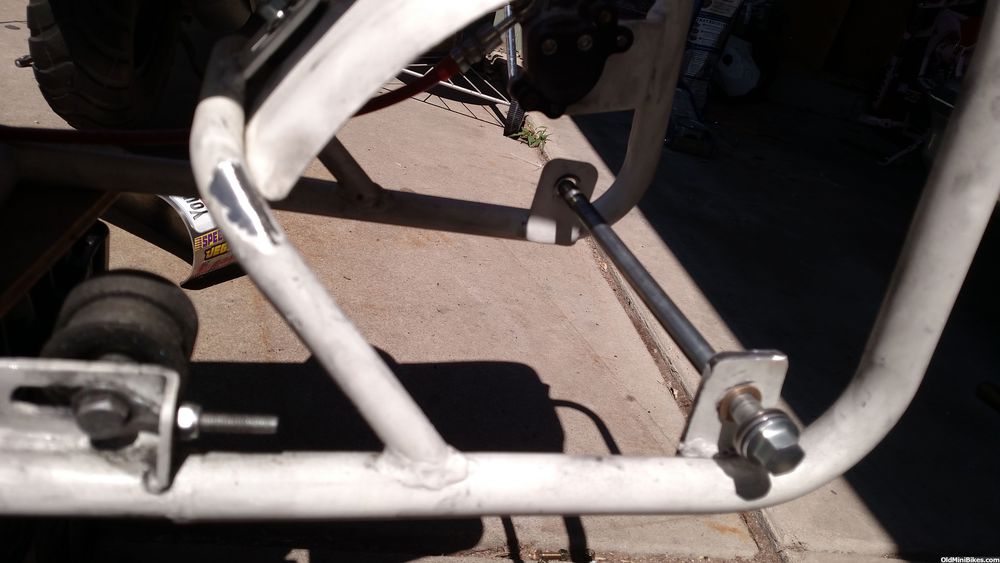
With 19 hp and a 3900 engagement that tab is probably flexing forward. A brace added from the top of the tab to the rear frame up- right bar would reinforce that area a lot. Since it is flat white spray paint, in my opinion, you should add the brace and spray on some more white paint. The time and effort to do would be better for the long run. Add a brace to both sides of course.
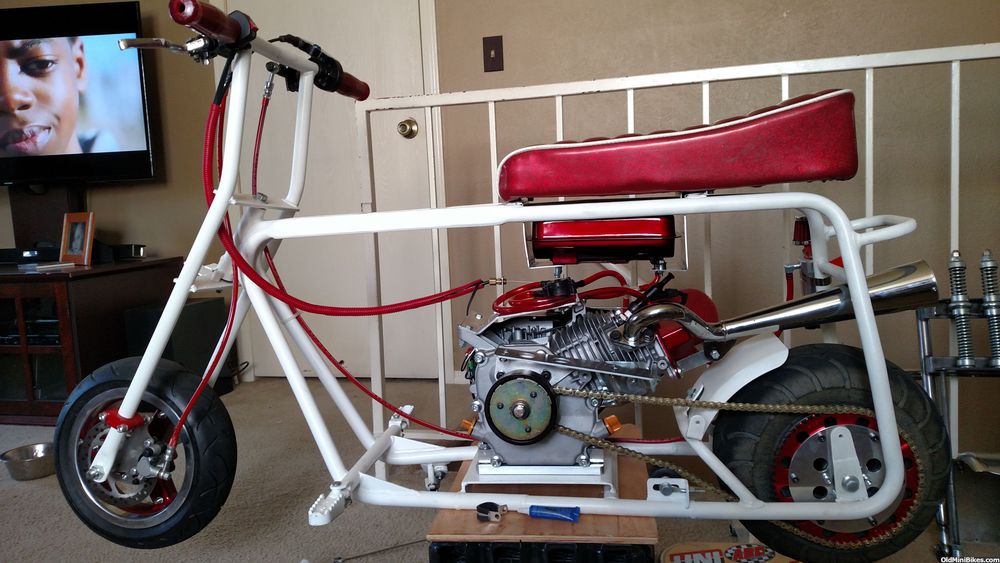
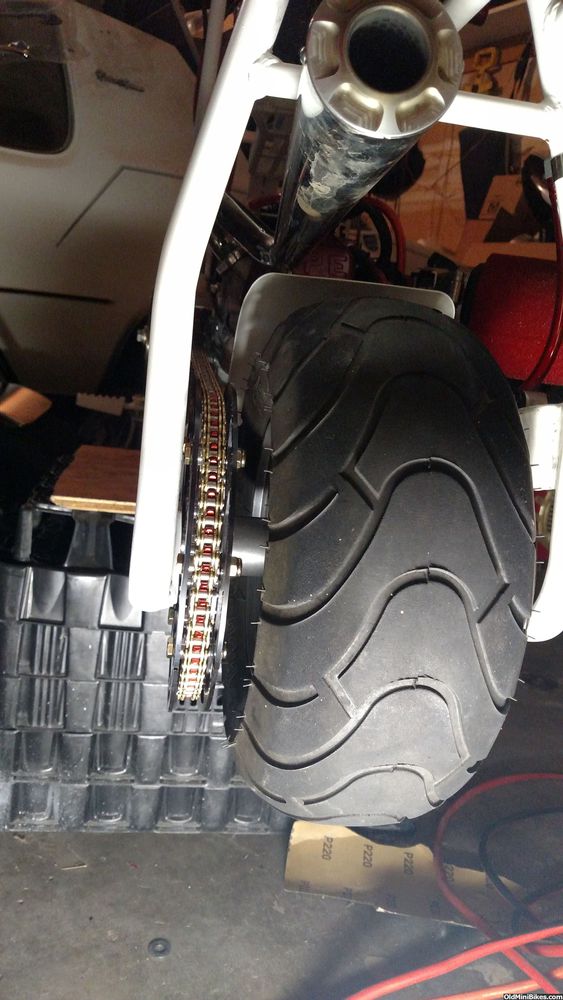
Do you have an iPhone with the slow motion video option? If so record a side view close up of that area when you launch the bike hard. You will see things twist and flex back there. The chain is pulling hard across the top of the sprocket. The bottom of the frame may even bow down between the engine plate and rear wheel on a launch. That will make the chain loose too resulting in popping a chain off.
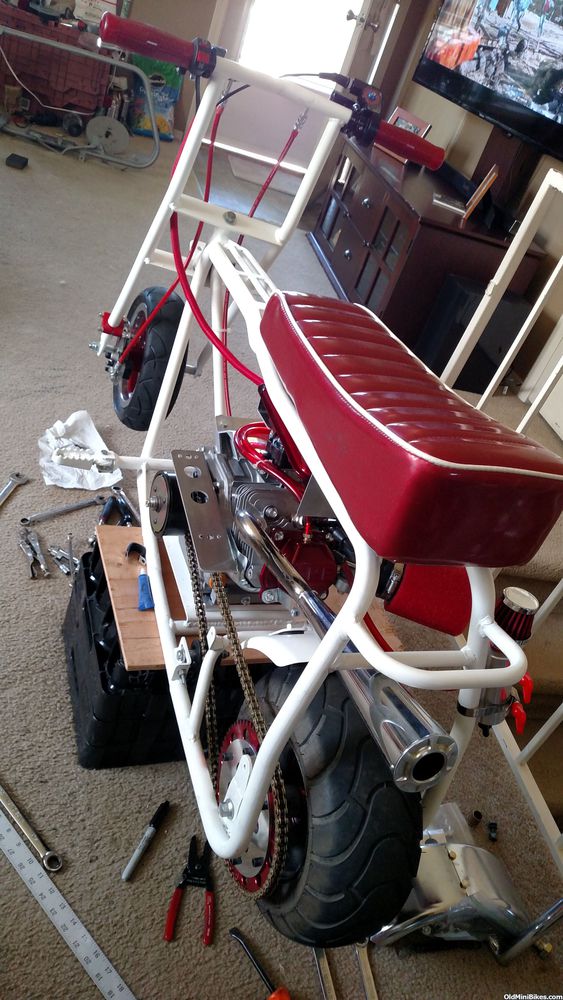
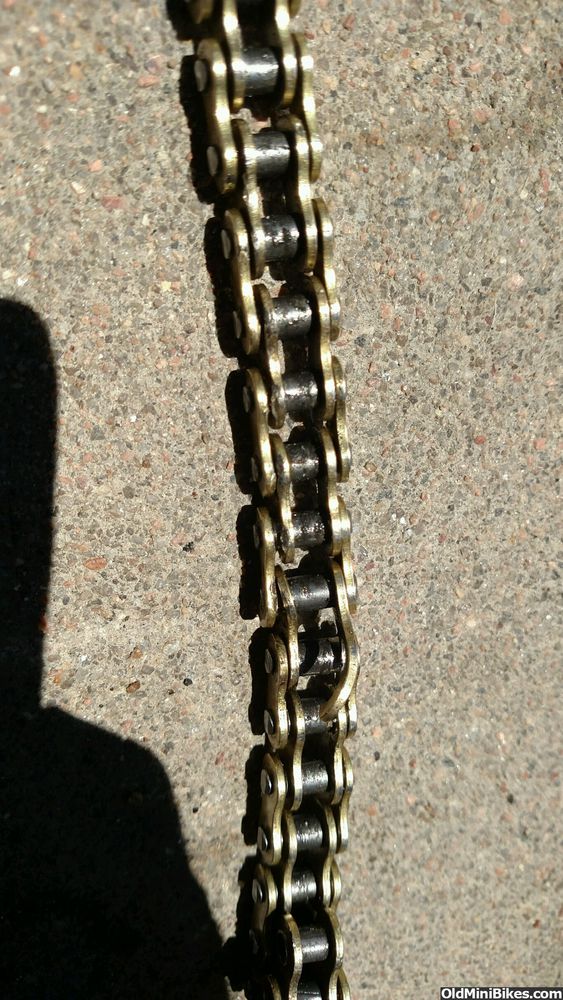
You mentioned breaking chains and buying a 60T sprocket. Are you switching to a stronger #40 or #41 chain? #35 chain seems to be a bit weak for your application (just my opinion - others will vary).
Building up a powerful minibike is like building up a race car. Every part of it has to be super heavy duty. The weakest part will fail. Then when you correct that something else will fail as it is now the weakest part. It is an endless cycle.
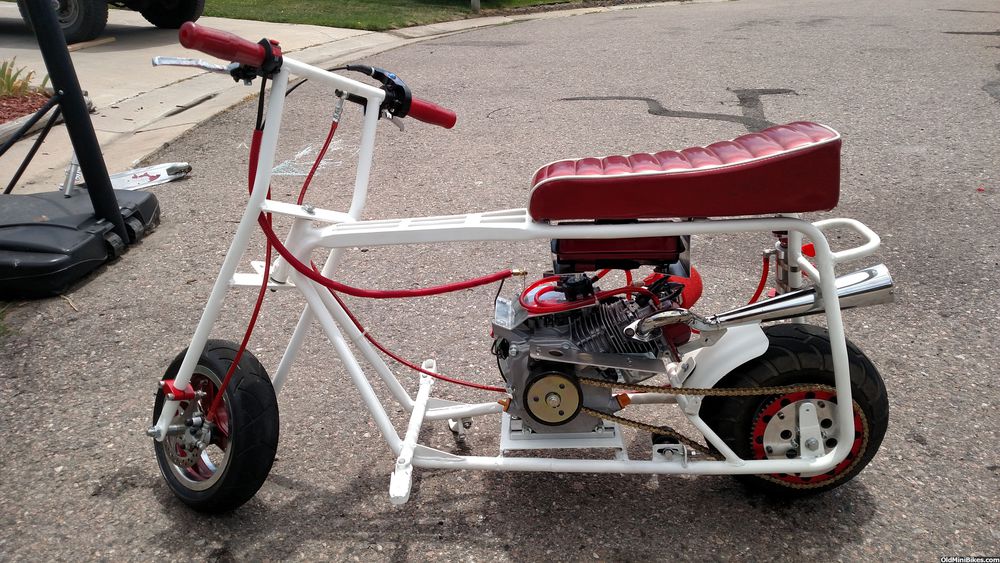
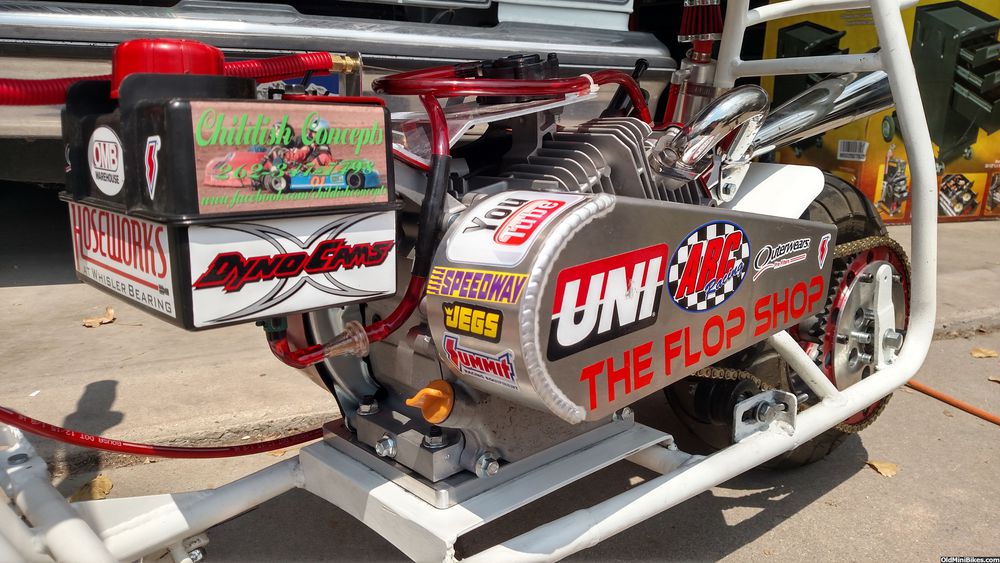
Keep us posted. I really like this bike
")
Danford1

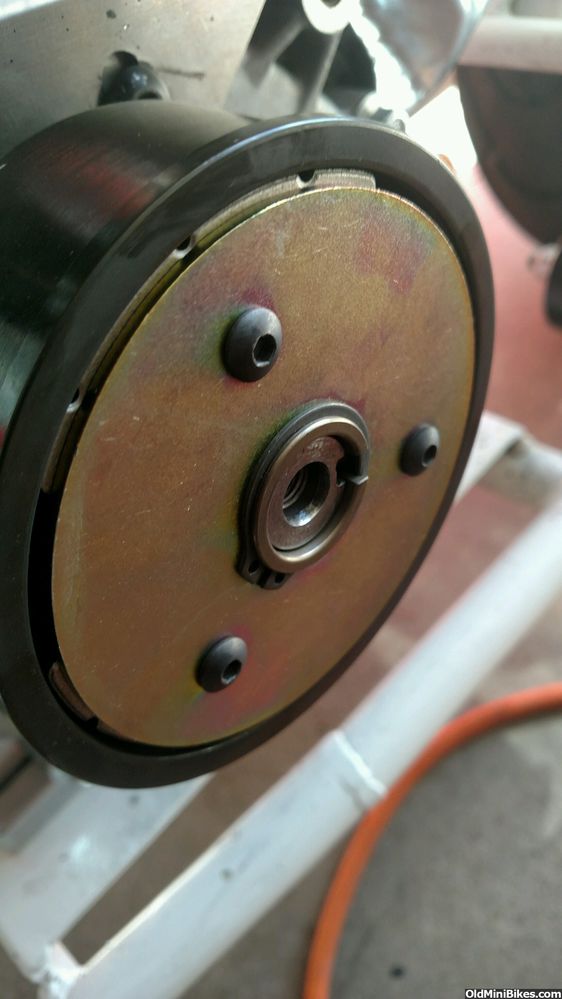
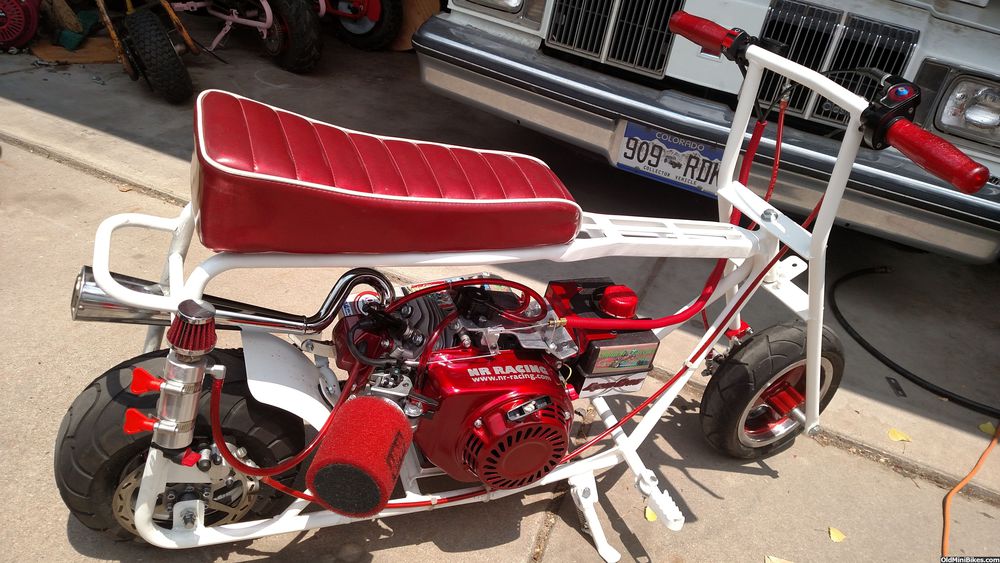
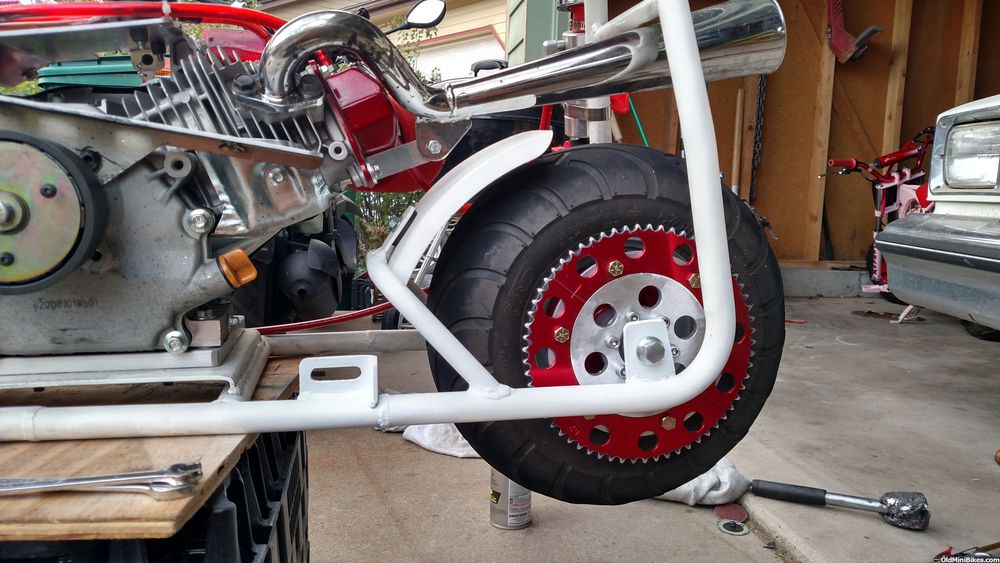
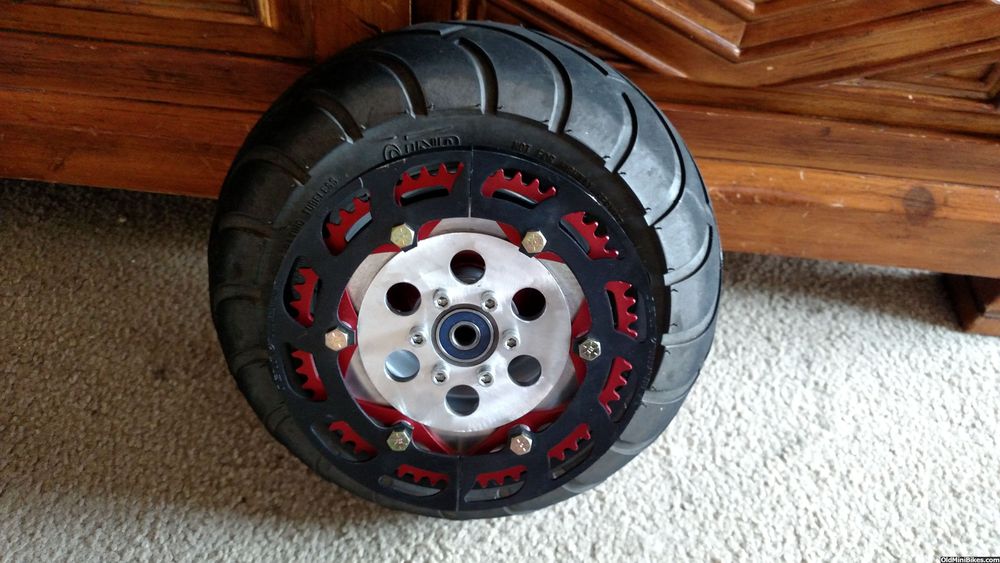
 I also re-painted the back wheel centers to match
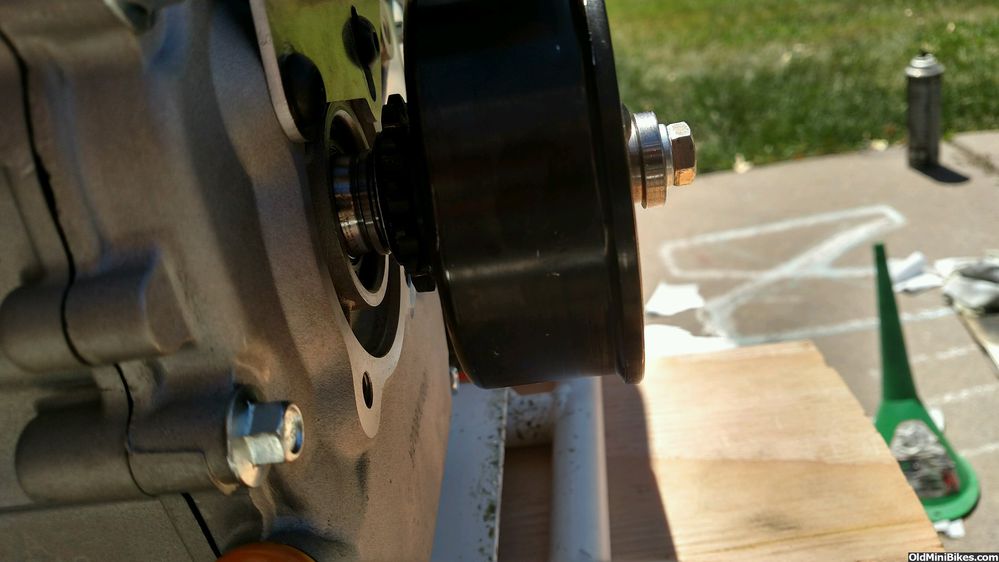
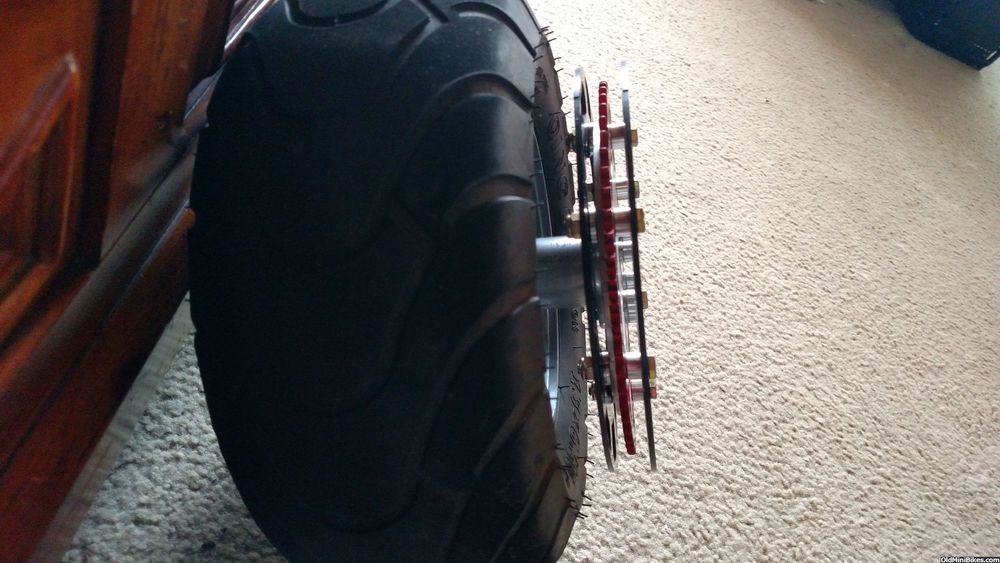
 Then mounted it and a new 62t split sprocket on the bike