Just for Fun OND Lil Indian 6000
- Thread starter OND
- Start date

Your moving right along Eric. Beautiful work as always.
Seriously good work, that is a stylie exhuast!
I see you are keeping her warm , lol !!
The way those wheels shine, you put six long hours into them...look great!
Cool stuff..Must be for baking parts..:laugh: make me some cookies!!
Last edited:
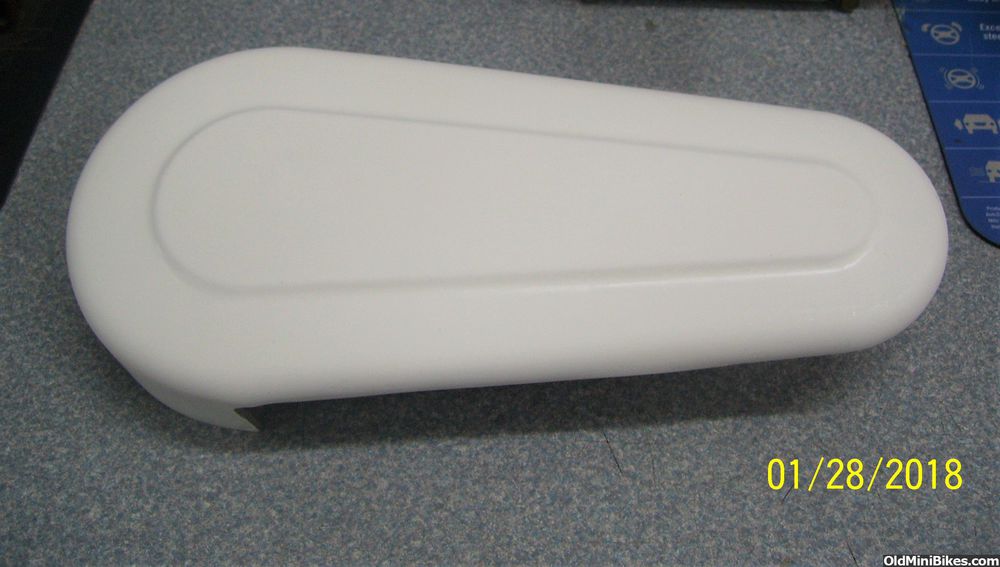
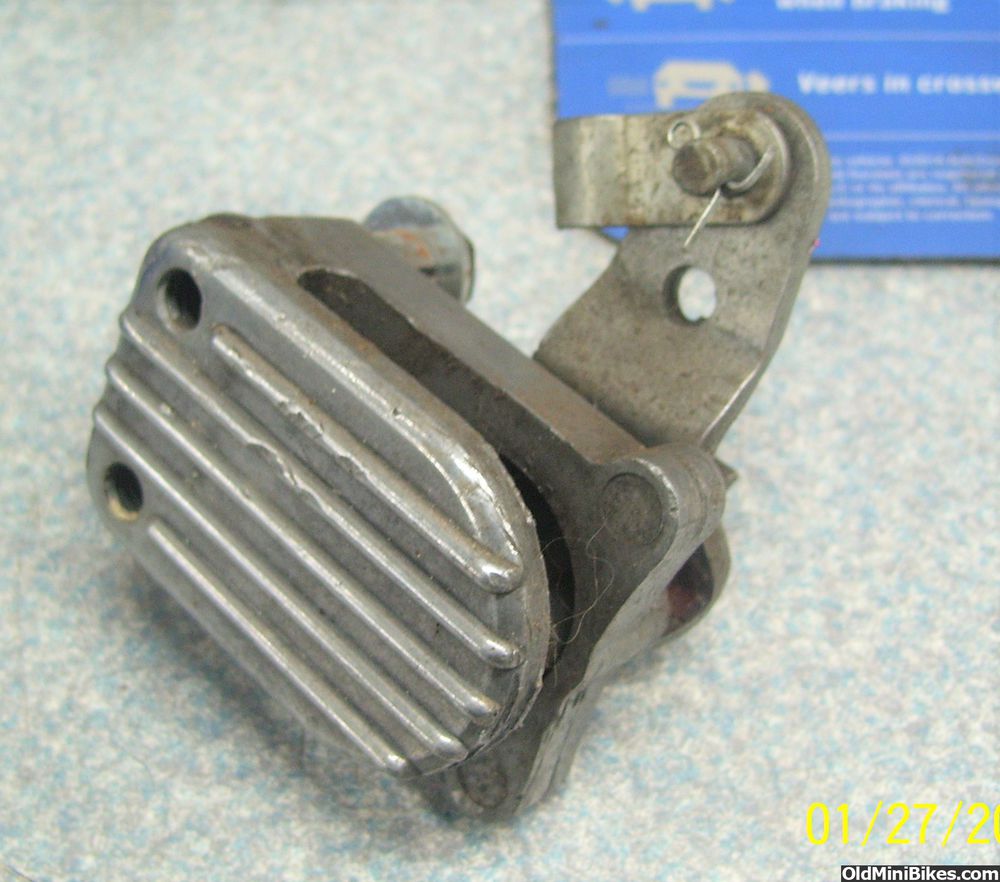
Hey Pete , here's the pull rope assembly for the engine I have . I had another blower housing left off of another engine....so that's the one that I powder coated , I myself like the old style covers and pull rope housings. Maybe we can figure out how to put the newer style pull starter in to a old model housing . Any thoughts ?

Hey Pete , here's the pull rope assembly for the engine I have . I had another blower housing left off of another engine....so that's the one that I powder coated , I myself like the old style covers and pull rope housings. Maybe we can figure out how to put the newer style pull starter in to a old model housing . Any thoughts ?
In the alternative, maybe a Tecumseh recoil and a cup will work just as well (and way less work!).
I think the spool assembly is riveted together. If you can measure the depth of the recoil spool/spring, and if it'll fit into the old style "case," that's part one. Should be able to fold the tabs back down. To replace the center rivet, a two piece furniture screw should do the trick. Then it's a matter of making sure the cup clears the spool inside the "old case." Make sense???
In the alternative, maybe a Tecumseh recoil and a cup will work just as well (and way less work!).
In the alternative, maybe a Tecumseh recoil and a cup will work just as well (and way less work!).
Wow, your really cruising right along and It looks amazing! It took me 3 weeks just to decide to do the build off, Jeez I really have to step it up,

Looking good and your progress was much better than mine...The pucks, btw, are going to need to be cut down to fit. I used a hacksaw on mine last year--you can almost get two sets from one, but only almost.:laugh:
Where did you find a clutch cover?
Sent from my iPad using Tapatalk
Sent from my iPad using Tapatalk
Thanks Guys ! First set back happened today.. when I got the frame back from the PC guy. It looks ok I guess but doesn't have the high gloss shine I thought it should have. I'm going with it because I don't have a big enough oven to do it myself and really would hate to have to take the time to strip the frame back down anyway.
I won't be posting any pics of the frame !
On a good note the powder for the engine will be here tomorrow and I can get my mind off this frame .
I won't be posting any pics of the frame !
On a good note the powder for the engine will be here tomorrow and I can get my mind off this frame .