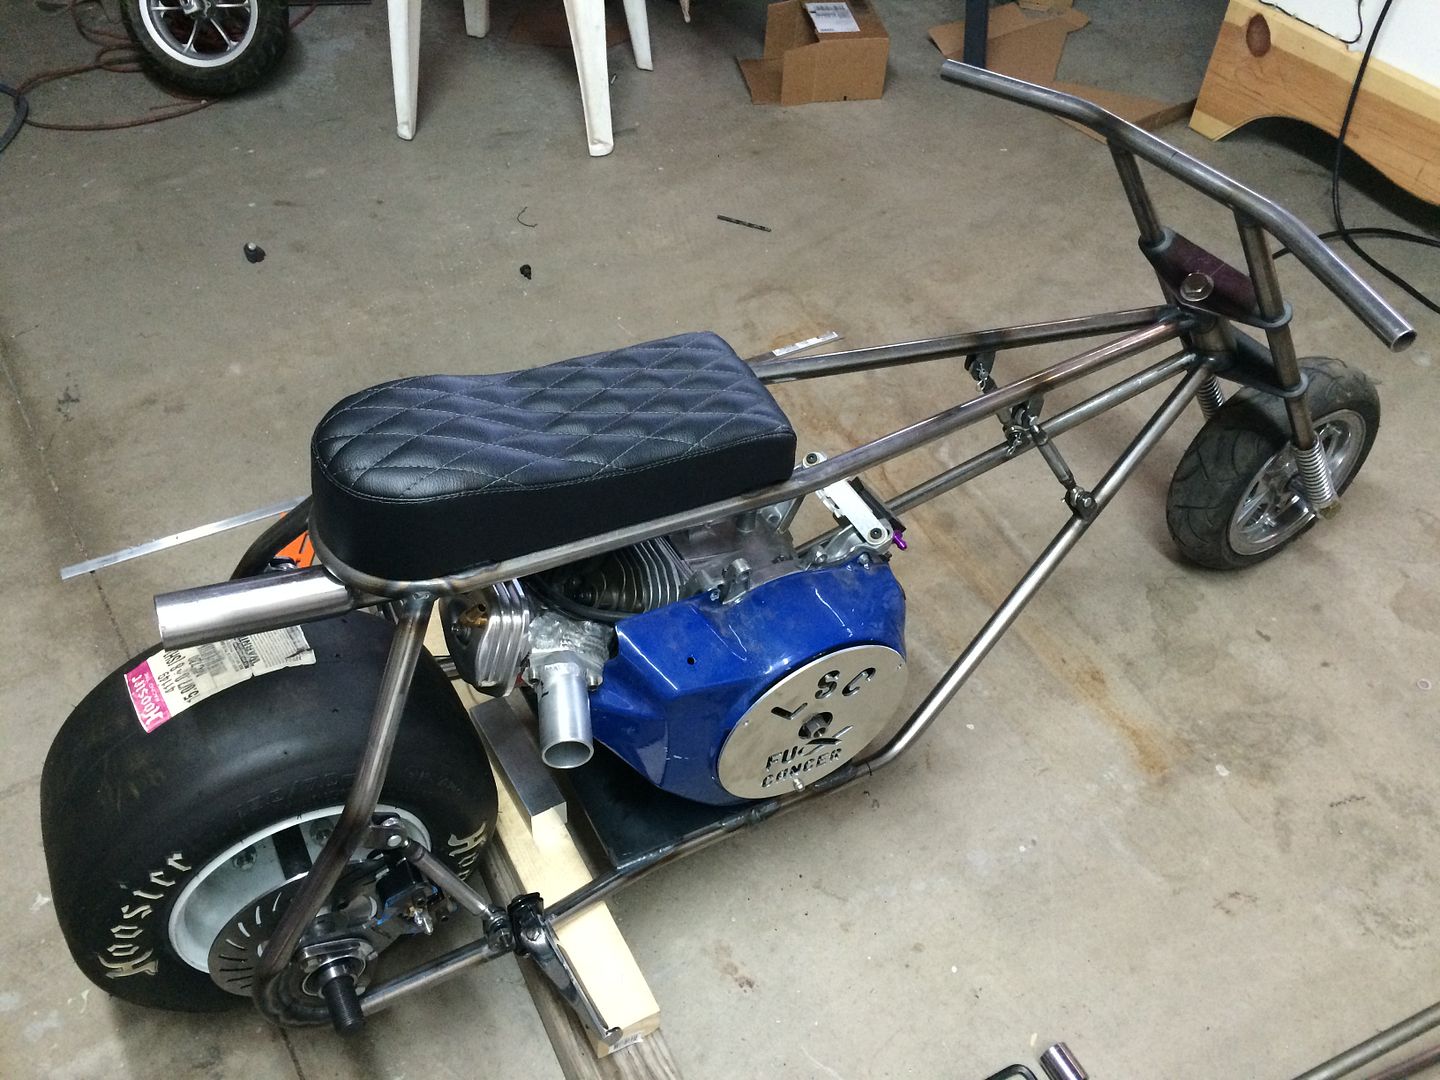
Project "Blue Angel/F#!K Cancer"- GX390 Powered MiniBike


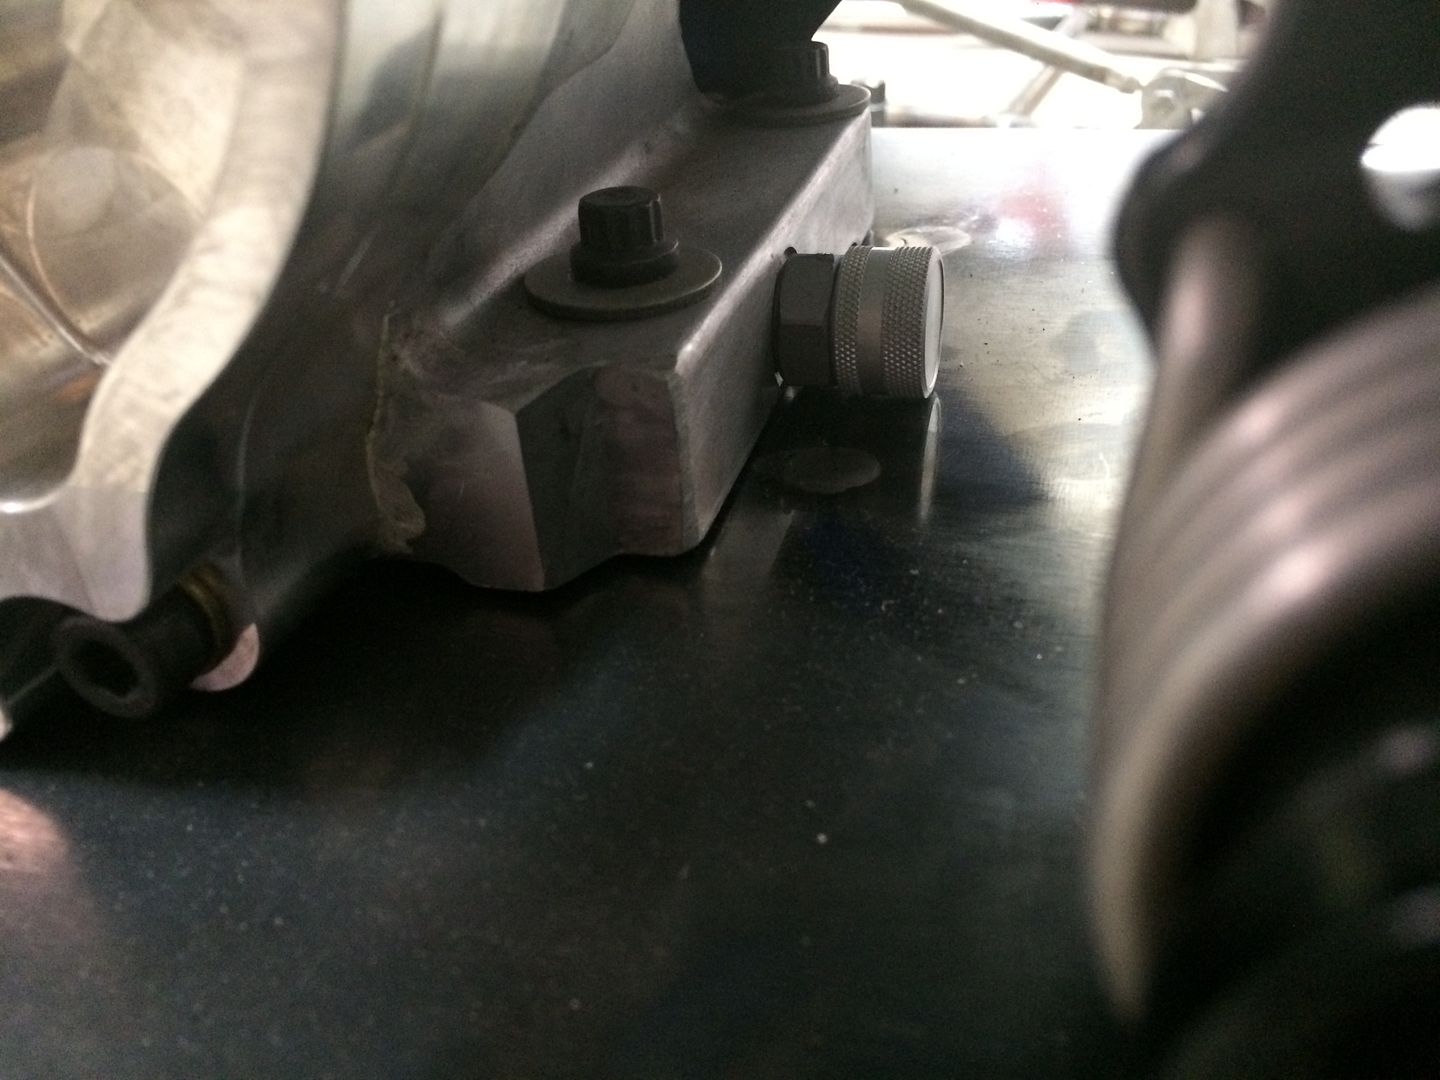
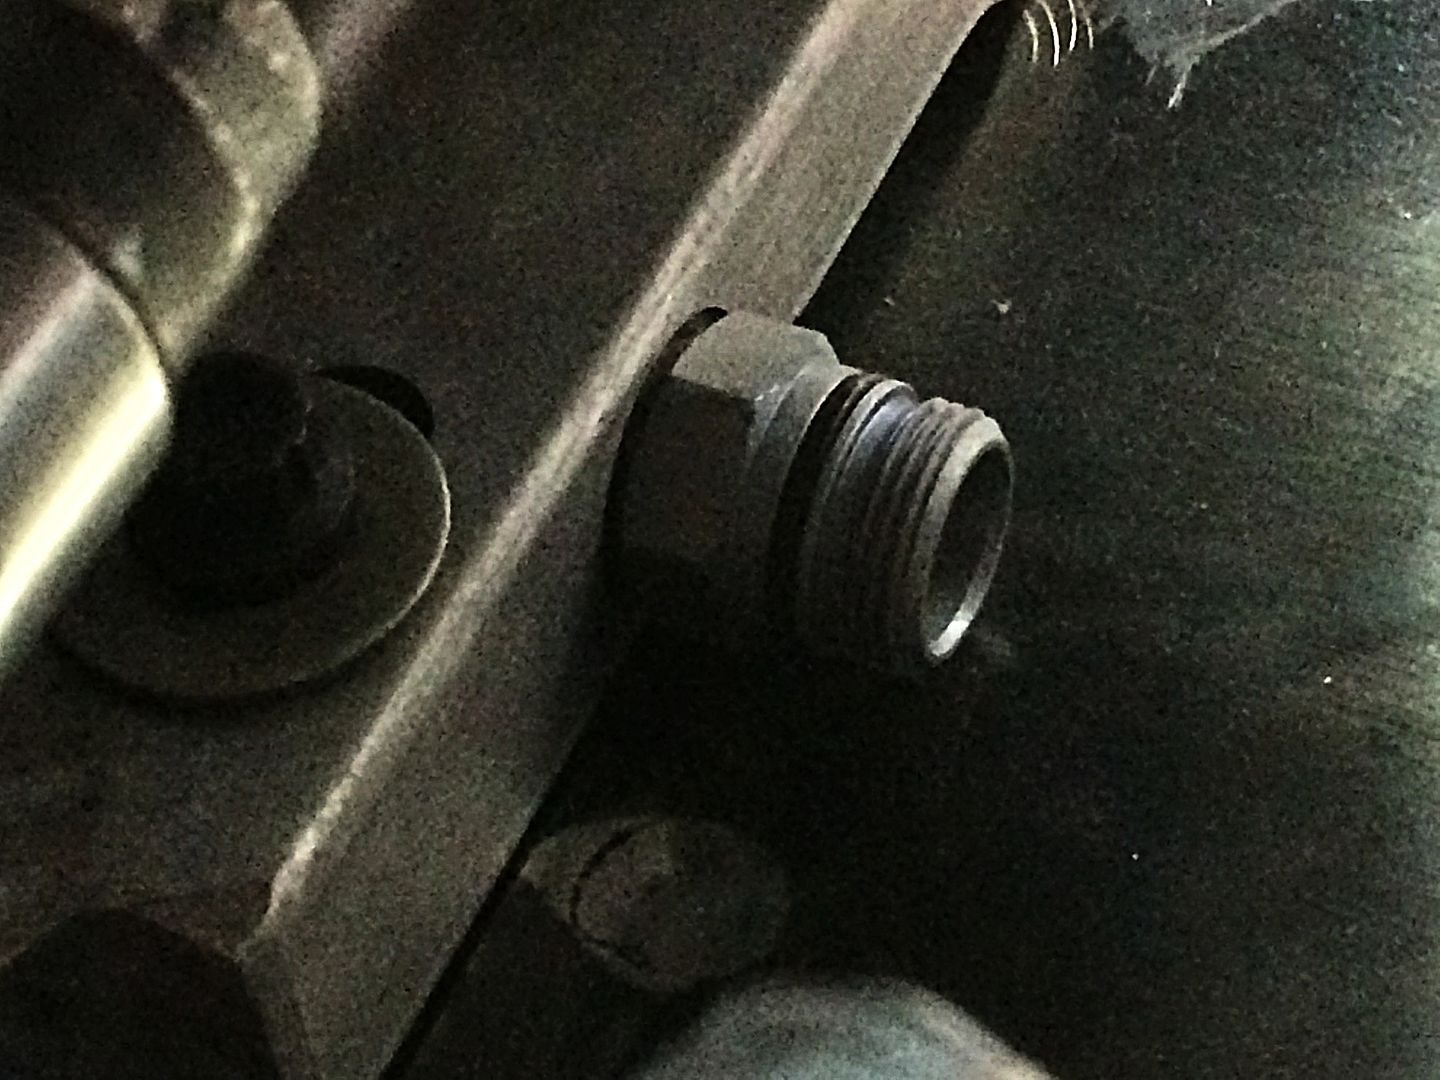
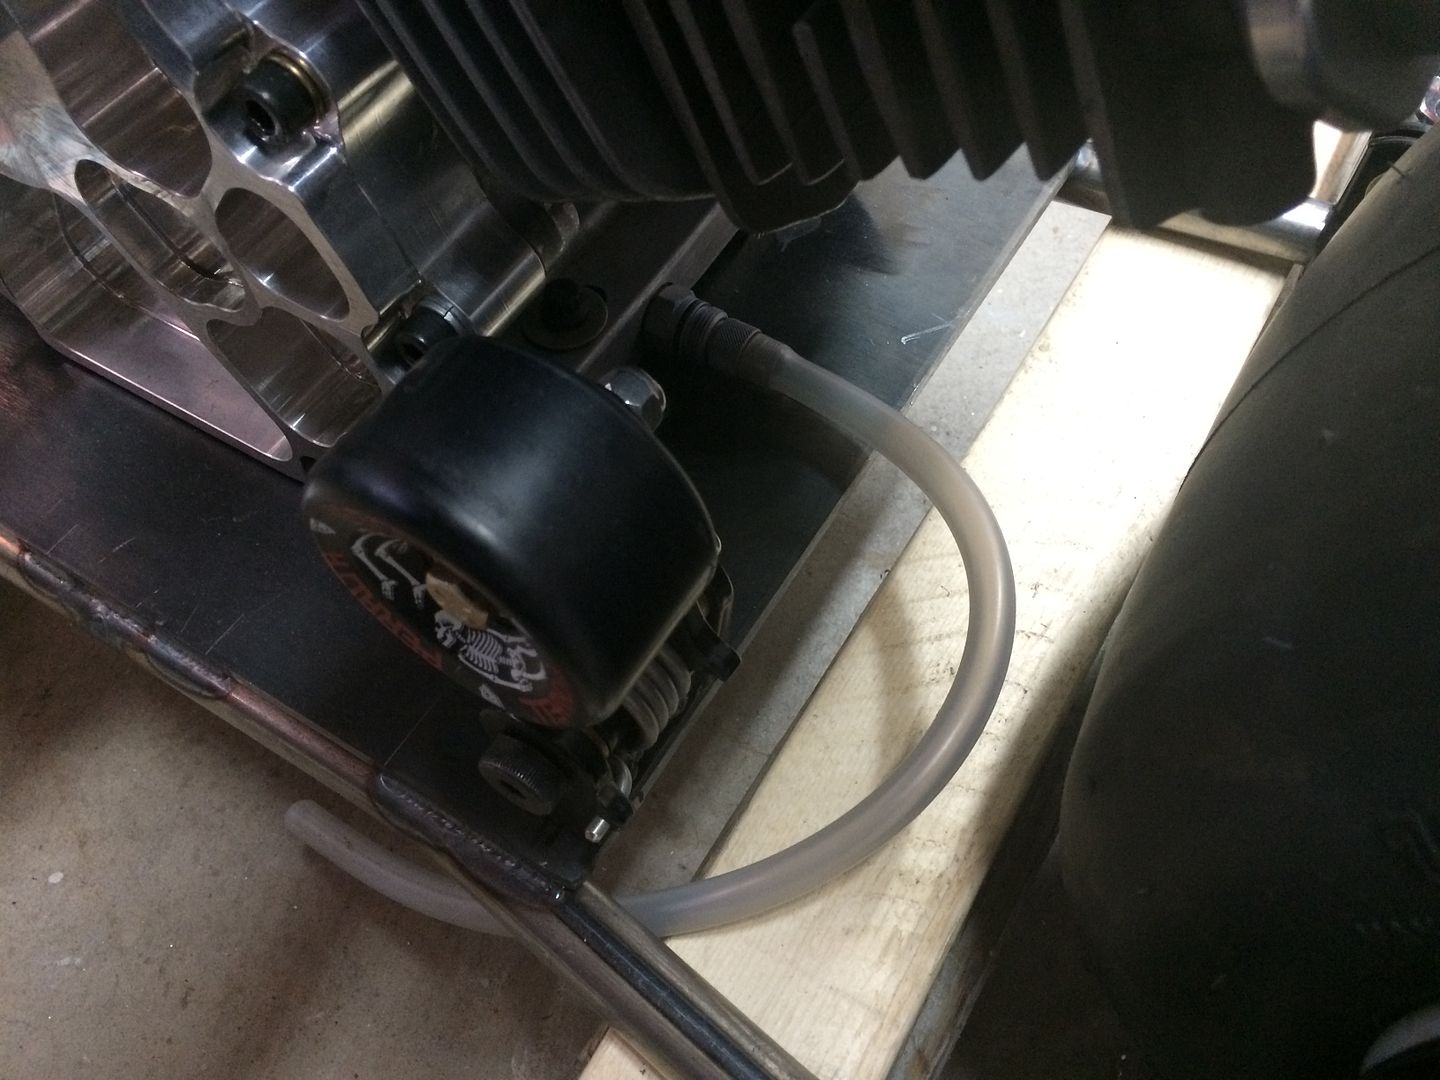
on previous projects, i typically use some sort of easy drain oil plug... the last one i used, was ok, but decided to try one that seemed a little better... this particular setup, is very easy to use and looks a little cleaner to me.. for such a small part of the engine... but this will make maintenance much easier and cleaner...
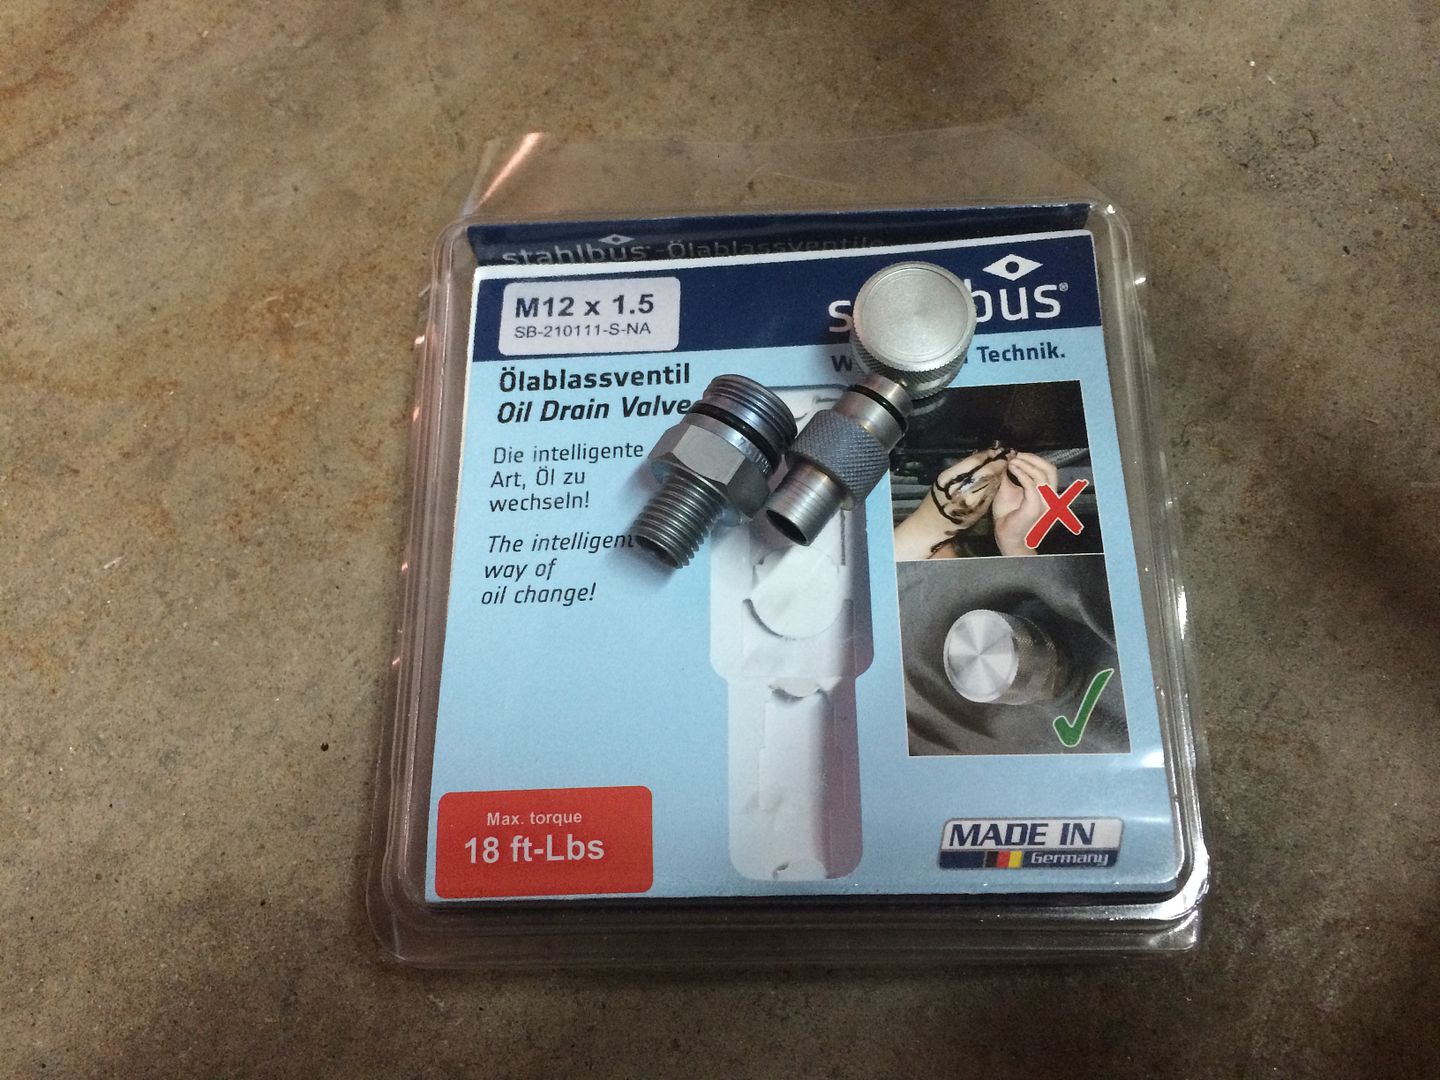
remove the cap and twist in the quick connect and the fluid drains, remove and replace the cap, when done.. i like it..
remove the cap and twist in the quick connect and the fluid drains, remove and replace the cap, when done.. i like it..
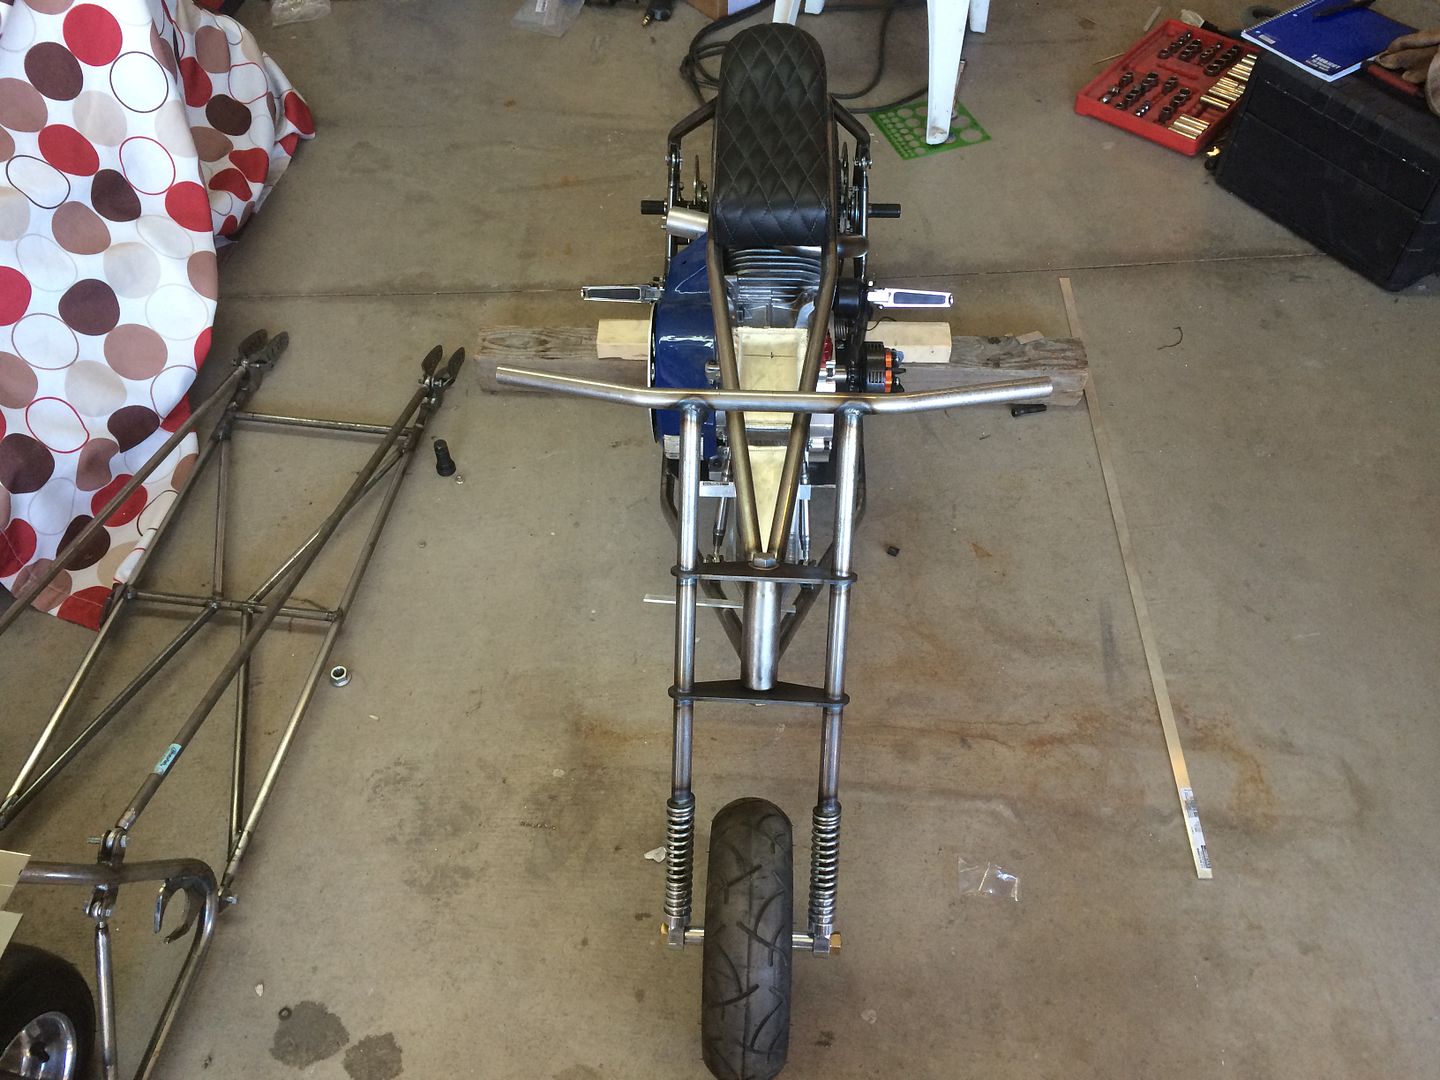
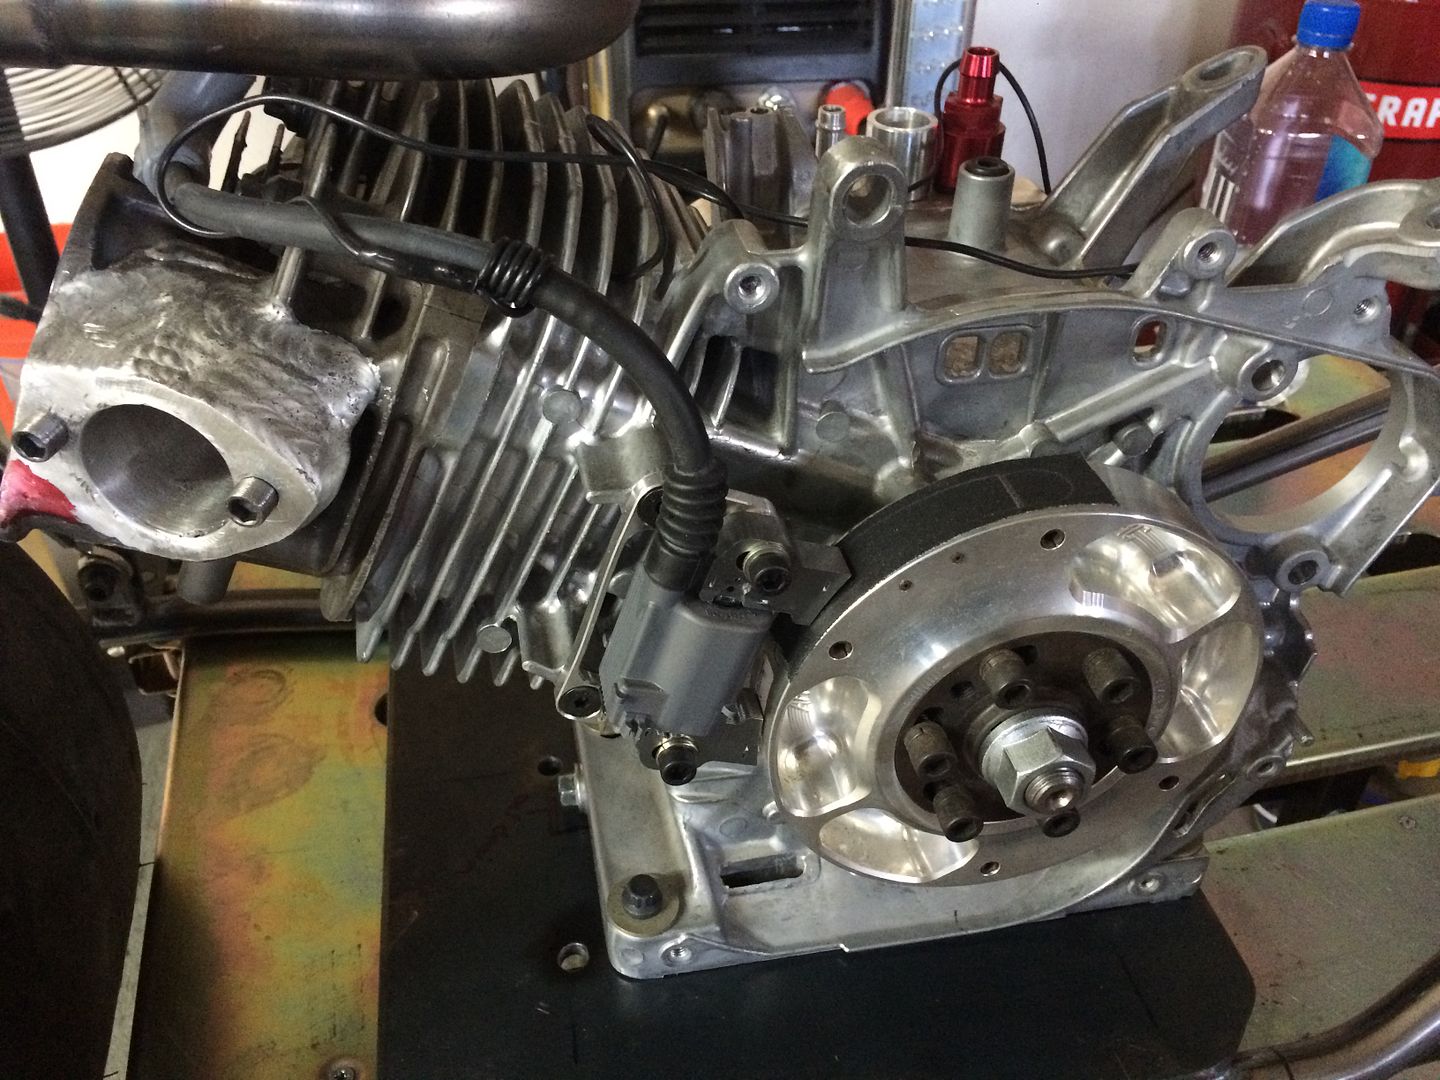
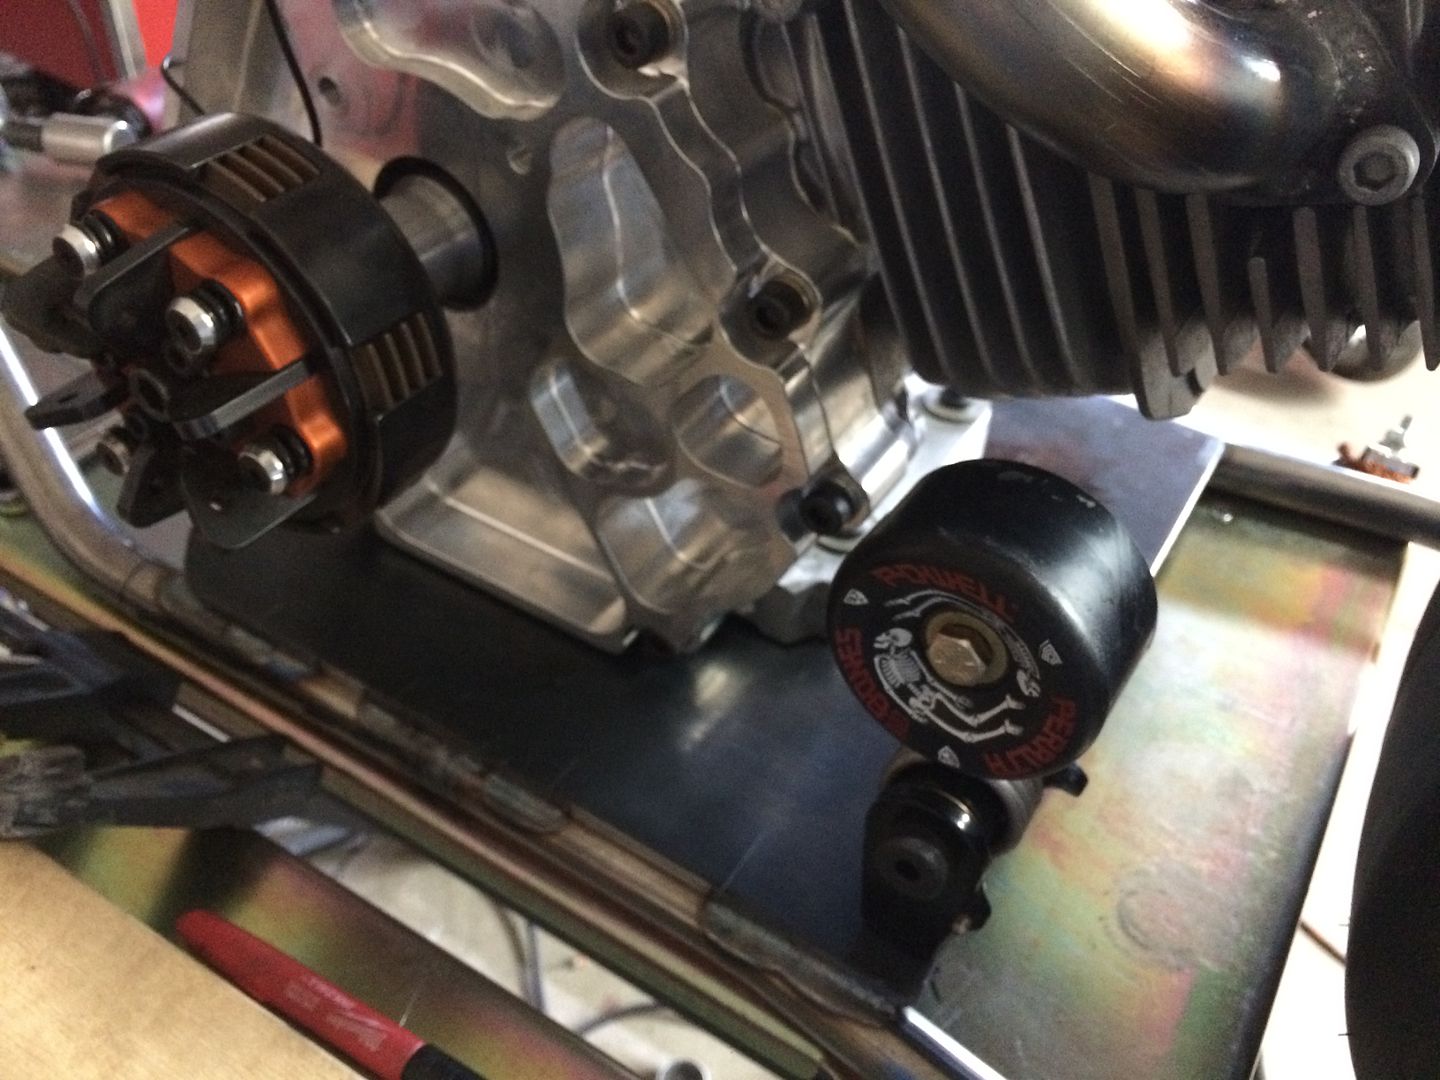
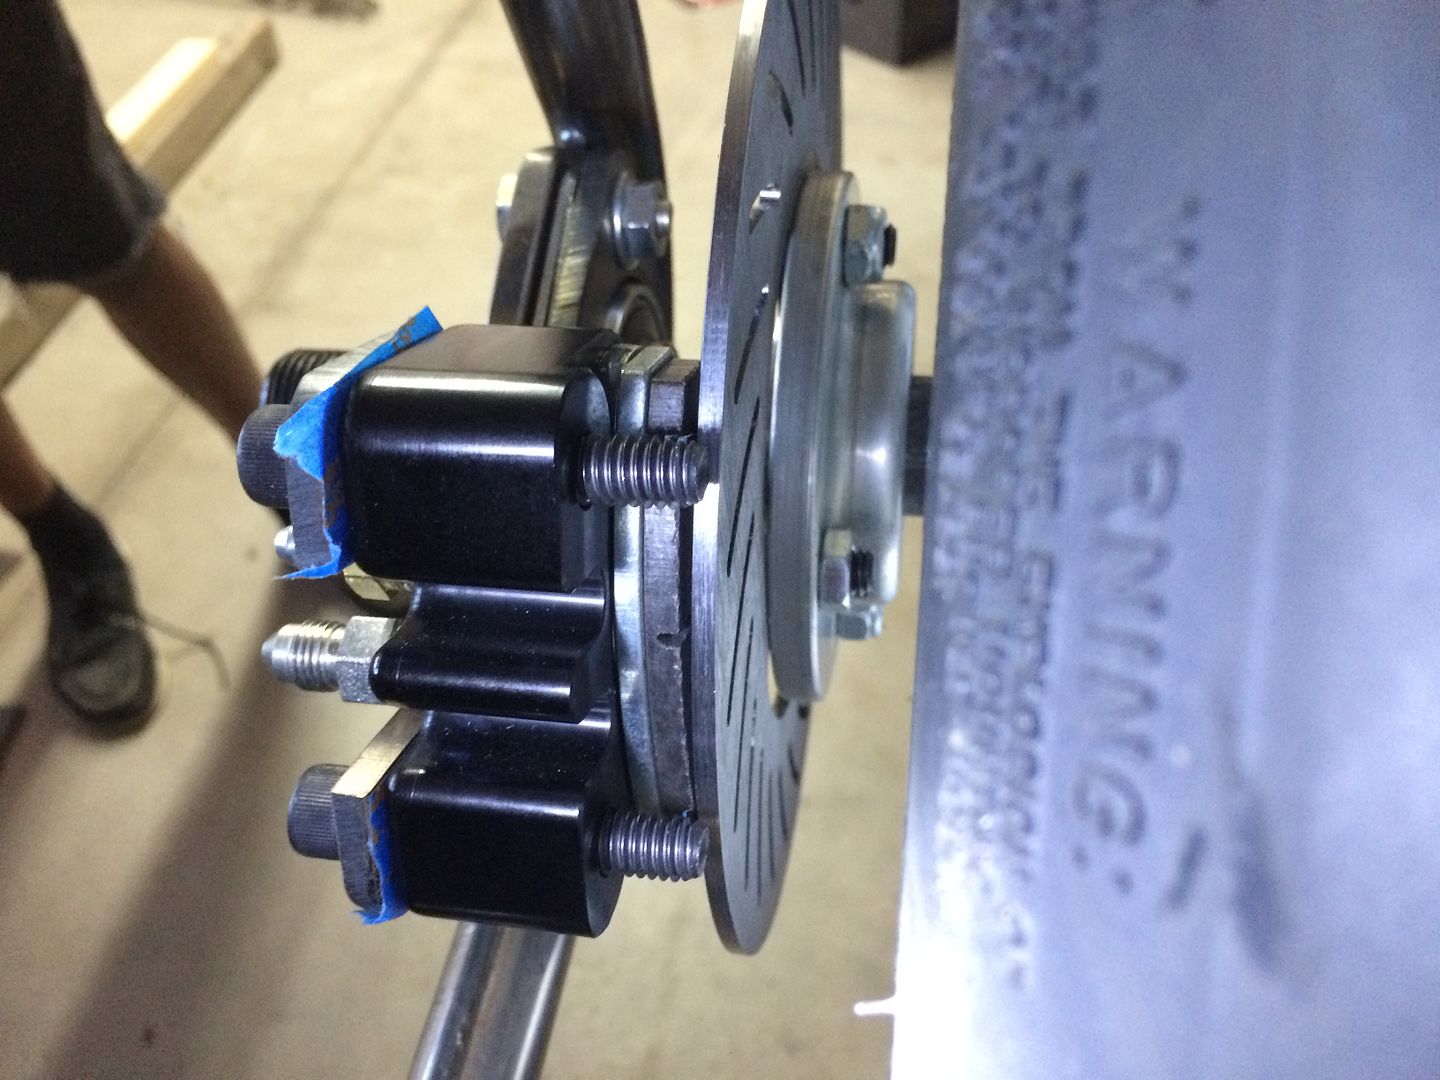
next i mounted the brakes, as people are often asking me to make things for their projects, I like to make some of this stuff bolt on, or repeatable.. i used one of the brackets i had test cut and found one that matched the angle of the rear brace... on this particular bike... it fit nice enough, but i needed to make some modifications to it, in order to make it fit this build... i moved the caliper down, so it fits the rotor size perfectly and also out further away from the wheel, to give a little more space...
as you can see in the pic, it did clear the wheel, but since i wanted to move it in toward the axle (so that the full pad contacts the rotor), i also moved it out further away from the wheel, i will clean this bracket up better later
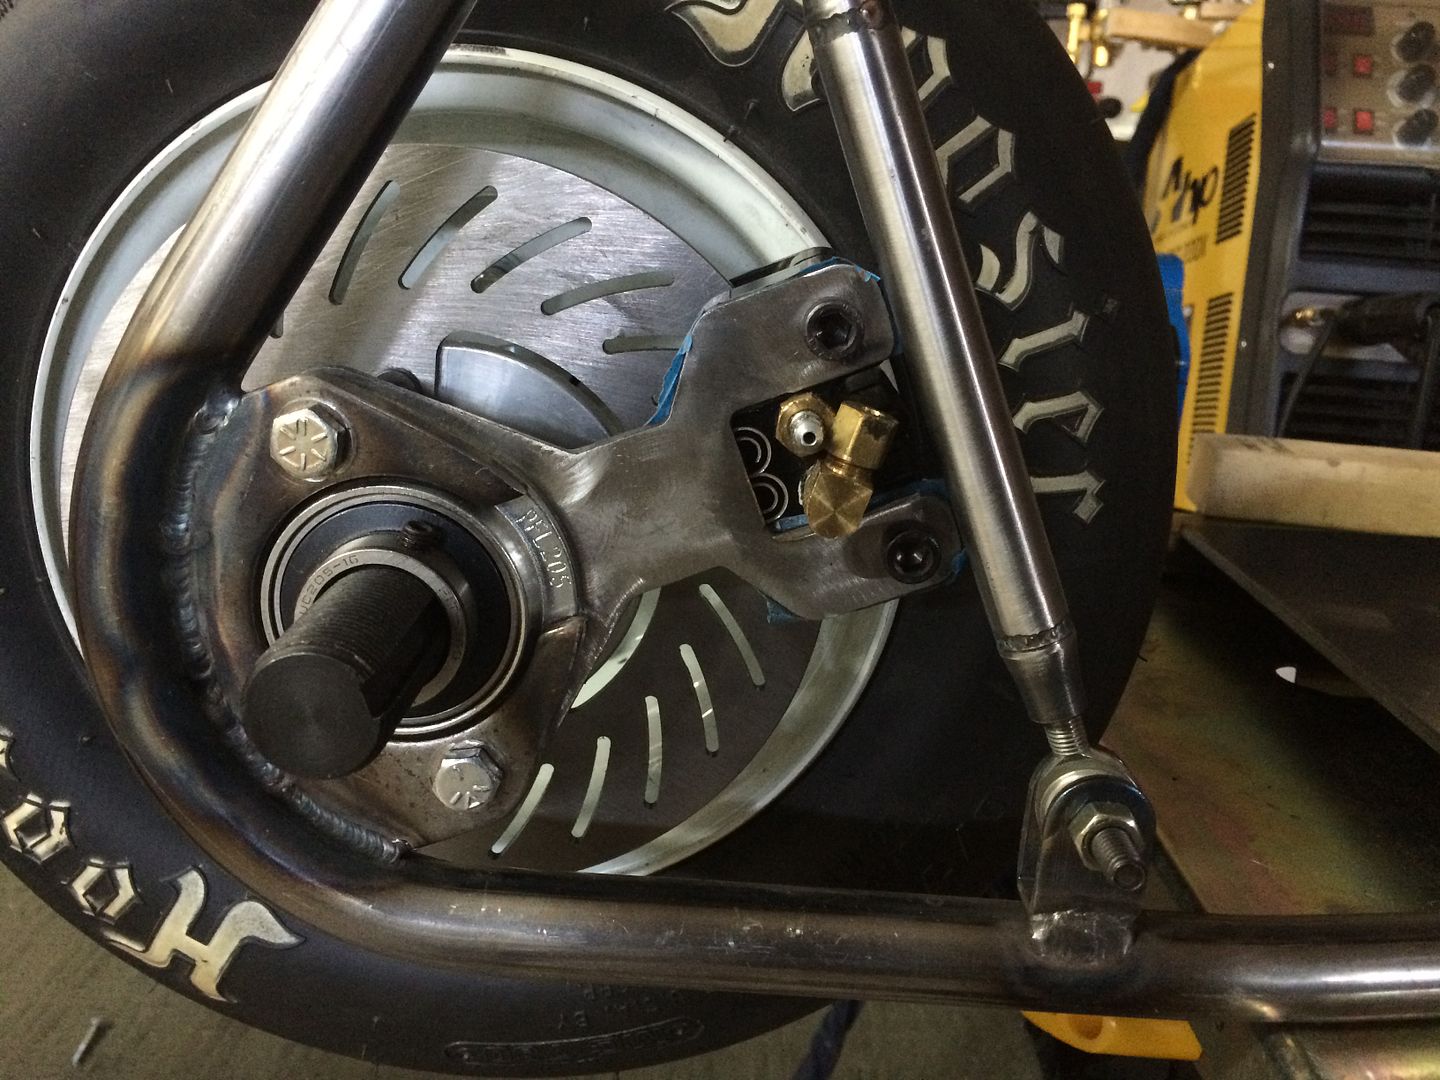

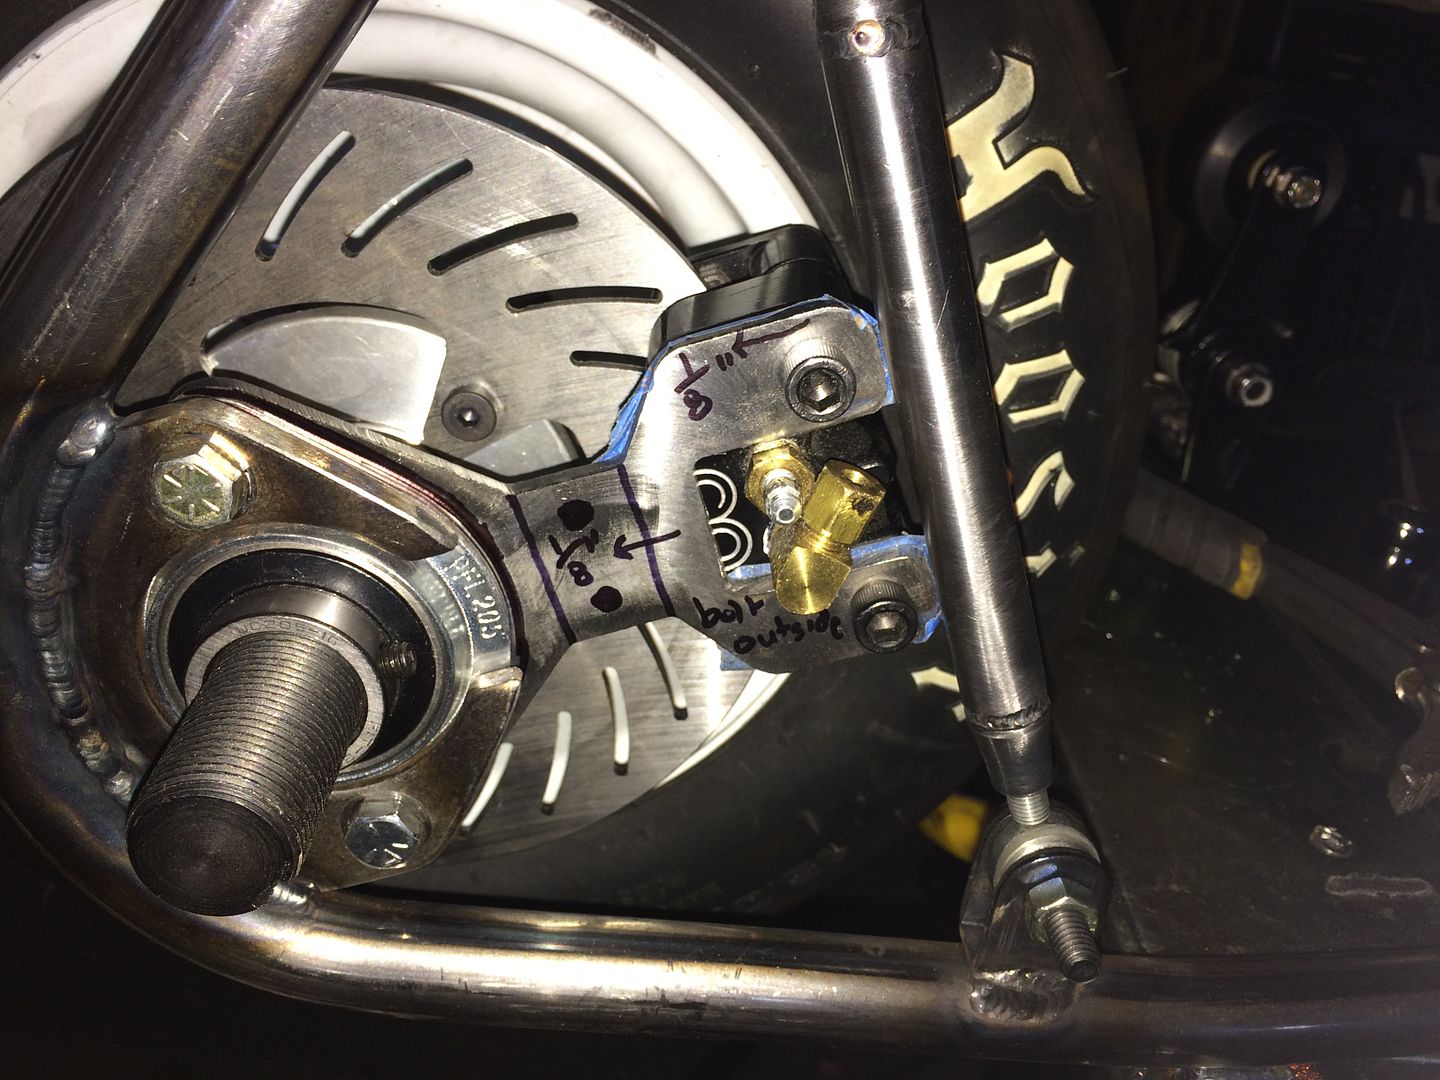
as you can see in the pic, it did clear the wheel, but since i wanted to move it in toward the axle (so that the full pad contacts the rotor), i also moved it out further away from the wheel, i will clean this bracket up better later


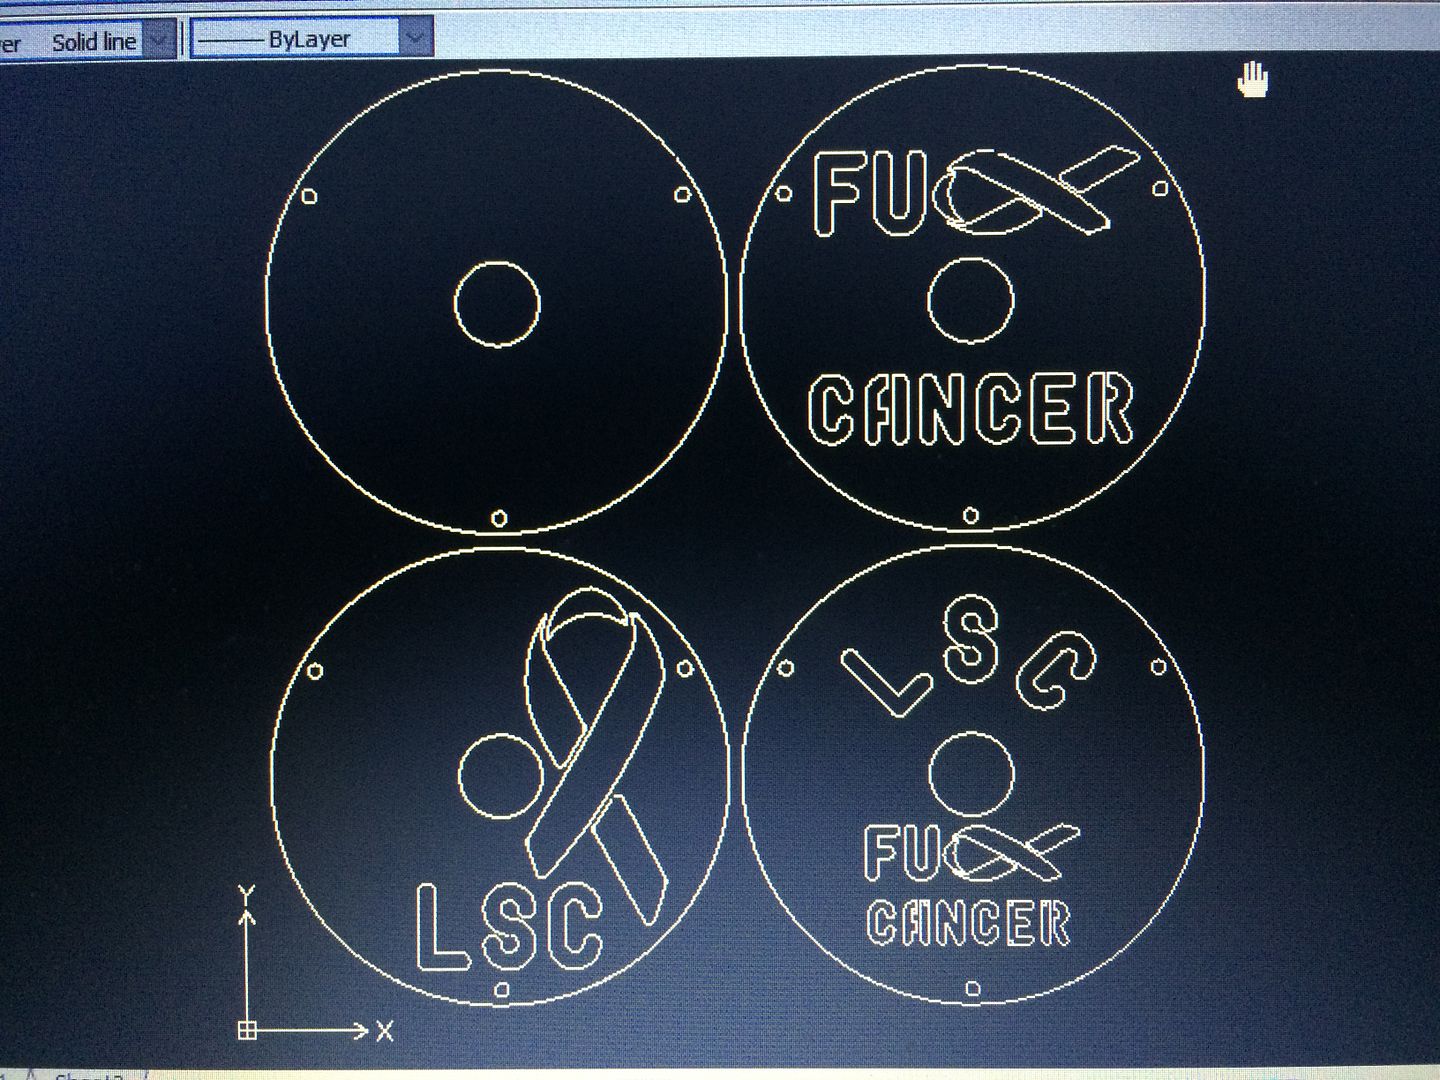
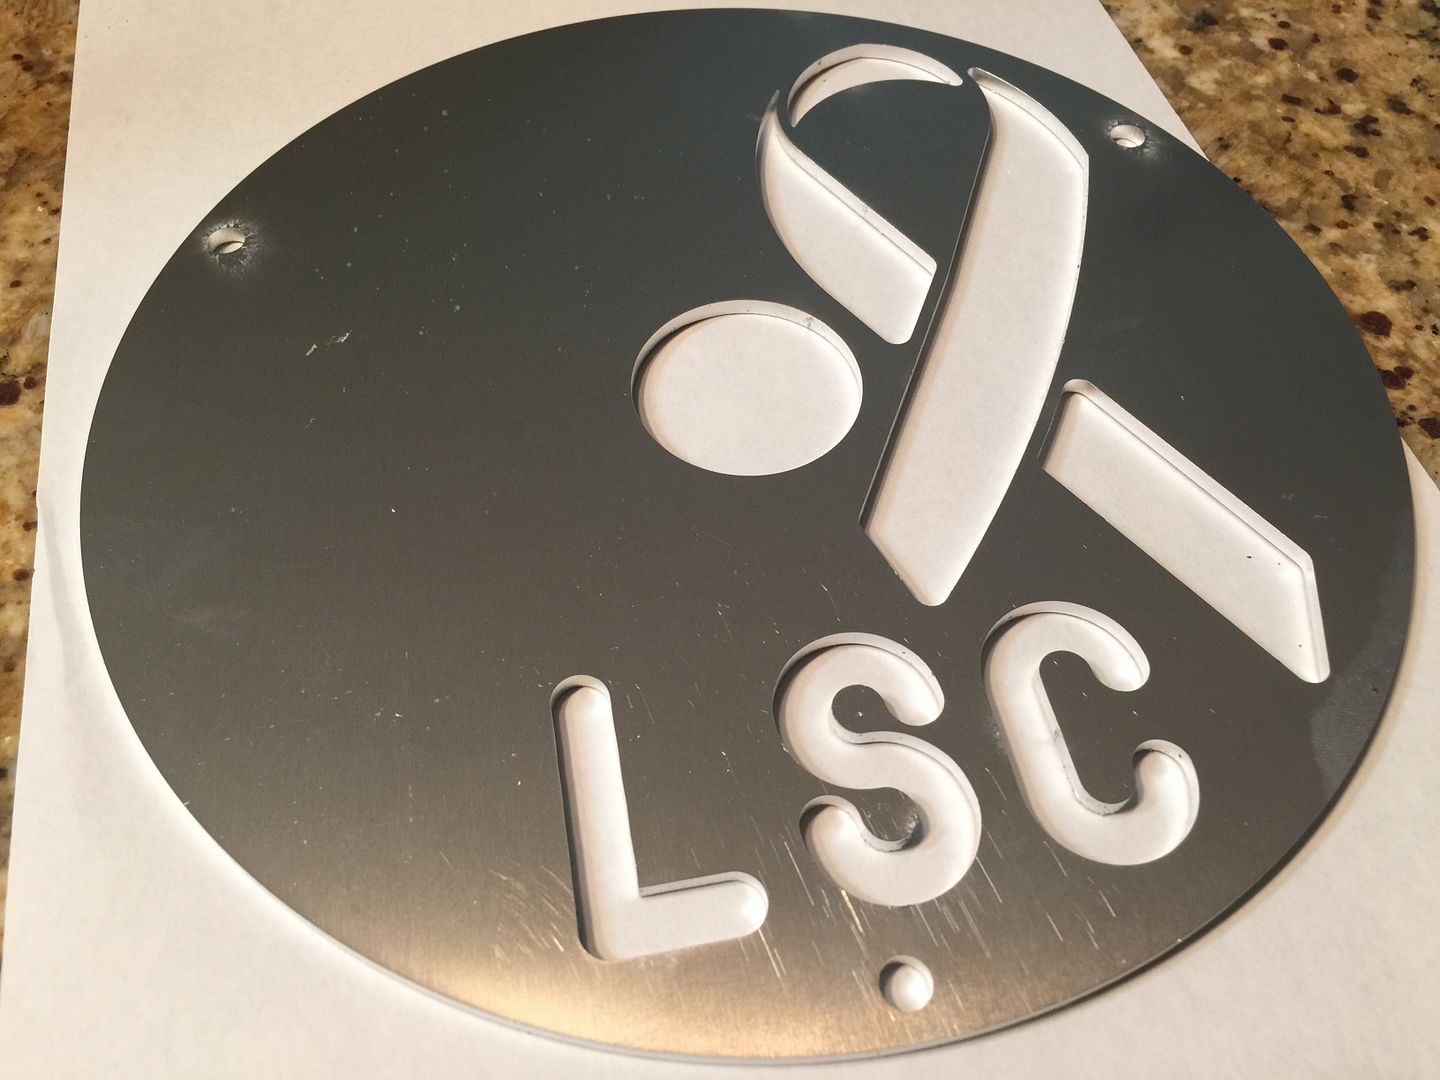
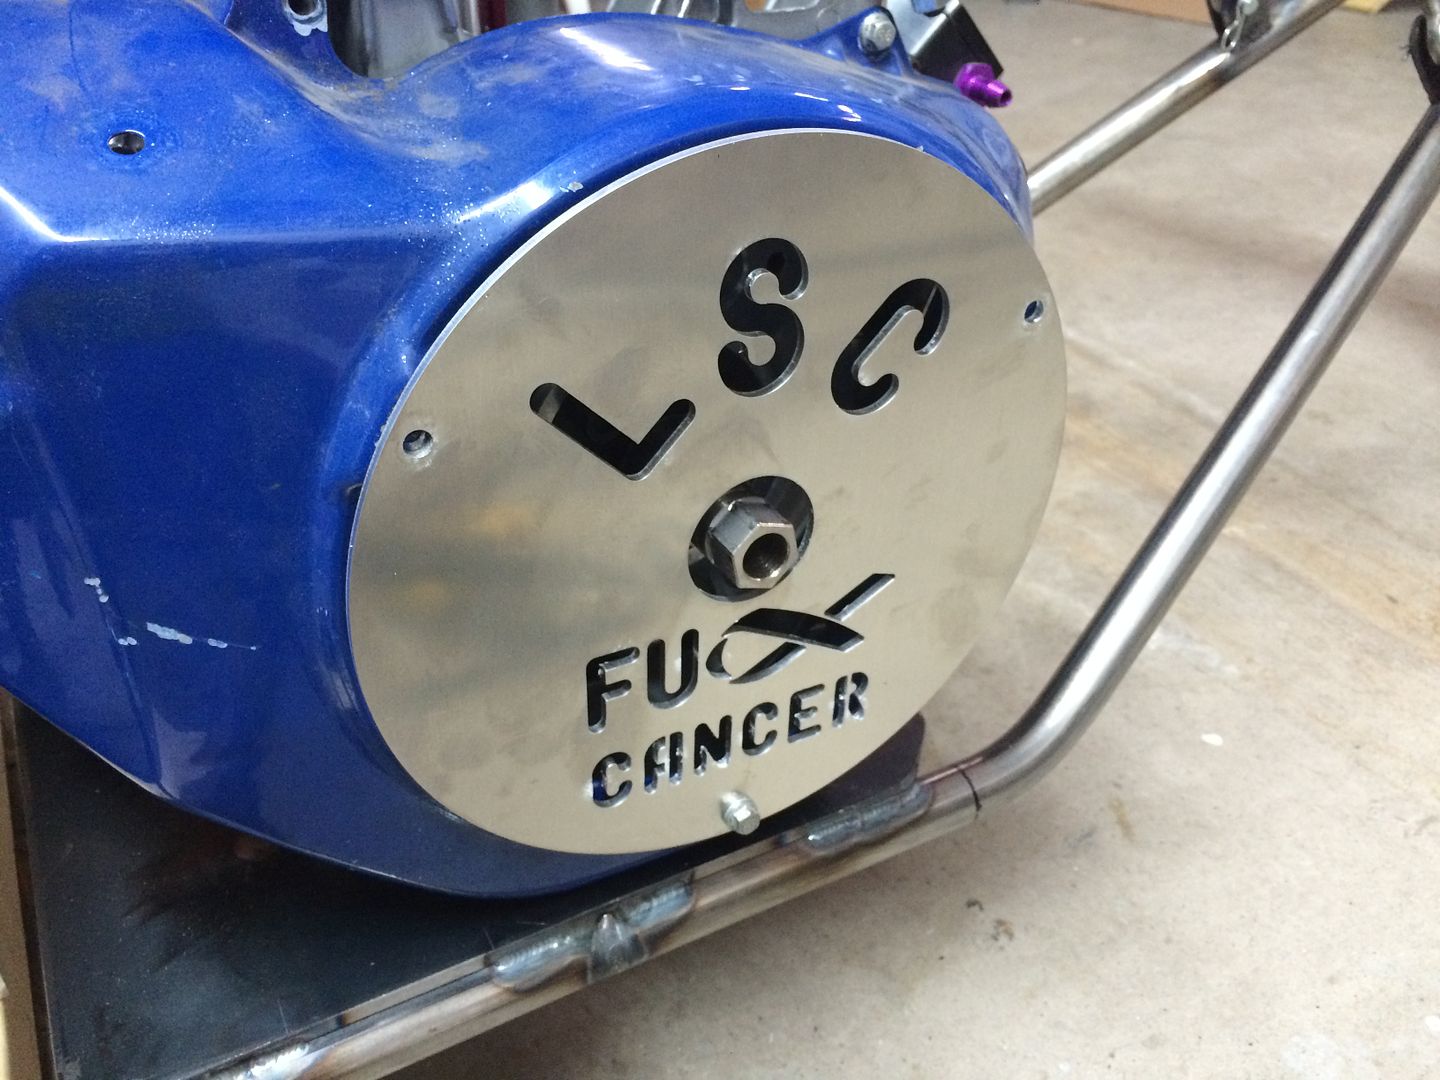
a friend asked me to make him a custom rotor to match a vintage wheel he is using for a project, so i made him a couple of rotors, and while at it, made me a custom one for this project (and one to give to Bob)... i wanted to use the weld-on hubs for them, i could have programmed it to be bolted on to the exiting hub, but would like the rotor to look as clean as possible.. and this will give me more practice tig welding... or maybe using the welding positioner im making to weld them up.. 7.1" OD
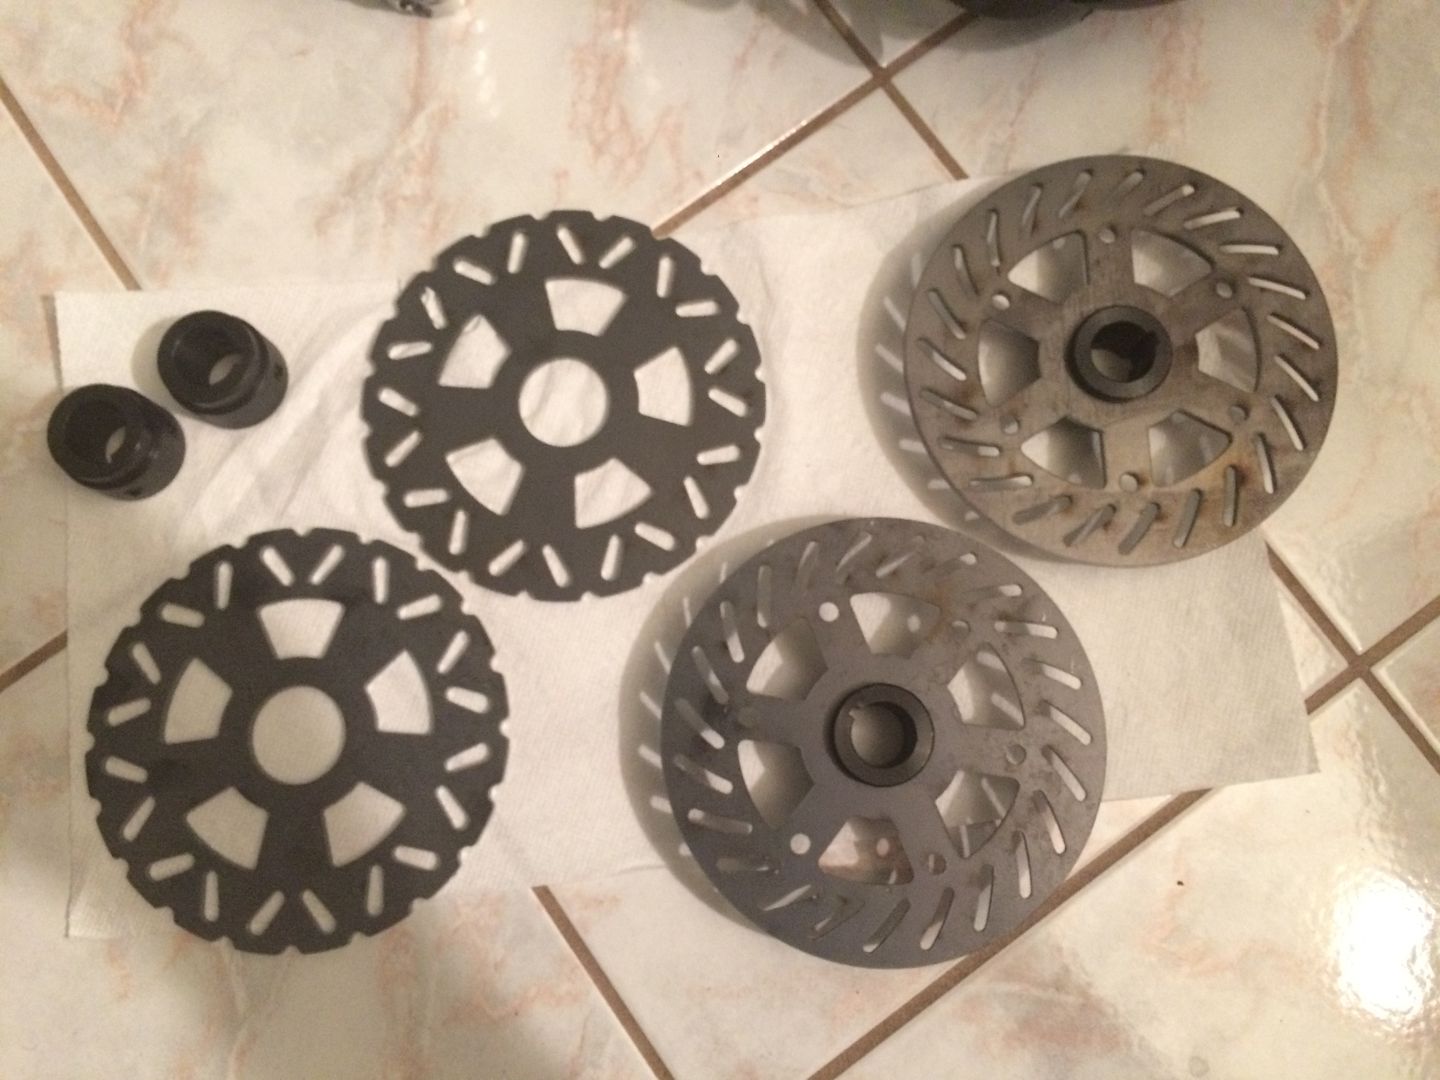
this is his. to match a wheel he sent me a picture of
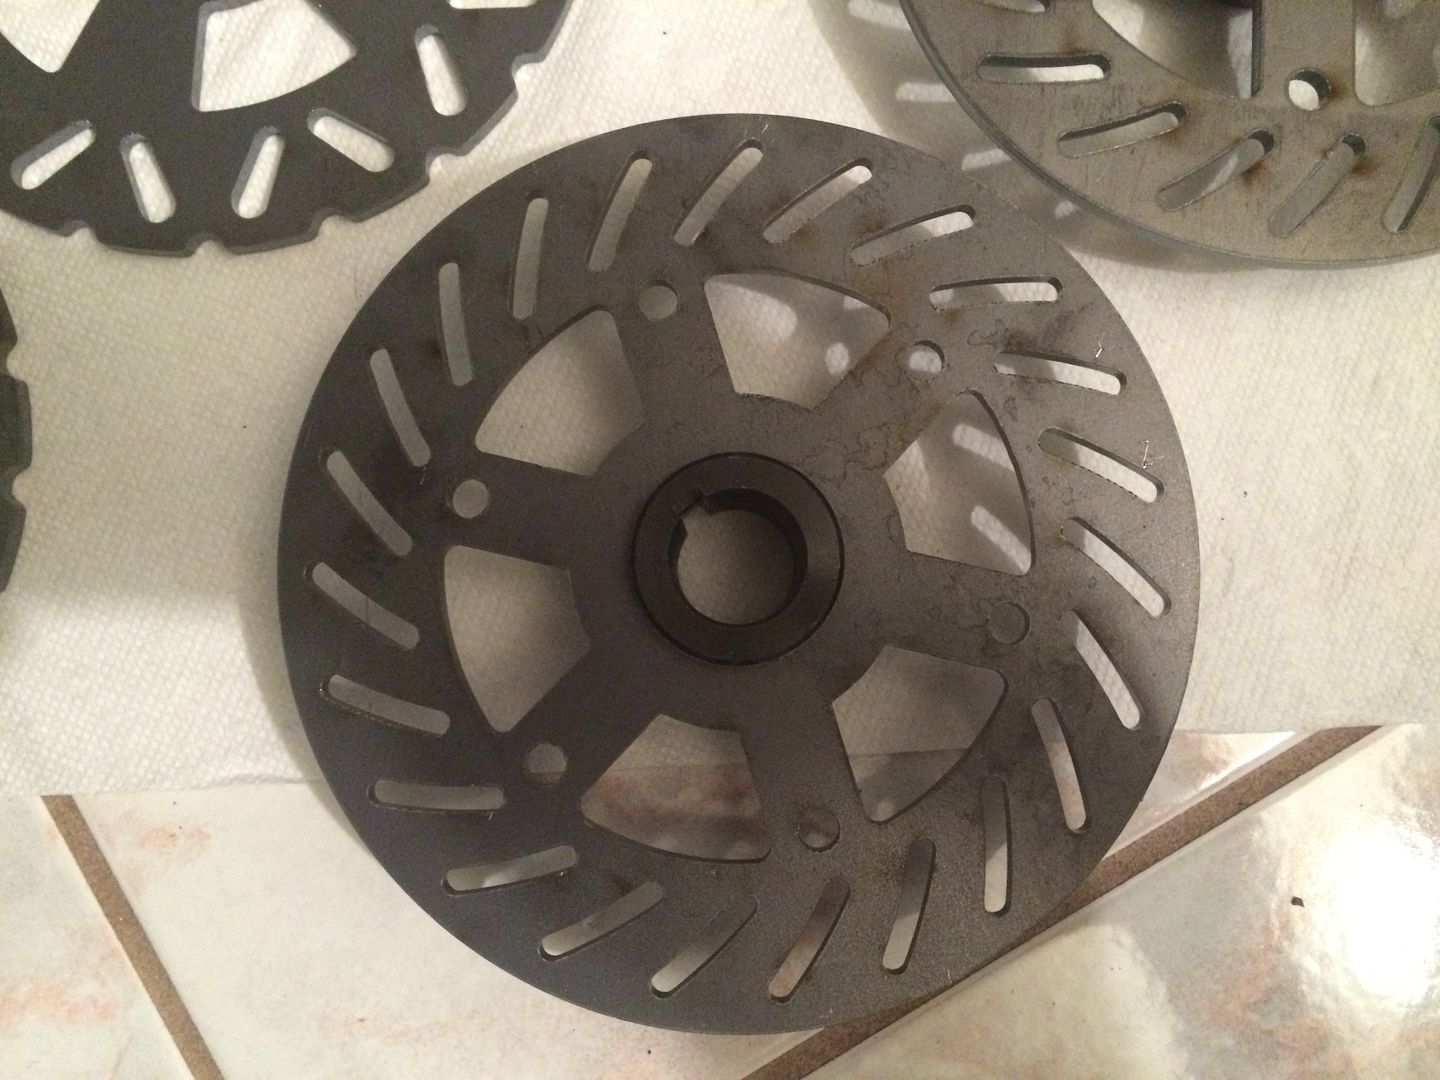
this is the one i am using on this project, i designed it to look like the astro wheels, because i like those and commonly use them on projects...
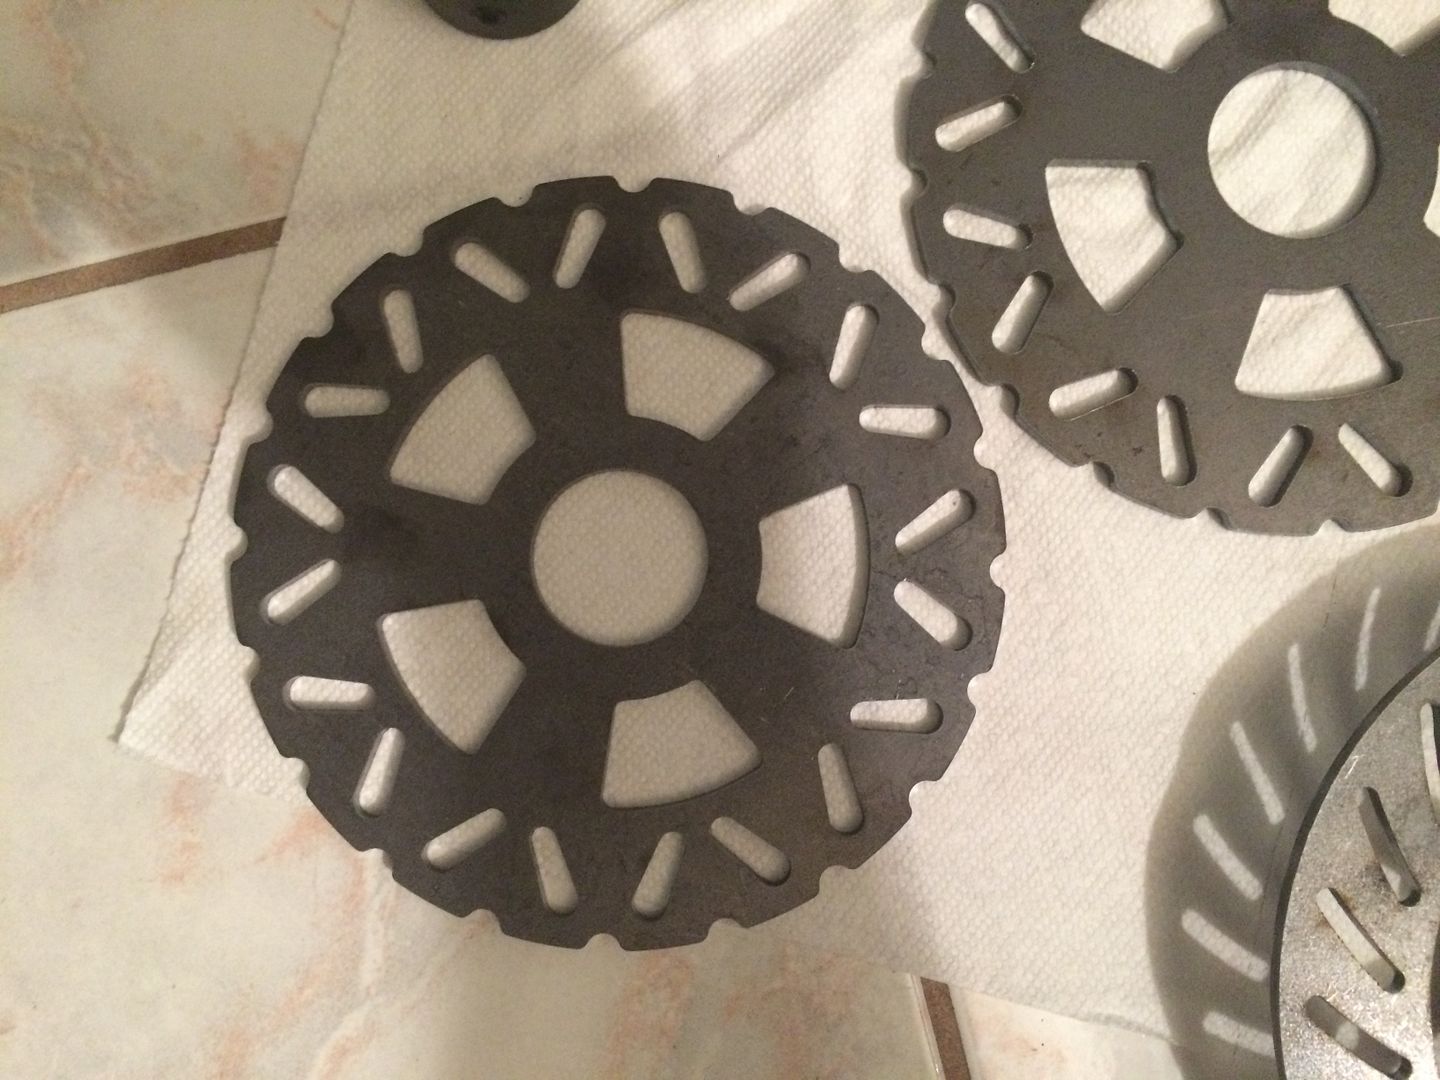
this is his. to match a wheel he sent me a picture of
this is the one i am using on this project, i designed it to look like the astro wheels, because i like those and commonly use them on projects...
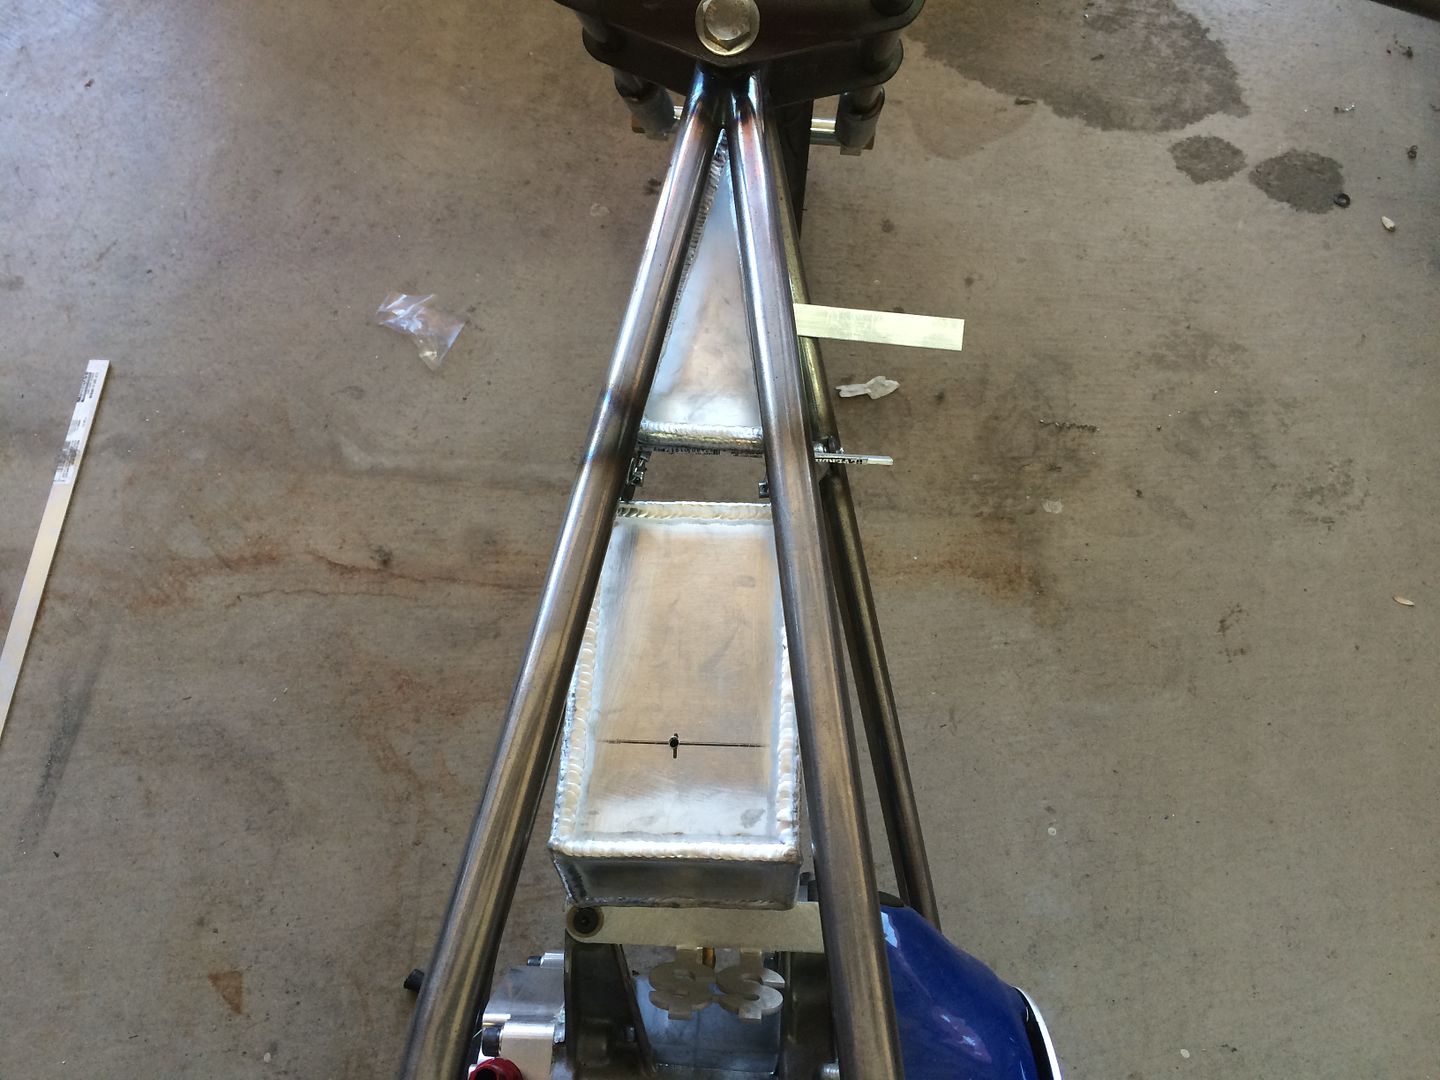
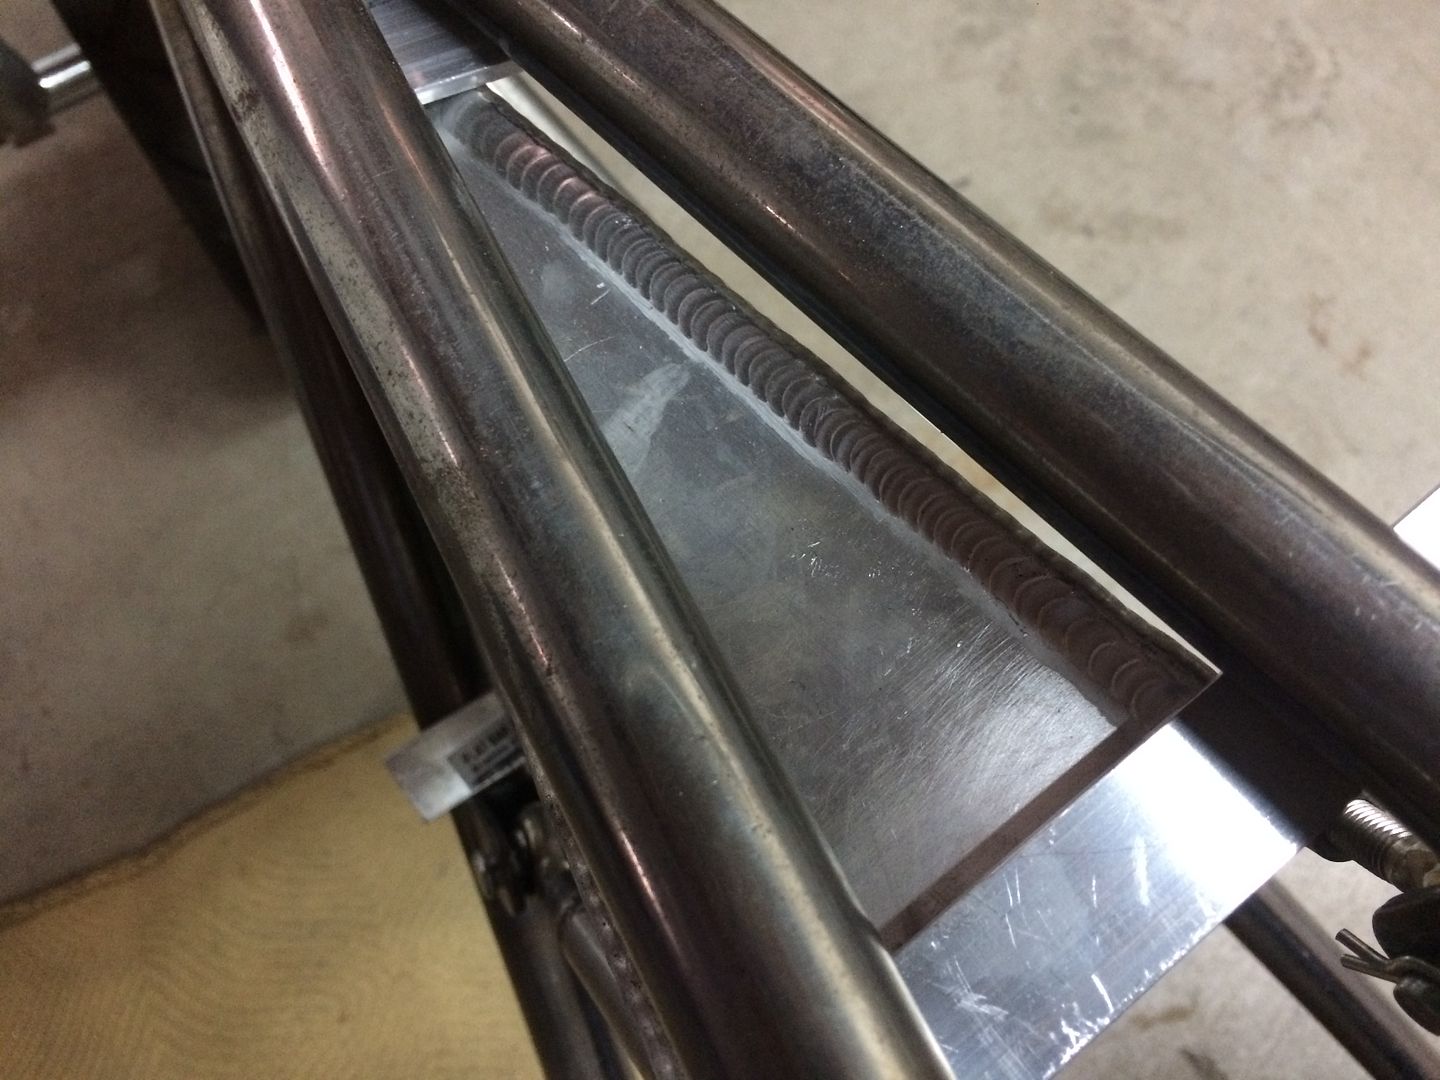
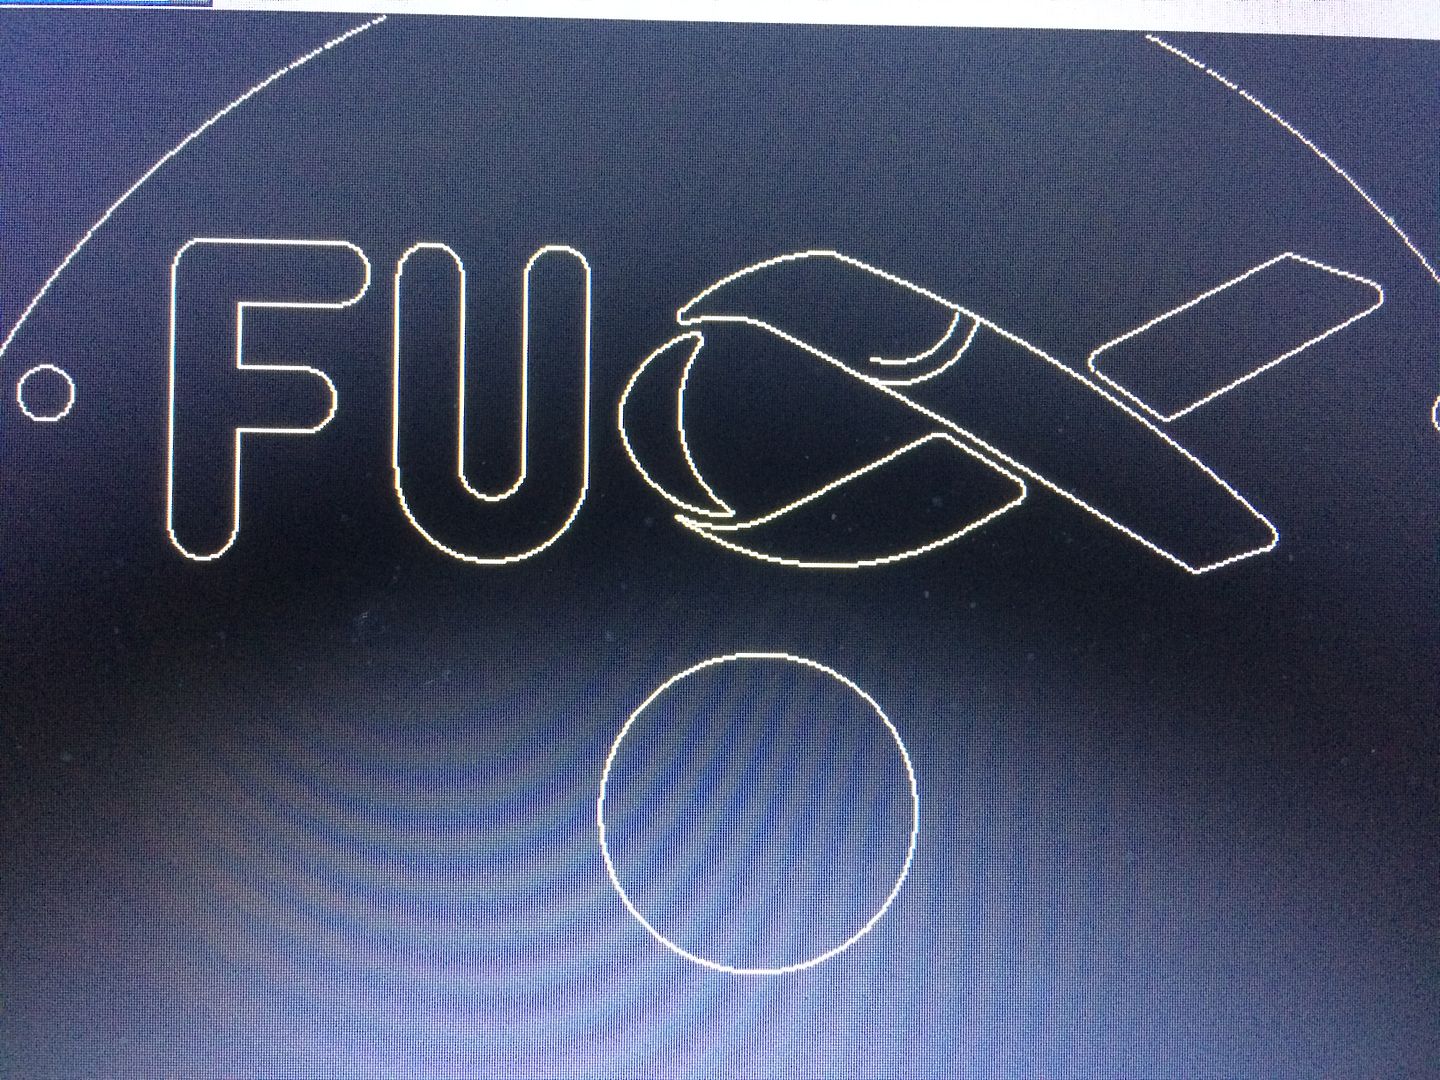
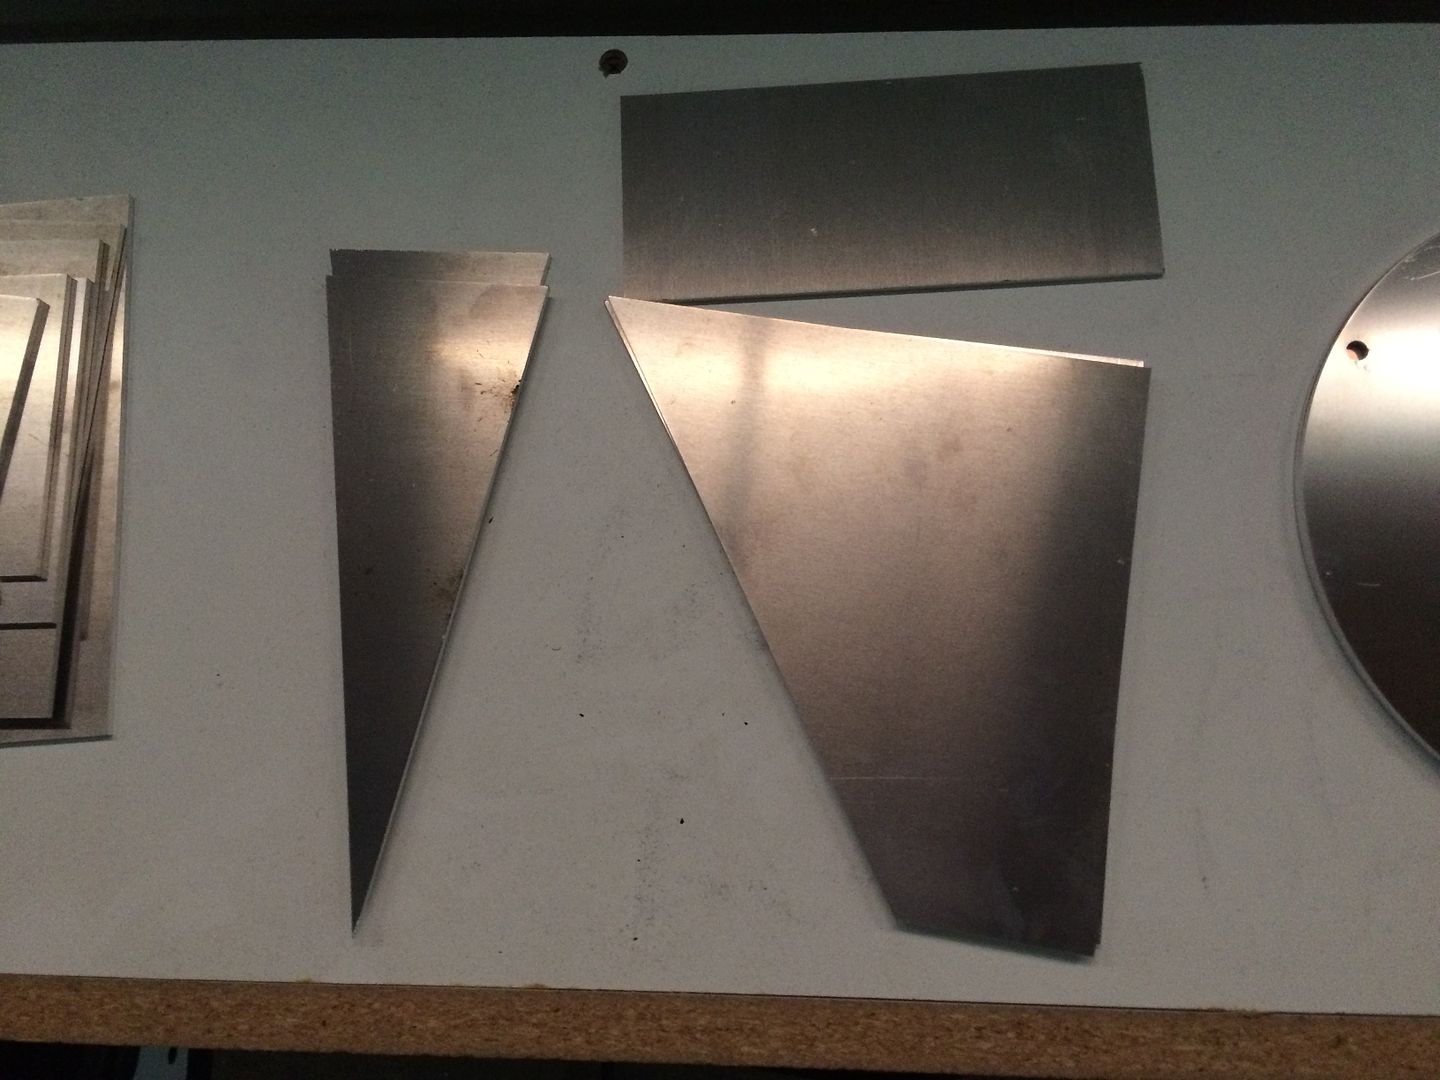
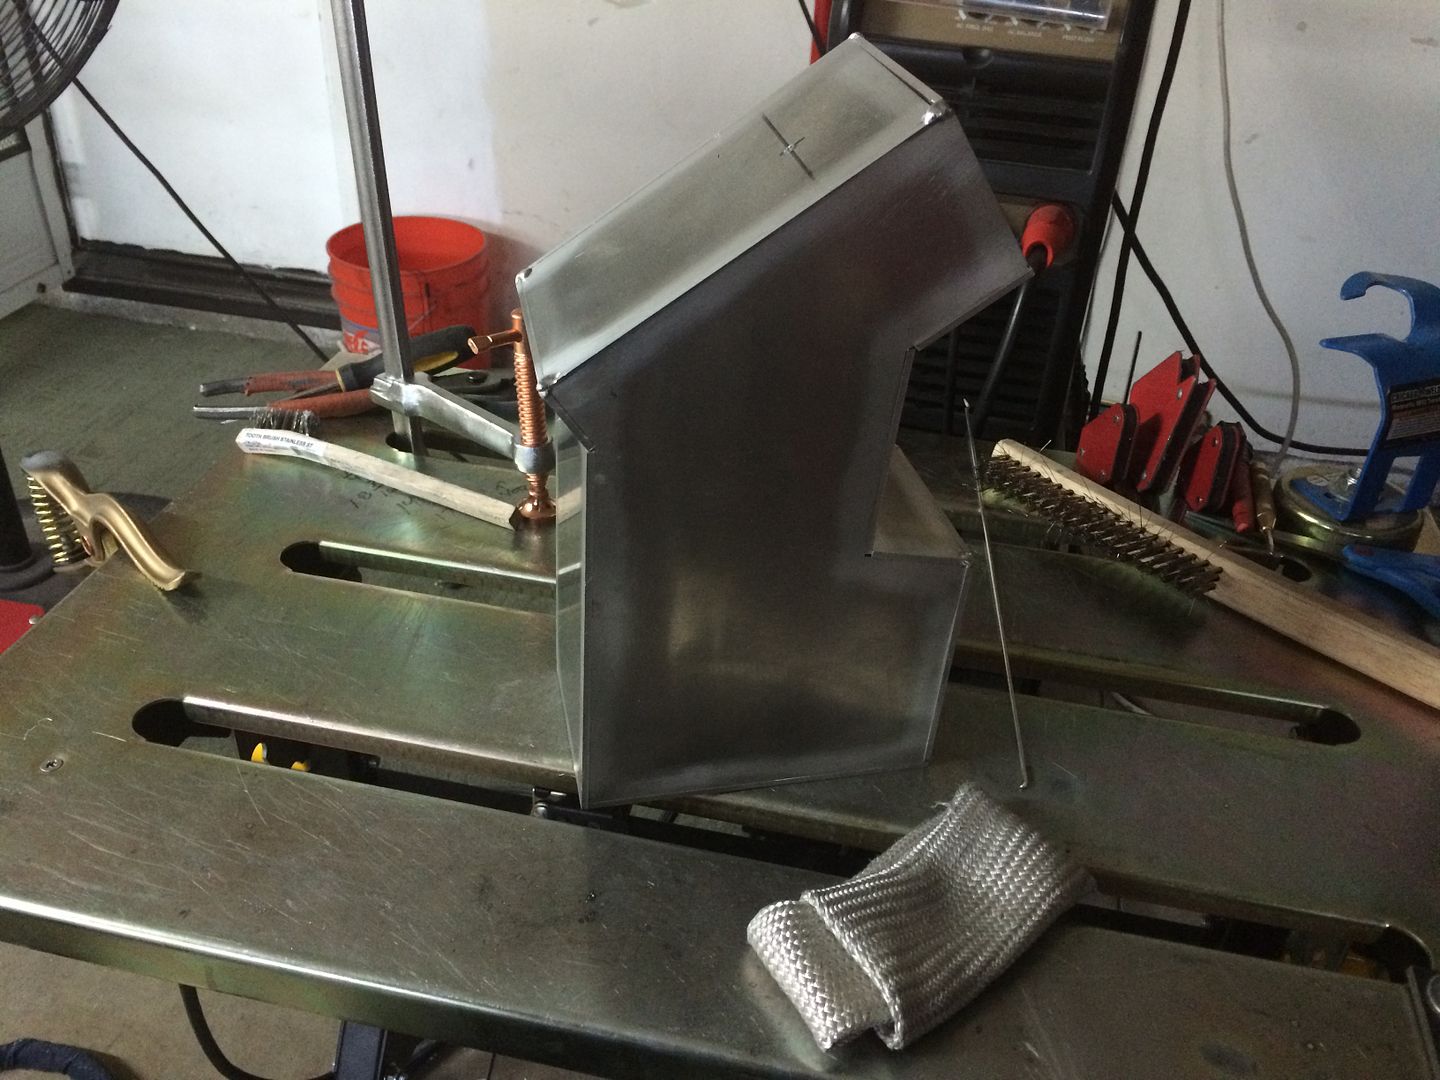
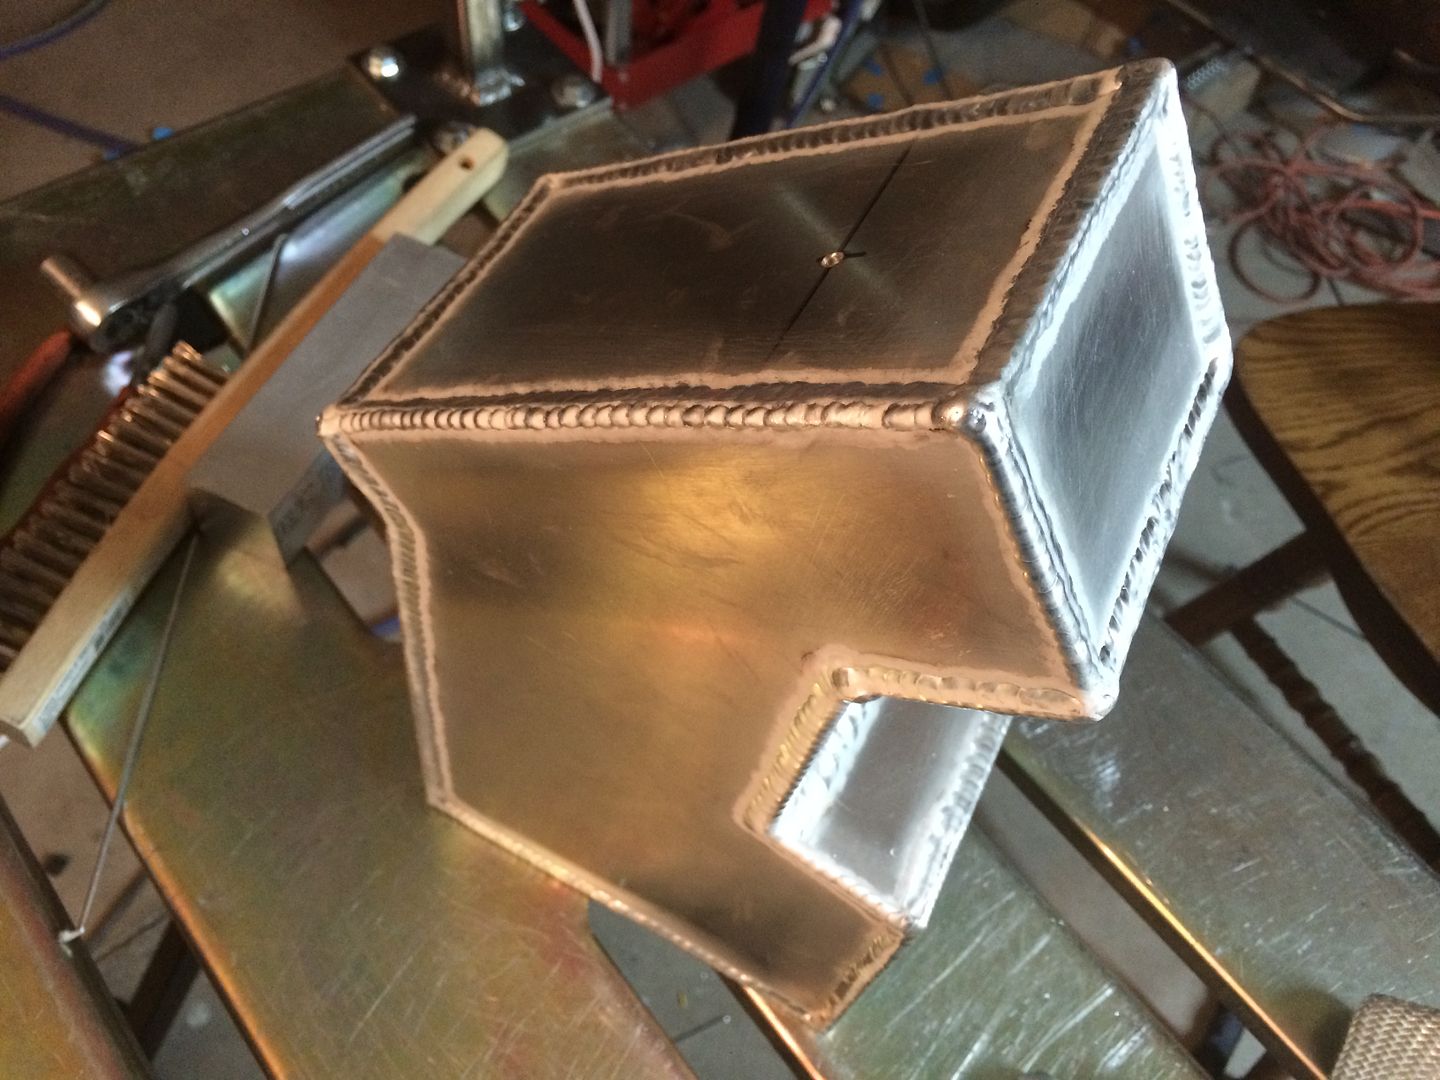
i programmed and laser cut the patterns (since I needed to laser cut other parts), i should have made it fit together like a puzzle, but i wanted to make it harder on myself (insert slap to face emoji here)... i initially programmed it and intended to go back and take away material, leaving just tabs that fit together like a puzzle (how i would do most things like this)... but over looked it... ended up having to weld a closed corner joint, instead of a an easier to weld open corner... no big deal though... just work...
this is what the program looks like
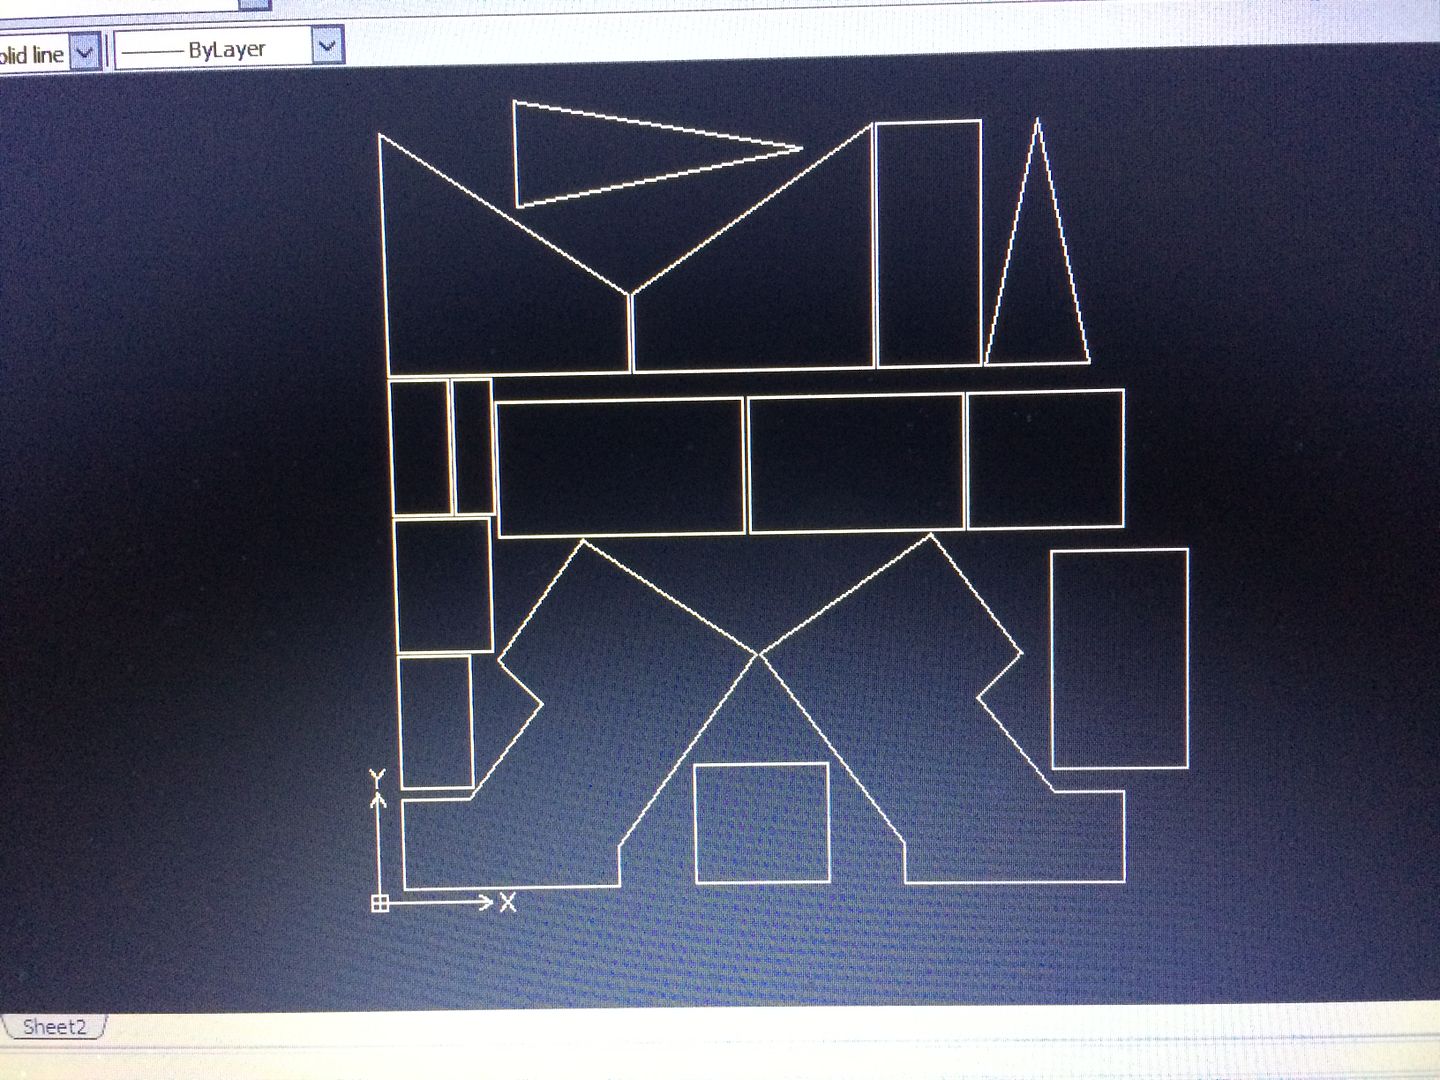
cut out of 1/8" 5052
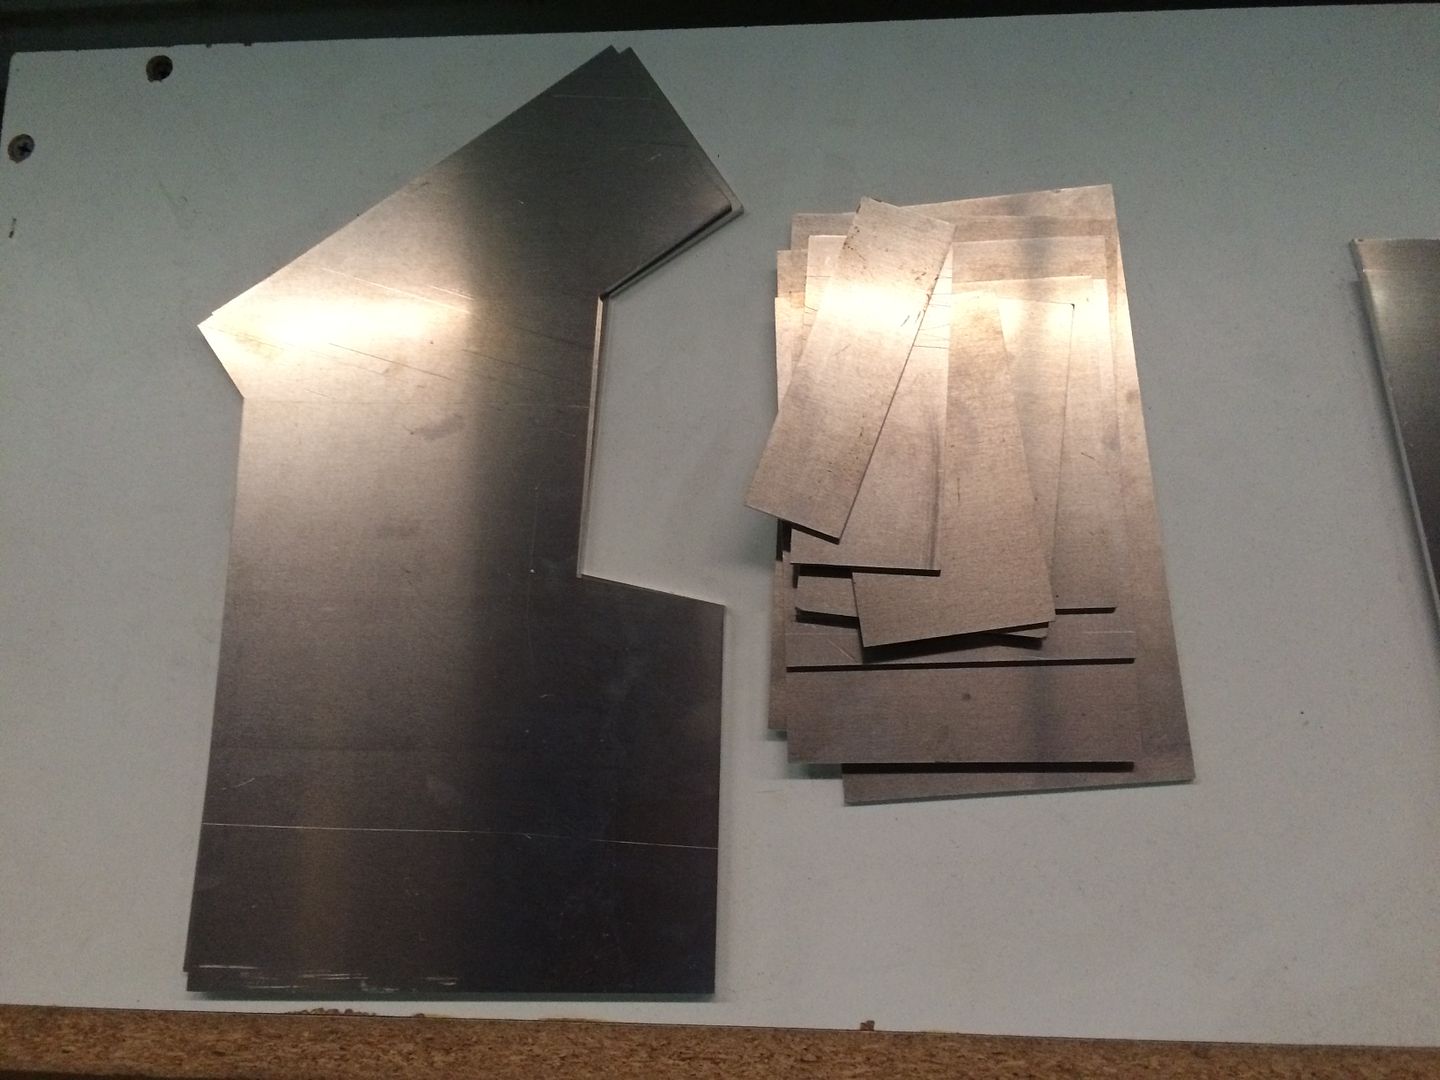
this is what the program looks like
cut out of 1/8" 5052
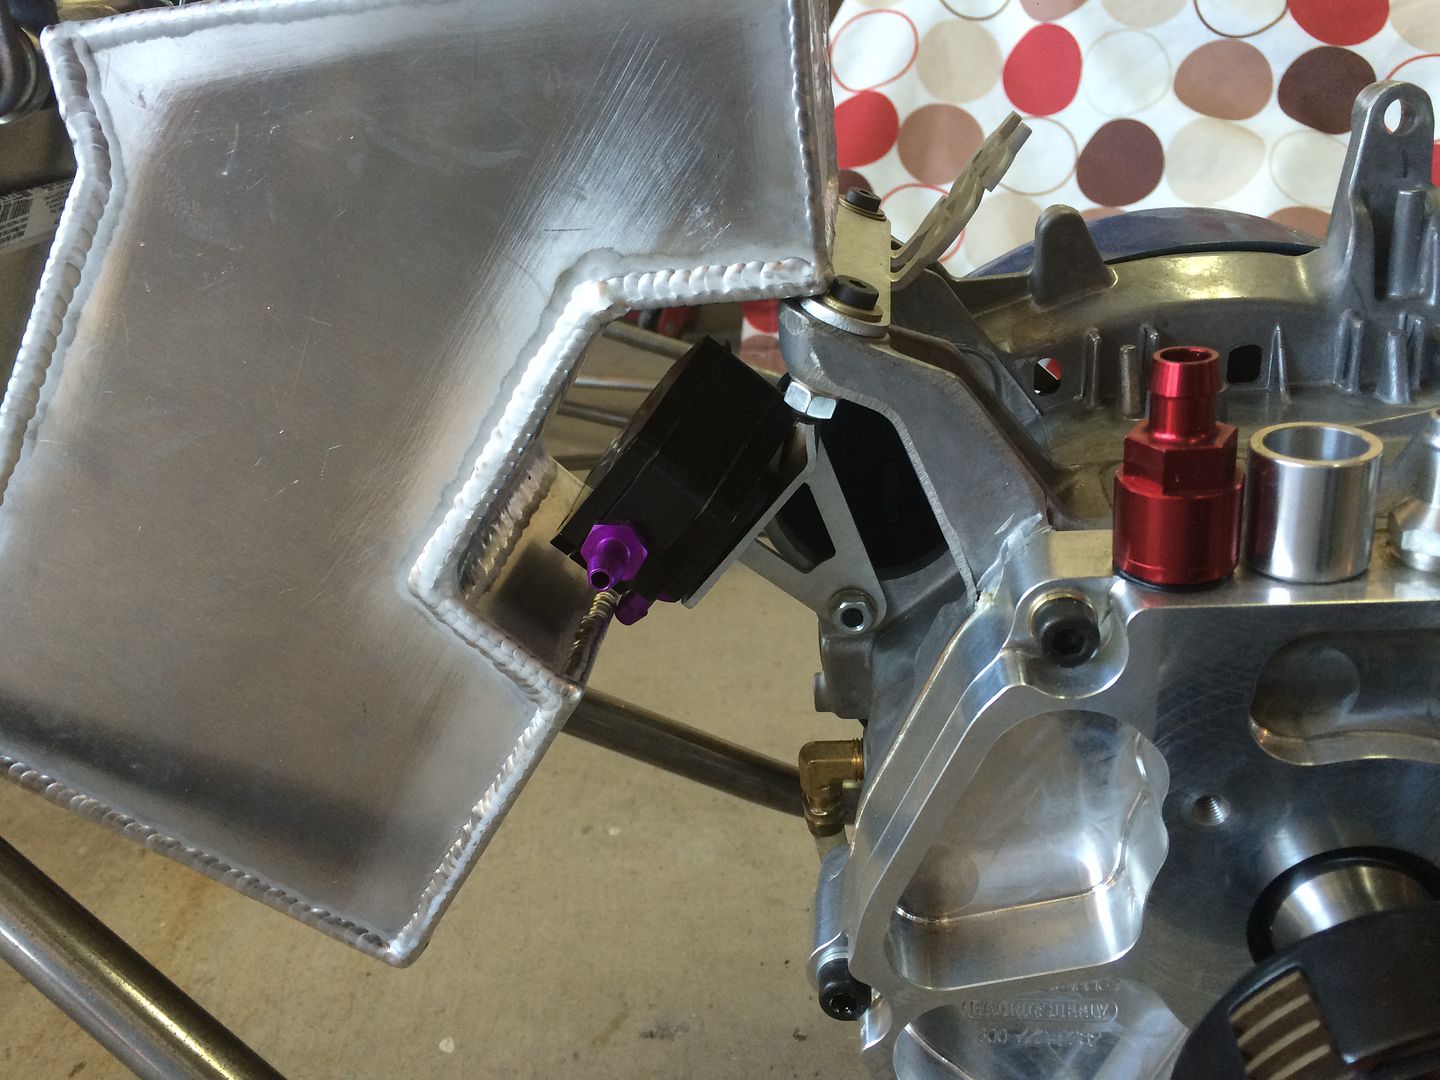
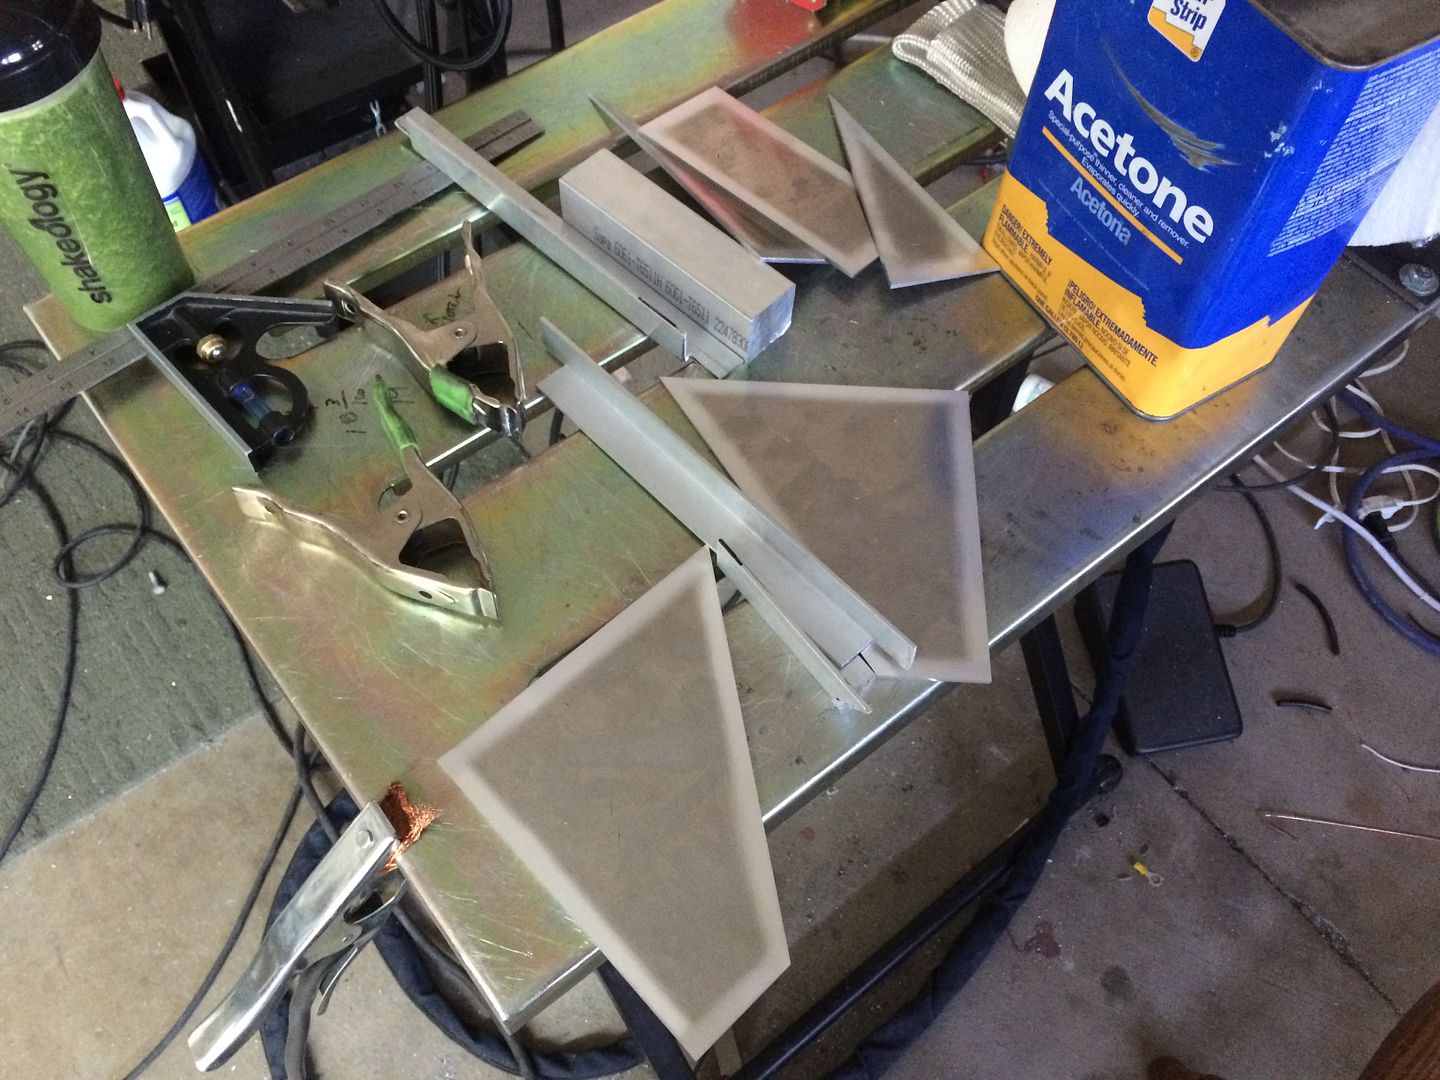
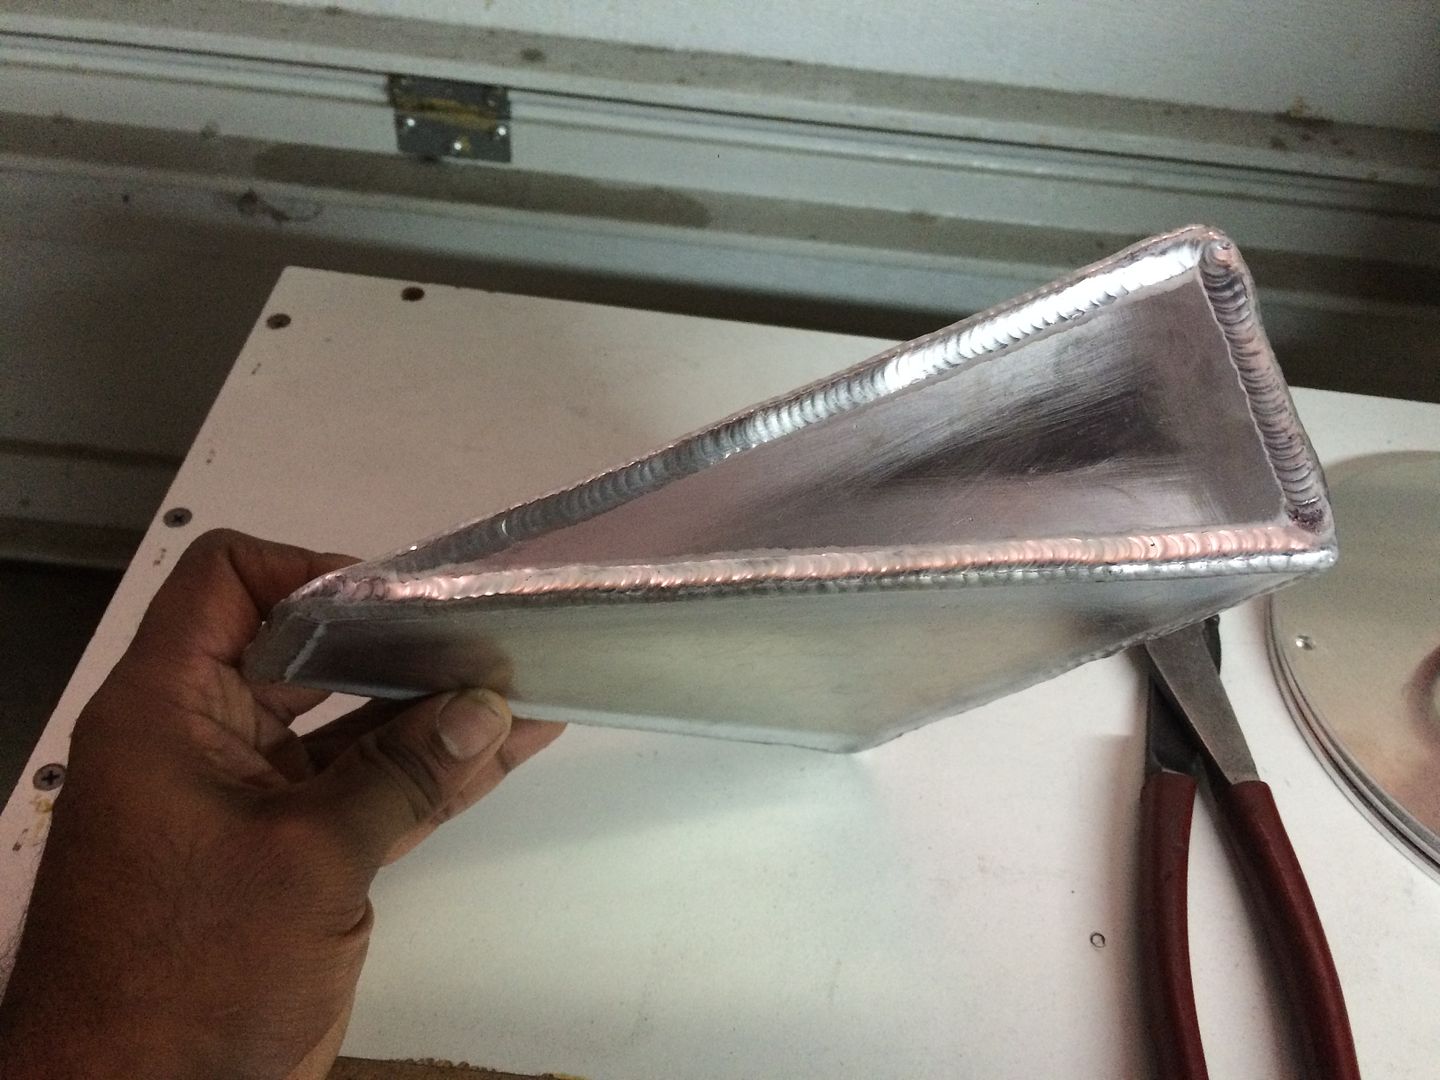
cleaned up and prepped the aluminum for the catch can and welded that up... since the fit up made closed corner welding... i welded the seams and then went back around and welded the corners to try for a certain look... again i just started tig welding and did the best i could... the most important thing for me here, is that the tanks are sealed and functional, which they are ")
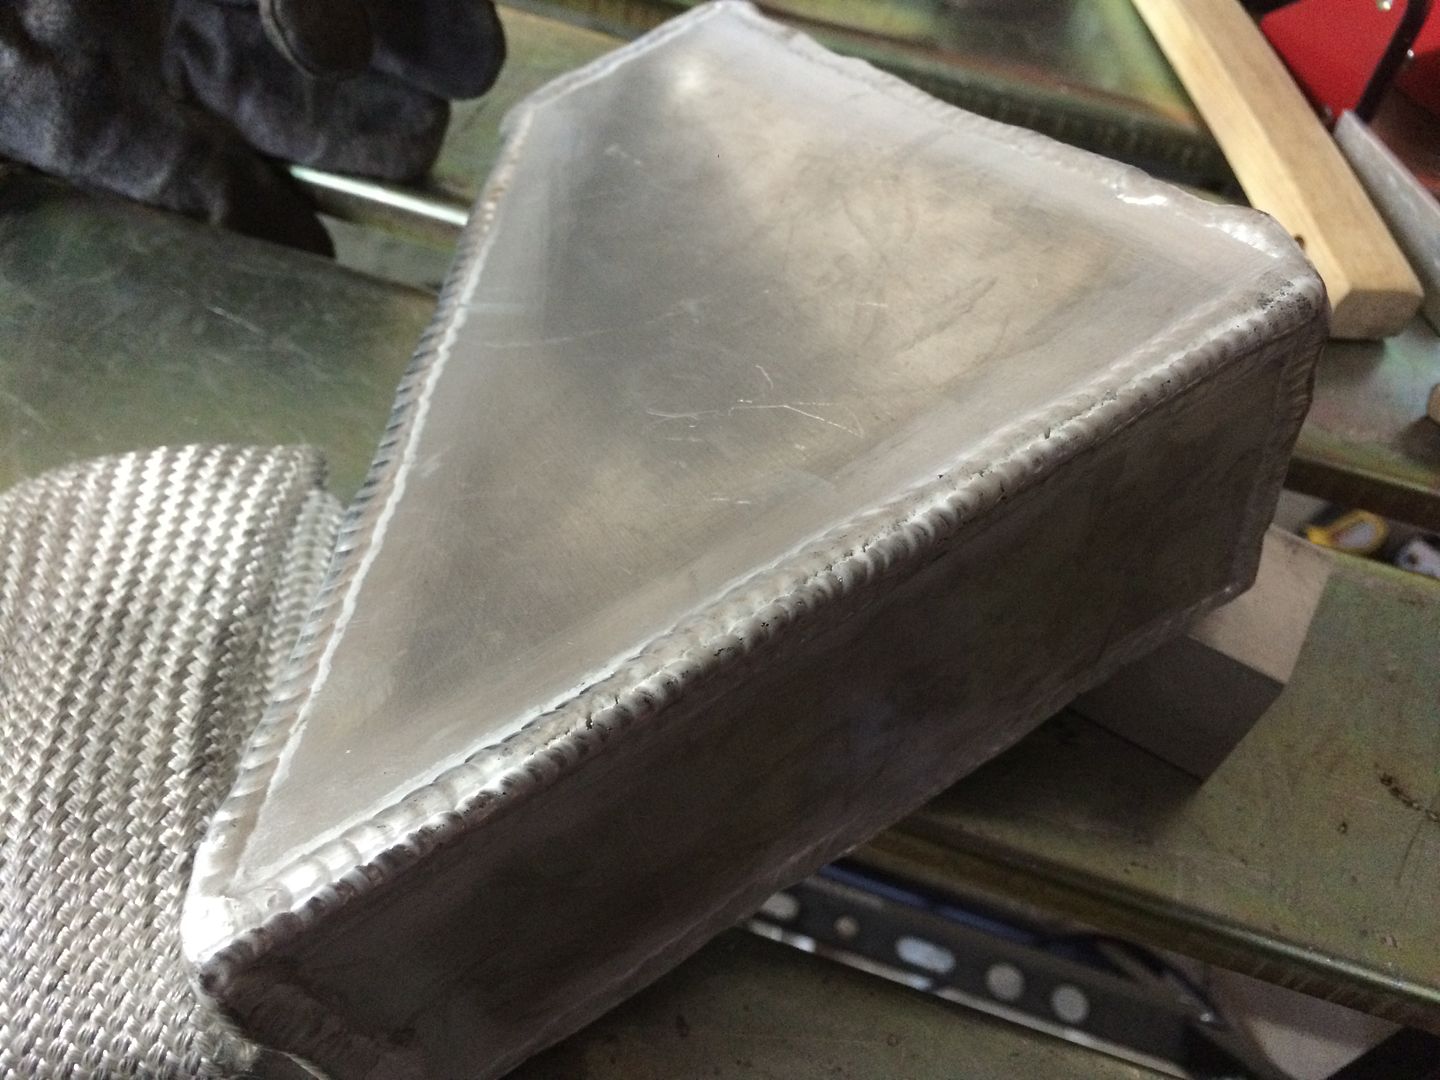
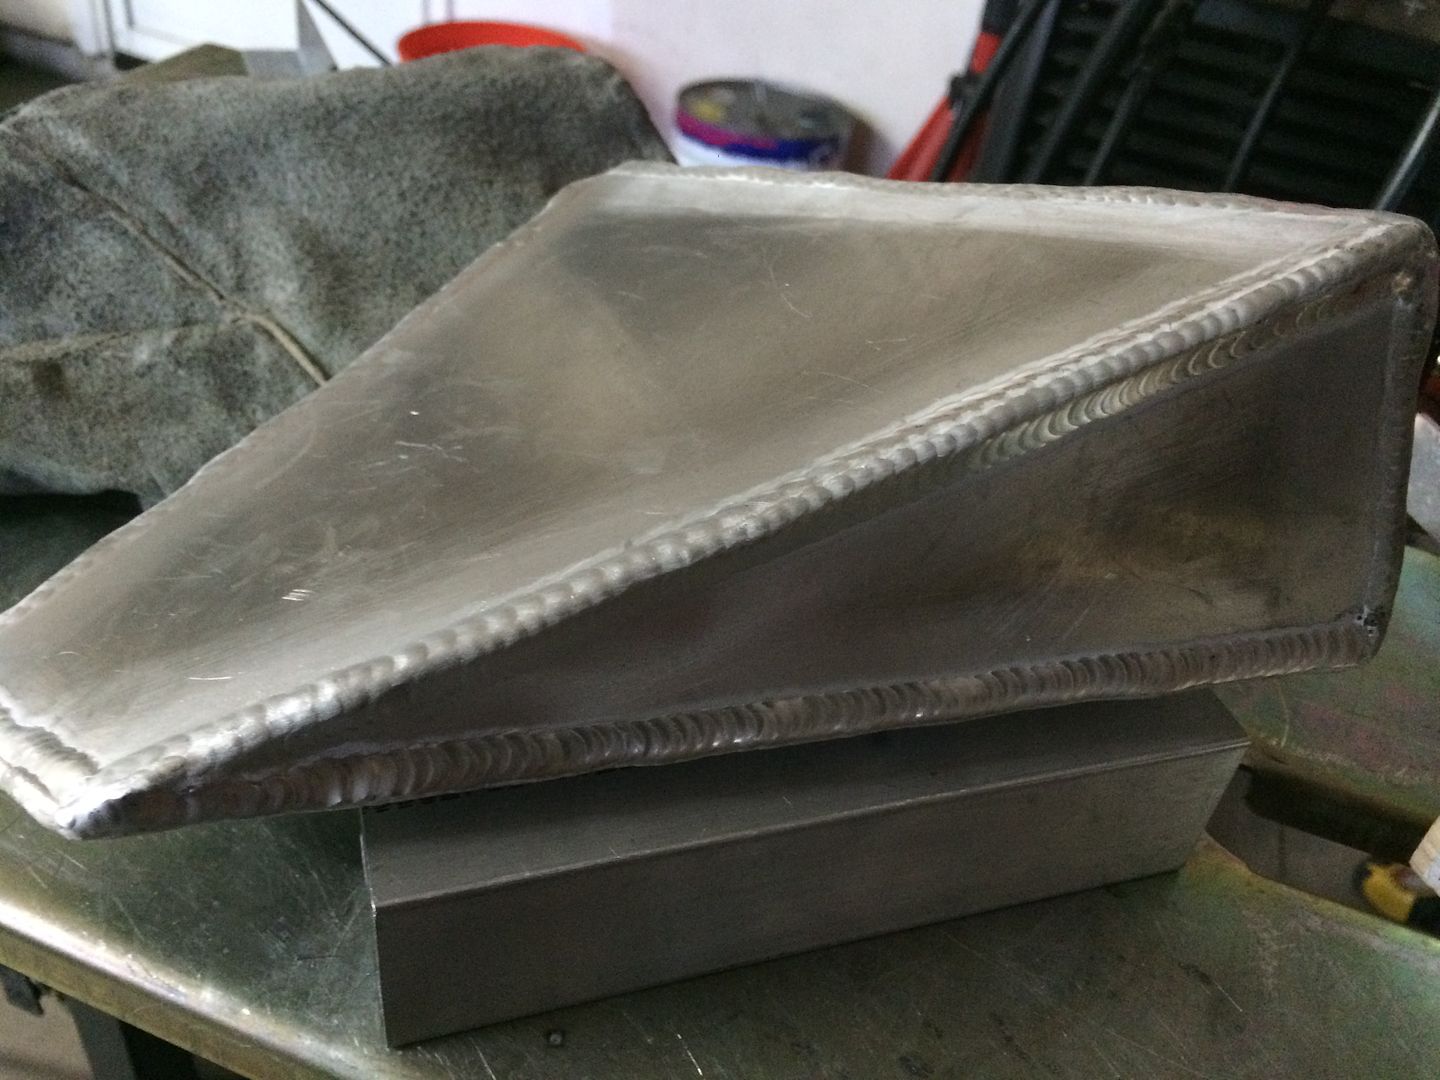
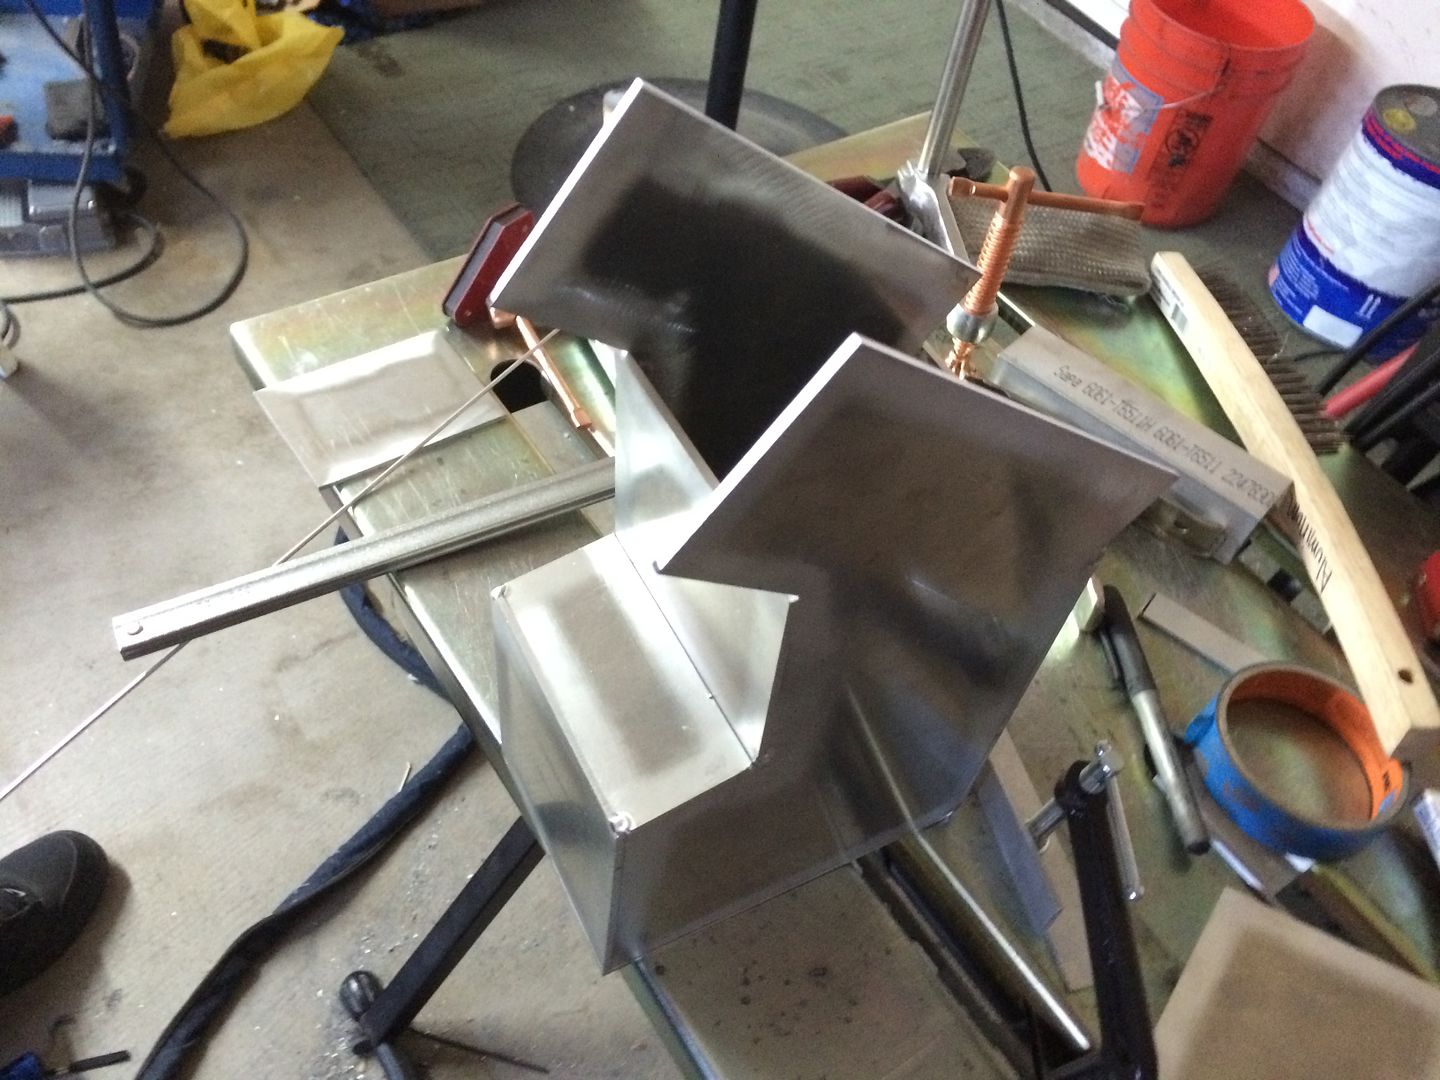
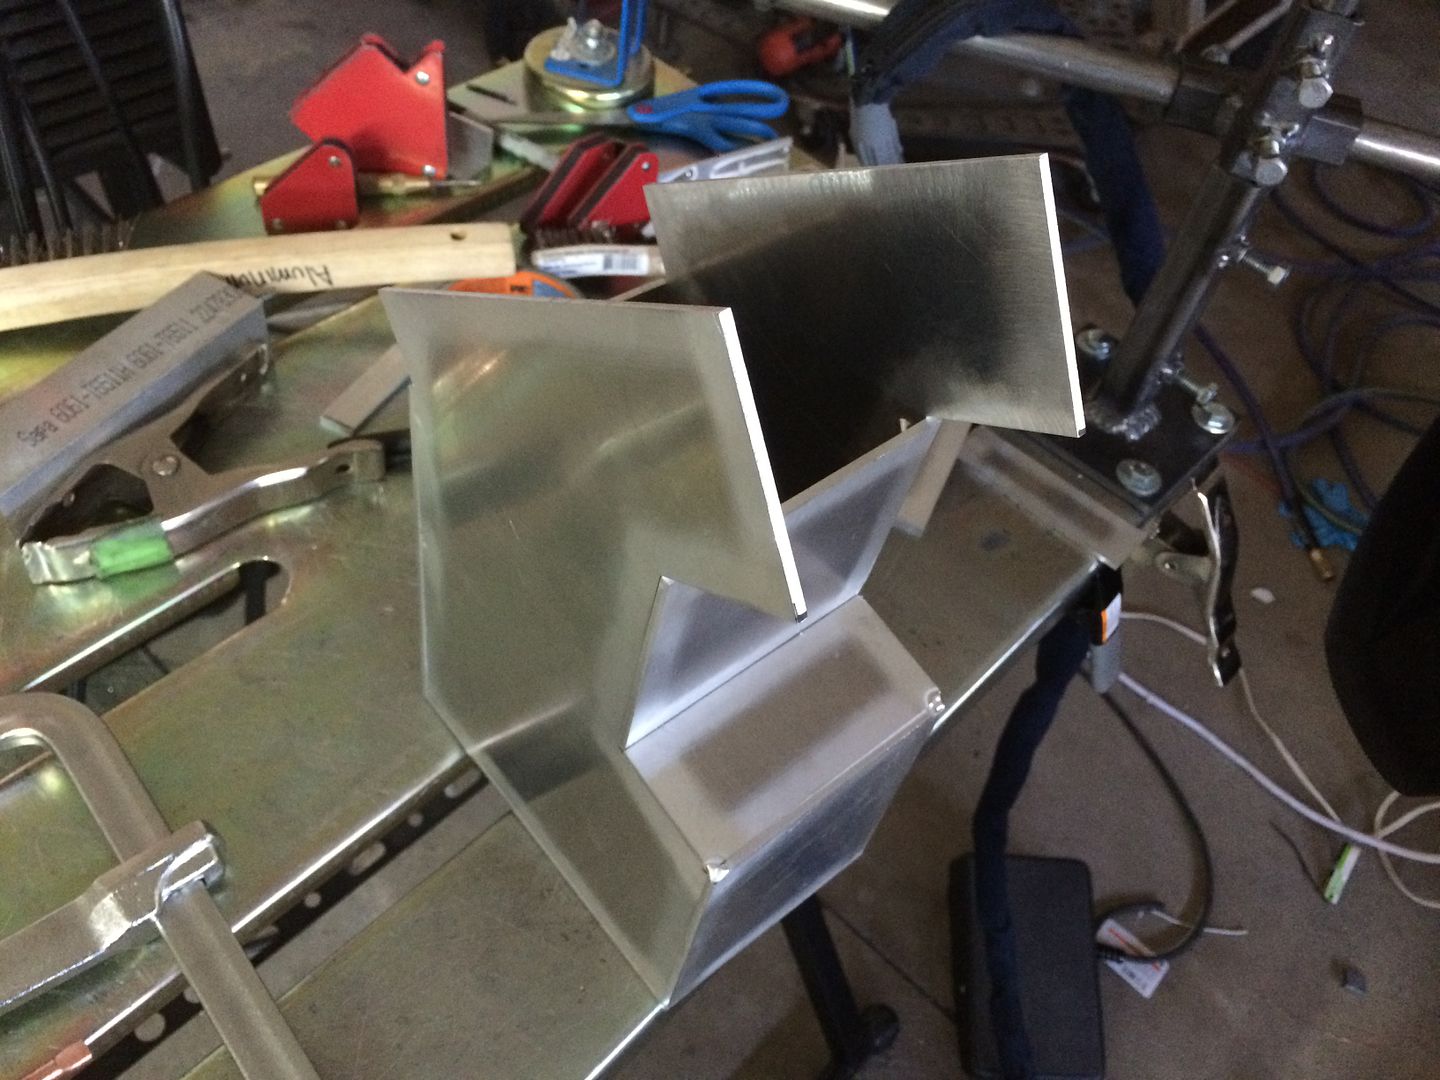

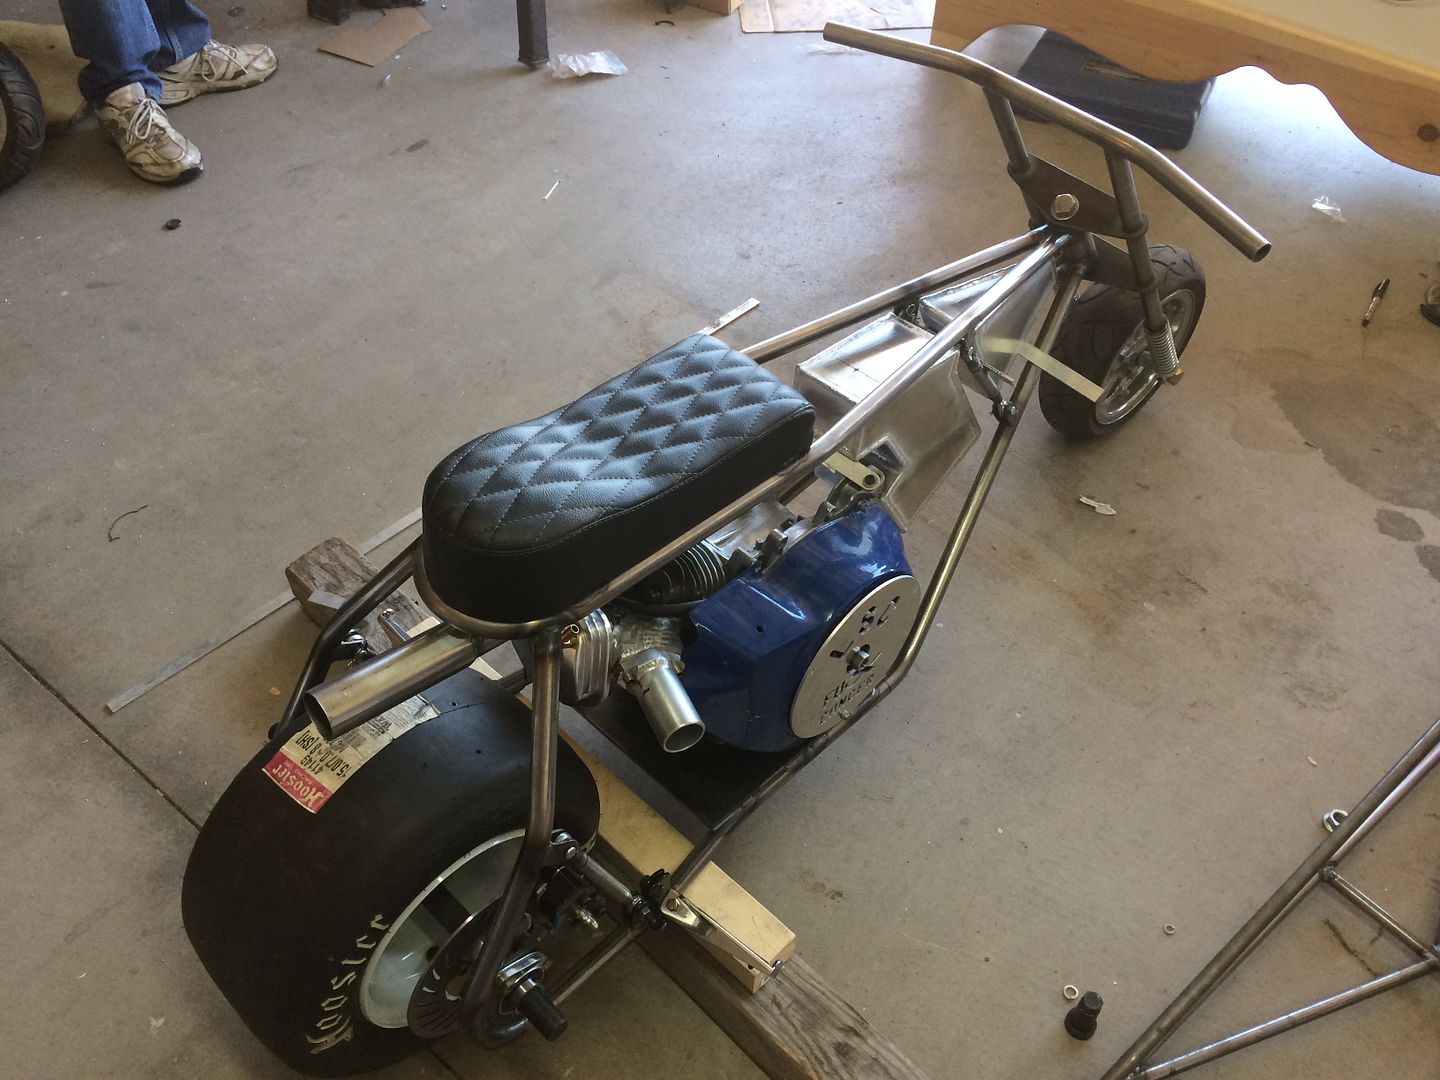
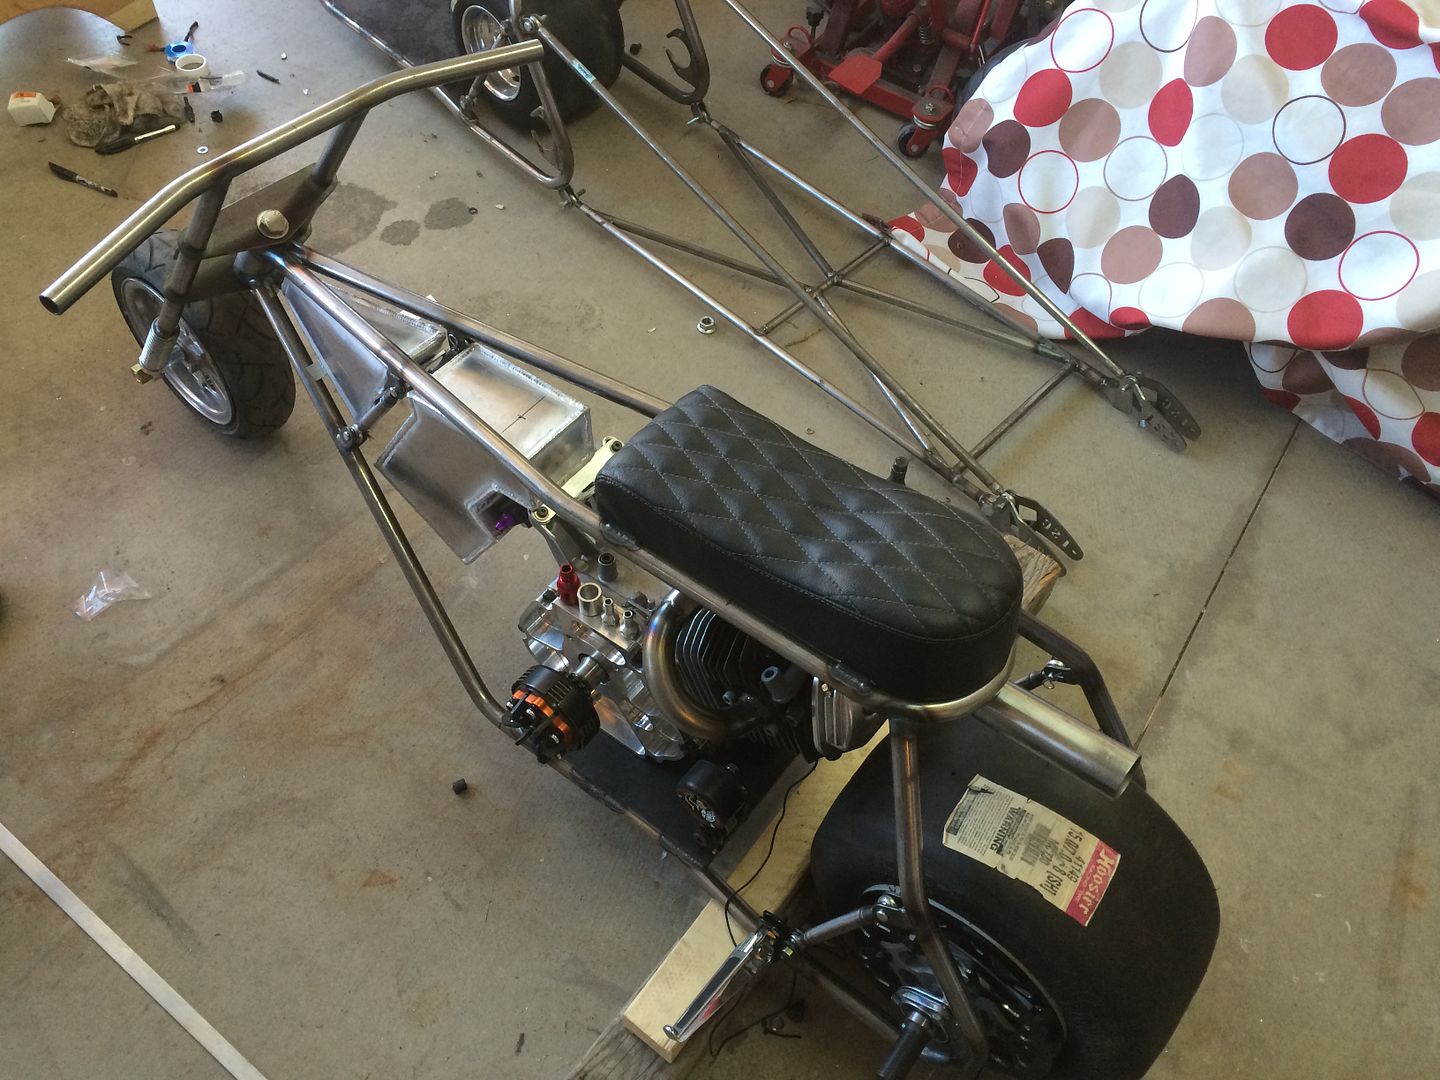
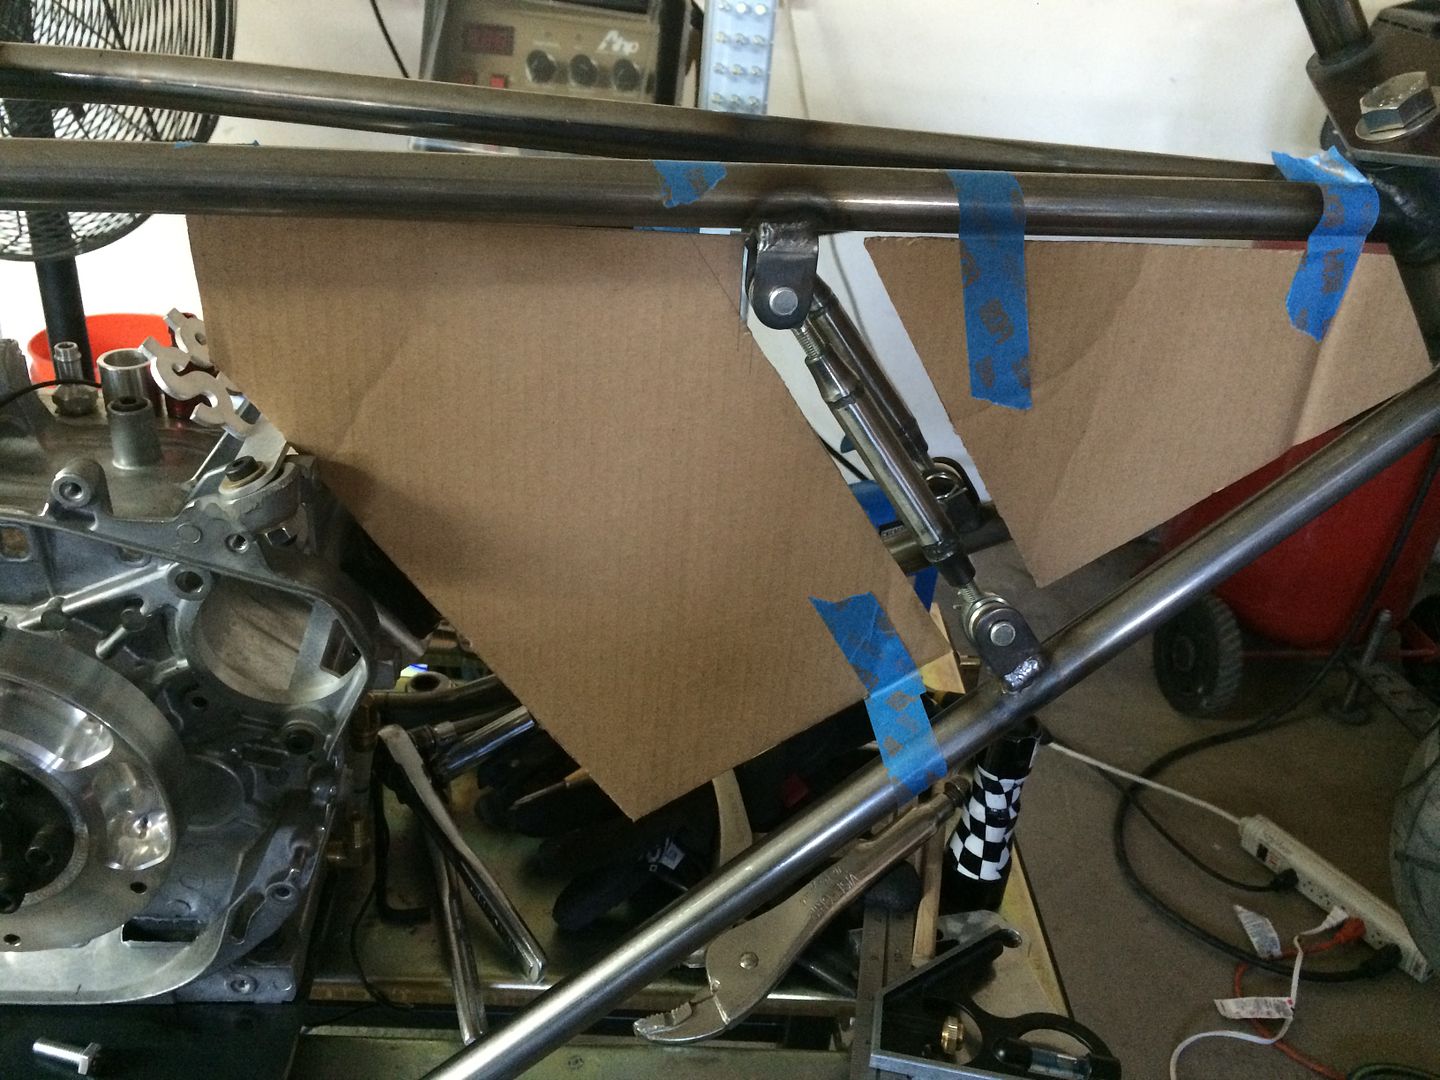
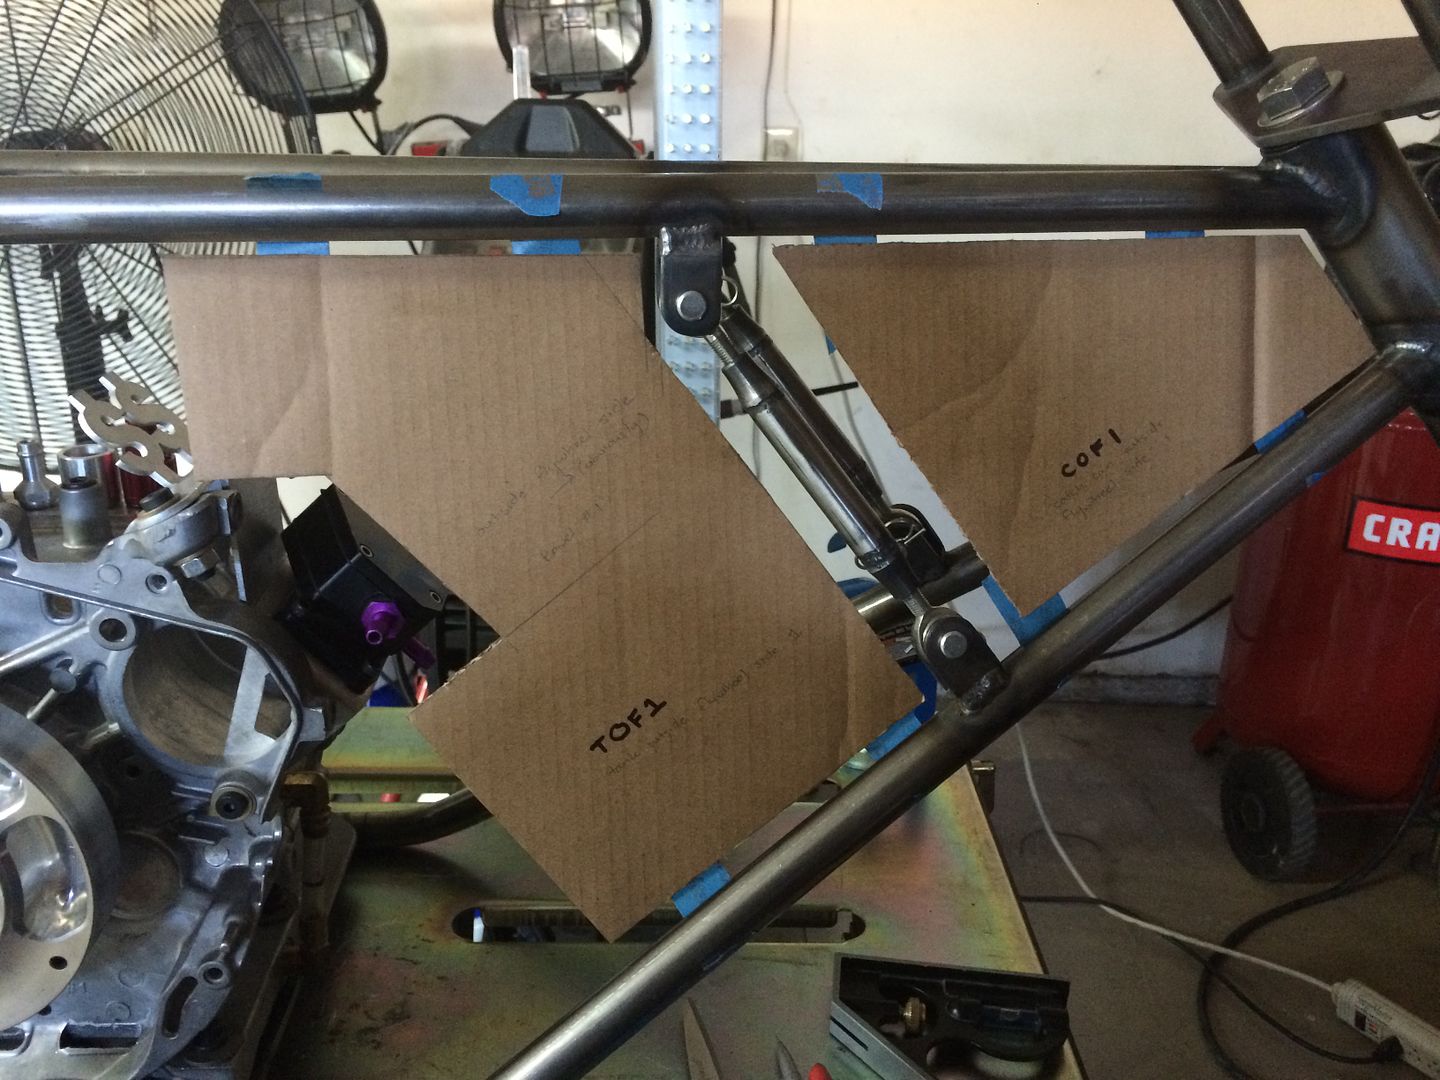
they both fit nicely and as planned in the frame... just sitting in the frame at this point, still need to add filler neck/cap, vent setup/check valve/filter for the catch can and mount to frame, Temecula Bob's shoes in the first pic and he said he loves the tanks... felt awesome to hear him say that...