Stretched Frame Build Up

#1
So, I'm into my 3rd Doodlebug..(Well, really 4, if you count the brand new one I bought at Northern Tool yesterday for $179.00)

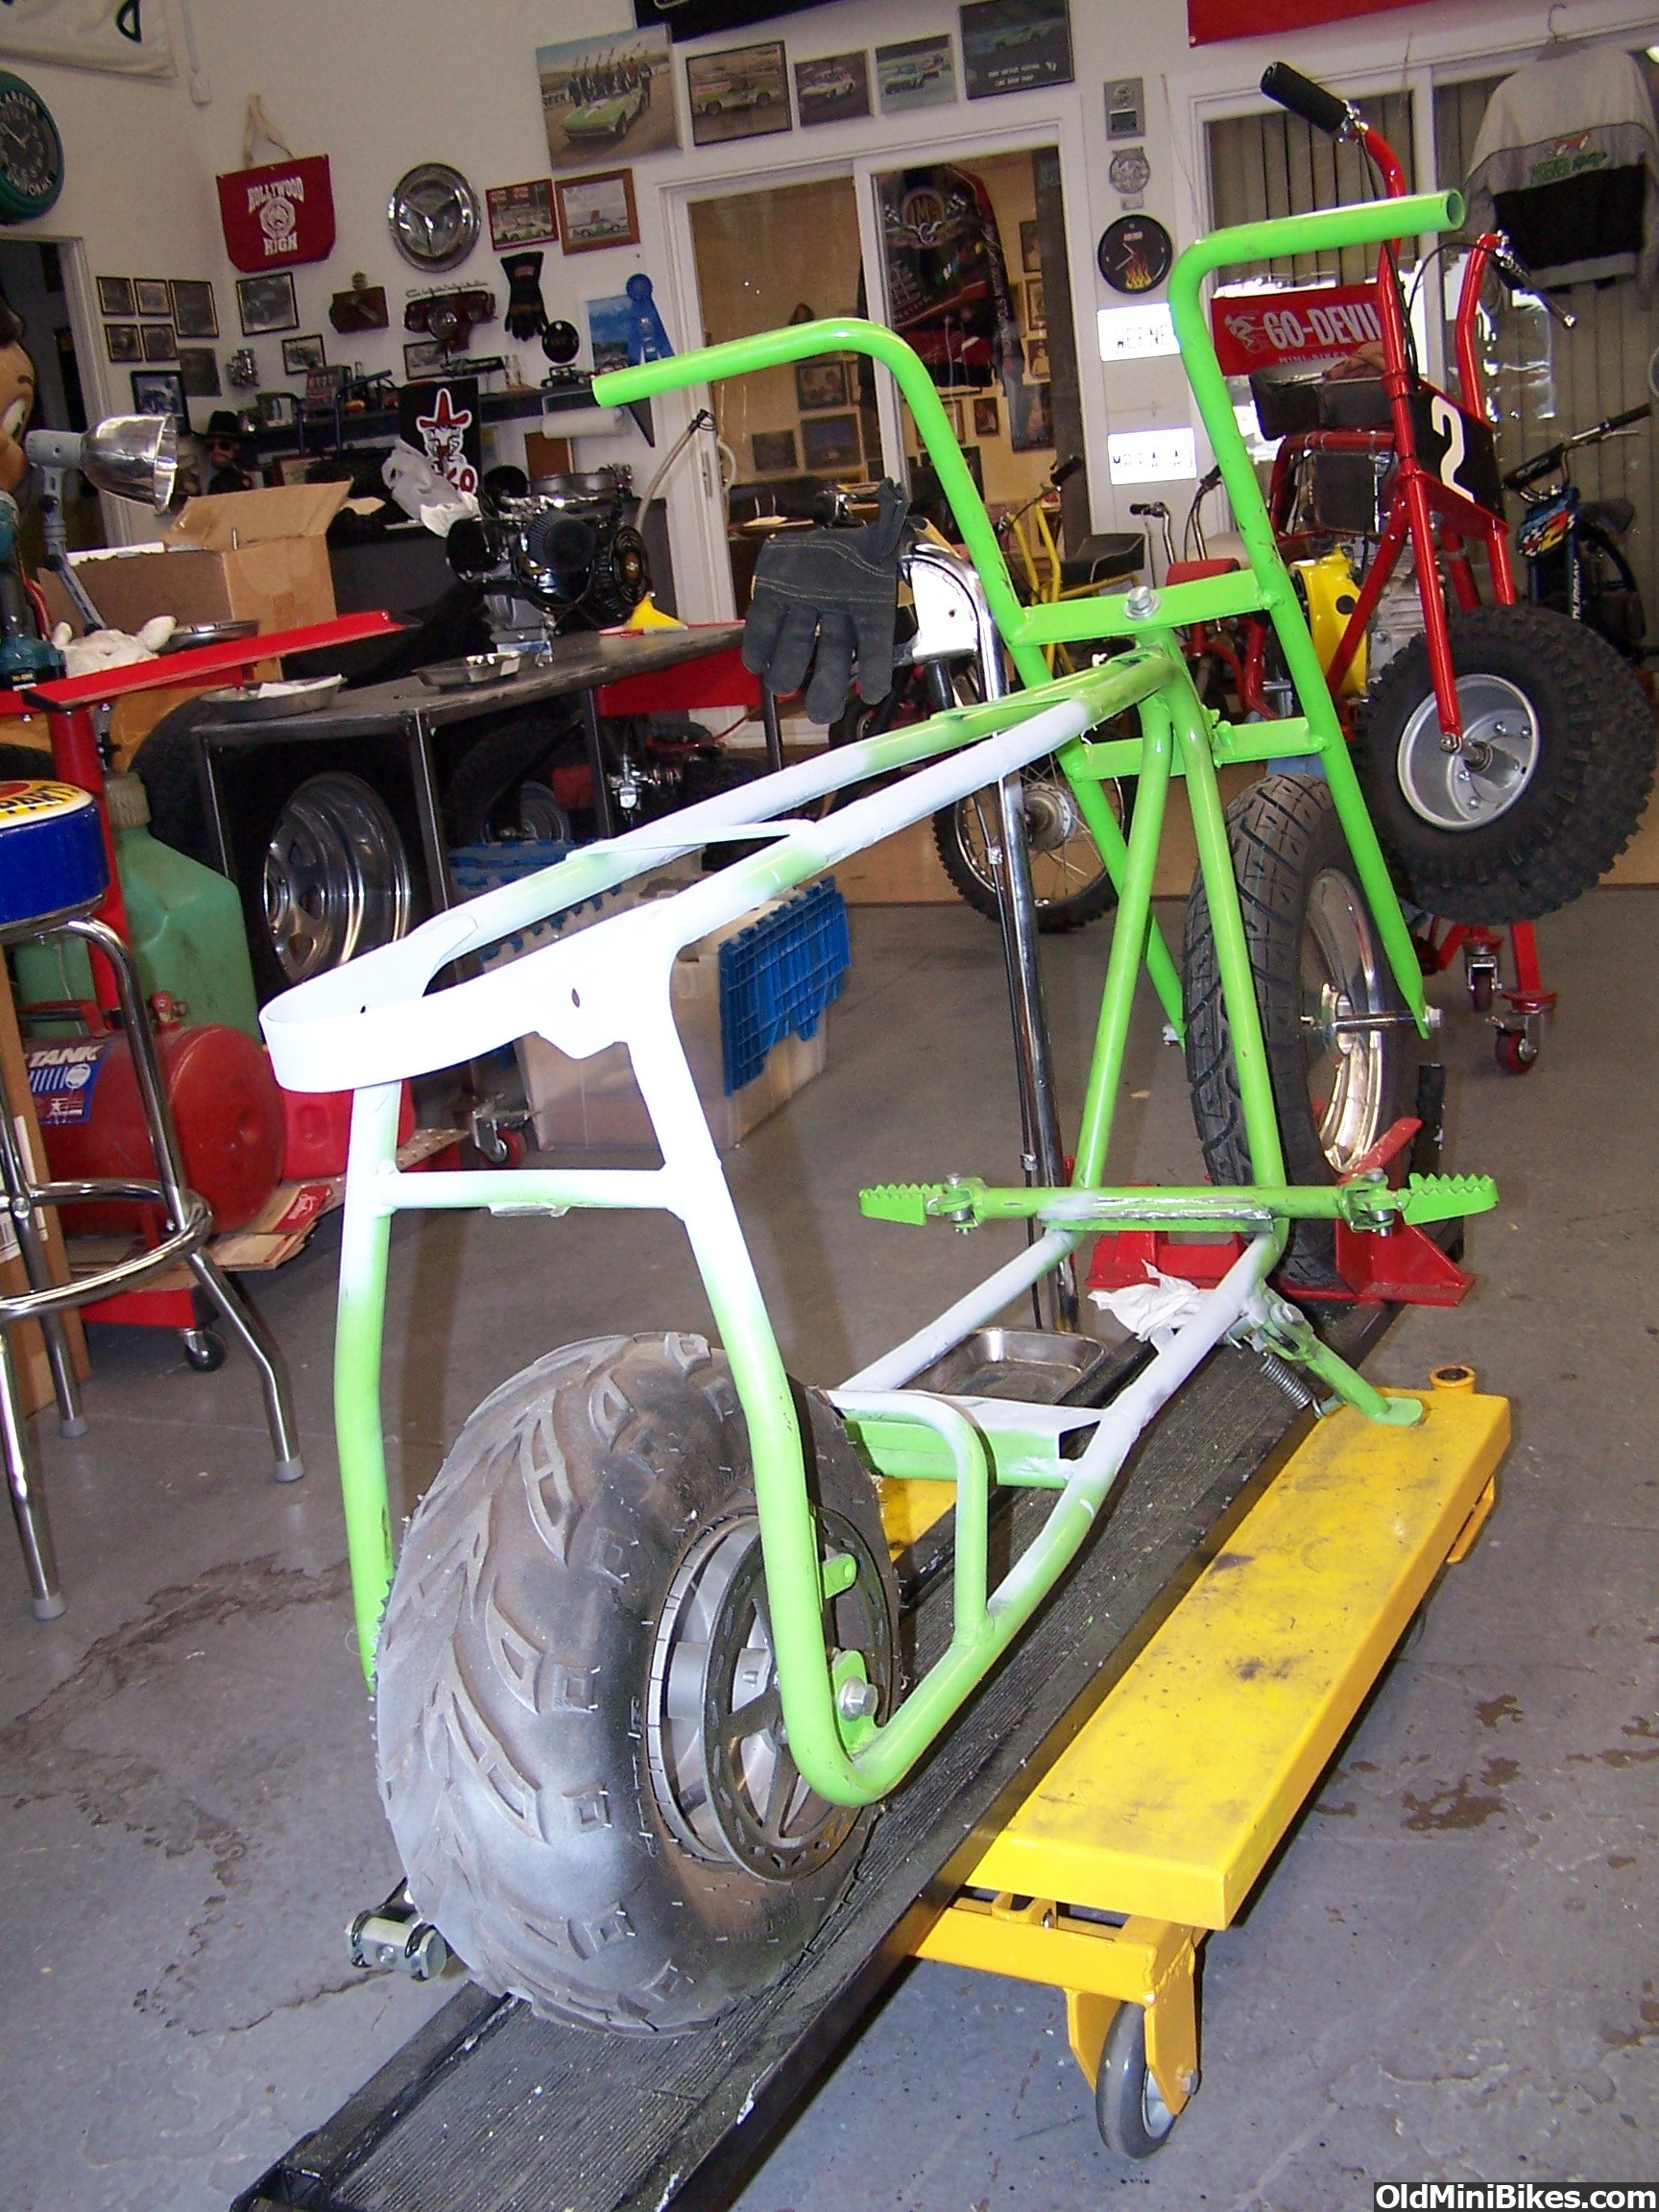
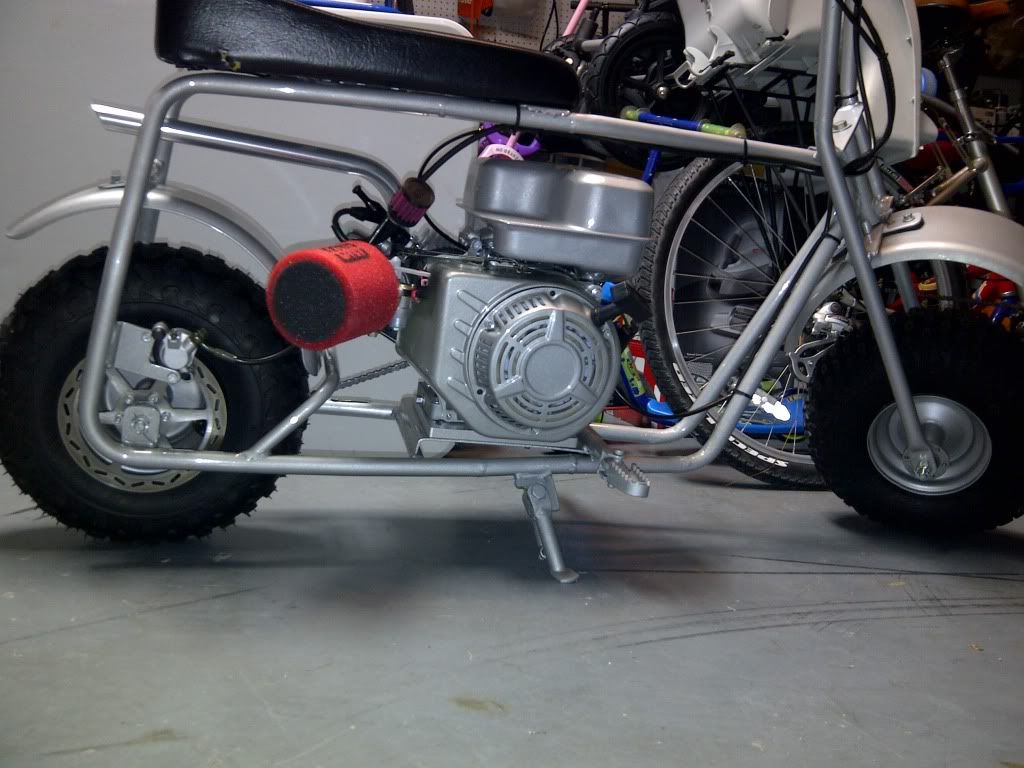
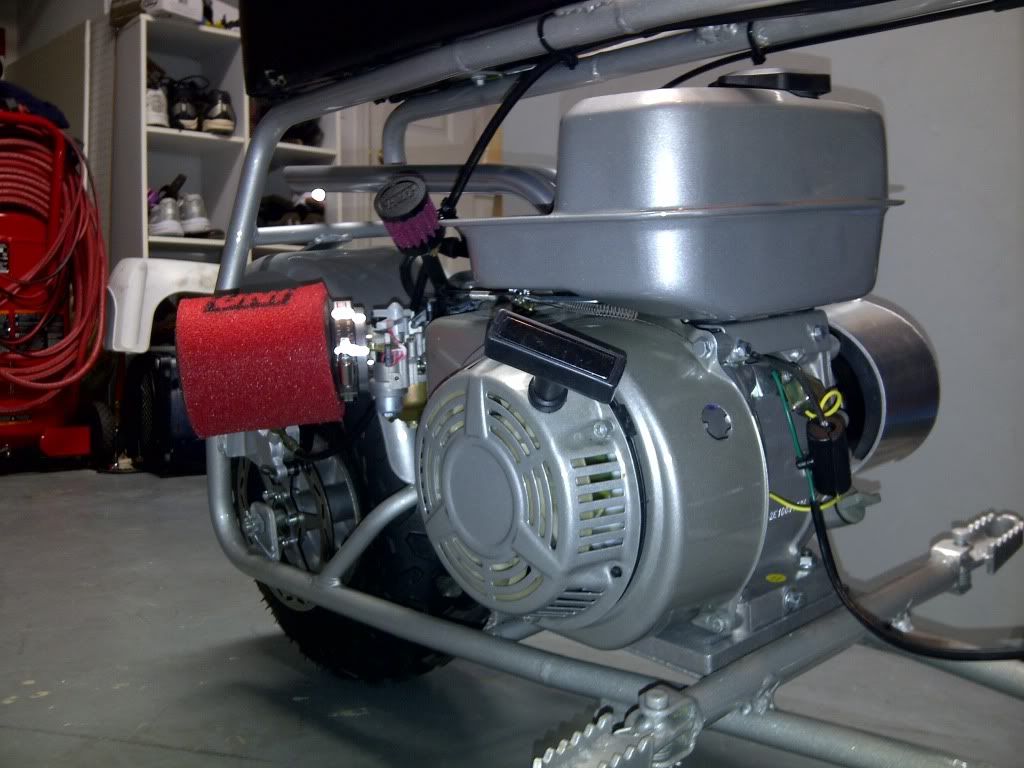
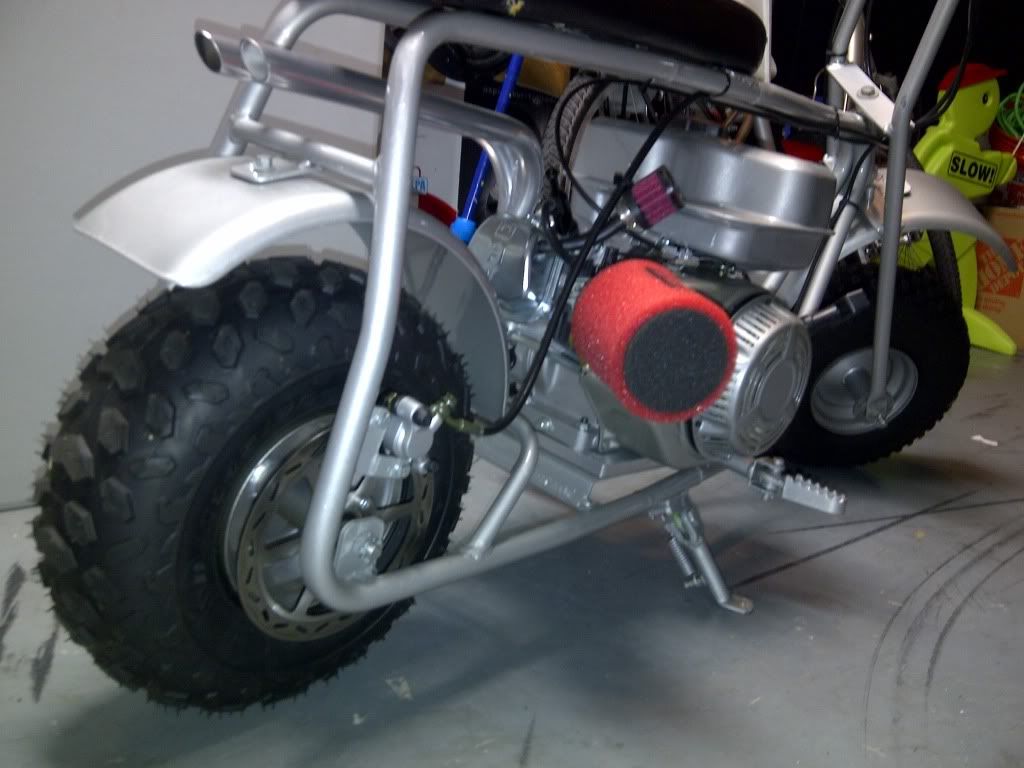
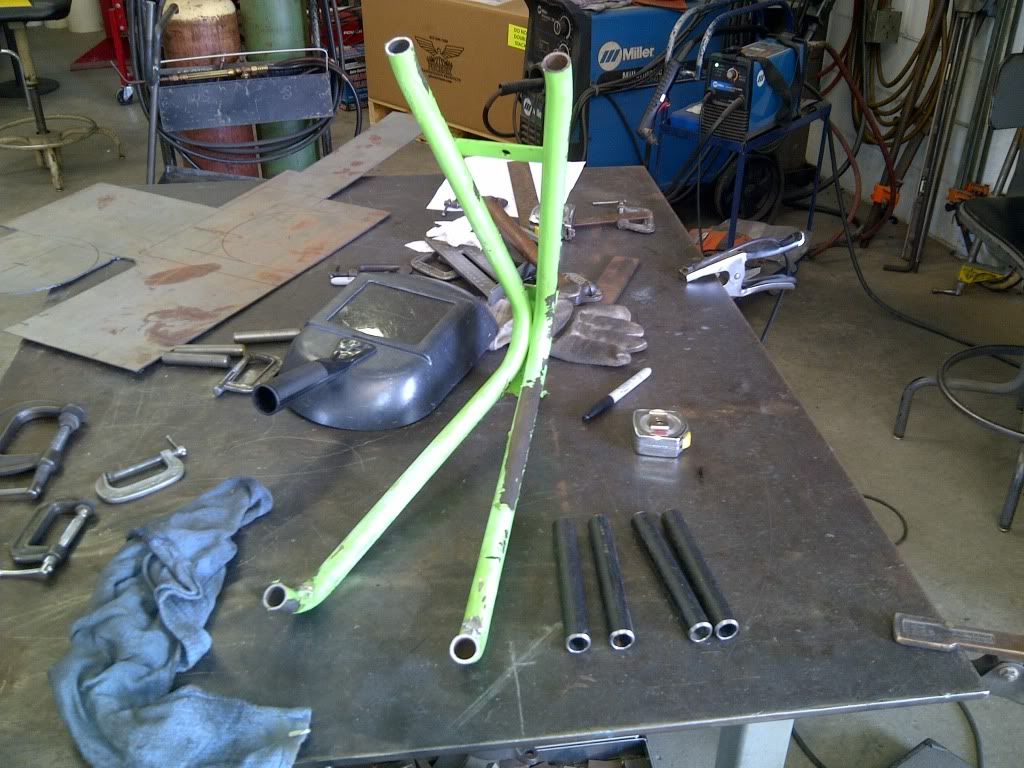
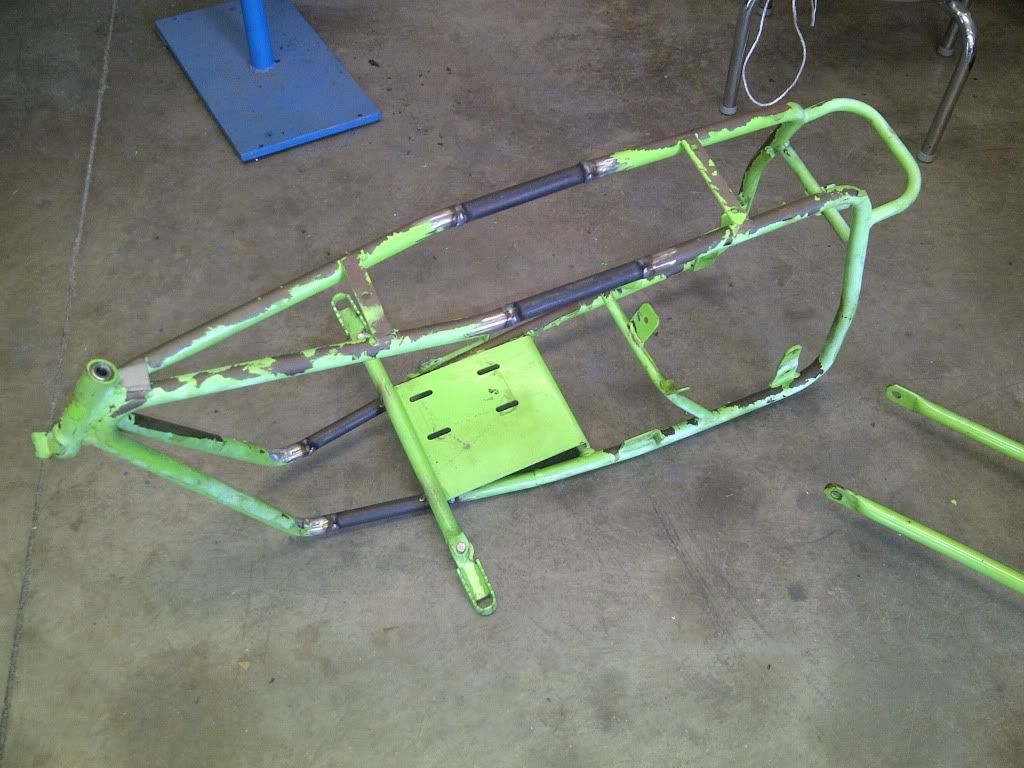
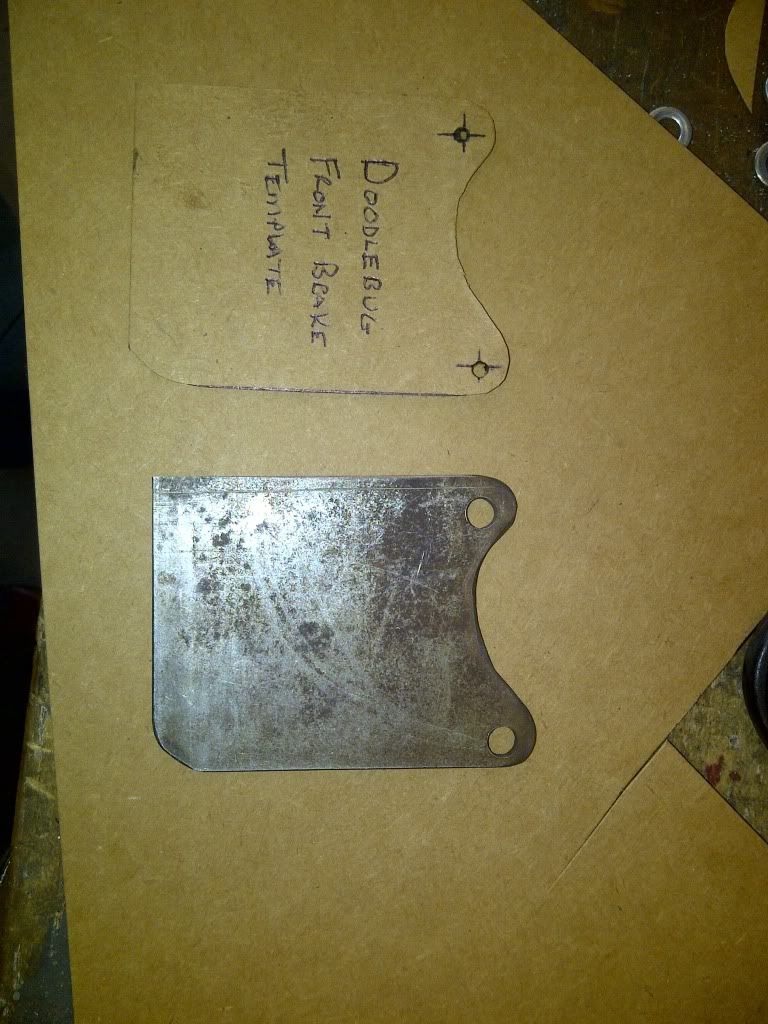
I decided to try something new with the 3rd one. I wanted to stretch the frame 6" and add a torque converter, new paint, custom exhaust, front brakes, etc..

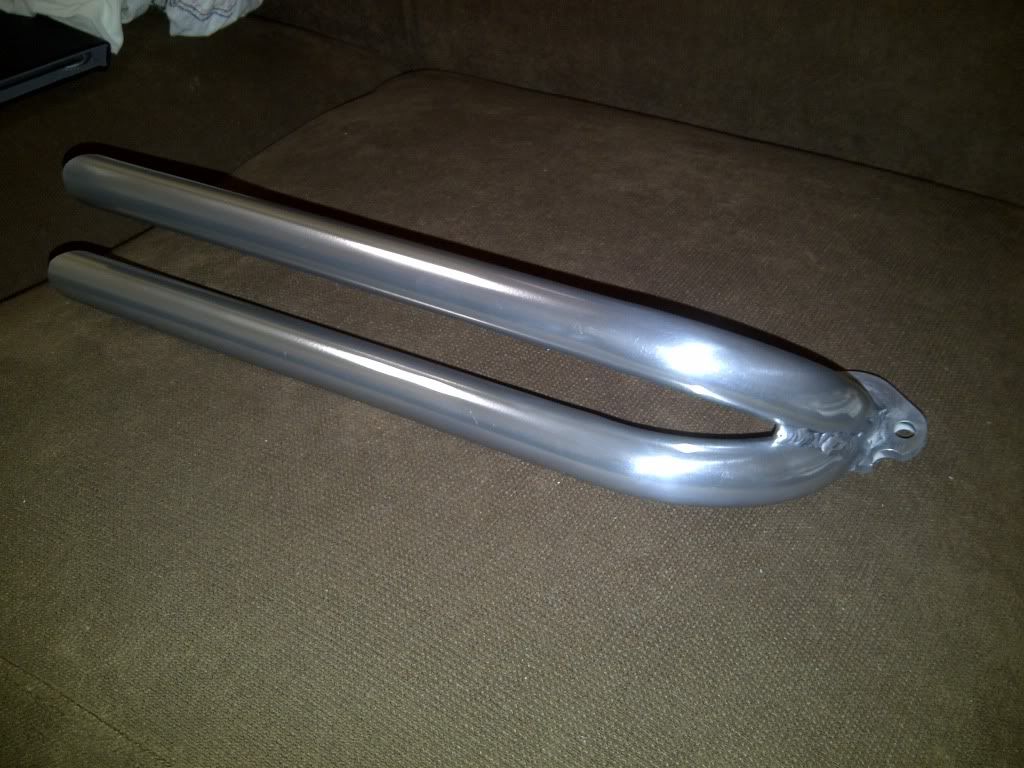
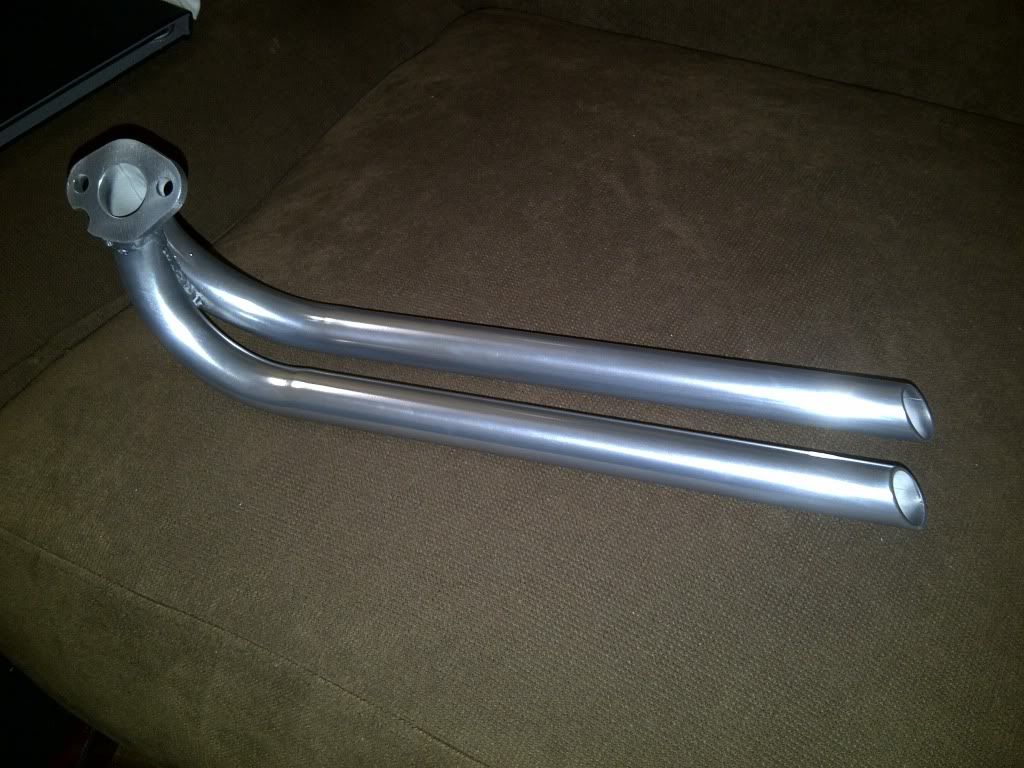
The frame is going to be powder coated Argent Silver. So is the Harbor Freight engine's gas tank and flywheel cover.

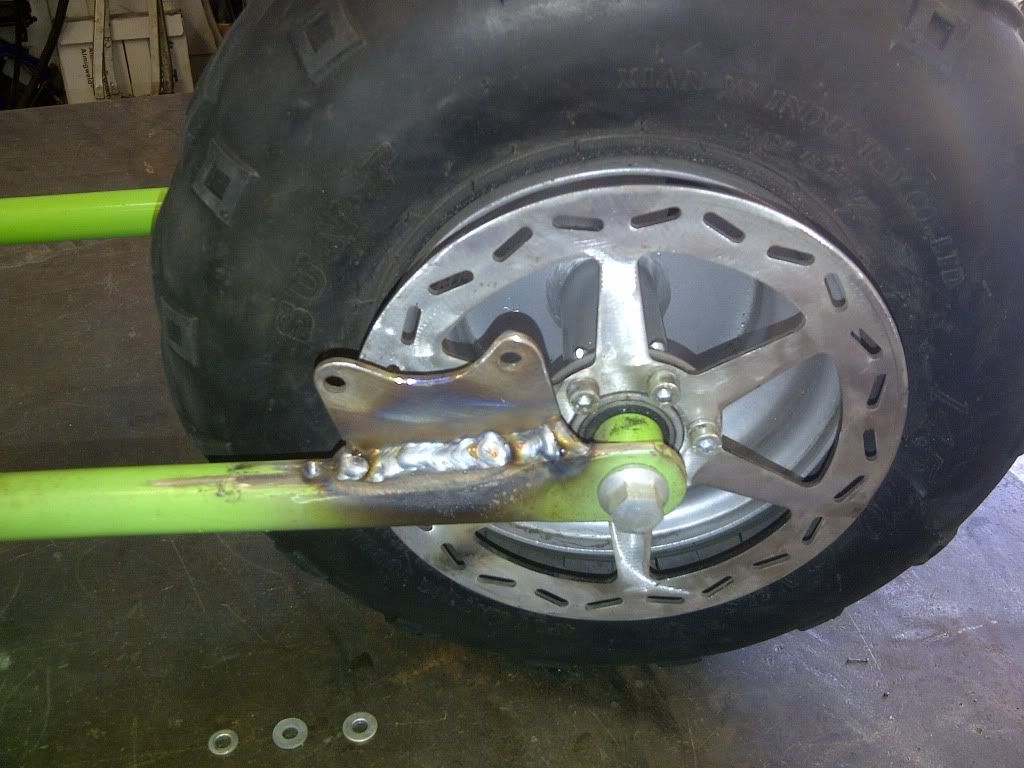
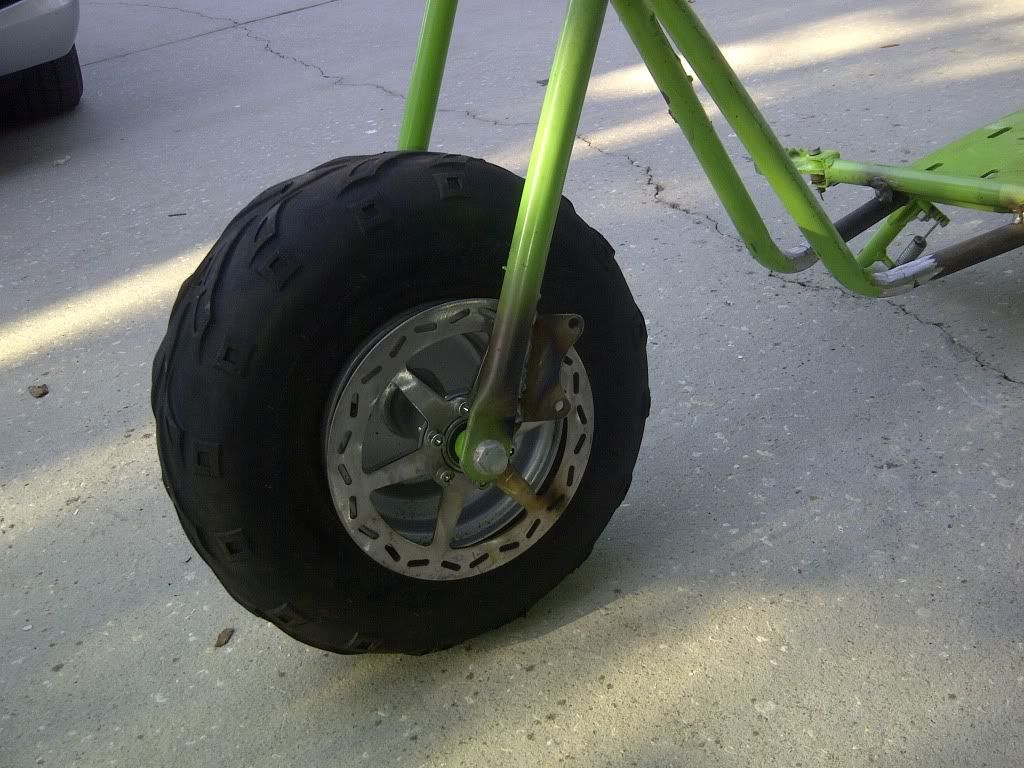
Also, I've never welded until this project, so go easy on me with the welding comments. Had to cut of the front brake bracket after my first weld, so it's got a good build up of weld, as you can see.
Here's some pics so far:

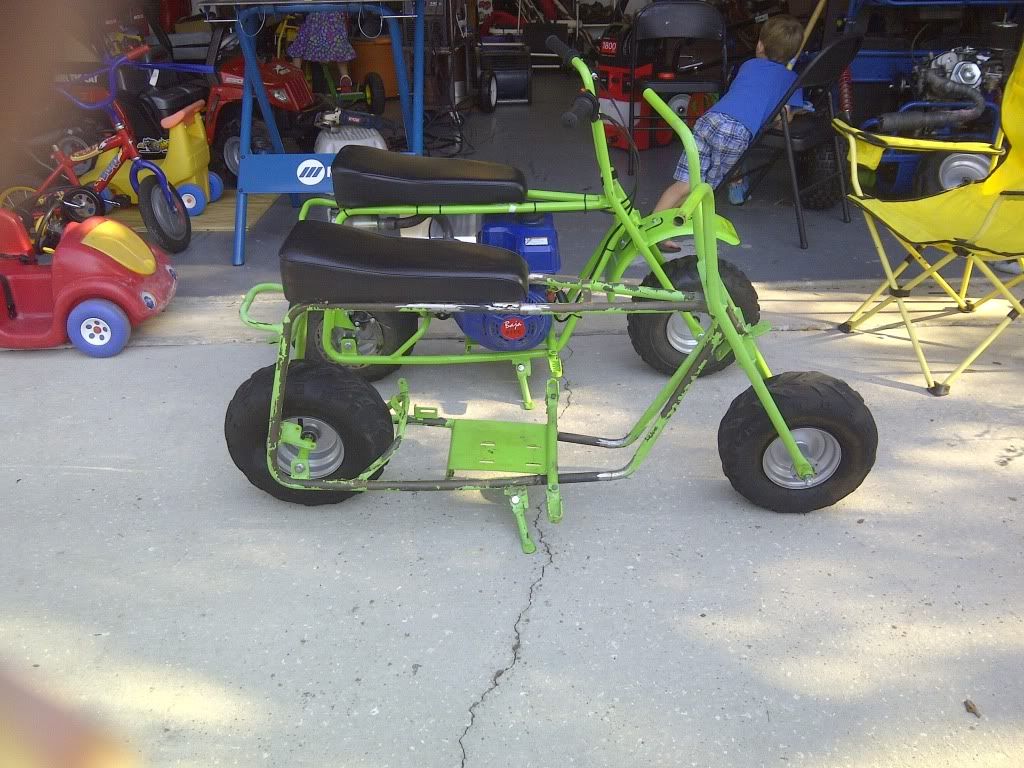
As purchased through craigslist:


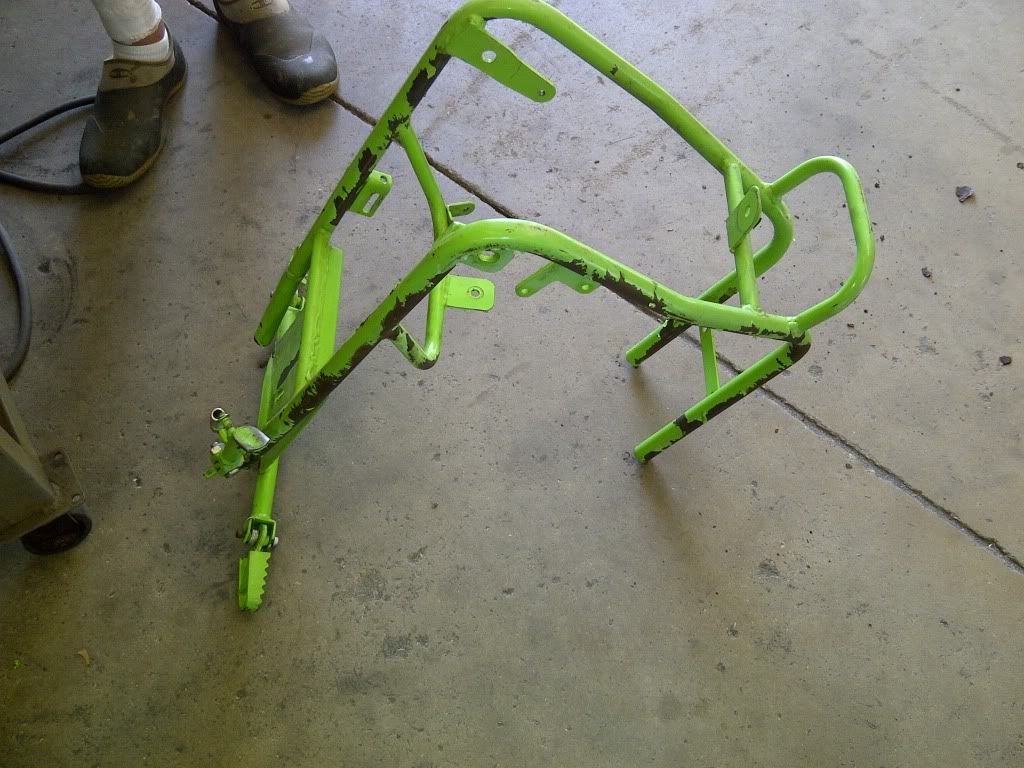
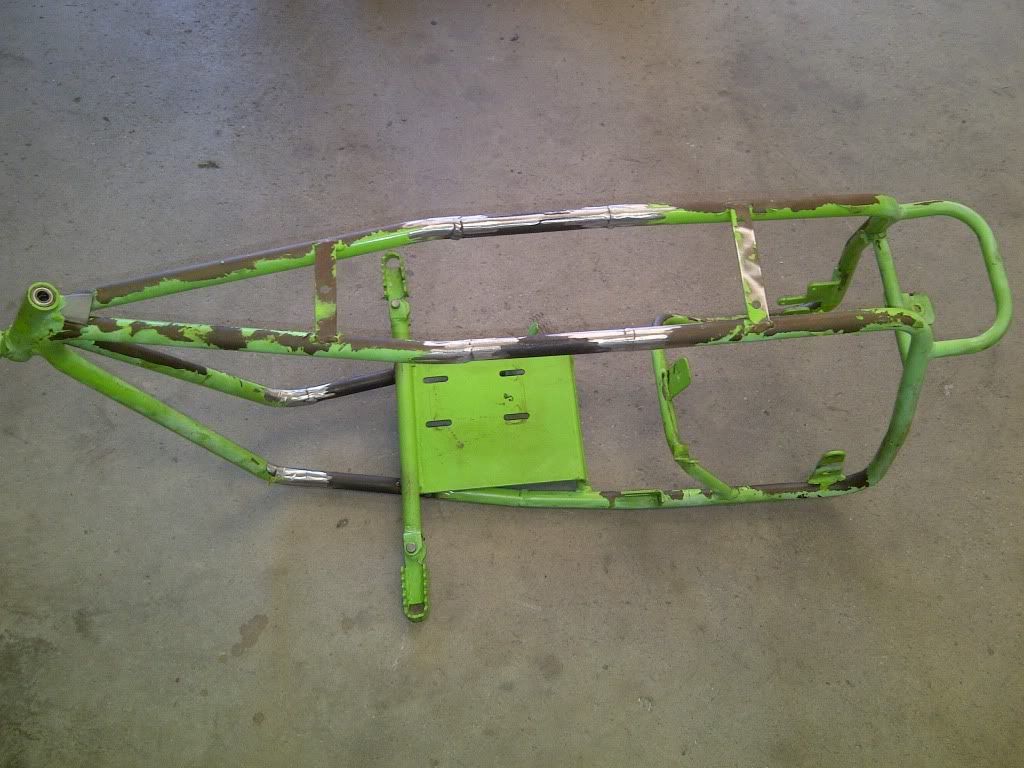
Brought it home and stripped it down:
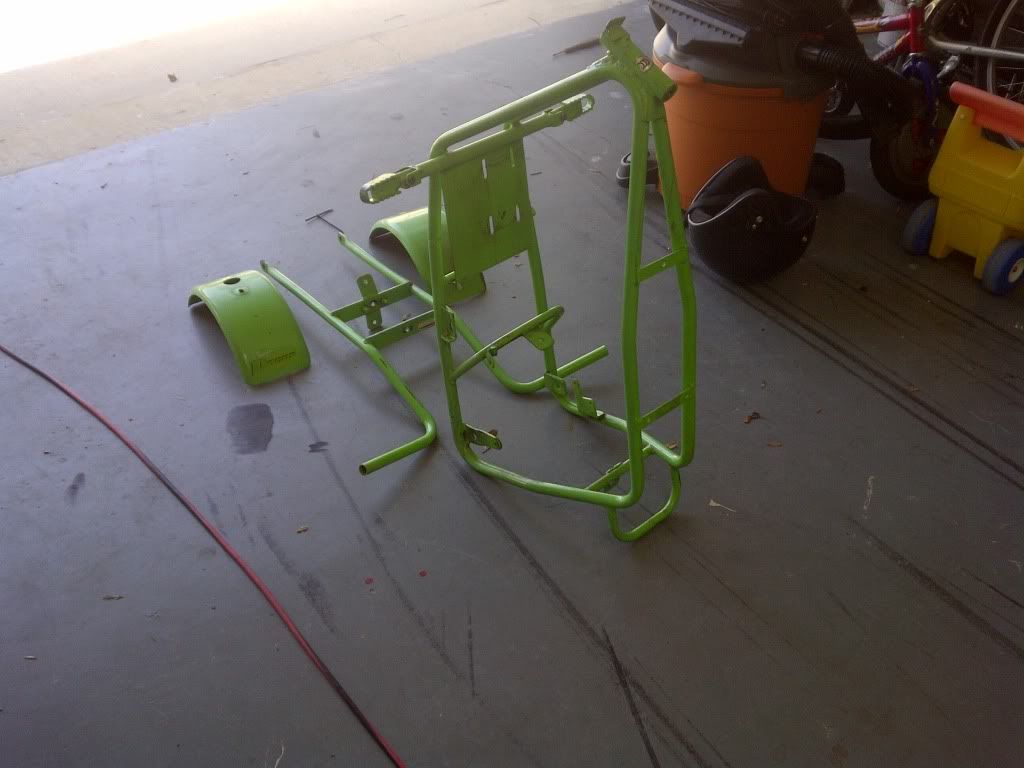
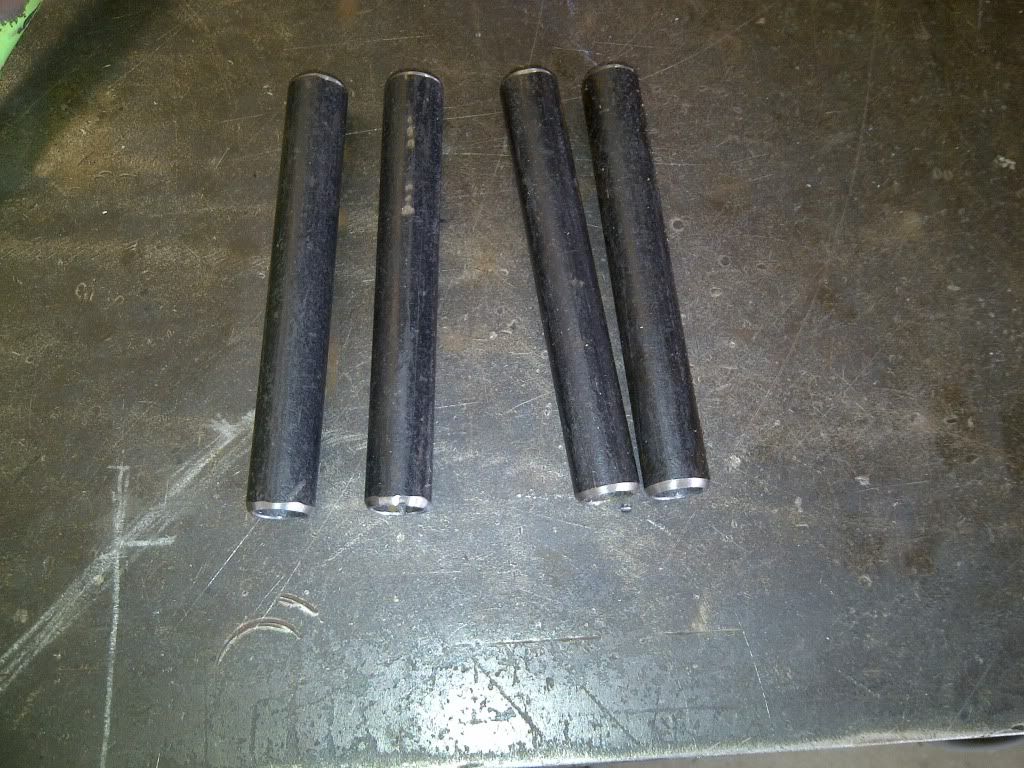
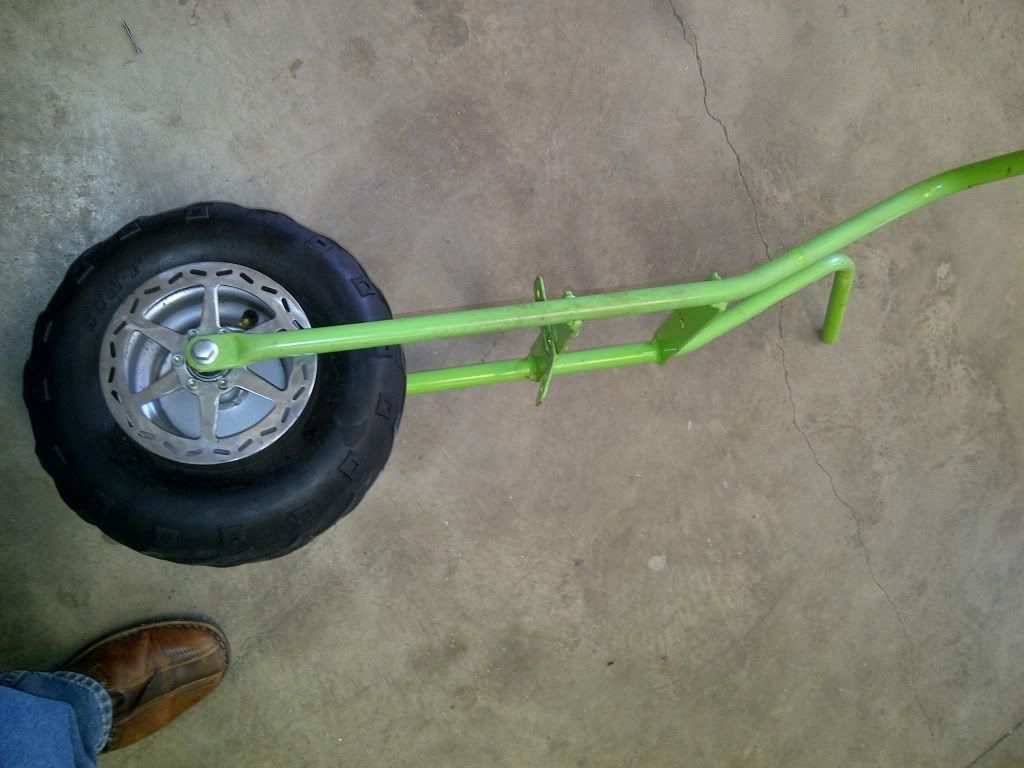
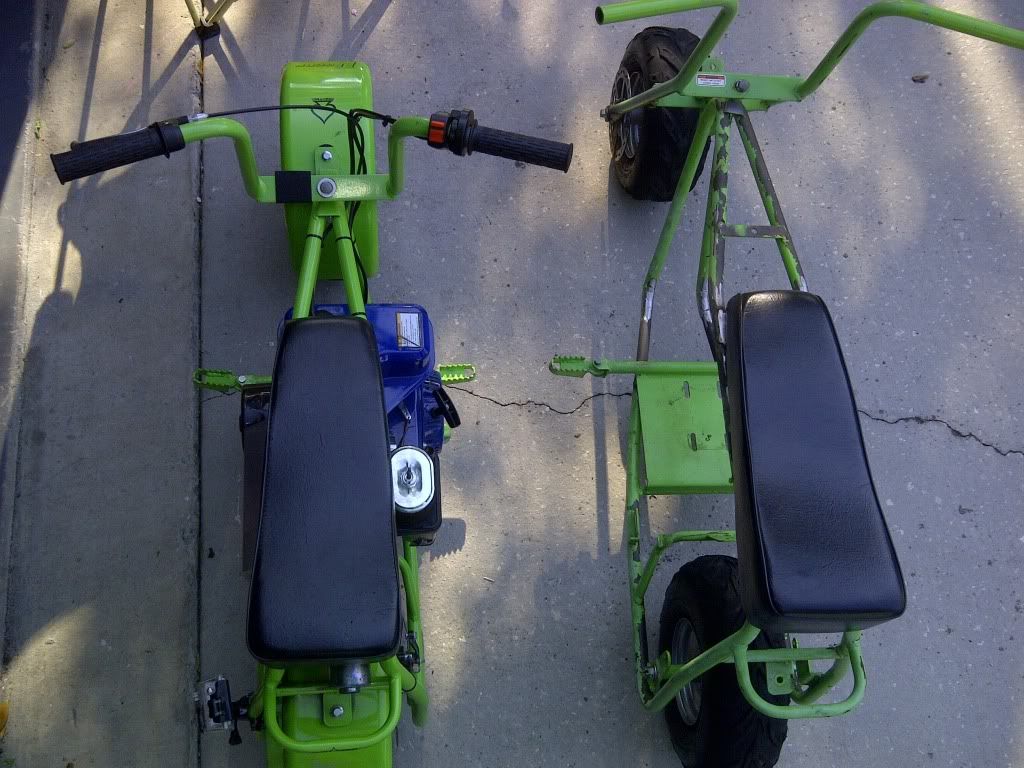


Cut the frame:


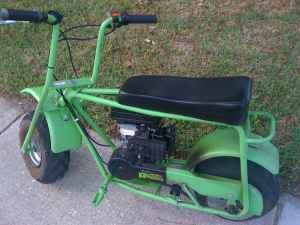
This is the bike I paid $179.00 for. I'm going to take the wheels, tires, brake components, and throttle assembly off and sell the rest. It's a cool color, but I don't care for the new style frame and forks.


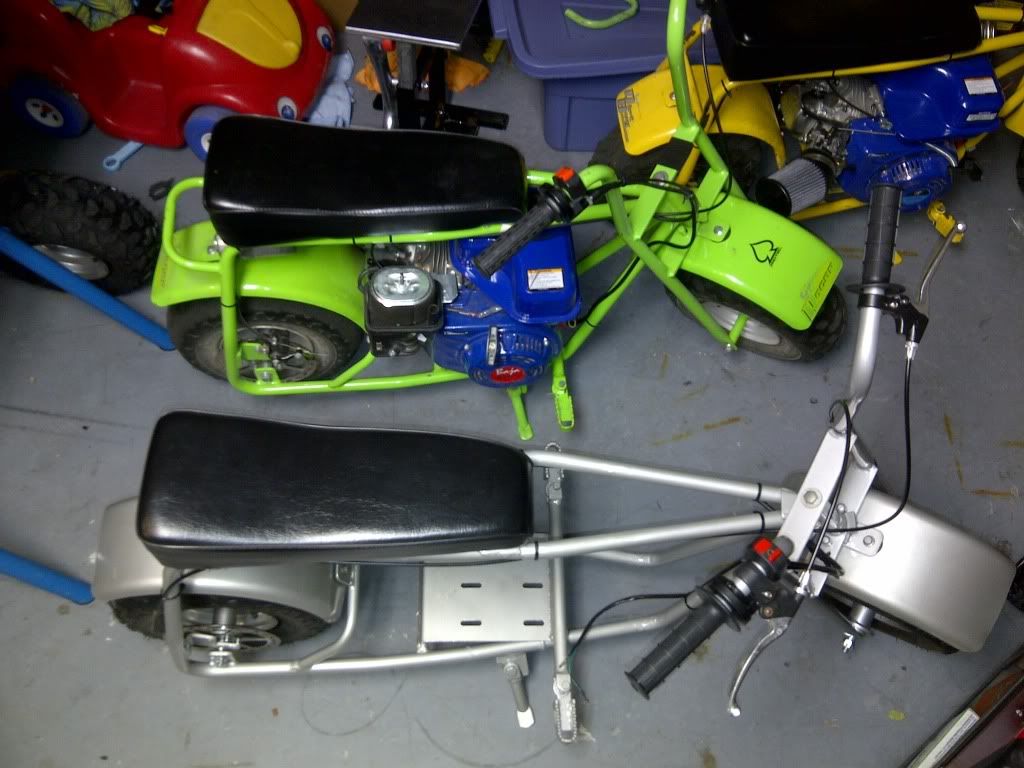
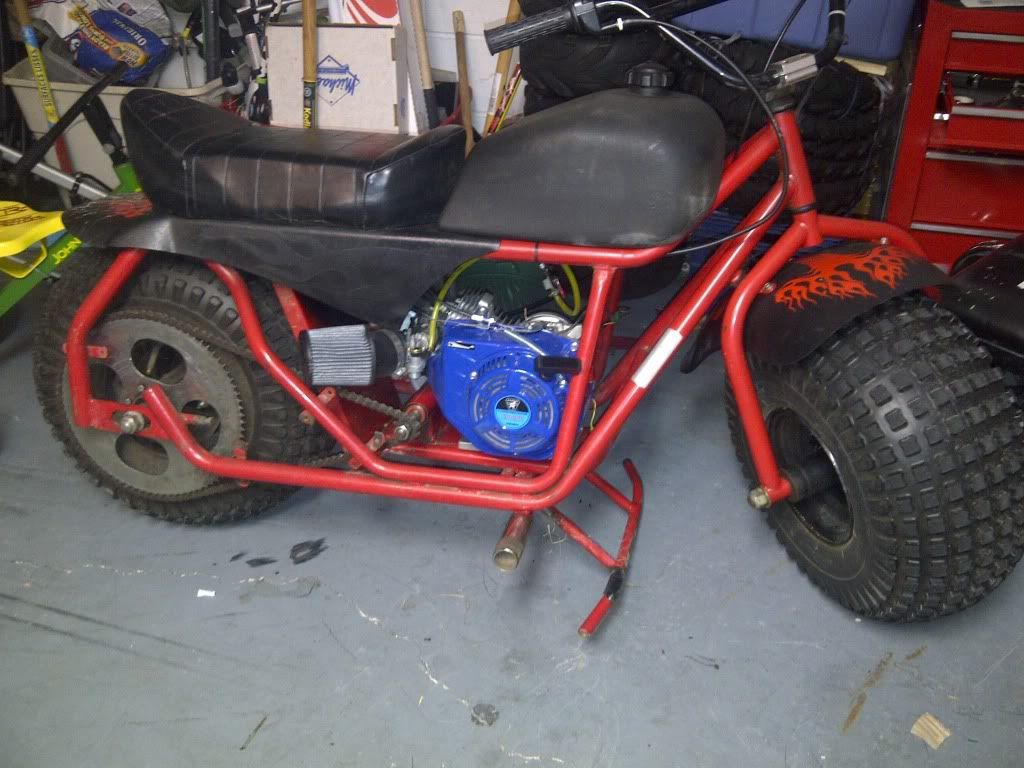
Not sure if I've posted the pics of my first two bikes, but just in case:

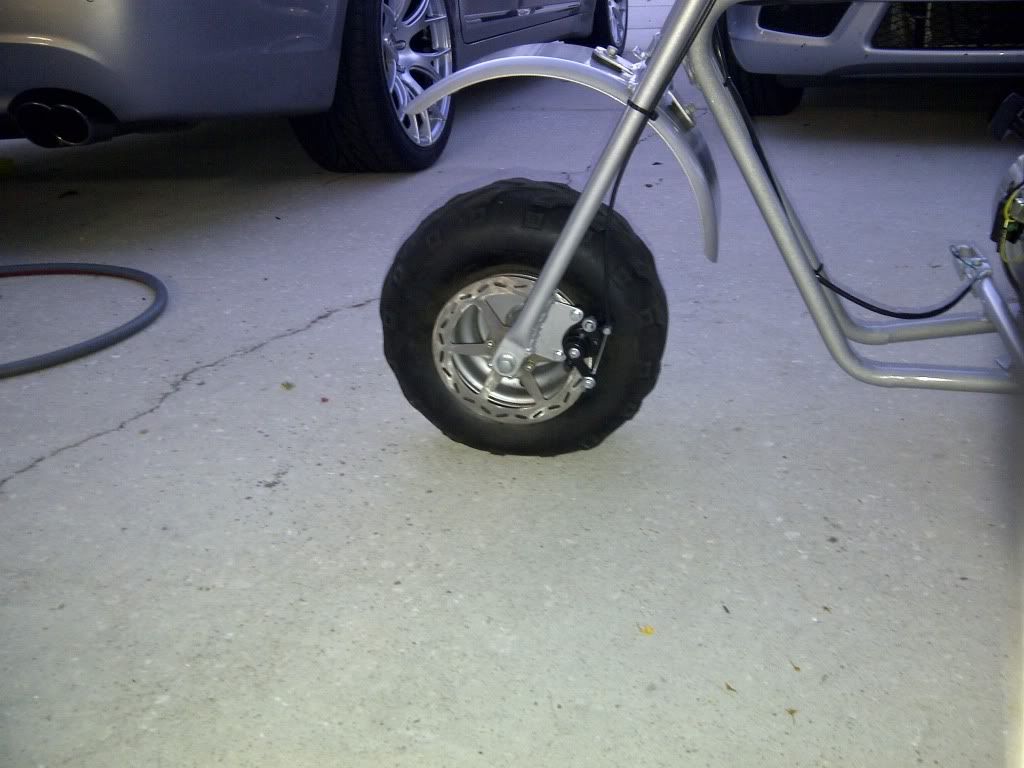
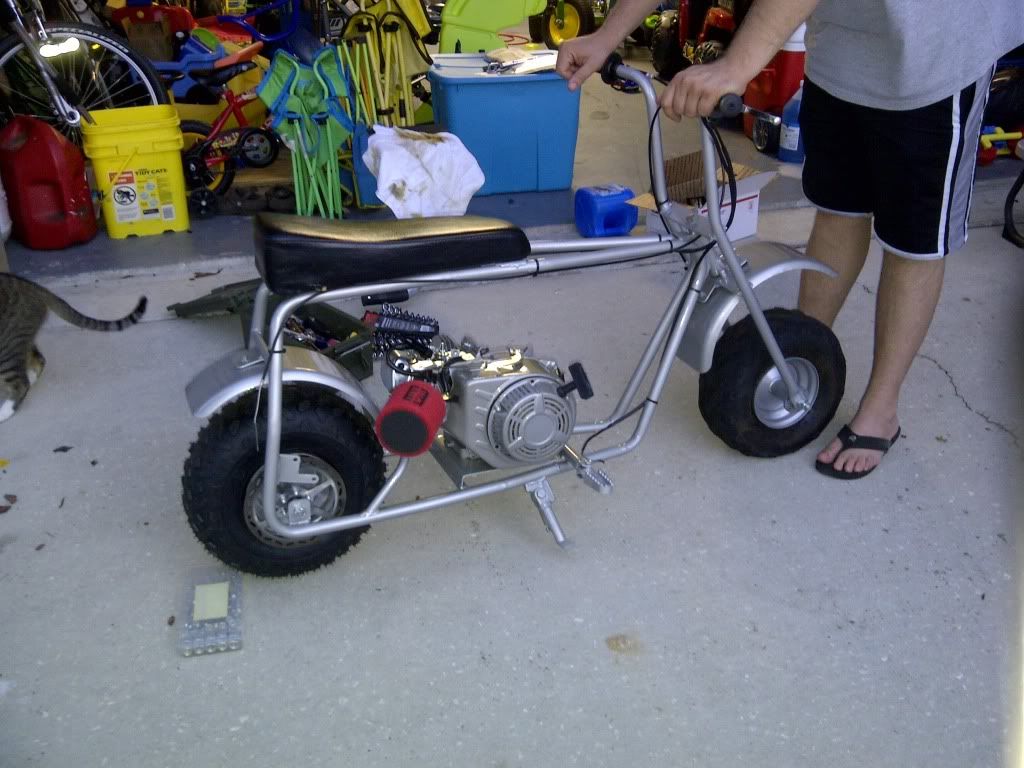
Here's my fast one....I'm 195lbs and I hit 52.3 mph. Get to 45 mph quick!


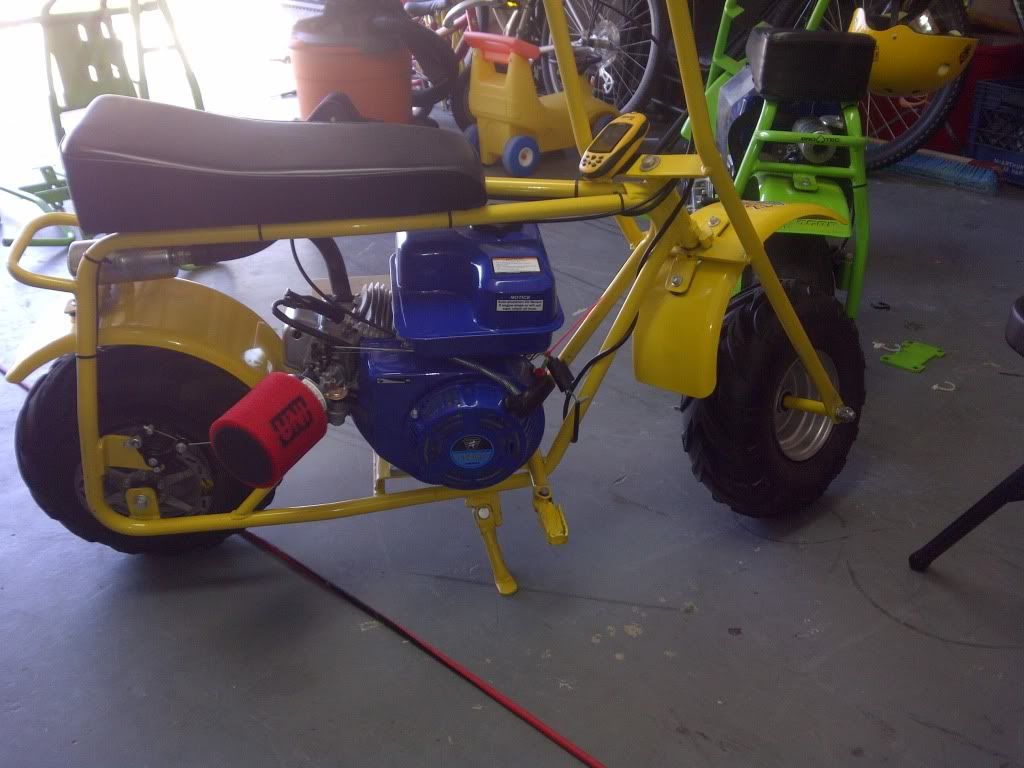
Here's the same yellow one and my first green one:


Here's how much faster the yellow one is compared to the green one. Both have the Senators removed (not allowed to discuss governors) Only mention this for comparisons sake...Definitely do not recommend removing them unless other measures have been taken to ensure the integrity of the engine.

YouTube - ‪Doodle Bug Race‬‏
 

MiniBike Paul

Well-Known Member
#2
There are fabricators on here that put me to shame, but I think they would agree that to lenghthen the frame like that, if your pictures show your complete build, is scary -


I did roughly the same thing to one of mine (just forward of the engine plate), but the BIG difference was that I got .090 tubing that fit tight inside the frame tubing, and put 6" pieces in, 3" on each side of the joint, and then welded the seam where the outside pieces meet! If in fact yours is just butt welded, I think that is a bit tenuous!!
Hope the really smart guys will jump in here now!!
 
#3
I have tubing inside of mine as well. Plus, I beveled the ends of both the cut frame and the 6" long pieces of tubing, so the weld would go into the frame and build its way up.
If you look closely at the picture of the front part of the frame on the welding table, you'll see that the 6" pieces are tapered at the ends and just to the left of the face shield are some of the pieces that went inside.

I like yours though! Looks perfect!
 
#4
Paul, if have a suggestion, make it now before I have it painted. Like if you think I should add a crossbar for support somewhere....Please, speak up. Especially since you've done this and seem to have an opinion about it.

Thanks,

Scott
 

Neck

Growing up is optional
#6
Good job! MIG welders are great for beginners, and your welds came out very nice. Oh yeah, nice Clogs in that first picture too!
 
#9
Clogs...LOL!..Those were not my feet. My foot can be seen in that picture of the front tire...Nice pair of Clark Shoes. Those clogs belong to some dude that came into my buddy's shop. To be honest though, I do have a pair of crock clogs I wear around the house...Wife bought them.

I sat on the bike as it is and the pegs seemed to be better placed where they are. They allow me to drop my knees a little lower......

I will definitely get some pictures up once the frame is done being painted....And since it's not being painted until next week, I'll look at welding a cross piece on the bottom front where the new welds are. I already have a piece cut to that length, so it wouldn't be a big deal to weld it on.

Side note...I installed a new torque converter to me yellow beastbug and you can't keep the front tire on the ground when launching from a dead stop. One of my neighbors learns this the hard way. In this video, I'm the "daddy" in the green shirt, not riding my own doodle. I'm riding my neighbor Bob's 2011 doodle so he can ride the beast. It sounds like a damn Harley in this video:

YouTube - ‪jeffwheelie.avi‬‏
 
#10
Some updated pictures:

I had the frame, fenders, engine cover and gas tank powder coated in Argent Silver.

I have a feeling I'm going to end up lowering the front fender. Something I now wish I would have just done in the first place..

Still need to put on the new knobby tire up front. The tire in the pic is flat and worn. Just on to align the front brake.
Also looking into a remote fuel tank. either up front or under the seat.
After seeing the engine sitting on the frame (like in these pics) without the fuel tank bolted to it, I really like how it looks....

Still have a ways to go before she is on the road, but I'm getting there.


Waiting on my custom dual header/pipe, clutch cover, hydraulic brake conversion for rear, and a few other things. I'm having the header ceramic coated so that it has a polished look. Pretty excited about how it will look and sound. Coming from Roberston Torque Tubes. Having it coated here locally.

It's not perfect, but it looks nice. Especially in direct sunlight when the metal flakes in the paint pop out.

More pics and videos to come.
 
#12
Thanks Chris.....It's probably not quite as nice as some of the pro-fabricators that belong to this forum, but for a dry cleaner by trade and a new welder I think I did pretty good.

When my neighbor, Jeff, builds his, it will be easily 5 times as nice. Jeff is the guy holding up my bike, in those recent pictures from last night.

He's a perfectionist. It may take him a year to build his bike, but it will be show bike quality.

Scott
 
#15
Well, I wish I had a good excuse for not following up for so long...I don't..

Bike has been finished for quite some time.

I used my GPS to clock it at 56mph. This was with the 15 tooth clutch installed.

It's definitely not a "show" bike, but it looks cool:


Bike is a little laggy on take off, because of the clutch, but once it hooks up, it pulls strong to 50mph and continues up to 55-56 pretty easily too.
I did not keep the rear sprocket you see in the pictures. Had issues with the chain jumping/skipping on it.

also, after finishing this bike, I found a 'Big Cat' that I messed around with for a little while. I didn't have time to mess with the rear brake on the Big cat, so it's sitting in storage. The blue engine on it came off my yellow Doodle and it's now back on it. The yellow Doodle hits 52mph with a 13 tooth clutch.


From a stop, the yellow one takes a quick lead over the Silver, but give it a little bit and the Silver one passes.

The exhaust on the silver one is a custom one off. It's been ceramic coated and polished. Loud pipes save lives, they say.

Adding the front brake made a huge difference. Between the manual front and hydraulic rear, this bike stops fast.


Scott
 
#19
Good looking bike.I'm planing on a stretch when I find a frame. The header is nice.The ceramic coating is the way to go. I have it on a set headers on my Suzuki Samurai and it has held up good for about eight years.The silver is a nice change.:thumbsup:
 
Top