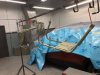
Well the painter decided he wants me to buy a dual stage paint set up. He said if he happens to get a run in the paint it will make it much easier to fix it and can buff to my desired finish. I will buy paint and supplies sometime soon.
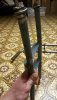
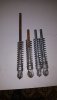
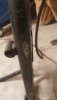
Talked with Rafa at Gt's Hobbies and he is just settling into his new shop and has been really busy getting everything ironed out which is understandable. He said he will get my re-pop forks knocked out this coming week and sent out to me with the originals next week.
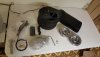
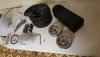
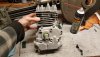
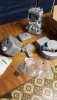
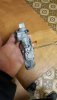
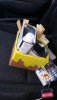
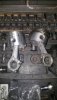
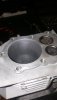
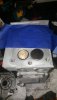
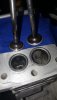
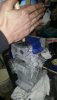
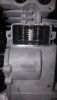
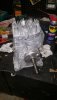
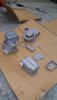
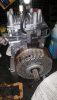
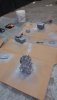
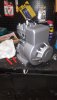
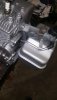
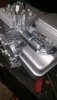
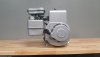
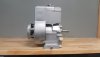
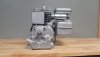
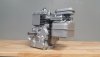
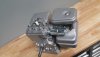
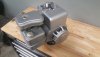
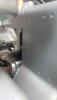
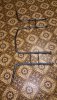
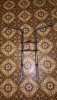
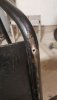
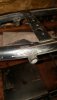
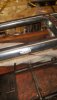
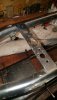
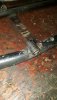
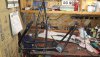
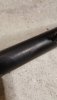
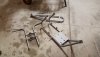
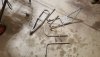
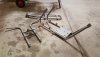
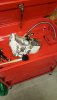
Also finally got some time to make it over to a friend's to use his blast cabinet. Most of the motor parts are blasted except the motor itself. Motor has a ton of oil, dirt, and grim in the cooling fins and other hard to reach parts that I need to get cleaned. I don't want to contaminate my friends sand and don't want sand sticking to places it shouldn't. The motor is currently soaking in his parts washer awaiting me to come scrub on it some more tonight.
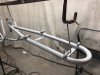
Talked with Rafa at Gt's Hobbies and he is just settling into his new shop and has been really busy getting everything ironed out which is understandable. He said he will get my re-pop forks knocked out this coming week and sent out to me with the originals next week.
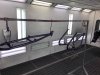
Also finally got some time to make it over to a friend's to use his blast cabinet. Most of the motor parts are blasted except the motor itself. Motor has a ton of oil, dirt, and grim in the cooling fins and other hard to reach parts that I need to get cleaned. I don't want to contaminate my friends sand and don't want sand sticking to places it shouldn't. The motor is currently soaking in his parts washer awaiting me to come scrub on it some more tonight.
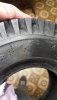
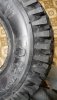
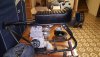
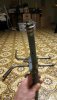
Attachments
-
 1.2 MB Views: 20
 -
 1.9 MB Views: 23
 -
 2 MB Views: 27